It’s Pinterest Challenge time*! This great opportunity to stop pinning and start doing is hosted by Sherry and Katie and is always a ton of fun.
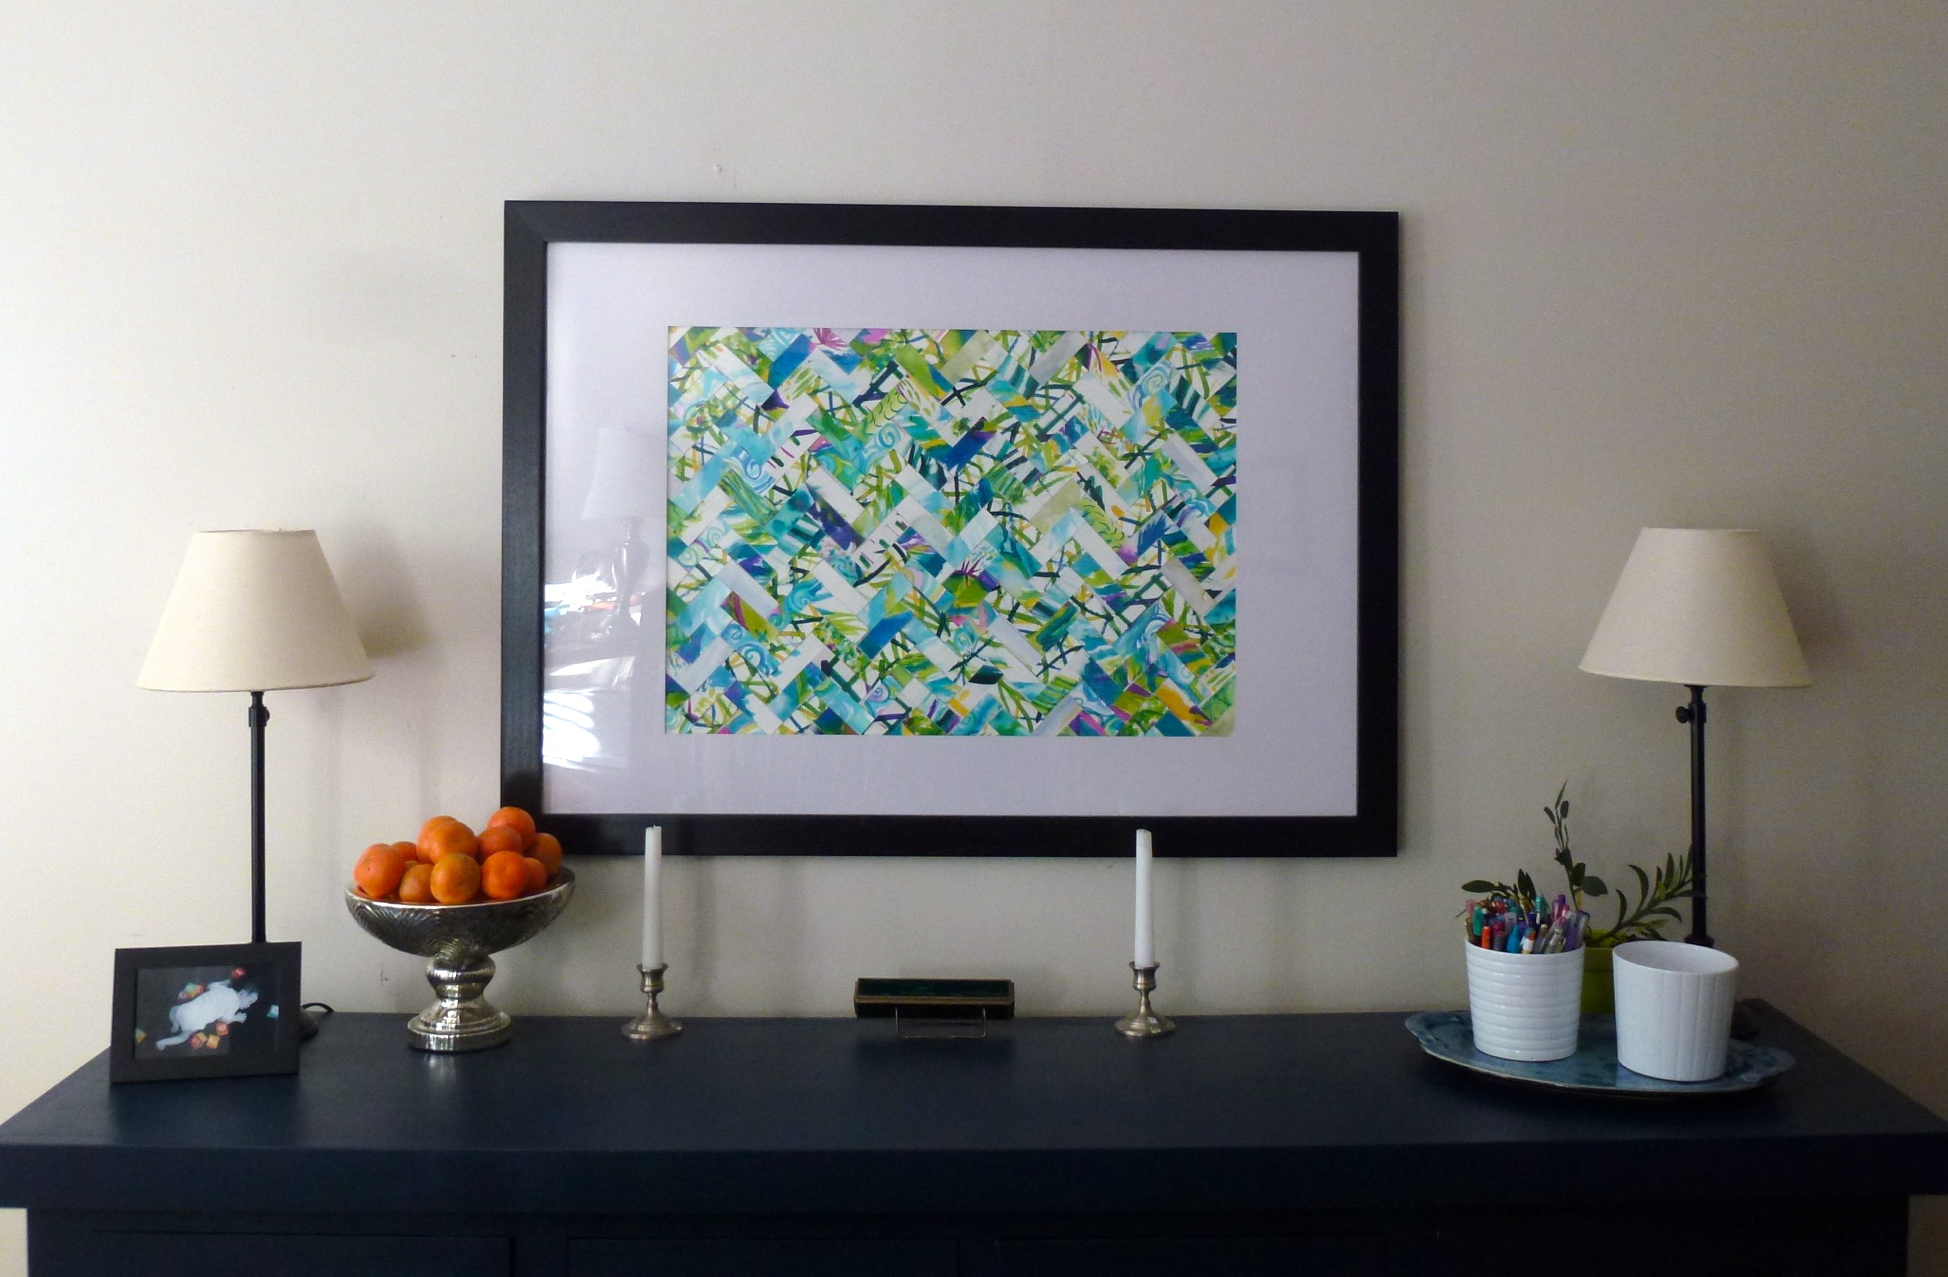
Apparently DIY art is my favorite thing, and I needed something big to fill the wall in my dining room…here’s what I came up with:

There’s a very popular pin of a painting all over Pinterest….I thought it was ok, but the colors aren’t really my first choice. 
The first DIY spin on this I saw was Amanda’s using art by her kids:

I just had to do one of my own. I’ve been looking for something to replace my large/boring/generic/beige hand-me-down art from my dad in the dining room and this seemed like the perfect choice. Plus, she did it with her kids—so cute.
Then I remembered I don’t have kids. First I thought about getting some of my students to make me art, but I didn’t get around to it. Then I realized it could be my activity at my birthday party! (You know how when you’re a kid you have an activity at your party? And then you grow up and you mostly just drink? I missed that memo. I don’t drink, but I have to have an activity.)
- As soon as people finish their ice cream, tell them, “Now you have to make my birthday present!”
- Give them watercolors that your mom brought and some paper. Show them the picture above. Tell them you are going to cut it up and that you’d like them to use colors that match your curtains (only three people will actually listen, but its still worth a try).
- Have them paint.

4. Let paintings dry. Ideally for a month. You want to make sure they are really, really dry. (You may also just be disorganized.)
5. Figure out what size you want your pieces to be. Especially if people drew actual pictures, smaller is probably better.

- 3 sizes I considered. A 1:3 ratio looked best to me.
6. Once you decide on your pieces (I did 1×3), measure out on the backs where to cut. Set aside any that you will not want uniform pieces of—basically anything that was a thing (like a tree) and not abstract.
7. SPECIAL CUTTING TIP: I measured out one inch increments on one side and three inch on the other. If you have extra on one side, which you likely will, make your marks there and DON’T cut all the way through. You’ll end up with strips attached across the top. Then you can line it up and cut once to get several pieces, which saves a ton of time.

Measure the dimensions along two edges. If you use a paper cutter, you won’t need to extend the lines. Cut MOST (but not all) of the way across, so you have a fringe.

When you slice across the mostly-cut strips, you’ll get your pieces. Much faster than cutting strips into individual pieces.
8. Cut, cut, cut.
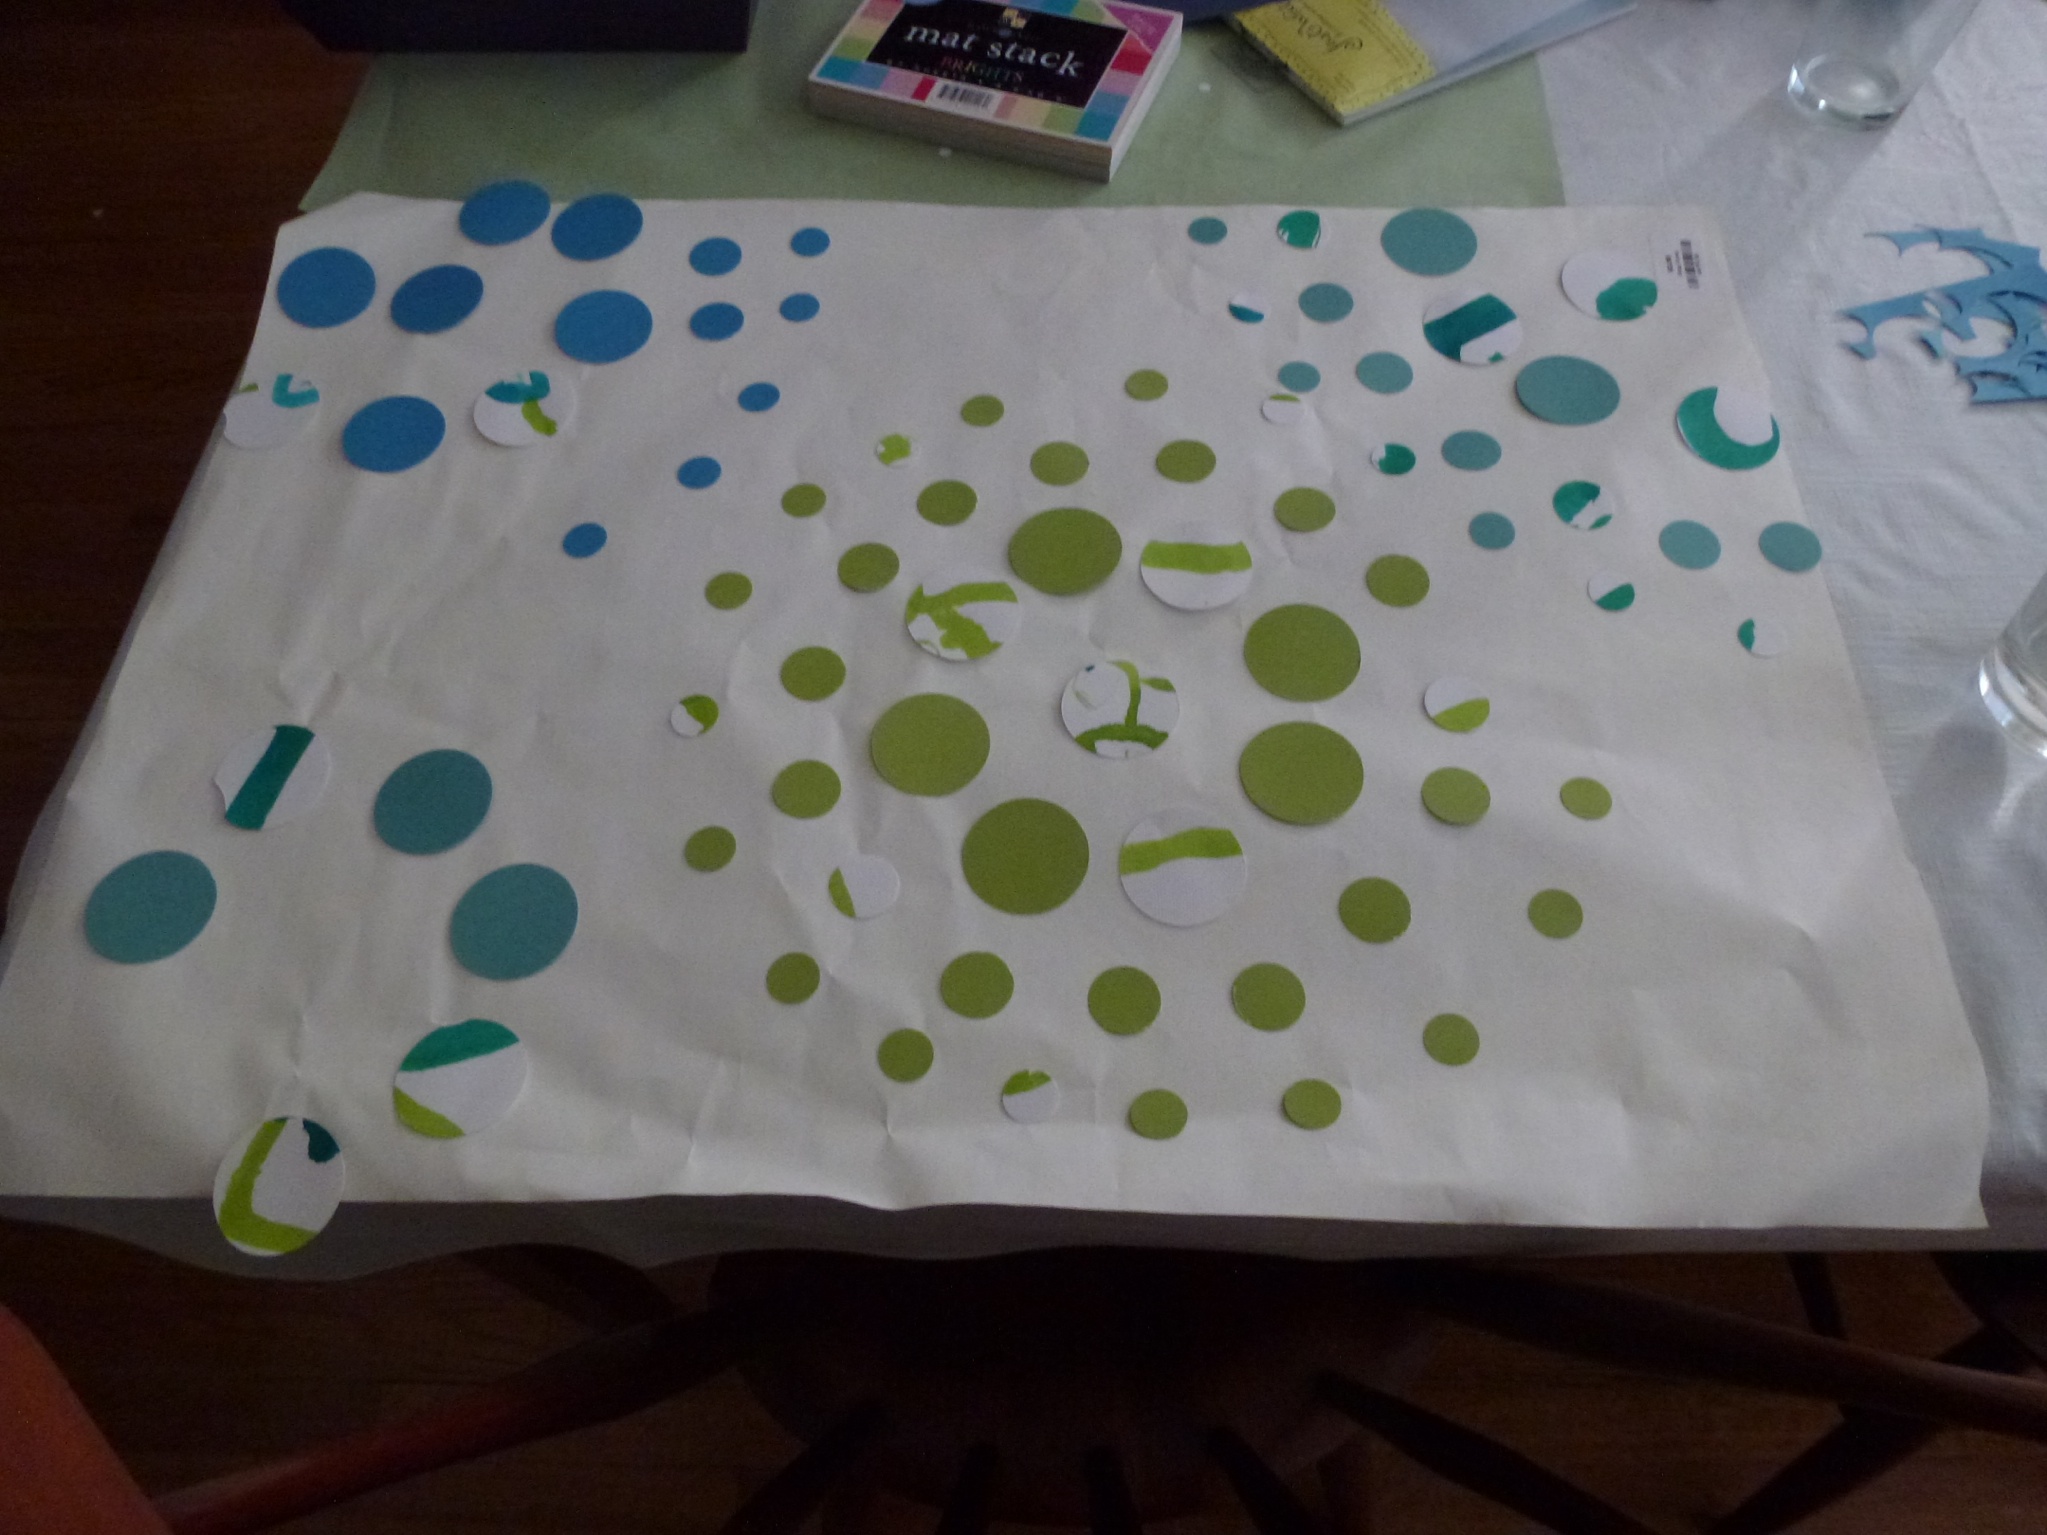
9. Start playing. Lesley did this while I was still cutting and measuring.
10. Get ready to do this for real. My mat left a space that was 19.25”x27.25”, so I measured out a 20”x28” box on a large piece of white paper. I also sorted the pieces a little bit, mostly by color intensity.

- Ruler, pencil, scissors, strips. And, um, toes.
In retrospect, I wish I had set aside a piece or two of everyone’s to make sure they all made it in. Pretty sure I was successful, but not positive.
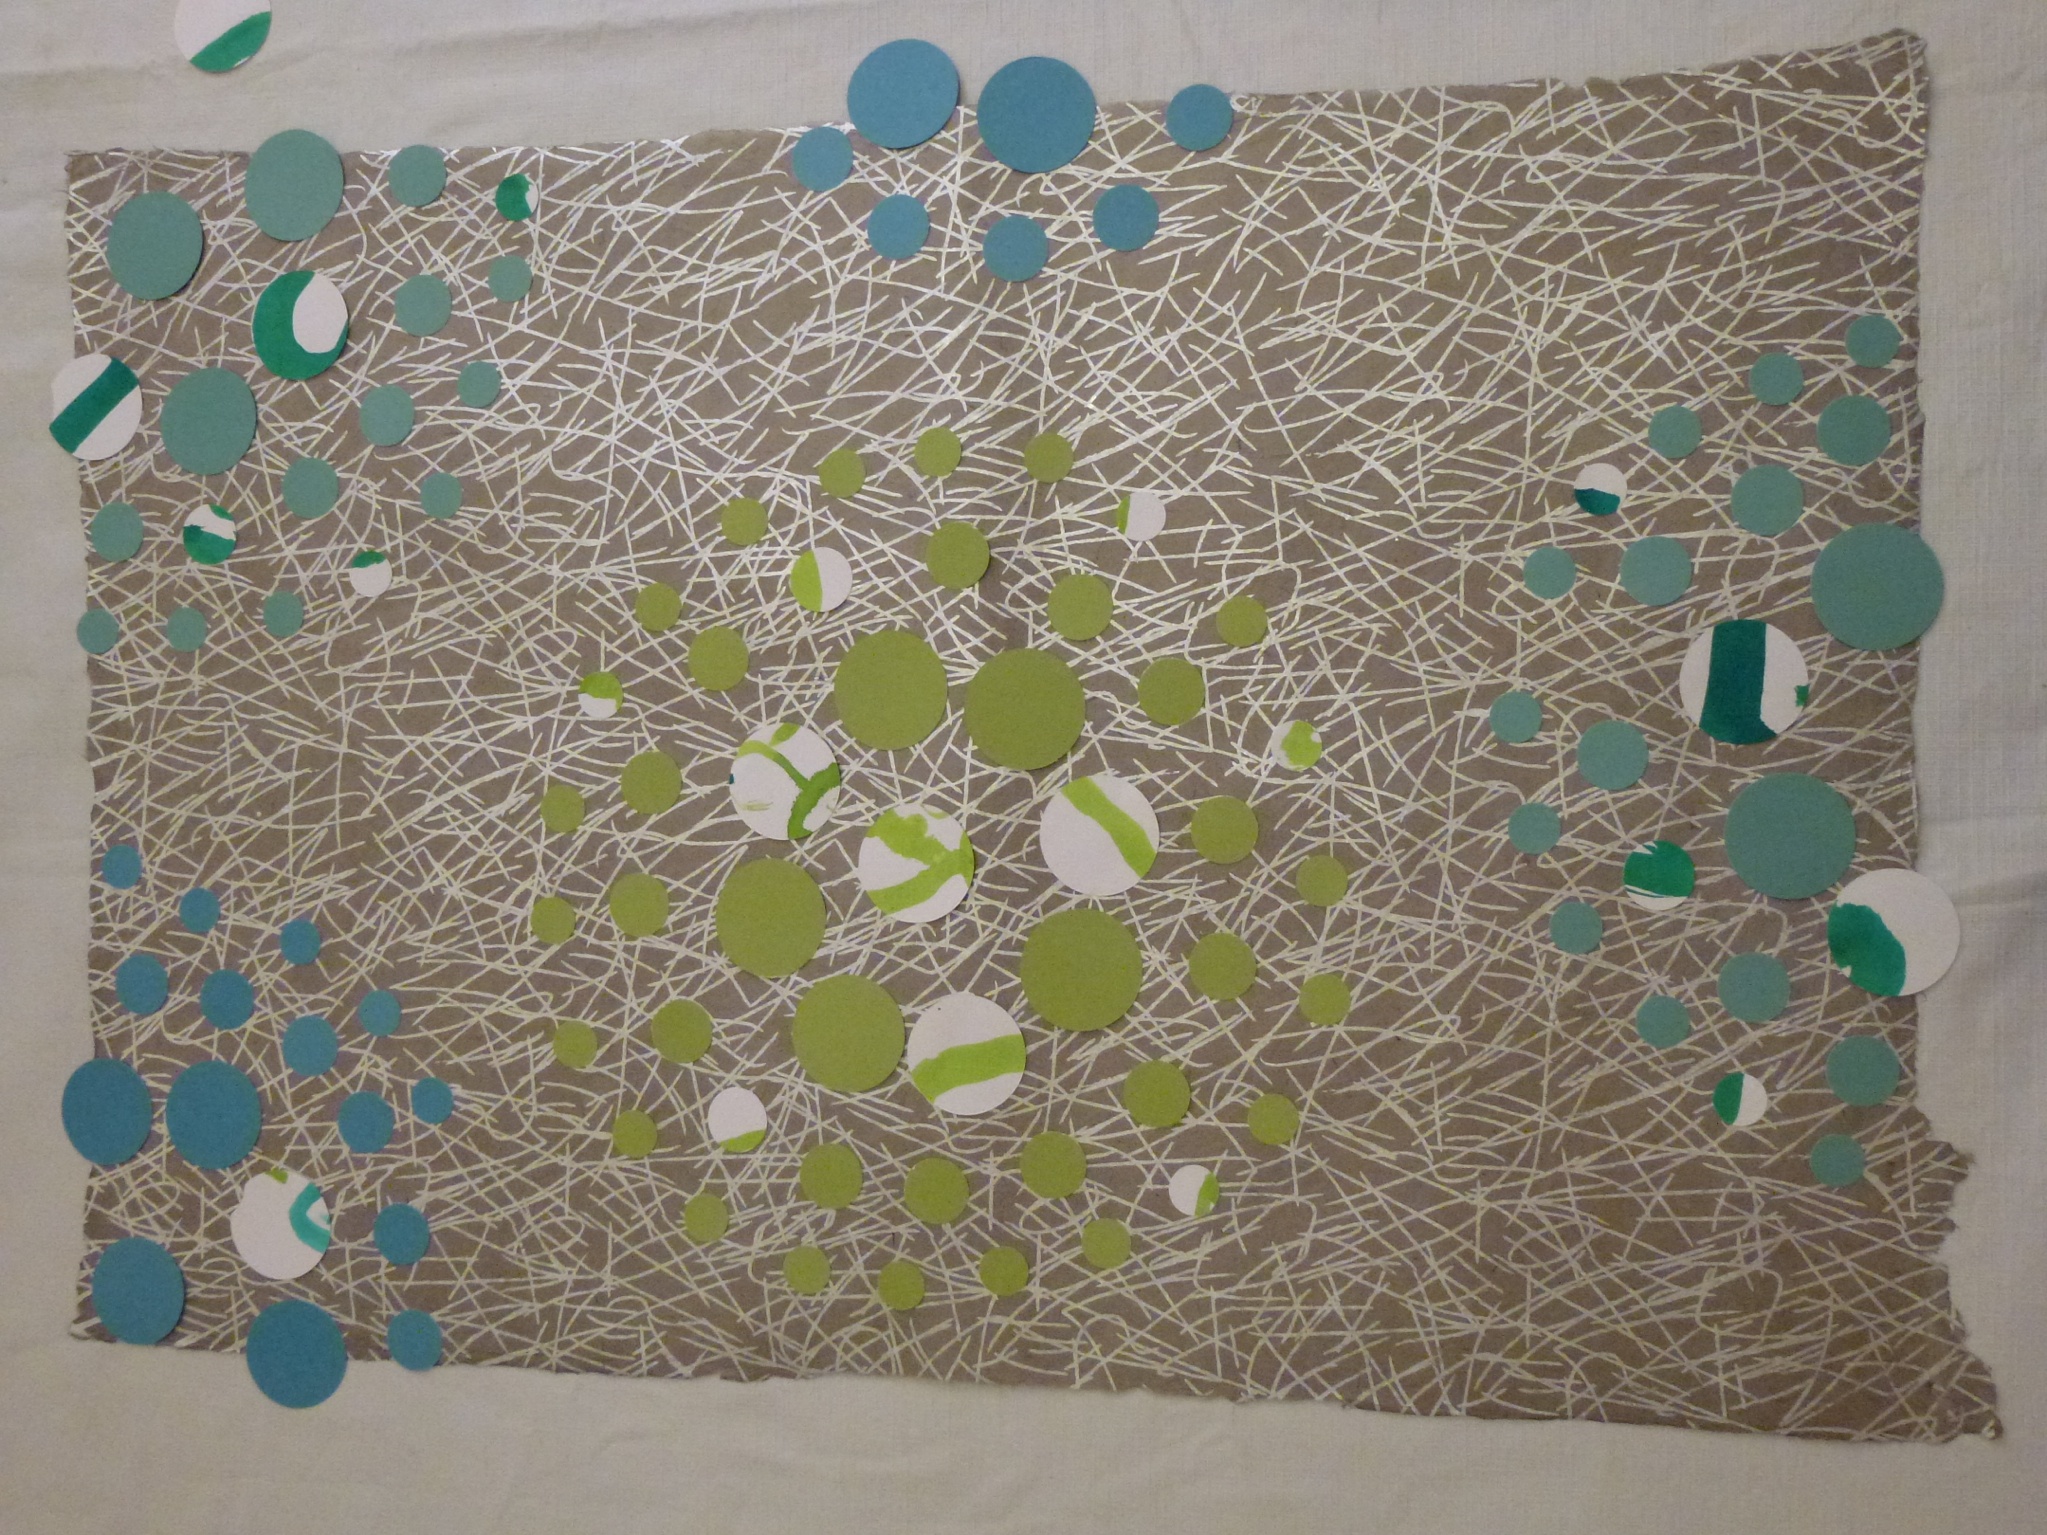
11. Decision time: Do I want to orient the herringbone vertically or horizontally? (Horizontally. It’s a big wall)
12. What angle looks right? (I’m using math in real life! First I measured everything and now I need to find an angle!!!) [Spoiler: its 45 degrees. Lame. Although sensible.]
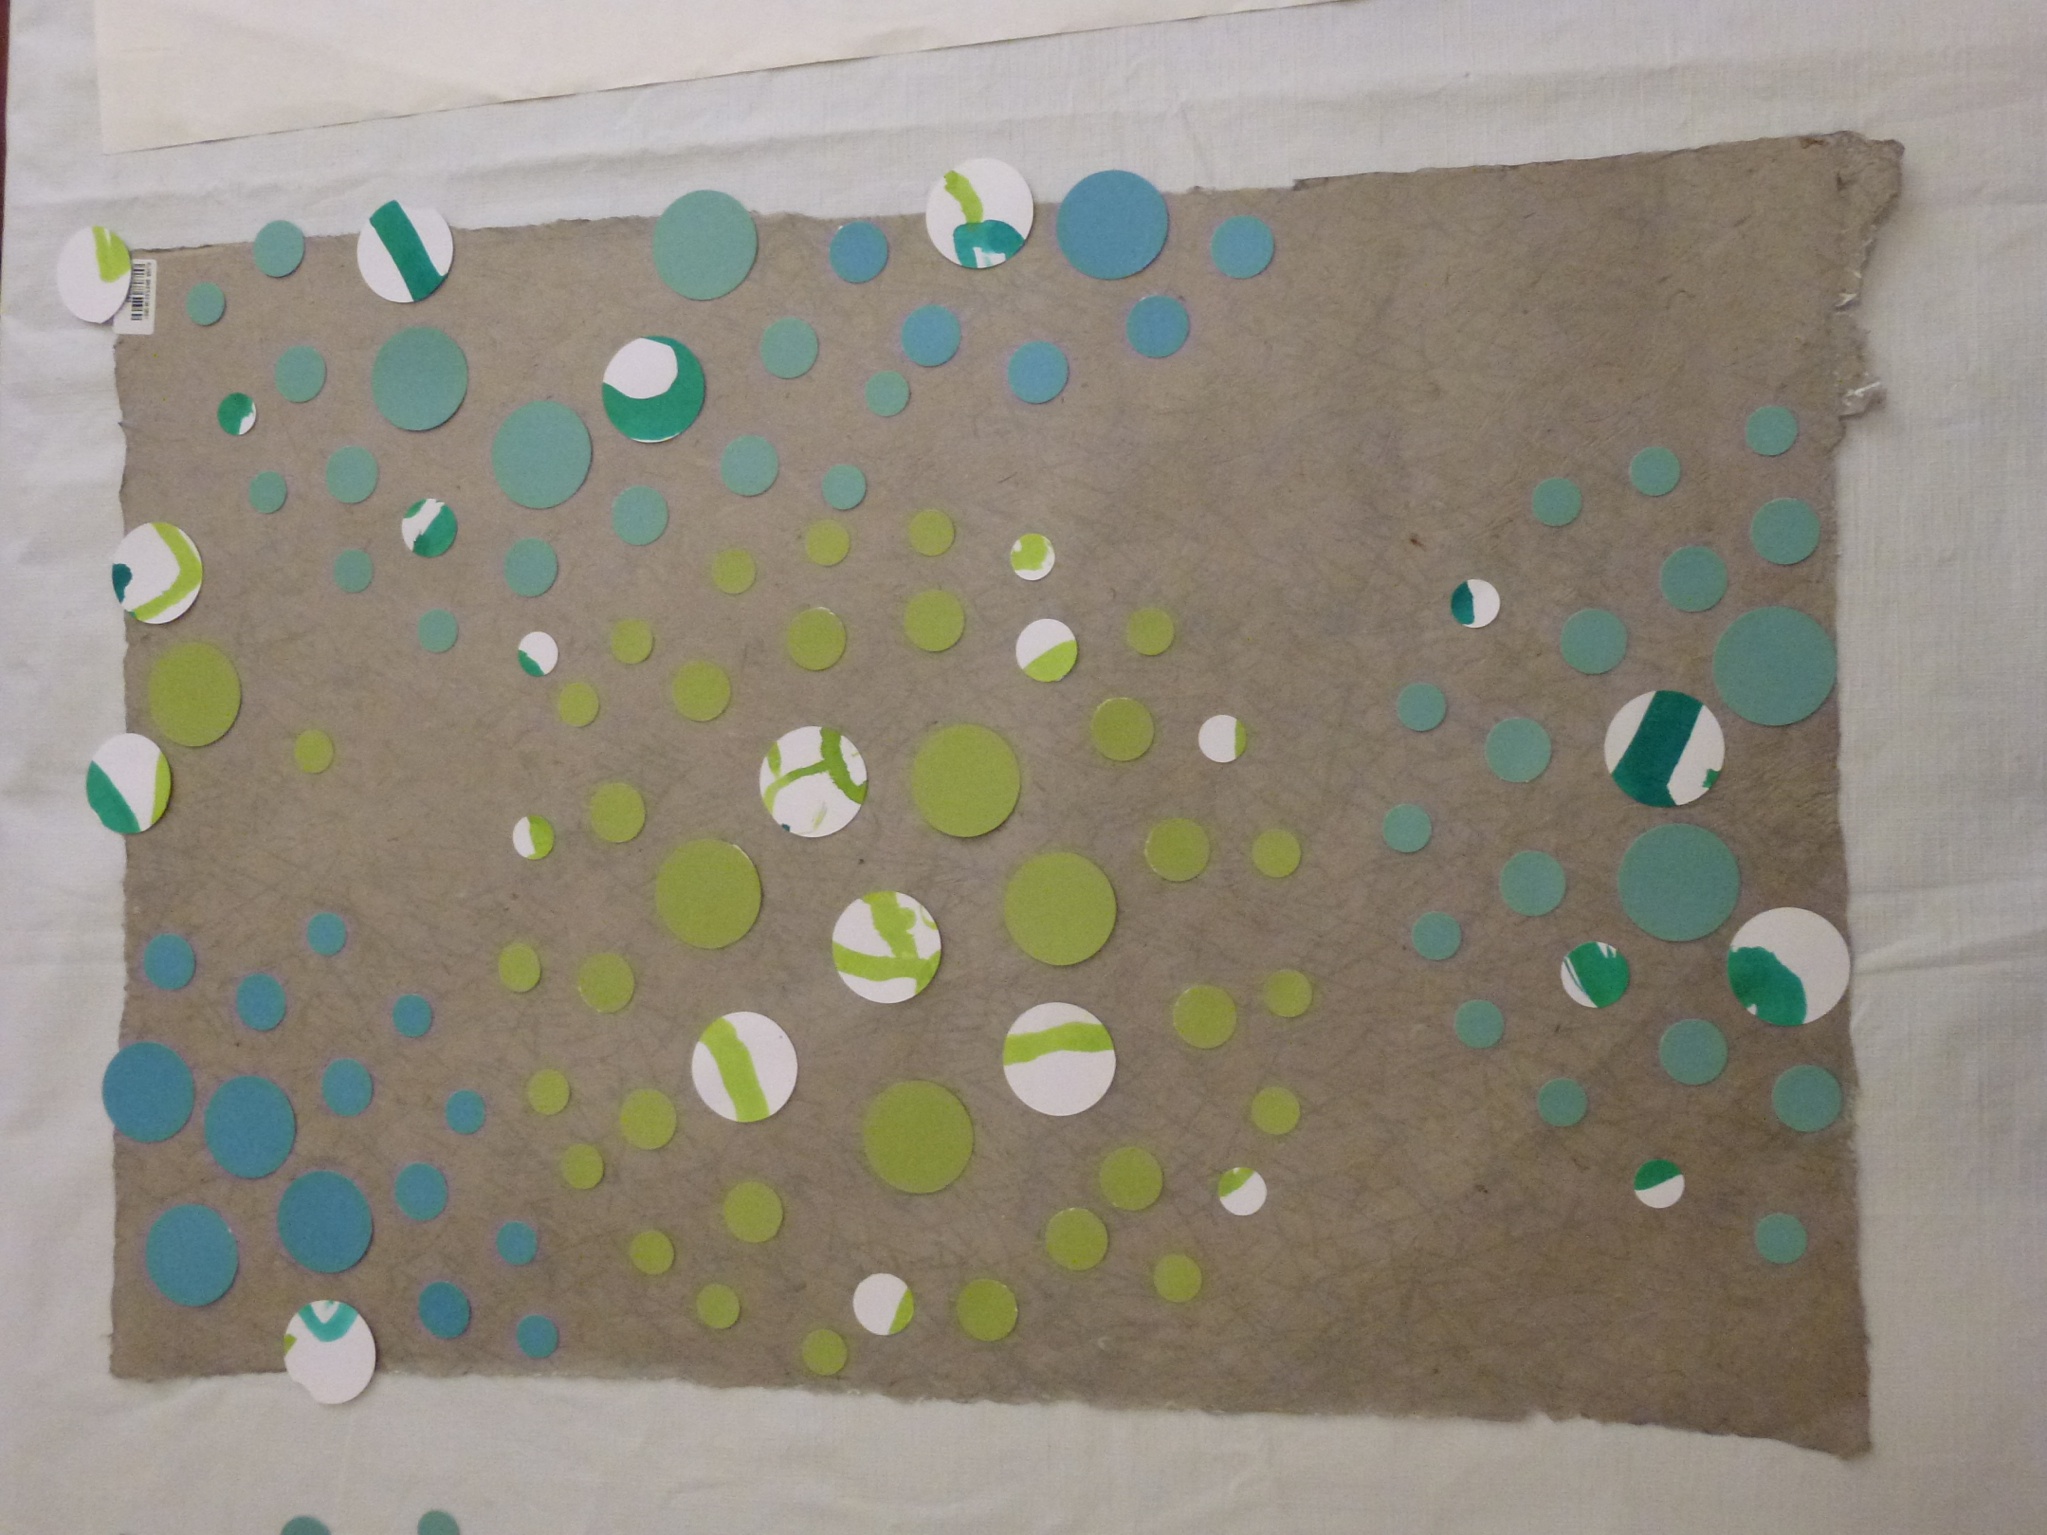
13. Play. Lesley’s playing above helped a lot here. It was also interesting to see how the art changed when I was looking at a photo instead of the real thing.

14. Once I had a layout I liked, I needed to stick it down. It will be behind glass, so I was hoping I could just double sided tape. I used American Crafts tape runners, which I very highly DON’T recommend. Very annoying.
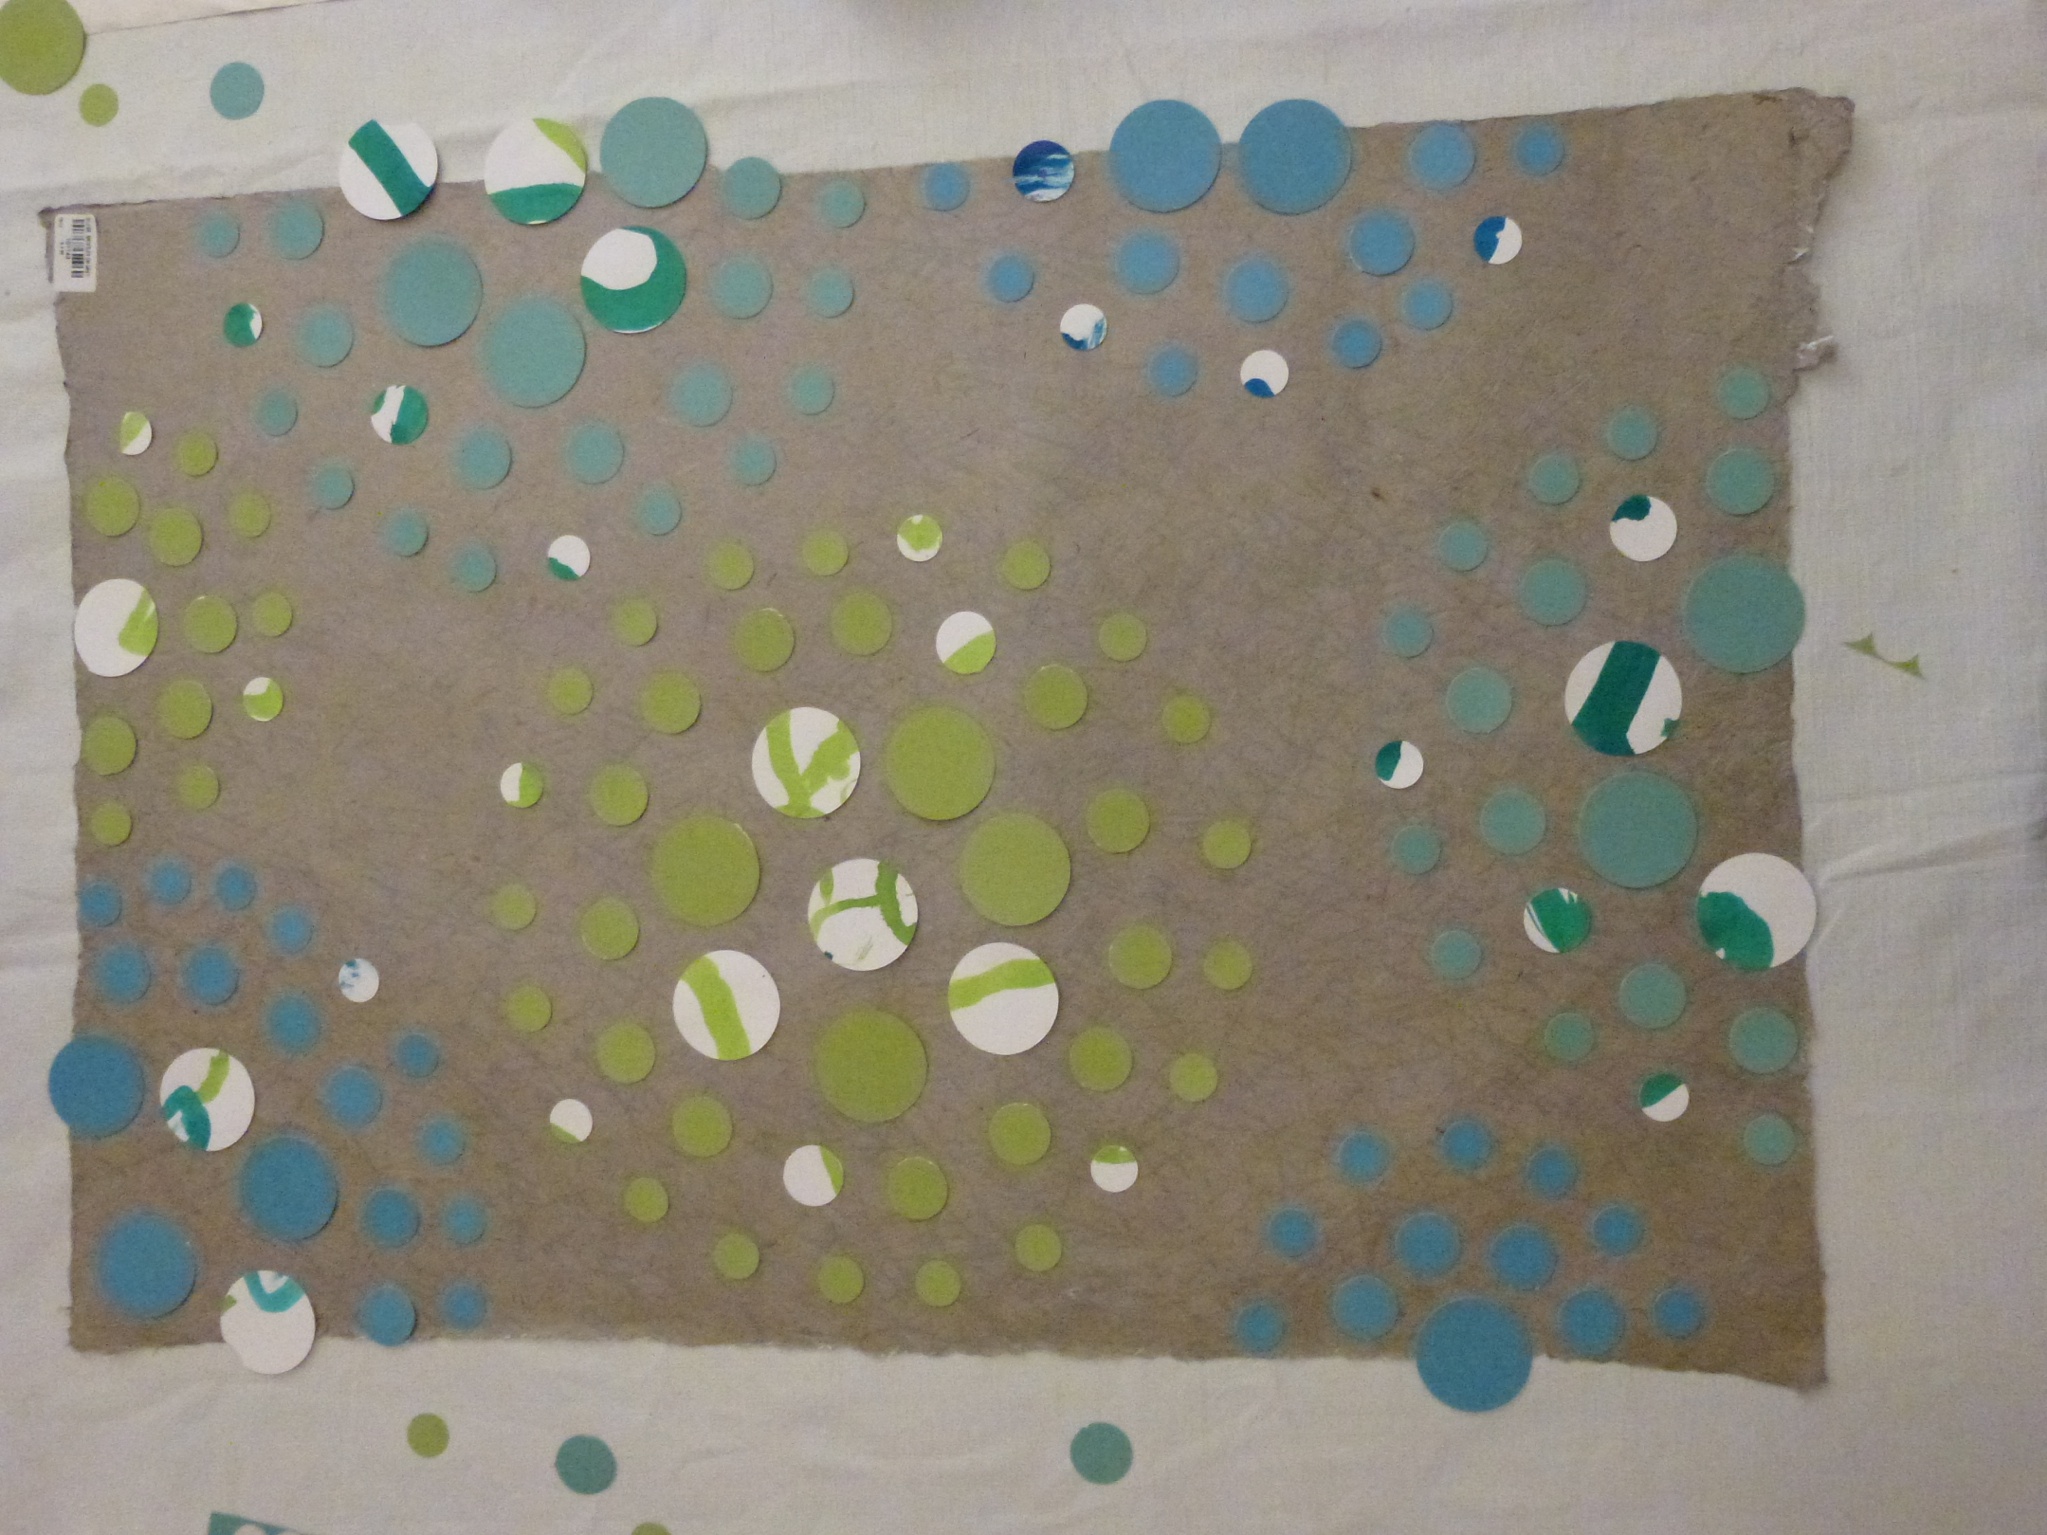
15. Leave it on your floor while you go on vacation.

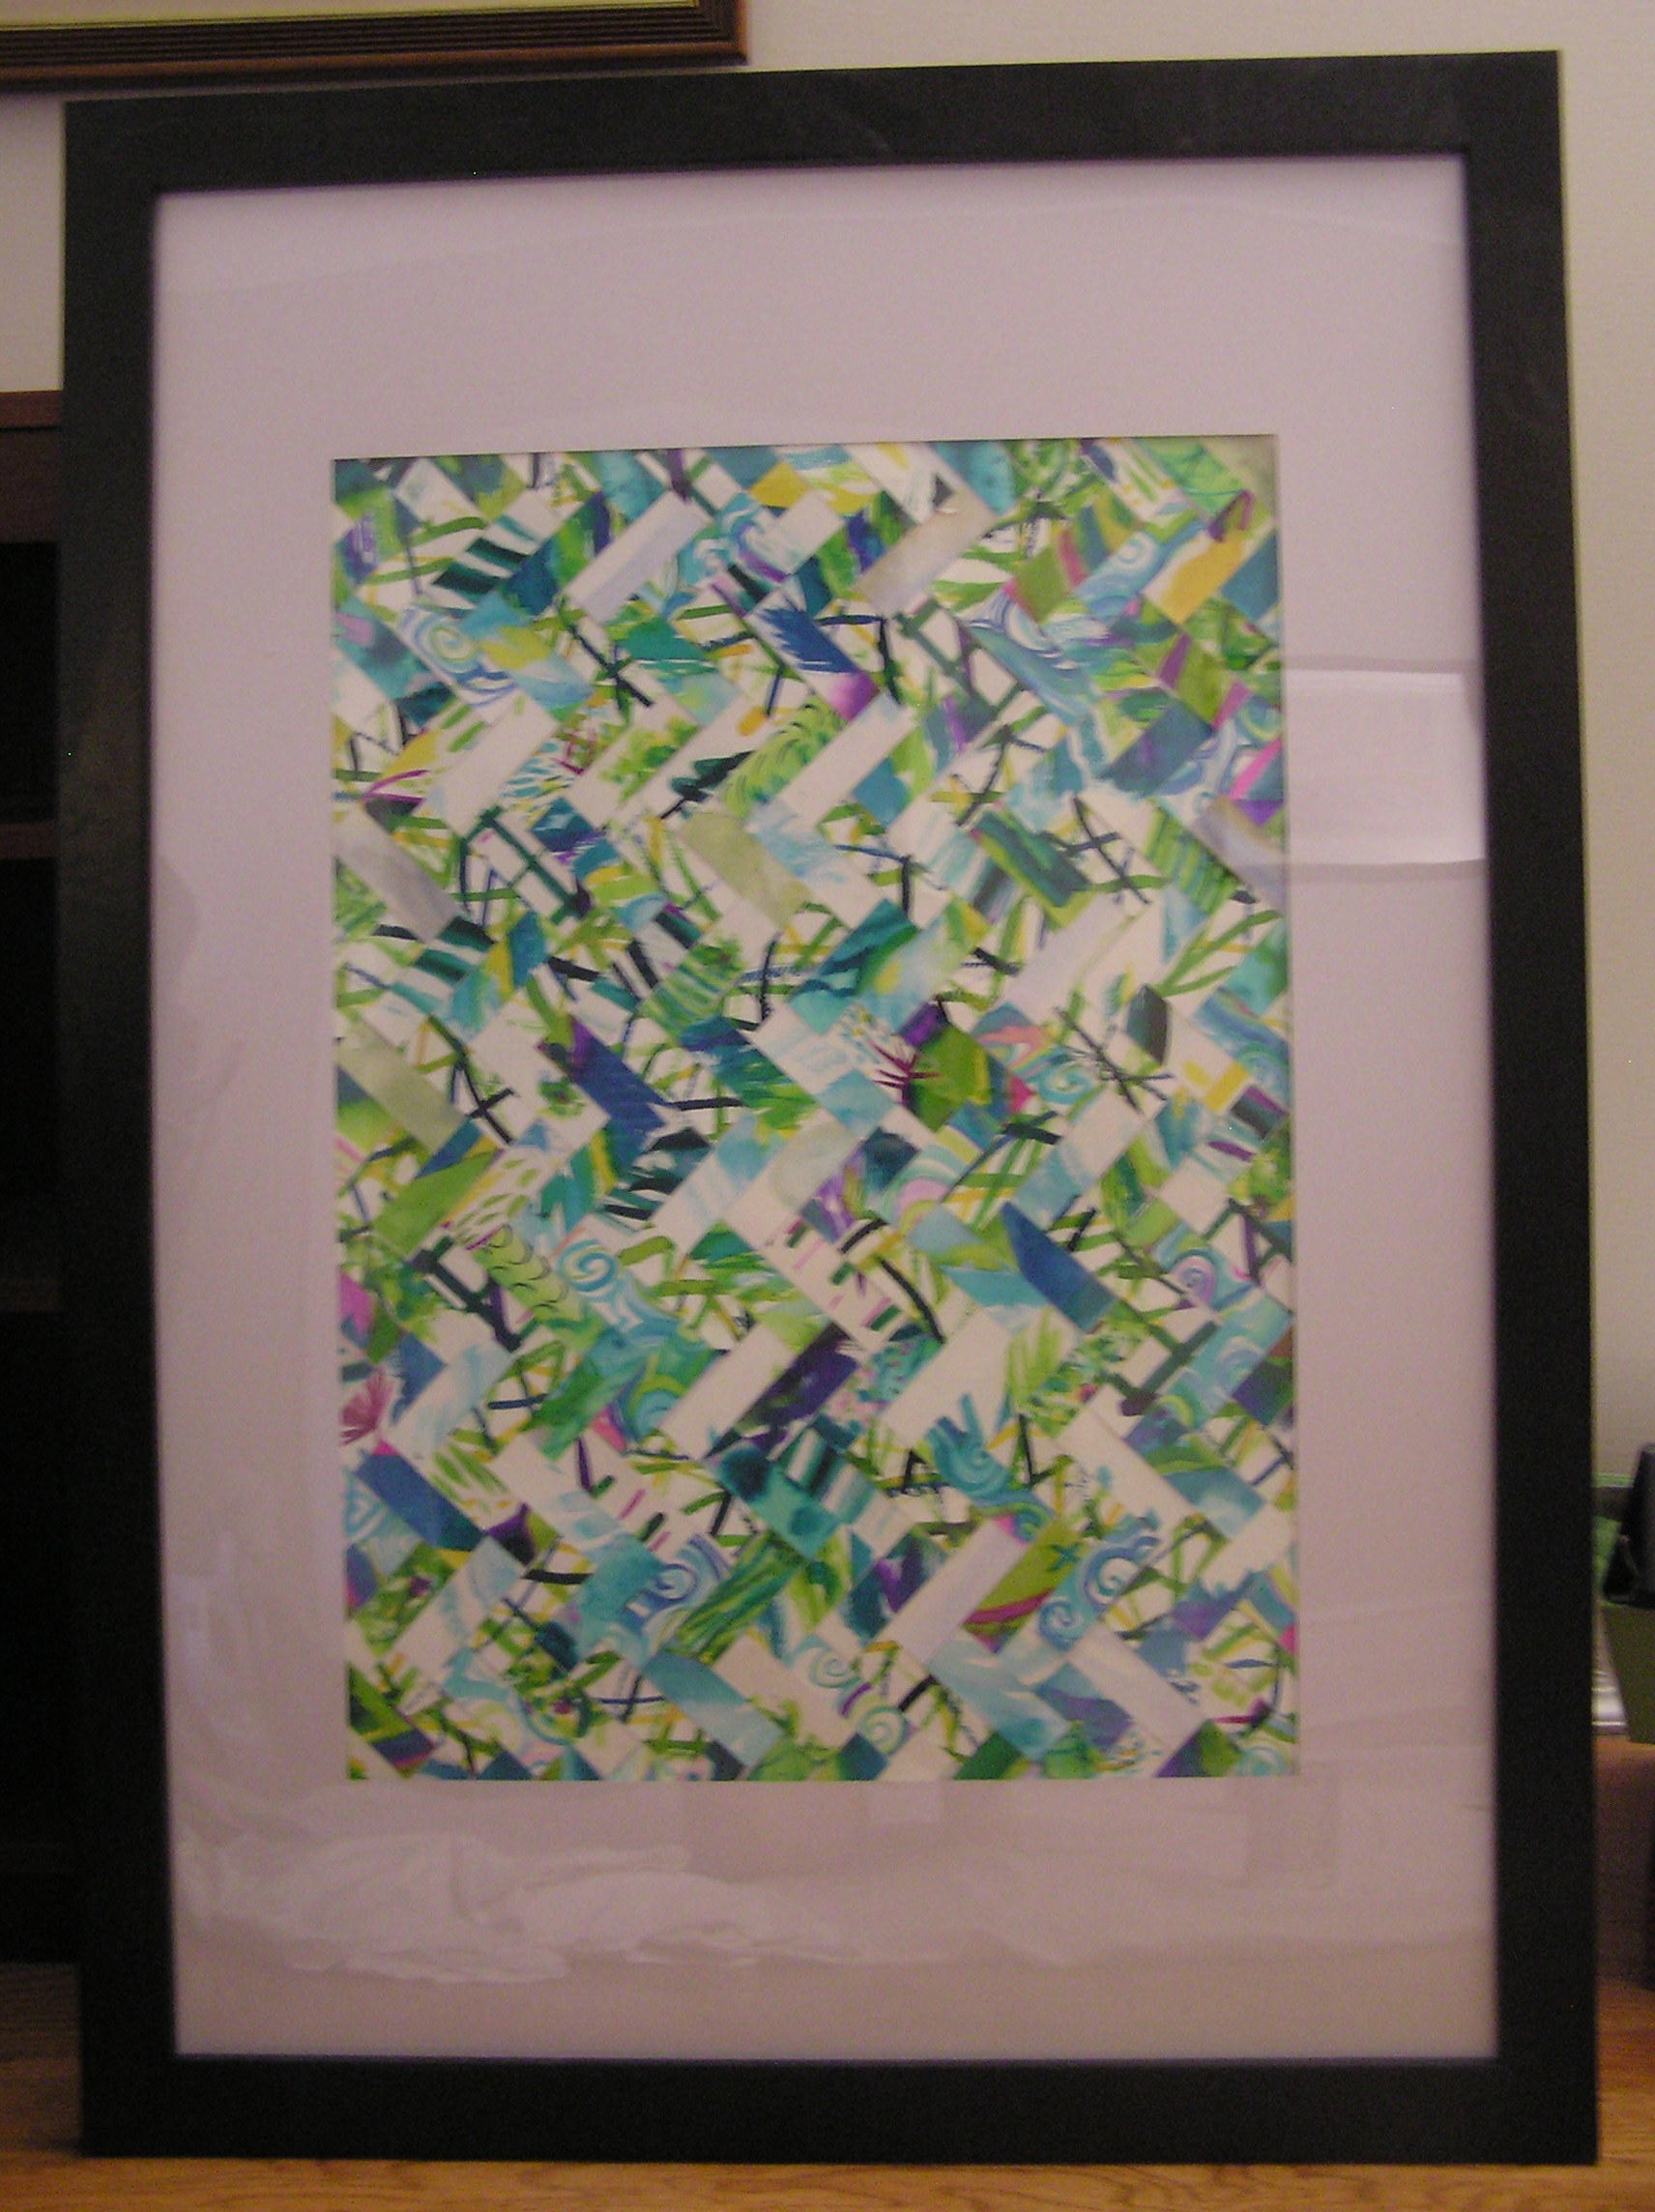
16. Restick some pieces because you used cheap adhesive (thanks AC), stick it behind glass, and get it on a wall! Everyone loves it and I love that so many people who are important to me are represented in all the pictures.
I’ve seen other cool takes where you use one large piece of art and cut it in that pattern and then restick it, or where you use a pre-existing painting and tape out the herringbones. Just look for herringbone art on pinterest for some other equally-awesome takes.
Check out the other projects linked up by the hosts Emily, Katie, Sherry and Renee:

And my other Pinterest Challenge Projects:

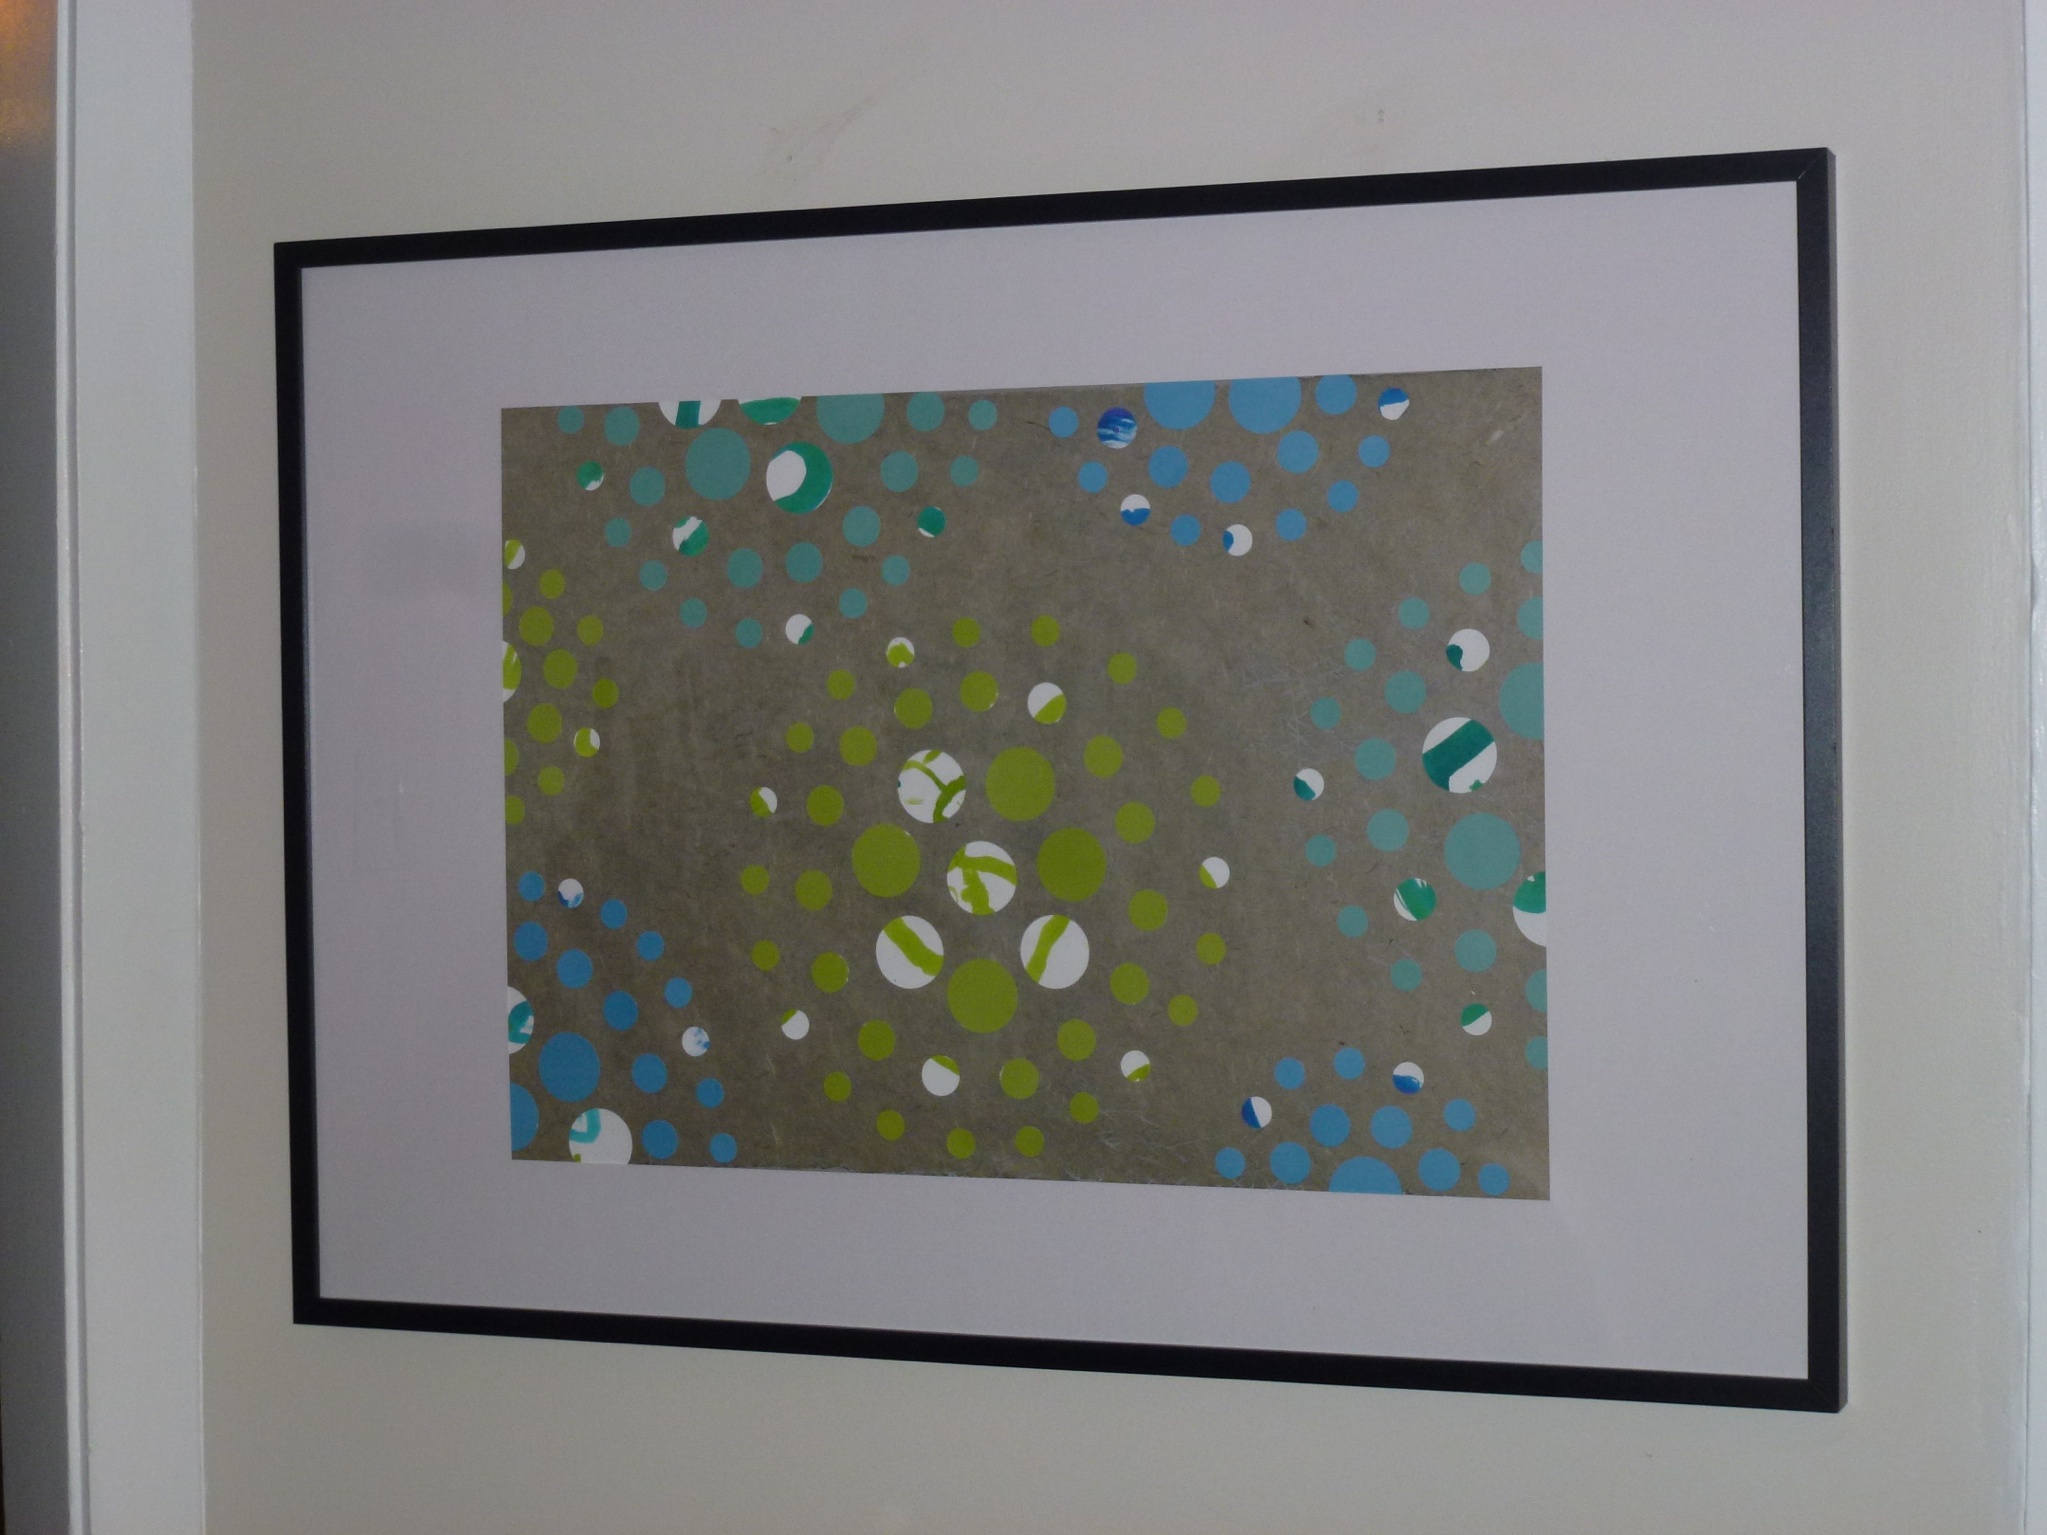
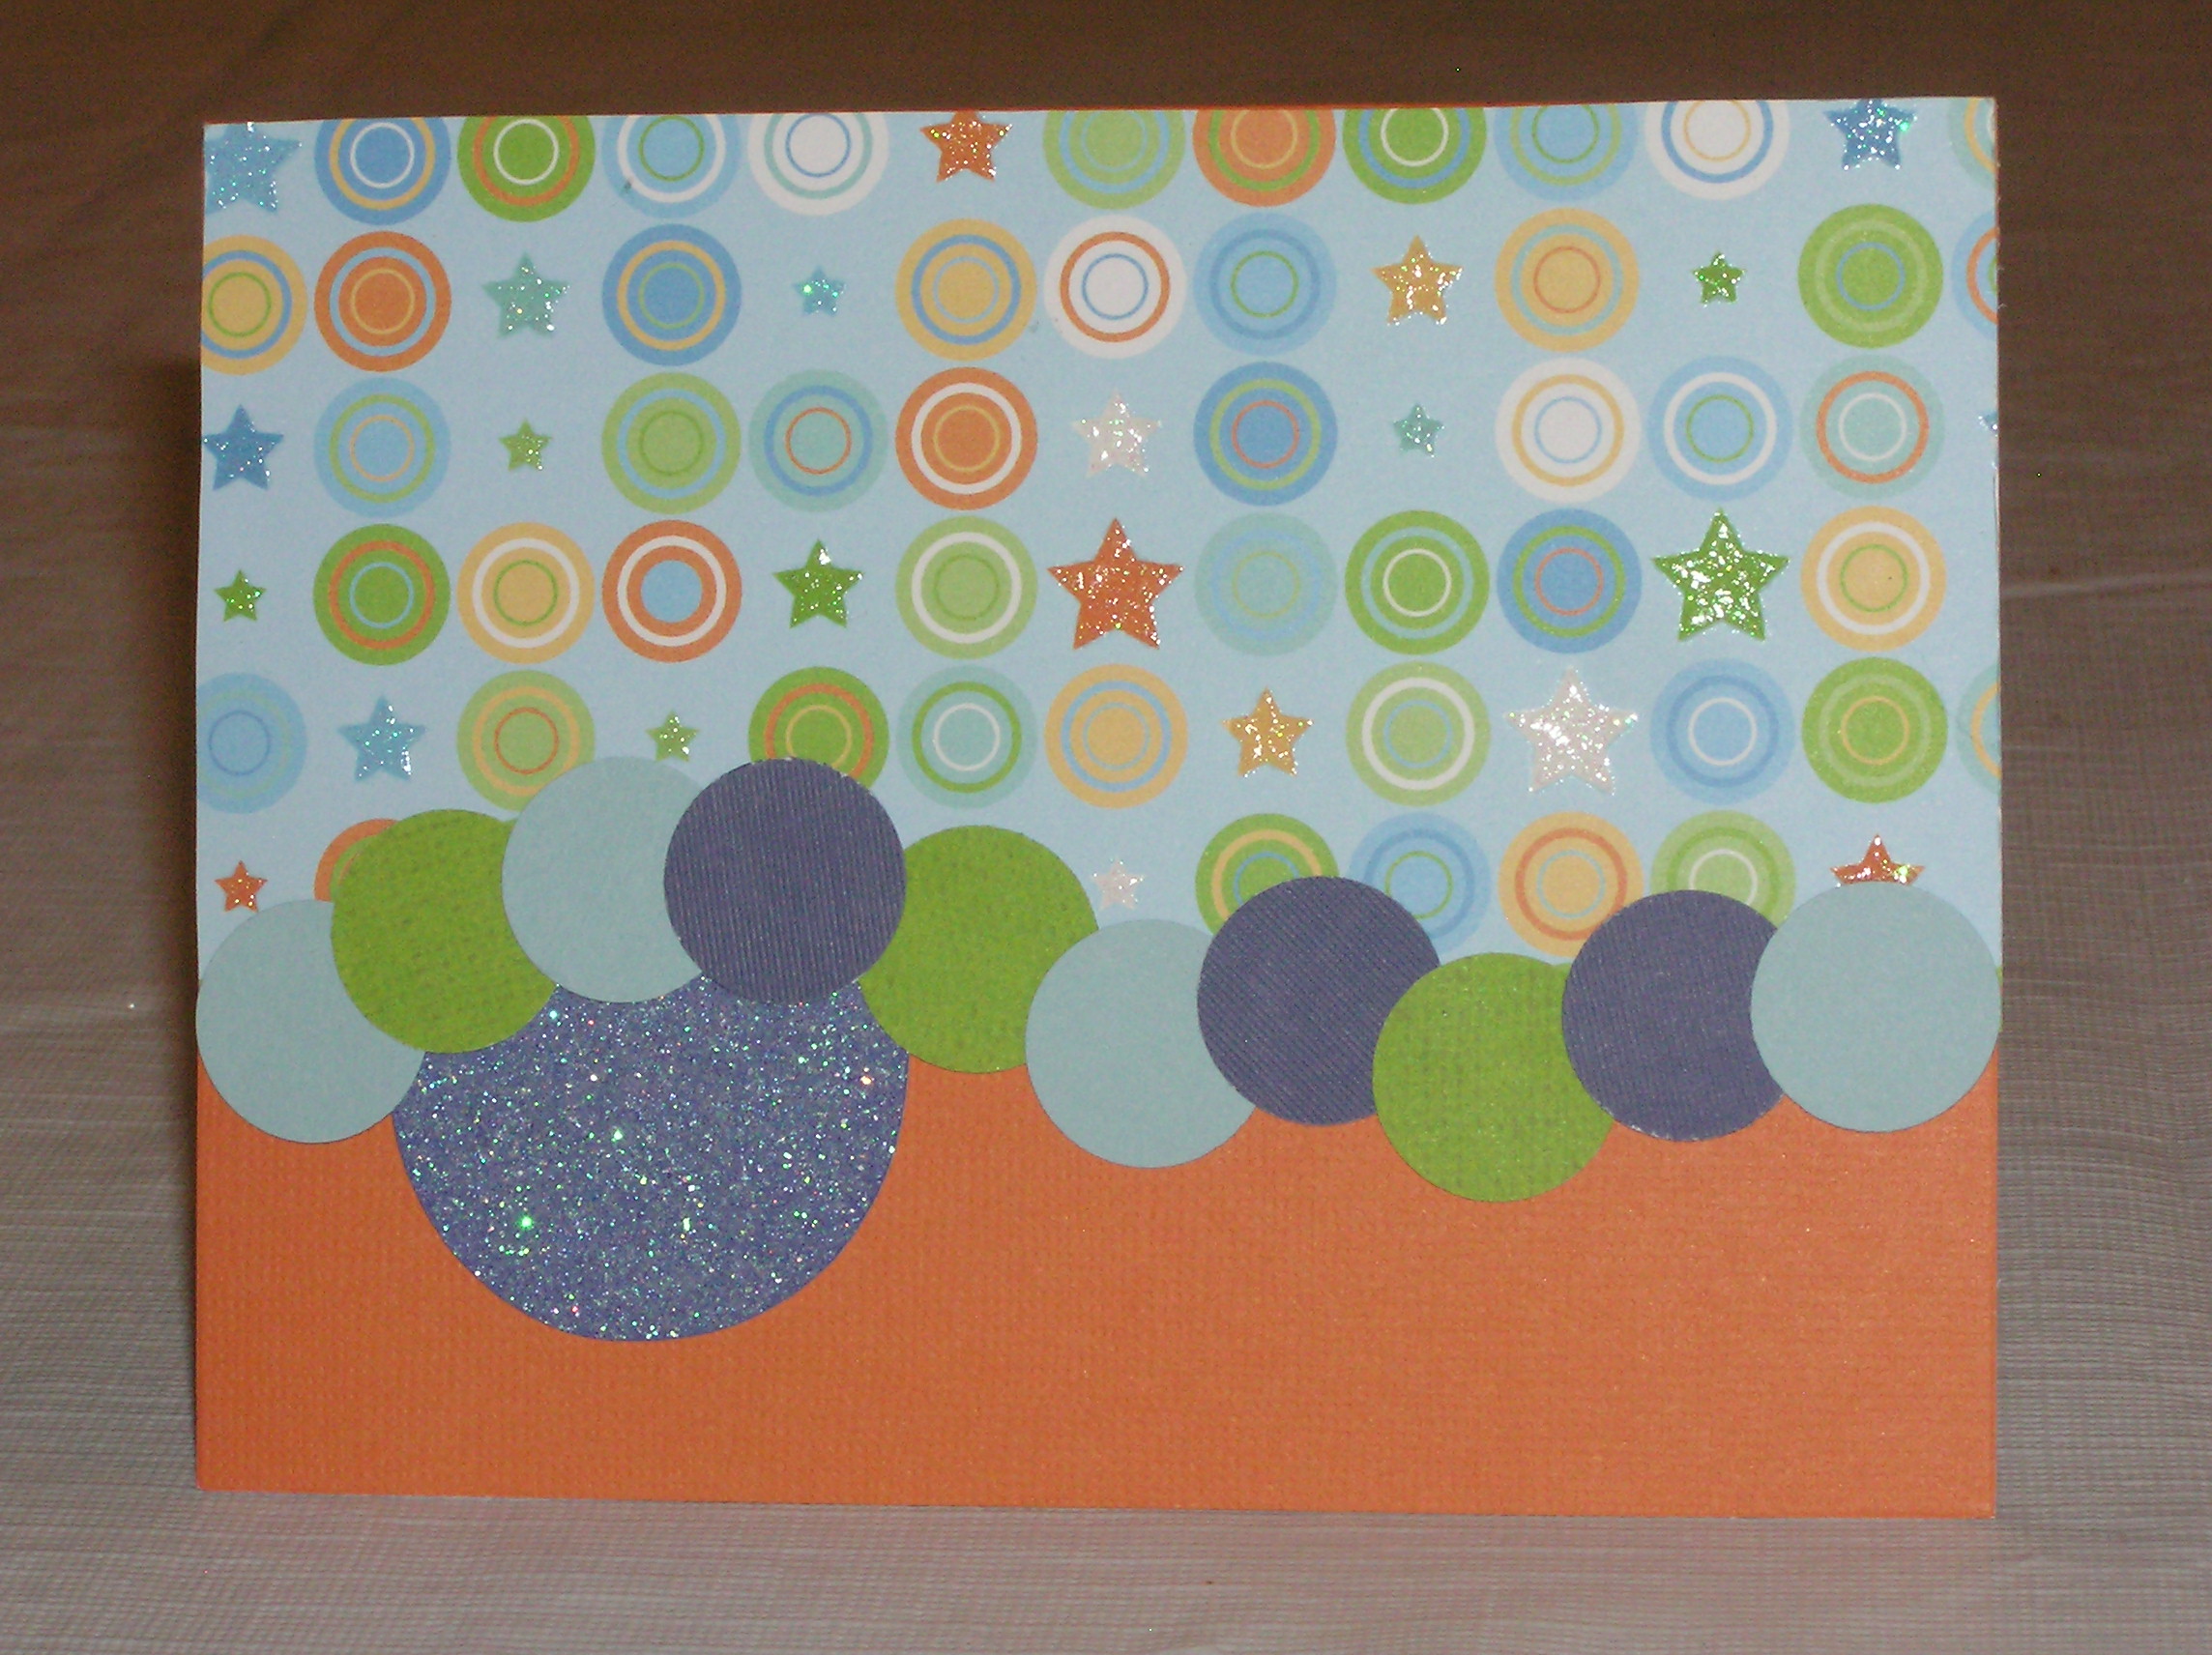
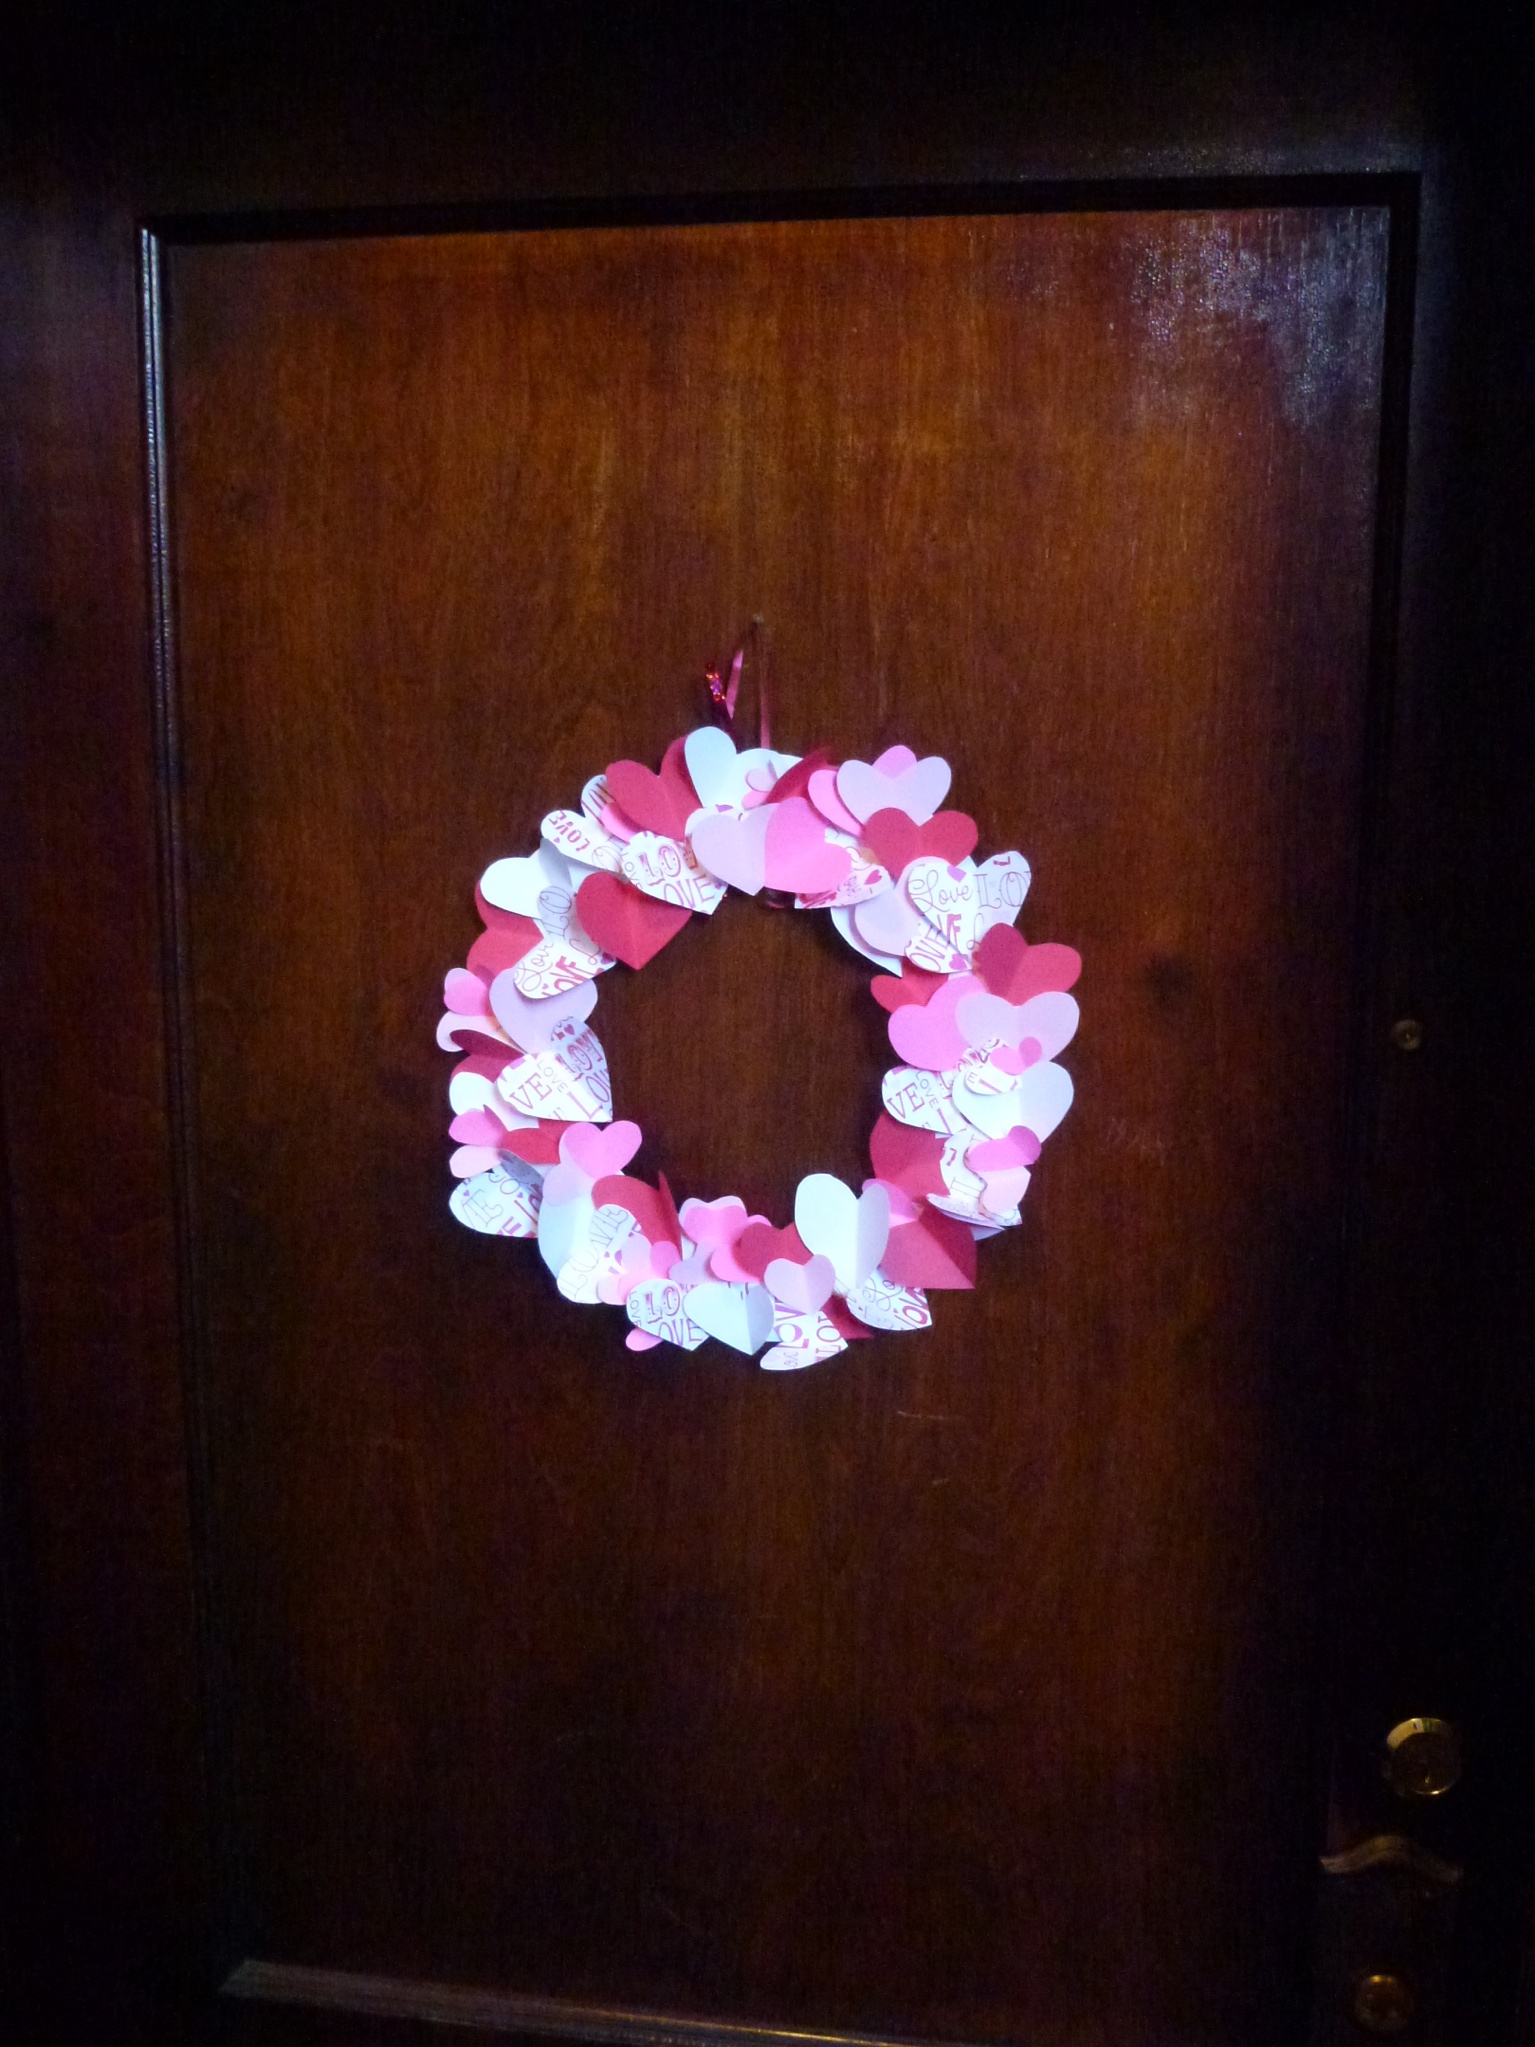
Ring Around the Artwork

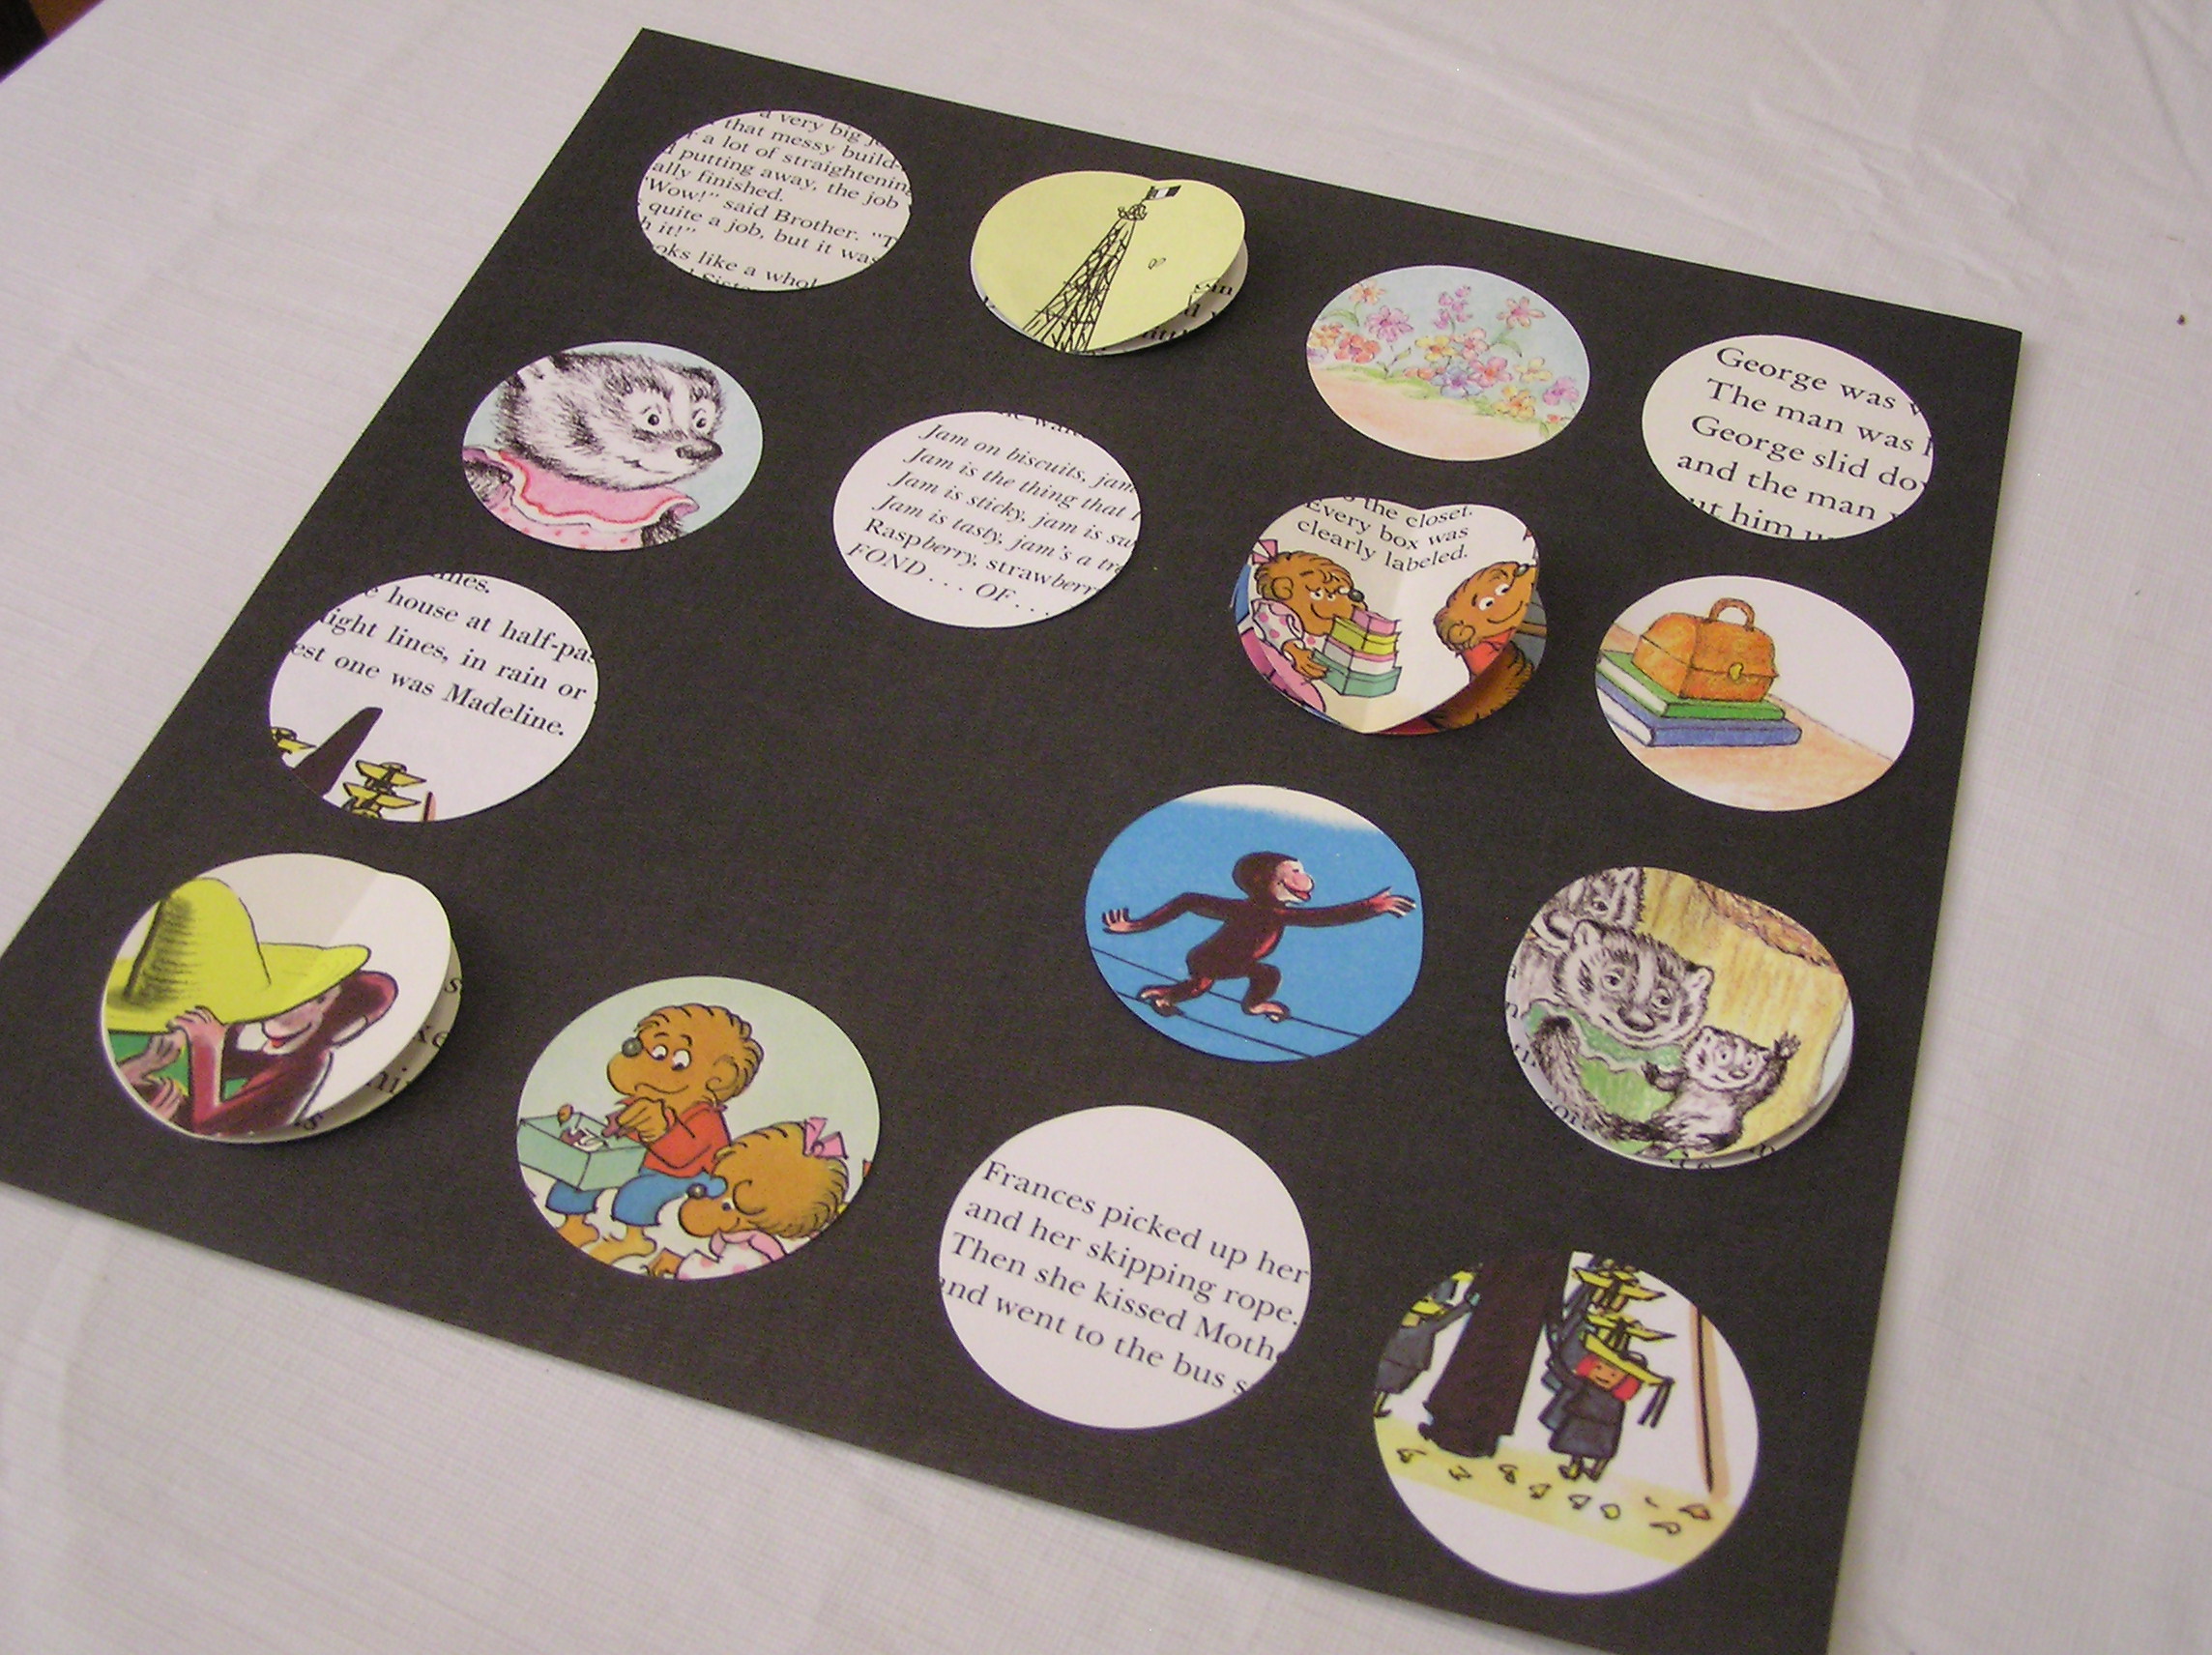
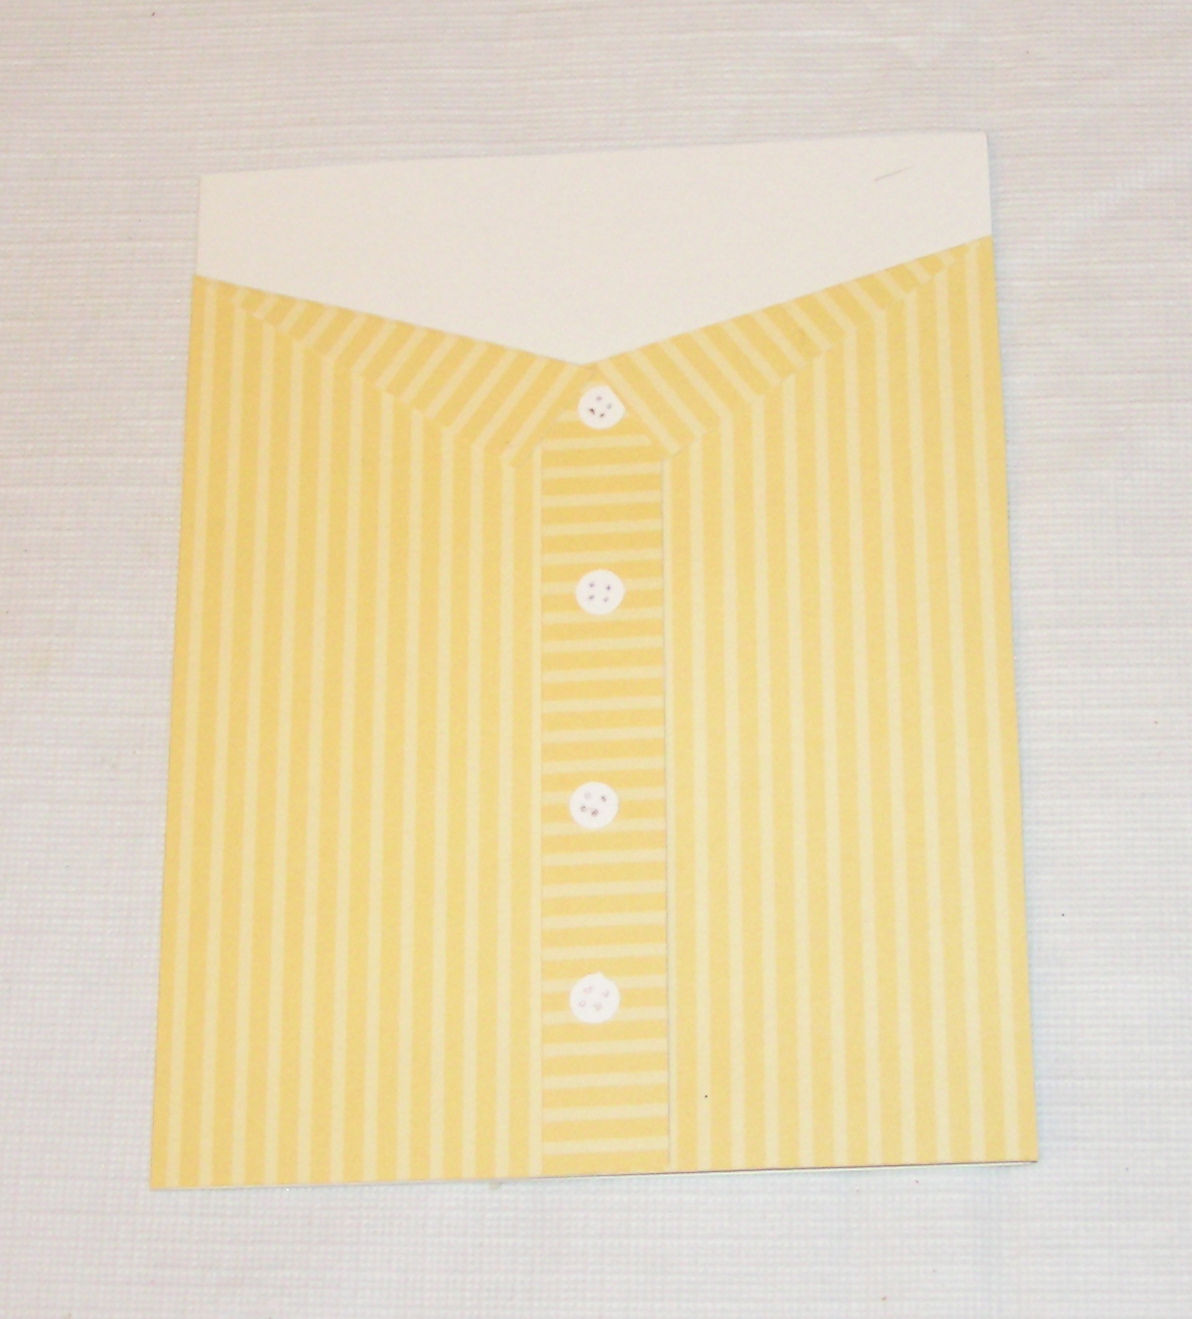
Childhood Favorites Art

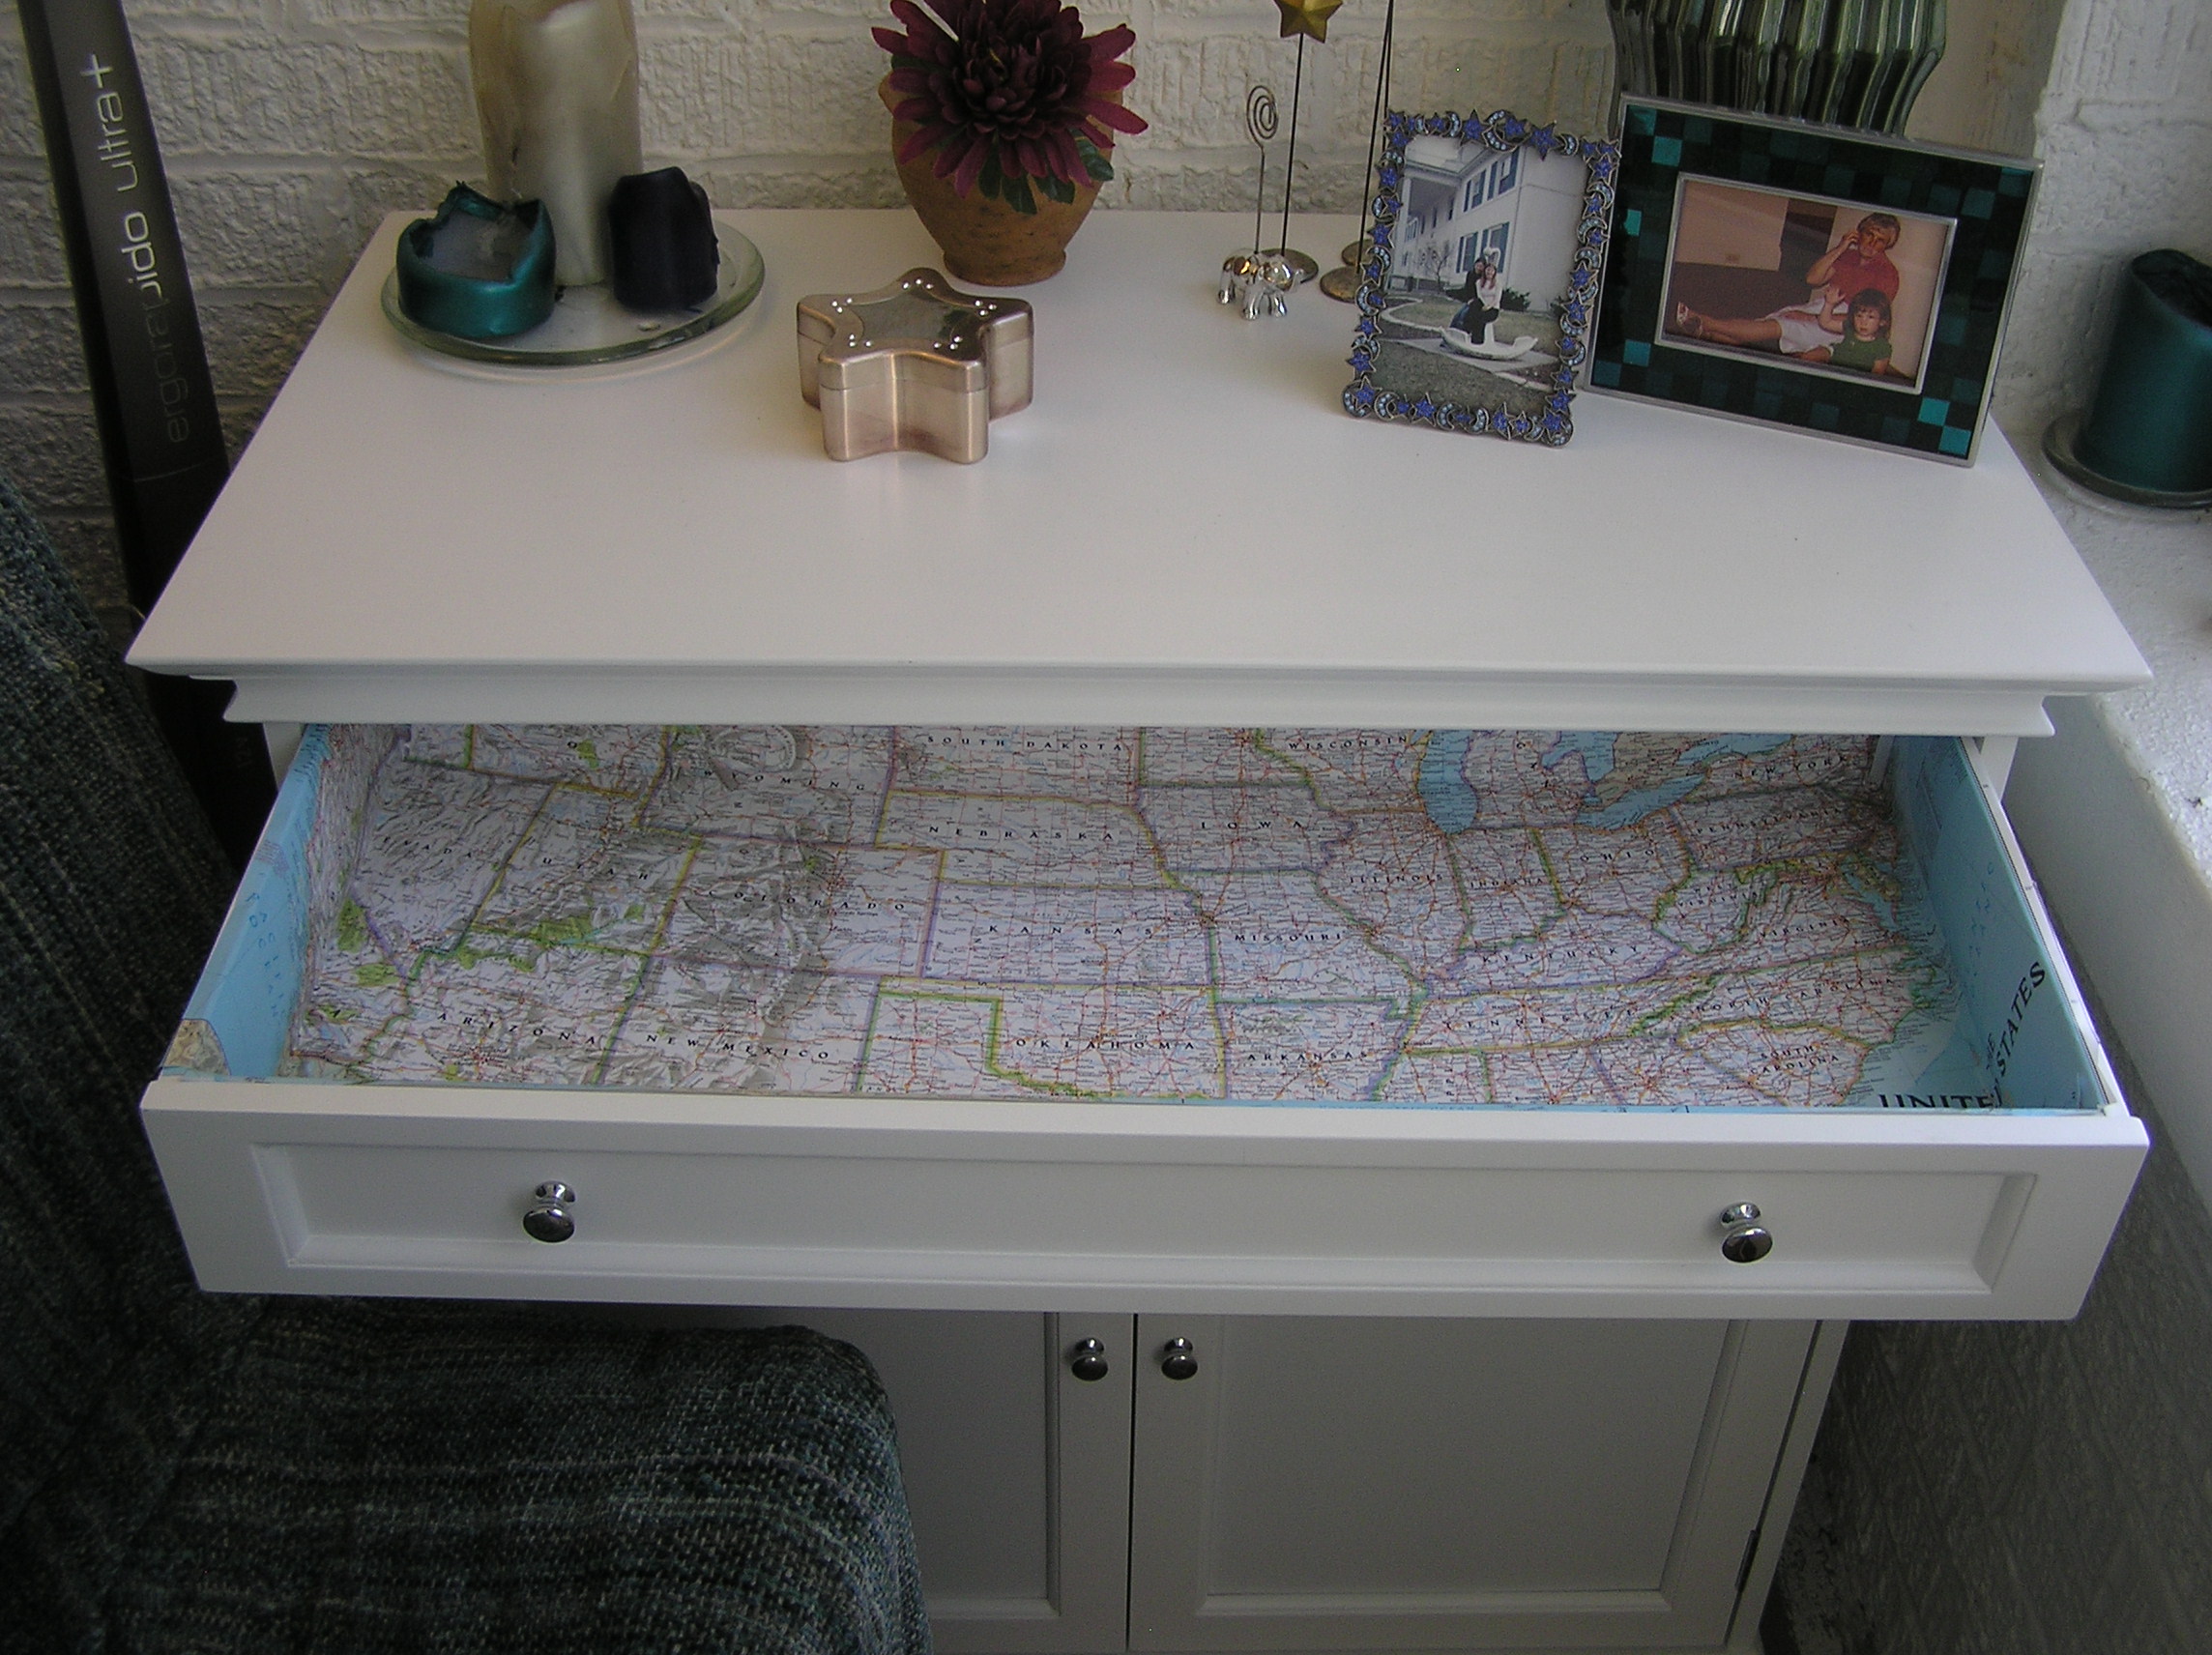
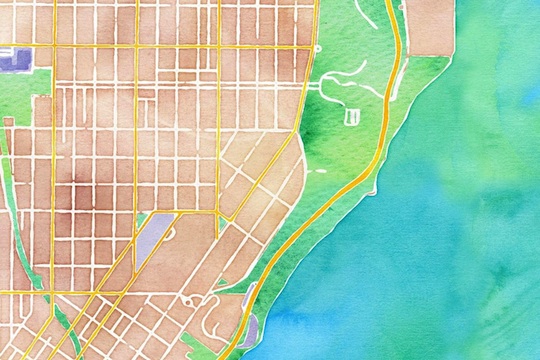
Map-Lined Drawer
What did you do? Do you share my desire for making tons of homemade art (there is tons more that weren’t Pinterest Challenges…I don’t know what’s wrong with me!)