This time change has really thrown me out of sorts. It’s never happened before but I am SO TIRED this week. You’d never guess that I just came back from a refreshing vacation.
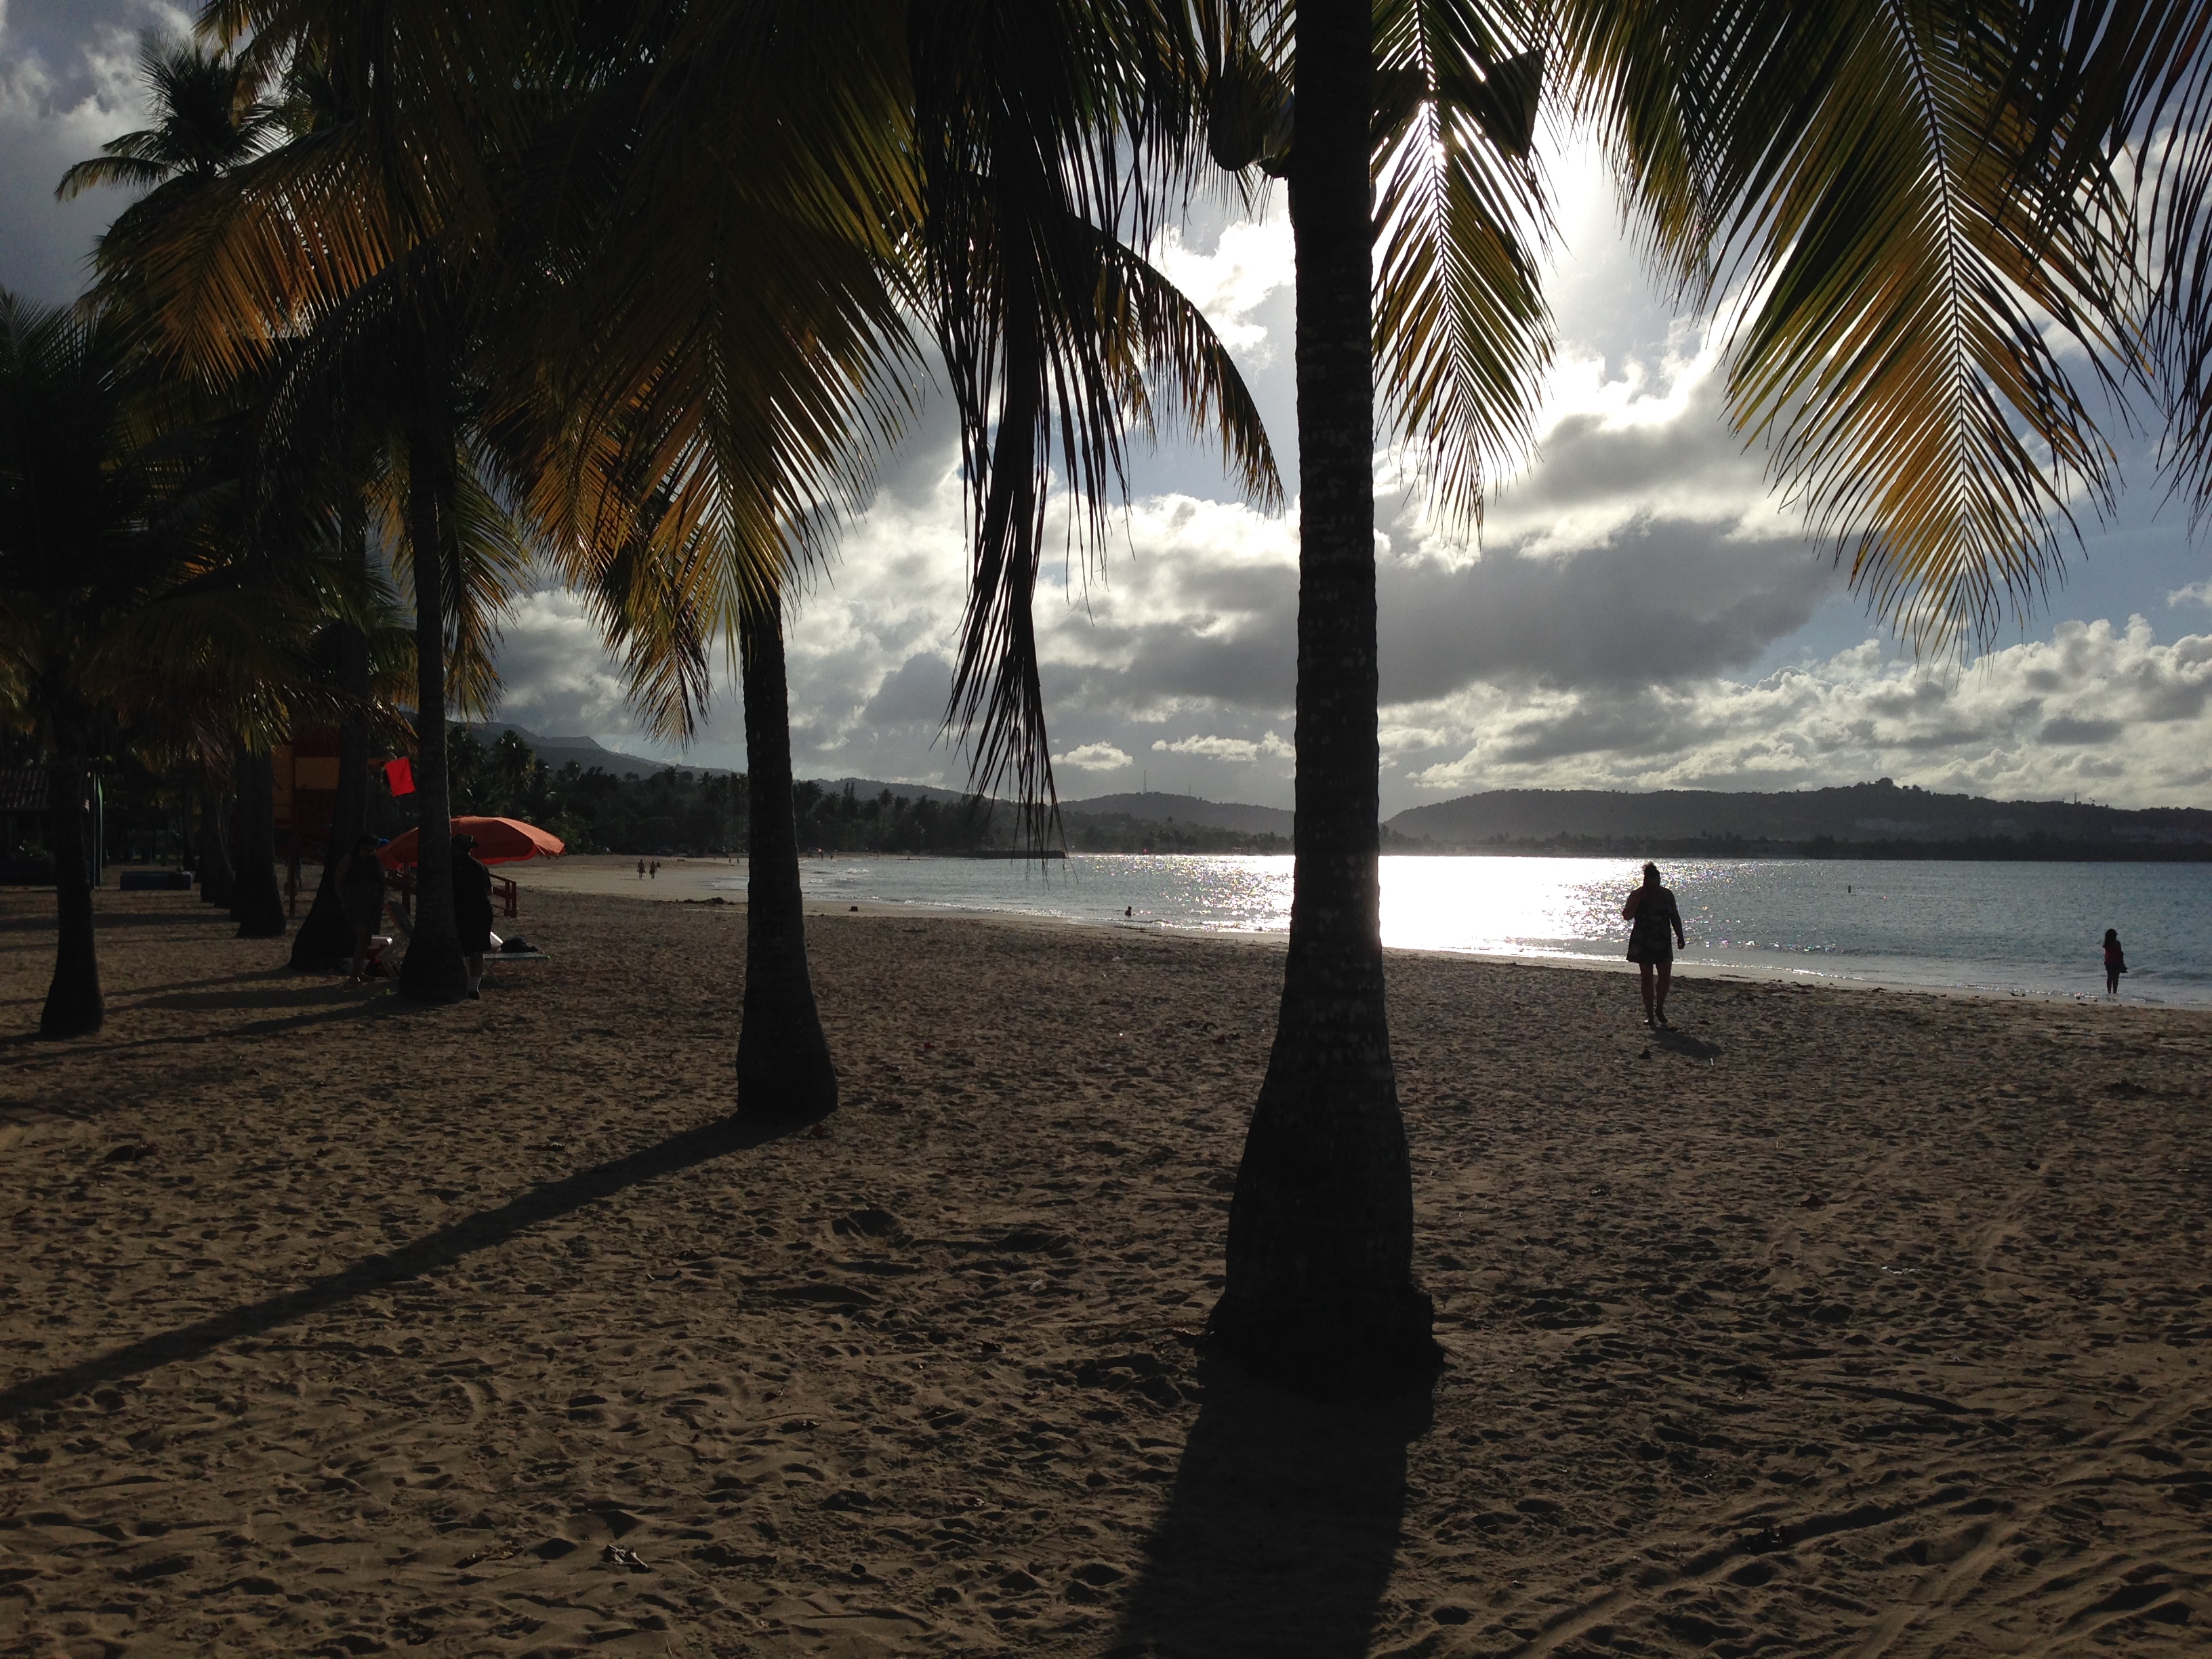
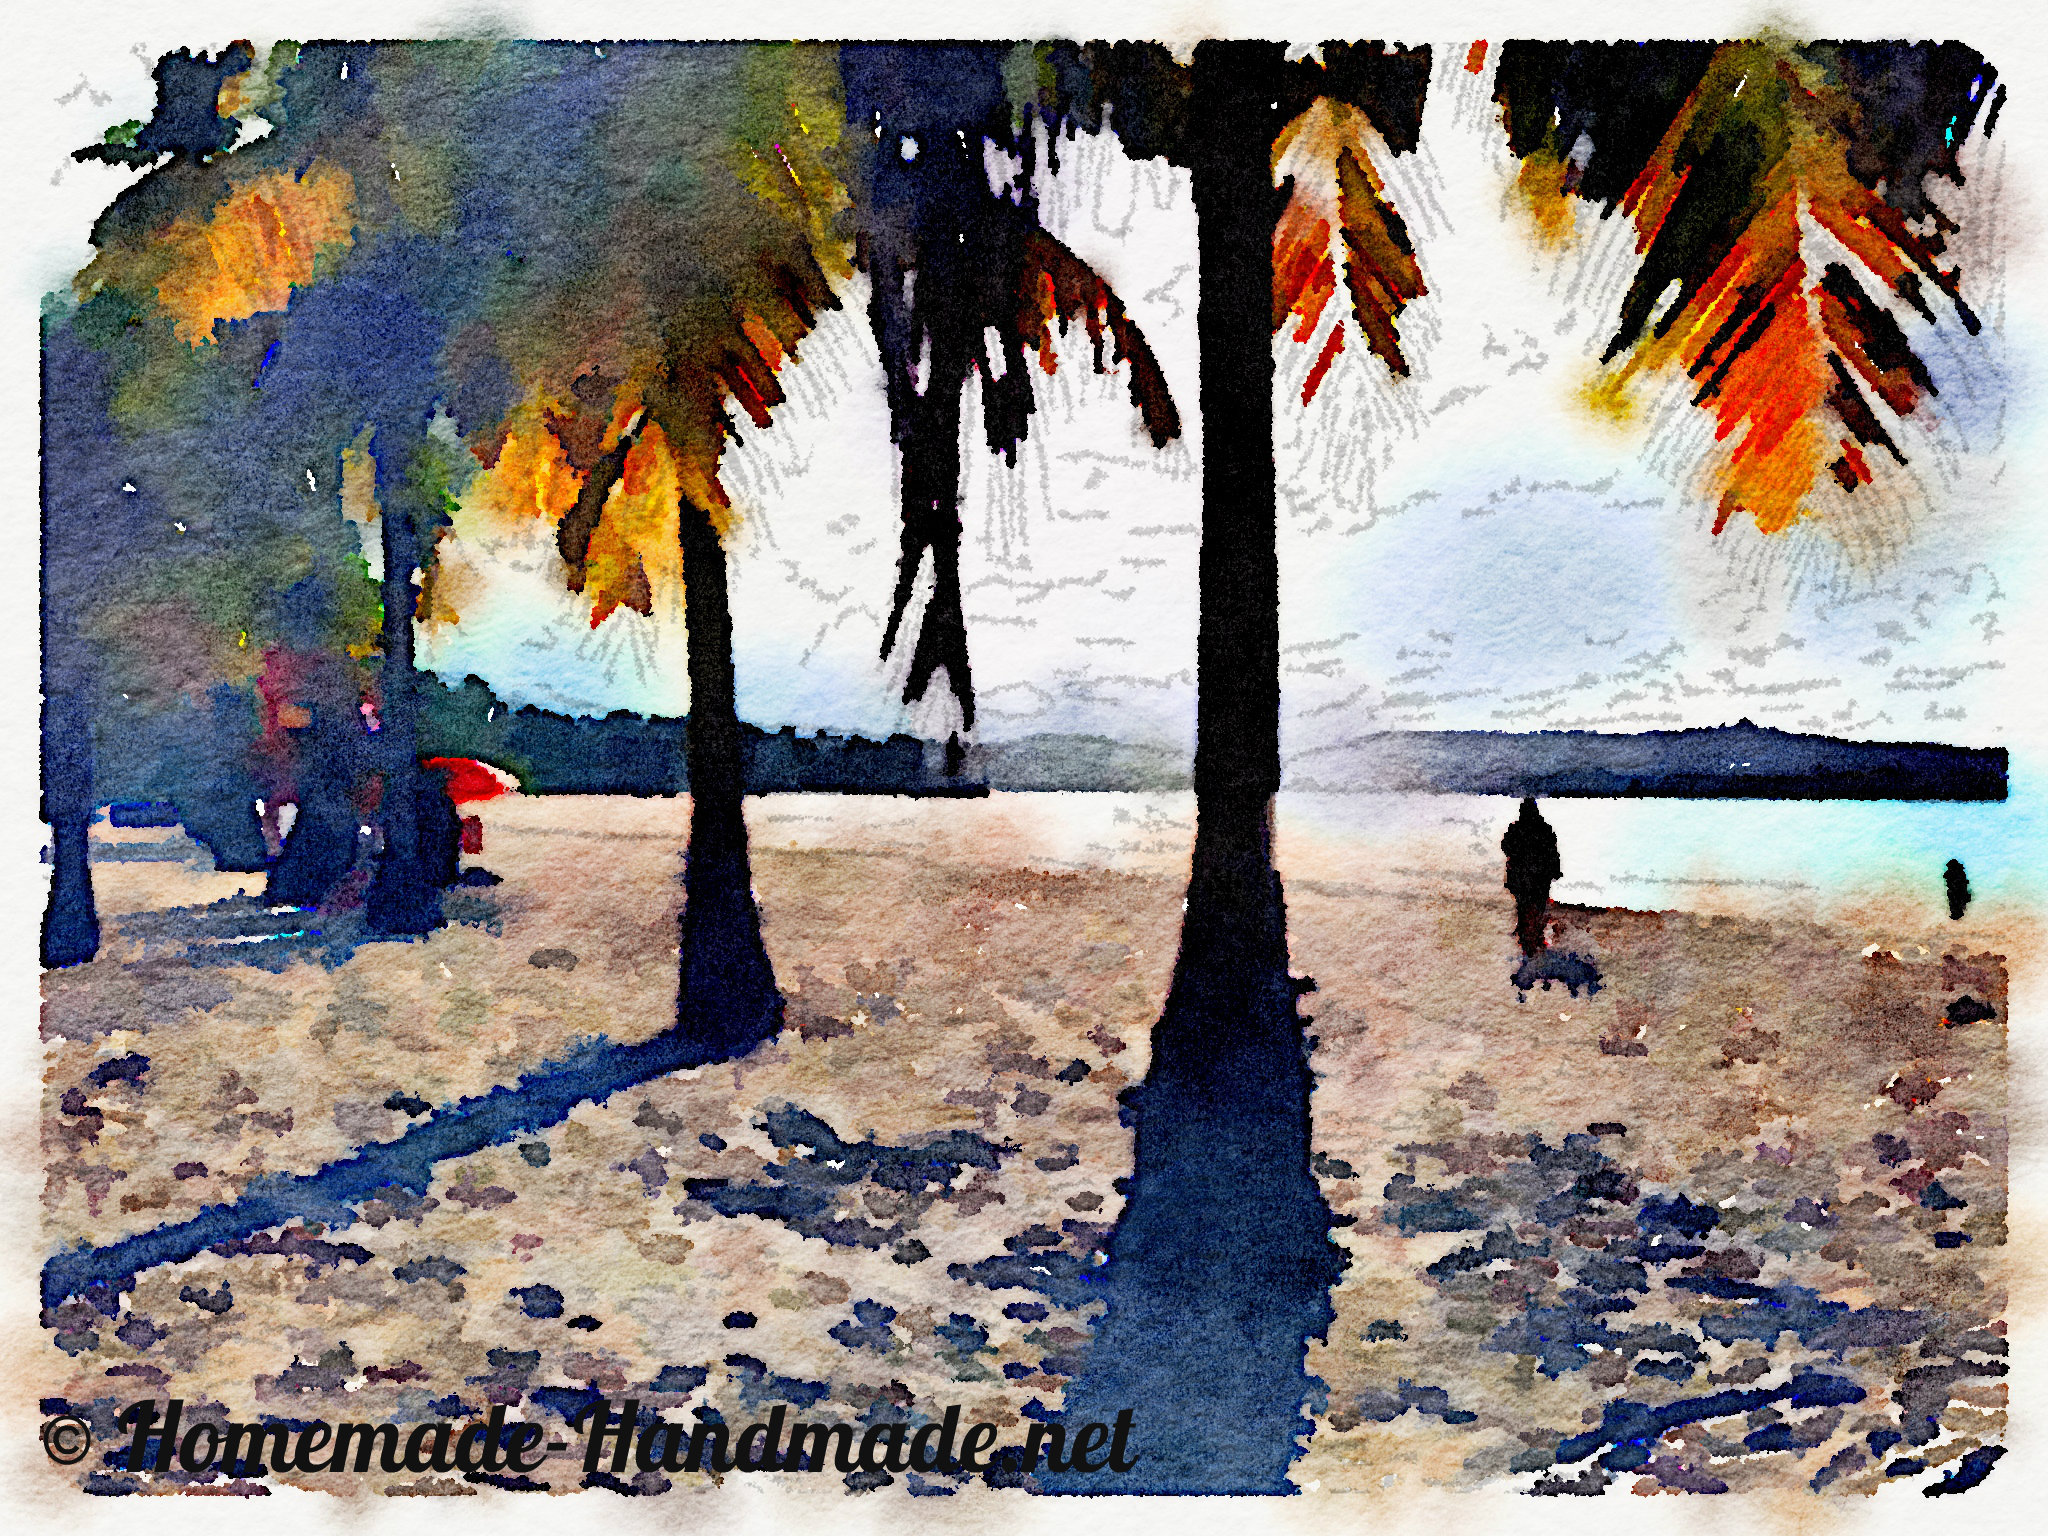
The beautiful beach at Luquillo
But I do have a very quick update for you, because I found a fun new app that is letting me turn my somewhat mediocre vacation pics into pretty little watercolor prints! It’s called Waterlogue and it’s very fun.
I have no connection with Waterlogue at all — they don’t know I exist. But they helped me find a cute way to do something fun with two of my Paris photos that I’m really excited about, so I wanted to share.
The app works a lot like Instagram — you can select photos from your existing files in addition to taking new ones. And you have a couple different painterly effects you can apply. One thing I really like is that you can save the pictures without sharing — sometimes I want to add an Instagram filter to a pic without actually sending it out into the world, and I haven’t found a way to do that yet. With Waterlogue, you can! And you can save your pictures to various sizes/image qualities, which is useful if you actually want to print them.
I have two photos that I took in Paris of storefronts, and I was really hoping they would be high enough quality to print, frame and hang. While the photos are nice and sharp they either felt a little emotionally flat or had some details that distracted from the overall feeling. Changing them to “watercolors” really helped.
Here’s the first one, a charming little cheese shop around the corner from my hotel.
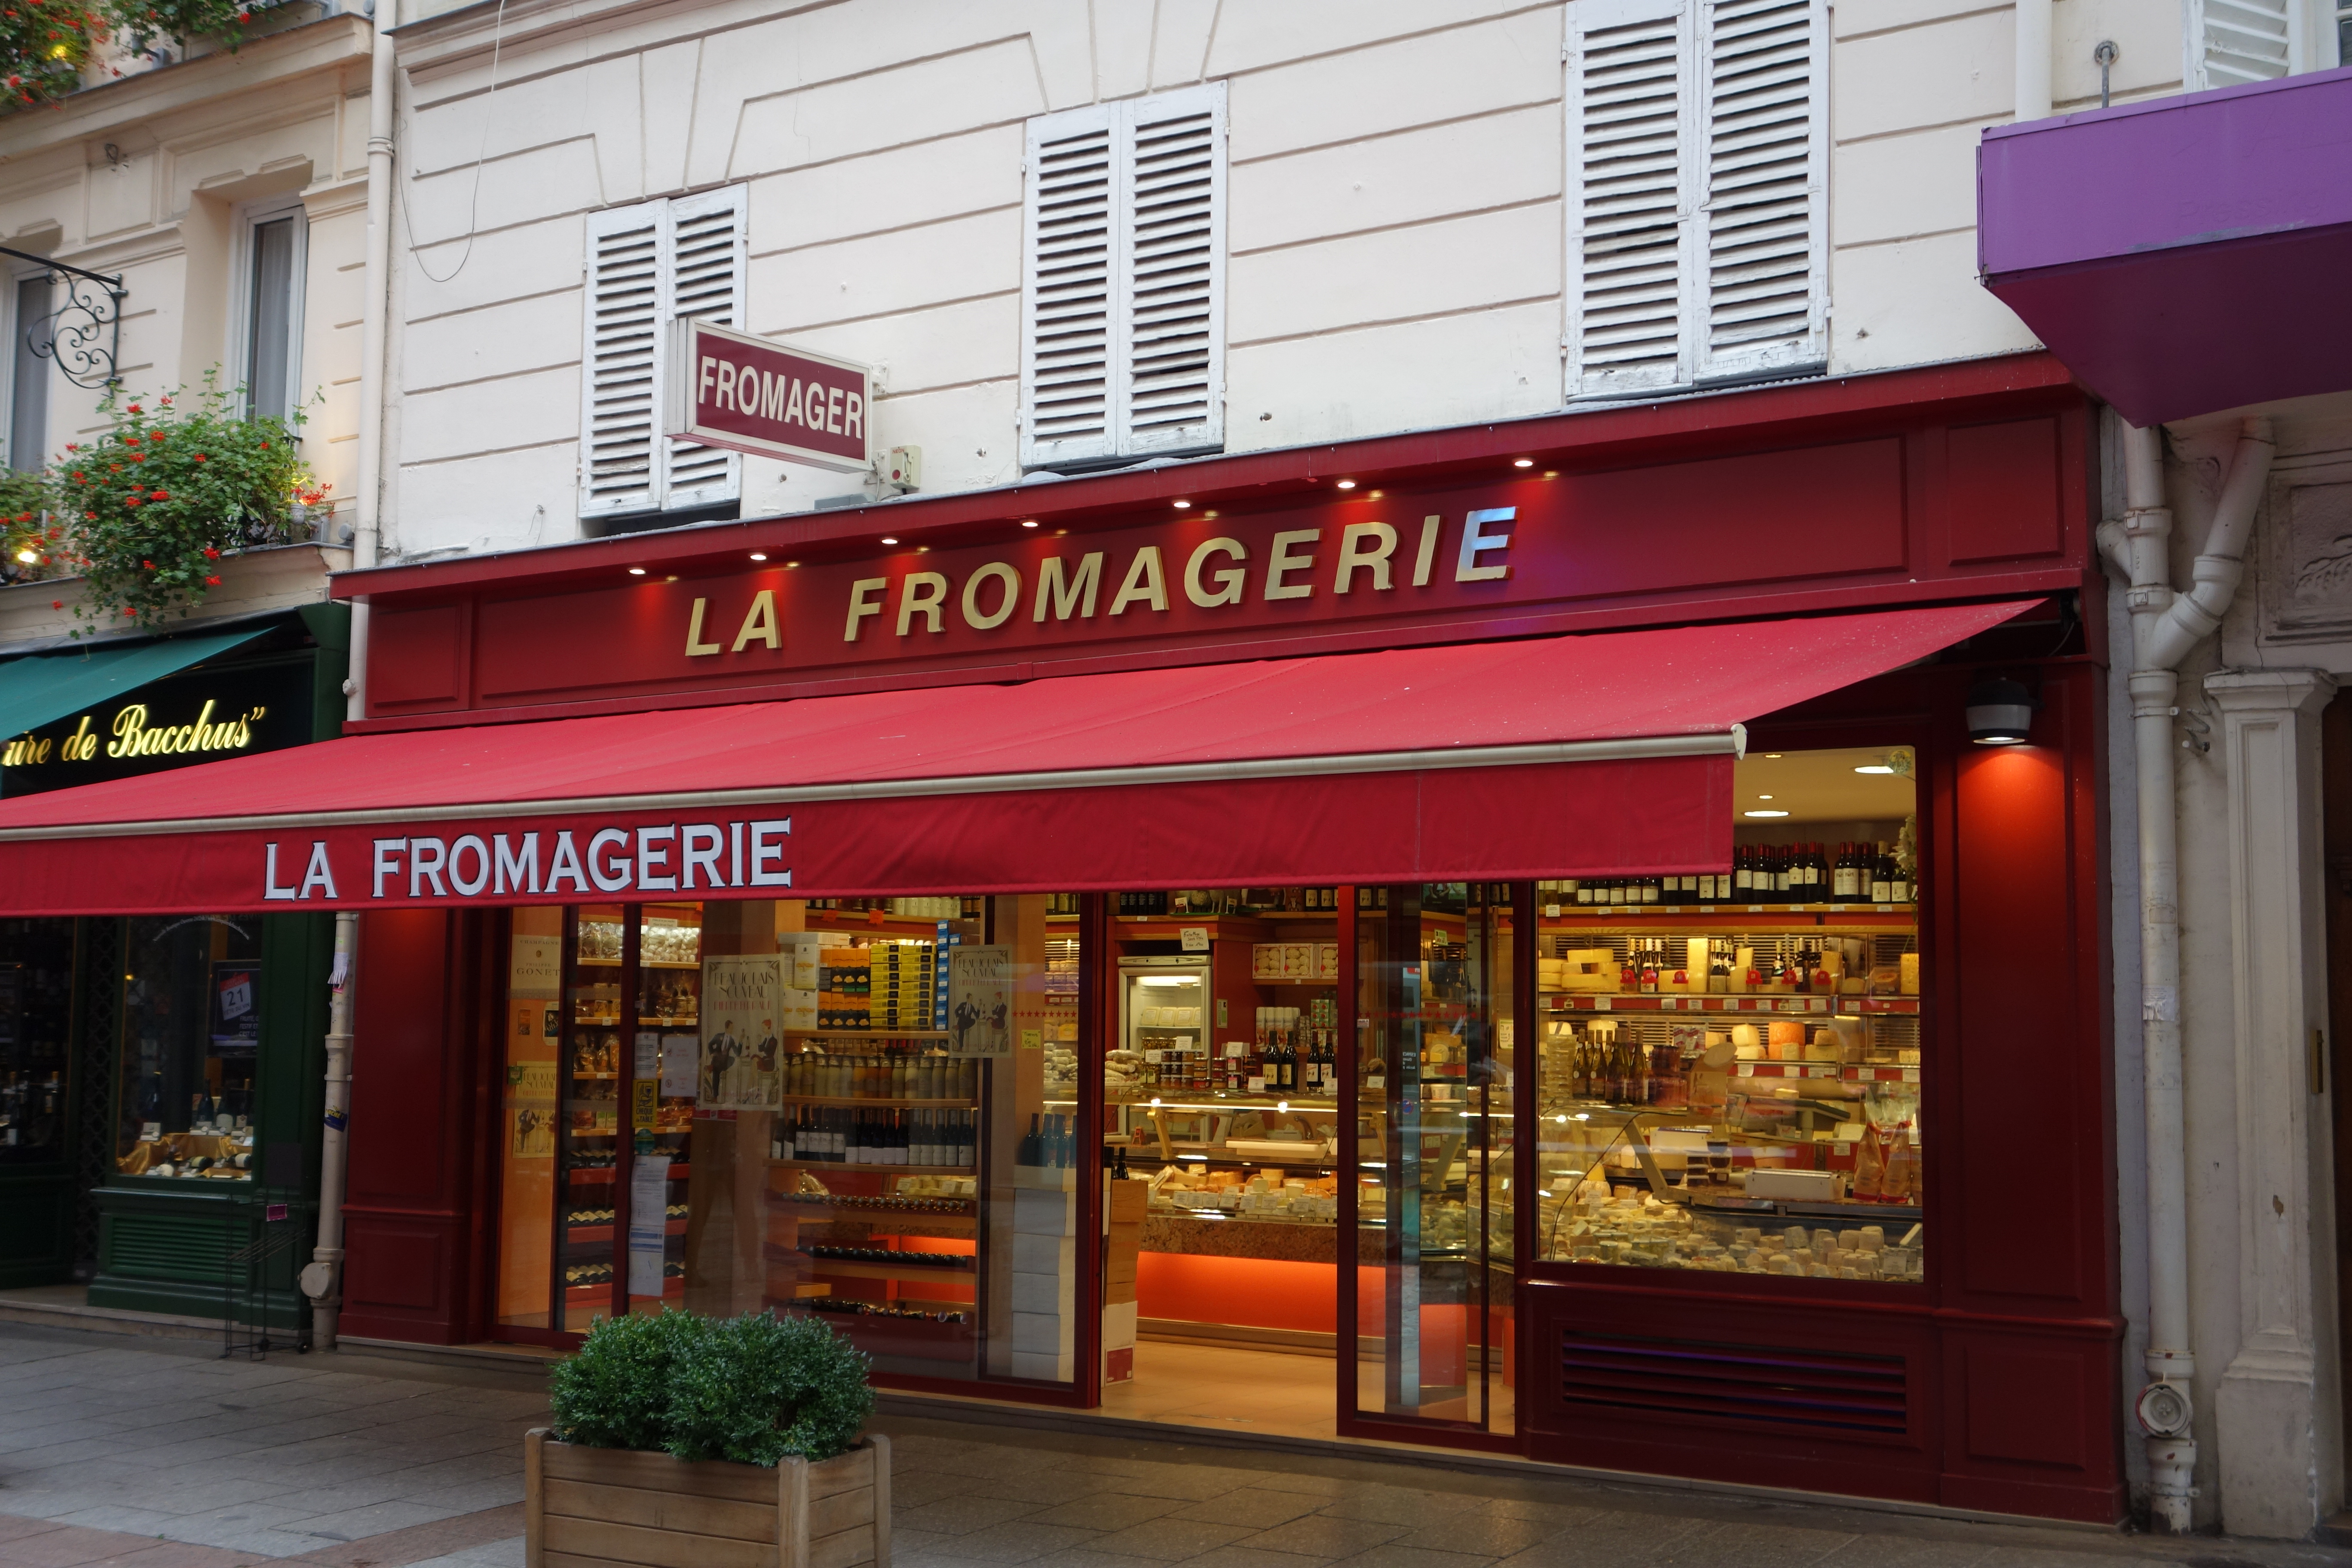
It’s okay. Not a great photo — just a snapshot of a storefront. But in watercolor:

The colors pop. Different lines have a little more weight, which I think might improve the composition a little. There’s just a little more romance.
Here’s another one, the flower shop across the street:

Again, it’s okay. It doesn’t really capture how charming the shop was in person. But after a little alteration:

A little more charm!
I had a lot of fun playing around with vacation photos in this app, and I was excited that it helped transform a few shots that I felt didn’t capture the feeling of the scene into something that was much closer. Something I’d actually consider throwing in a frame and putting up on the wall. (And if you’ve been reading, you know how picky I am about what goes on the wall!)