Starting again, starting simple

It’s been almost a year since I blogged. I find it hard to believe, but in many ways 2015 was a year that got away from me. Way too much time working, not enough time creating.

I want to make sure that in 2016, I take the time to be creative — and finish all those half done projects that have piled up over the years. After years of working with beads professionally, I have a huge stash, a nice stockpile of gemstones, seed beads, pearls and fibers.

I’m starting out today with something really simple; I found a beautiful strand of stick pearls that I’ve never used, some 3mm light gray crystals, and a leftover clasp.

loose stick pearls

One thing that I love about stick pearls is that that make such a quick and easy cuff with big visual impact. You don’t even need to add other beads or spacers and they look good.

I simply strung irregular groups of stick pearls with crystals on .014 lb beading wire, and used crimps to attach a clasp to each end.

bracelet.jpg

Here’s to hoping 2016 has lots of beautiful small victories.


Moving, gardening, beading and more

The last month has been really busy! I did a little editing work for a certain beading magazine I used to work for (kumihimo! soutache! lots of fun techniques I had to master and test!).

My garden had reached that insane time of year when its covered with greenery and requires constant harvesting. I love it, but it’s really incredibly time consuming.

veggies

And, I’m moving! It was kind of a surprise. Just some changes and uncertainty around my building…and I decided I didn’t really want to be a property manager without any type of compensation. And my awesome neighbors decided to move. So I was done. I’m very excited about the new place, but I’m going to be busy packing, moving and unpacking, so the blog will be a little sporadic for the next few weeks.

Enjoy the end of summer!

Simple multistrand: When you don’t want to mess with a good thing

flat multistrand

I picked up a small hank of these simple and earthy mixed seed beads at one of our local bead shops. I loved the texture that the mix of sizes and colors offered, the blend of earth tones with pops of turquoise. But the hank sat around for months because I could figure out what to do. Stitch them? Make a thin simple strung necklace?

Eventually I realized that you don’t mess around with what’s already working: I loved the way these beads looked on the hank because the small strung bundle captured the best features of the mix — the variety of colors and sizes and the texture of them hanging freely together. The hank was just about the right size for a bracelet, so that’s what it became.

Multistrands aren’t quite as simple as they look: You’d think you just need to restring the beads, but you do need to make a few decisions first. What do you want the final length of the bracelet to be? Do you want it loose and dangly or neat and orderly? Should all the strands be exactly the same length, or do you want a bit of variety so they’ll layer and overlap? Should the clasps be unobtrusive or a centerpiece? Do you want the ends to gather or lay somewhat flat?

I went with a slight variation in length in a loose bracelet that was primarily flat with an unobtrusive clasp —basically, I wanted it to look like I’d just wrapped the hank around my wrist. Casual and earthy.

Casual multistrand bracelet

Materials:

  • 1 small hank mixed seed beads
  • 1 multi strand slide clasp (4 strand)
  • size 10 beading needle
  • strong but thin and flexible beading thread, such as Dandyline, silamide or Fireline

Instructions:

  1. Measure your wrist and add 1 1/2 in. (3.1 cm)—this is the length of your bracelet. Double this length and add 6 in. (10 cm) — this is the length of the thread for all your strands. If you are using sharp beads, triple the length of the thread so you can add another pass for security.
  2. Attach a stop bead to your thread and string a few beads. Go through a loop on your clasp and back through the strung beads. Continue stringing until you are 1/4 in. (.5 cm) short of your desired length, and pick up the corresponding loop on the other end of the clasp. Go through a few beads and check the length by clasping the bracelet. Adjust as needed by adding or removing beads.
  3. Continue back through the beads and the opposite clasp loop. If you are working with a shorter thread, tie of the ends using a few half-hitch knots and trim. If you are using the triple-length thread, go all the way back through the beads and the other clasp loop again (so there are two threads on each clasp loop), then secure both ends with half hitch knots and trim.
  4. Repeat steps 2 through 4 working across your clasp one loop at a time, then follow the same steps to add additional rows.

multistrand bracelet sharp fade

Guess who bought a juicer?

…Back in November.

That would be me.

You know I’ve thought about it before (In the CSA days and the garden overflow days) and I finally decided to give it a whirl…oddly at a time when I actually didn’t have an overflow of produce to juice.  So far, I love it.

I’ve tried short juice fasts and I’ve tried adding juice to my regular diet — I personally prefer the short fast approach. If I’m feeling out of sorts or like I’ve over indulged, I’ll just juice for a day or two (usually I also eat little bits of real food too, particularly nuts and seeds), and I feel a lot better. I usually tend to drink a lot more juice than eat food on those days (Juice actually is a lot of calories). I’m usually not hungry, and when I am I start eating again. It’s been great and I’ve felt healthier than I have for a long time. (Hopefully this isn’t TMI, but I’ve found juicing at a certain time of the month really cuts bloating and cramps for me to almost nothing, which alone makes it completely worthwhile for me.)

That said, it’s definitely not for everyone — if you are looking for information on juicers and juicing there are a million out there with a lot more information it than I can give you. Some people definitely experience negative side effects (I haven’t) and it’s not exactly cheap to buy all that produce.

But, given how much I’ve been enjoying it, I thought I’d share a few of my favorite recipes and discuss a complete failure of a recipe. So here we go!

Follow the directions for your juices and make sure you clean all your produce first.

DSC00508


Great green juice:

  • 1 cucumber
  • 2 cups packed spinach
  • 1 lime
  • 3 pears

Ginger Carrot:

  • 6 large carrots
  • 1 inch ginger root
  • 3 apples

Beet Berry:

  • 3 medium beets (peeling decreased bitterness)
  • 1 pint berries (mixed or one variety)
  • 1 small orange
  • handful of carrots

Now, this next one doesn’t look super appetizing (mixes the reds and greens, resulting in an unfortunate brown).

Red leaf juice:

  • 1 bunch chard, beet greens, or other red veined leafy green
  • 1 cup berries
  • 2 apples

Soba Noodle Soup

This ridiculous winter has been perfect for soup.

Soup ingredients


I made a fantastic soba noodle soup the other night that was perfect for a warm up after shoveling. Above you can see all the ingredients spread out on the cutting board.

Ingredients

  • 1 bundle soba noodles
  • 1  heaping cup snow peas
  • 1 cup sliced mushrooms
  • 2 medium carrots, scrubbed and sliced
  • 1 small bok choy, sliced into ribbons
  • 1 inch of ginger, grated
  • 1 clove of garlic, minced
  • 4 scallions, sliced
  • 1 tablespoon miso
  • 2 tablespoons soy sauce
  • 1 tsp sesame seeds (white or black)
  • 1 tsp cumin
  • 1 tsp curry
  • 1 tablespoon oil
  • 2 cups vegetable broth
  • water

Directions

  1. Heat the oil in a large pot (I used a 5 qt) over medium heat.  Add the mushrooms and scallions and stir until they begin to soften, a bout 3 minutes. Add the carrots, ginger, garlic, cumin and curry and stir for about 3 minutes.
  2. Add the miso and soy sauce and stir to coat the vegetables in the pan. Add the snow peas and bok choy*, then add the vegetable broth. Bring the liquid to a soft boil.
  3. Add the soba noodles and, if needed, enough water to just cover all the ingredients. Return to a boil, then simmer for 10 minutes. Serve immediately.

* I wrote this recipe exactly as I cooked it. If you like your snow peas and bok choy a little crisper, add them after the noodles have returned to a boil.

Soup in bowl

Who do you want to be in 2015?

Speaking of New Year’s resolutions…every year I make them, and I’ve generally been really good about keeping them. This past year, I did not do well. Not sure what it was, but I feel like, in a lot of ways, 2013 was the year that got away. I have some accomplishments I’m pretty proud of from the past year, but in general, they weren’t the goals I was thinking of that first week in January.

I’m generally a pretty ambitious person, and I’m good and setting and meeting goals. For resolutions, I always like to have some practical goals mixed in with something more frivolous. For 2014, I’ve been trying to think of what I want to accomplish this year, and how I can actually go about achieving those goals. I’m thinking of four main areas where I want to be in a better place when 2015 roles around.

1. Save more. A lot more.

When I was in Paris, I met this really interesting woman, Louise, who’d been laid off from her job and decided to use her savings and severance package to spend a few months living in France while deciding on her next career move. It got me thinking about what I’d do if I lost my job. Now, I’ve been really responsible this last year and saved up a couple months worth of living expenses (first time I’ve ever been able to sock that much away in a year) and saved up for a nice vacation (again, first time I’d been able to do that in years), but that just means I’d be able to scrape by for a few months in the event of job loss. I really want to get myself into a position where, if I’m faced with a layoff or I find myself miserable at my job, I would actually feel like I have the opportunity to take a breath and think about what I want to do, instead of just jumping into something so I can pay the bills. That means some serious savings put away. But, I also want to buy a house. And I want to continue traveling. So 2014 is going to involve putting a lot more emphasis on being frugal, so I can save as much as possible. (Of course, this is in addition to my retirement savings!)

2. Invest more time in the hobbies I’ve neglected.

After finishing my first marathon in 2012, I barely ran at all in 2013. Part of it was due to injury and fatigue, and part of it was just letting other things get in the way—things so inconsequential I don’t remember what they were. I need to remember basic things, like “I feel better when I make time to run.”

Running isn’t the only thing I’ve neglected either. The blog is another, as you’ve probably noticed. I’ve barely been writing on my own at all this past year. I didn’t do much reading. I don’t think I made a single piece of jewelry. Haven’t touched my knitting needles. Lots of little things, but I feel like I neglect a big part of myself when I don’t make time to do the things that interest me. So in 2014, I’m going to actually pay attention to how much time I’m spending on stuff and commit to actively spending time on things. On Sundays, I’m going to ask myself: What am I going to make time for this week (on the agenda this week: Finish a book, work on a scarf, blog, run before work). I’m also going to watch out for some bad habits I’ve gotten into, like hitting the snooze button instead of getting up to run and binging on Netflix TV shows during the week.

3. Set out to just do a few things at a time, and do them well.

This one is pretty closely tied to Goal 2. At one point in time I had a list of 14 foods I was going to learn to make in 2014. Complicated foods that take time and practice. Now, I might still try to make all of those foods this next year, but instead of rushing through some list, I think I’d rather concentrate on a few things and really master them. Hence, the omelette challenge. Some of the other foods: Baguettes. Macarons (I took a class in Paris). Croissants. Creme Brûlée. Crepes. Yes, there’s a definite French theme. Maybe next year, I’ll vow to learn a few Polish foods or Indian foods. But this year, I just want to learn to get really, really good at making a few recipes that I really enjoy eating.

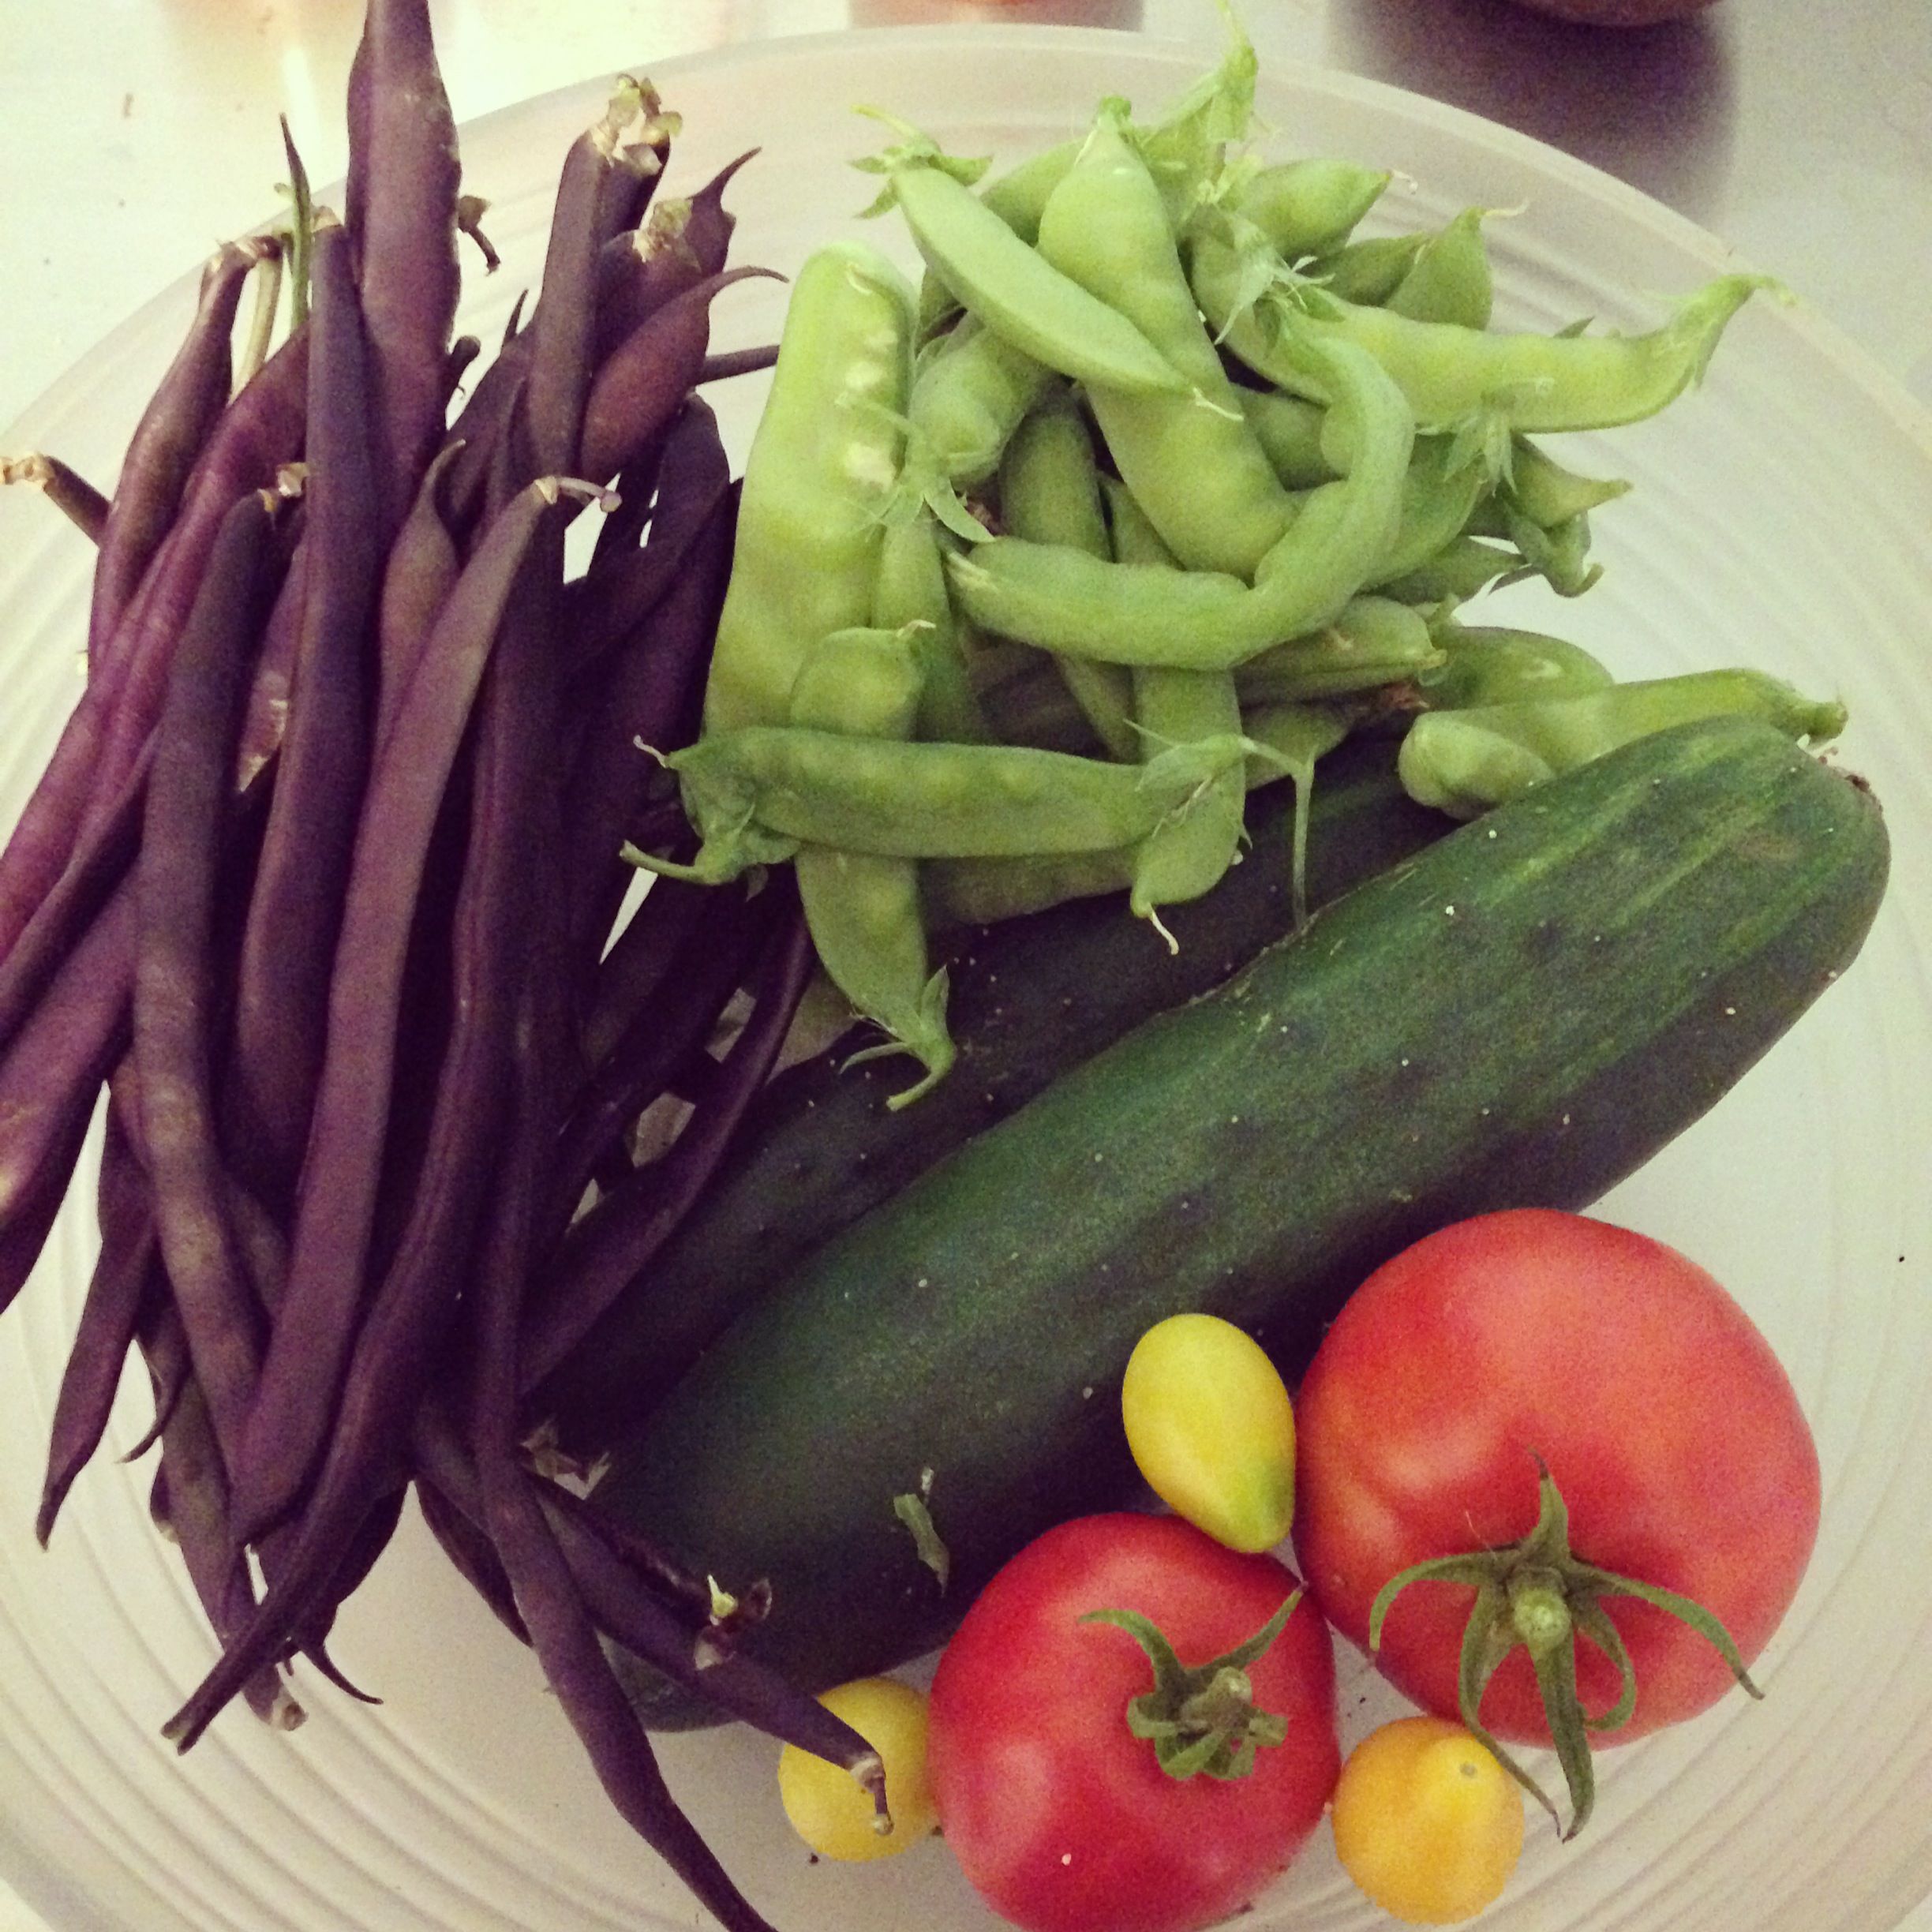
It’s the same thing with a few other projects. Last year, with the vegetable garden, I had a huge, huge range of vegetables (maybe not compared to Martha Stewart or an actual farmer, but for a first-time gardener, it was giant plot). And while I had some really successful crops, I had a few that were utter failures. So I’d like to learn from that, and concentrate on making this year’s garden better and more reliable, even if that means having less variety.

4. Give more time to other people.

I’m a textbook introvert. It’s not that I don’t like being around other people, but I tend to get very wrapped up in what’s going on in my own head, and I’m really good at spending vast amounts of time alone. I don’t think I need to change my personality (nor should I try), but this year, I’m going to make a more conscious effort to make sure the people in my life don’t feel neglected or like they are putting more effort into our relationship. I’m going to reach out to my friends more. I’m going to do more things with my family. And I’m going to try to branch out and put more effort into meeting new people. One of the ways I’m planning to do this is by volunteering (I’m excited to start – I already did some shadowing with a local literacy program). Another is simply by picking up the phone and asking people how they are, and making less formal plans to see them. Sometimes I think I making being with other people an event, something that needs planning, when the best and most satisfying relationships in my life are always the ones that require the least effort and planning.

So that’s it. Four changes I want to make in 2014. How about you?

Mary’s Getting Married!

…but I already told you that.

In a terribly surprising turn of events, I’m blogging about it. Visit me at MaryMarryMike.wordpress.com if you want to check it out. I will probably cross post a few things over here, but I’m guessing you don’t want to hear about 7000 different places in Chicago to get married (and how we apparently don’t love ANY of them). Oh, and if you do, you can just come visit me over there.

I’ve got lots to blog about at home too, we’ve just been busy getting all our moved-in-together stuff sorted out.

Any big changes for you? Any advice on how to choose a venue for our reception? This is seriously impossible stuff!

Satisfying a sweet tooth with whole foods

Anyone who has read much of this blog knows that I have quite a baking addiction. And a sweet tooth.

So the first few weeks of this challenge were rough. I missed baking with nice soft fluffy flours and sweet, sweet sugar and lovely chocolate. But, I stuck to it, and I experimented with a few recipes (with some extreme failures) and then I tried a few new ones.

I made these cookies for a family tailgate event a week ago, and they were a hit. Sweet, chewy and nutty, with a nice maple undertone. You can’t even tell that they’re healthy (at least, as healthy as cookies can be) – whole wheat flour, oats, natural sweetener, etc.

I adapted this recipe from Relish (whole grain flour, less sugar, eliminated extract, subbed honey for corn syrup).

Ingredients

3 cups old-fashioned oats
1 cup shredded unsweetened coconut
2 2/3 cups whole wheat flour
1 teaspoon salt
1 teaspoon cinnamon
1 1/4 cups palm or natural sugar
1 cup unsalted butter (2 sticks)
1/2 cup maple syrup
2 tablespoons honey
2 teaspoons baking soda
1/4 cup boiling water
2 cups chopped toasted pecans

Directions

  1. Preheat oven to 300 degrees and line two cookie sheets with parchment paper.
  2. Whisk the first six ingredients together in a large bowl.
  3. Heat the butter, maple syrup and honey on low until it melts.
  4. In a heat-proof bowl (or pyrex measuring cup) combine the boiling water and baking soda, stirring until the baking soda is dissolved. Mix into the melted butter mixture.
  5. Stir the wet ingredients into the dry and then stir the pecans into the mixture.
  6. Use a 1/4 cup measuring cup to scoop the dough, form into balls, and place on the cookie sheet — they’ll spread a little while baking, so leave at least an inch in between.
  7. Bake for 18 to 20 minutes, until golden brown.


Read more: http://relish.com/recipes/vermont-maple-pecan-cookies/#ixzz2RuScXeqc

Earth Month: Go Paperless

earthmonth

This past week was a big one for the Green Team I sponsor at school–our neighborhood finally got recycling (North side of Chicago gets services way before the South side does). At conferences last week, the Green Team had boxes of stuff that people could try sorting correctly for recycling and the parents really liked it. Turnout was low due to the crazy rainstorms but people seemed to enjoy it.

Today’s tip is super easy. Even better than recycling paper is reusing paper (I always write random lists on old envelopes or old assignments). But better still–not creating the paper at all. Are you still receiving paper bills? I’ve switched many of mine to paperless, but I had some holdouts.

Go online and sign up for ebills with email notification. Switching to electronic bills, statements and payments has huge impacts–payitgreen.org says that the average household could reduce greenhouse gas emissions by 171 pounds annually. If that means nothing to you, its like…

  • Not driving 169 miles
  • Not consuming 8.8 gallons of gasoline
  • Planting two trees and allowing them to grow for 10 years
  • Preserving 24 square feet of forest land

And it’s usually pretty easy* to do. Try to do three that are still showing up in paper form this week!

How many paper bills do you still receive?

*not always. ComEd, there is NO WAY this should be so difficult, take so many steps or require to set up a new type of account (I already have an electronic account).

Want to check out the other Earth Month tips?

New Apartment: The before tour

I’m all moved in to my new place. It was a lot of work: new paint, moving of heavy objects, things into boxes and cupboards and bags. I’m still getting things sorted out, but I thought I’d give a preview of what I’m working with.

IMG_0075

Her’s the first bedroom: tannish walls, old taupe-y paint, no closet doors. Brand new carpeting though, so bonus!

IMG_0078

The bathroom needed a really good scrub down, but there are decent bones. In the shower, hidden behind the door in this picture, is a massive double-decker storage closet. The medicine cabinet is unfortunately made of particle board and badly in need of painting or replacing.

IMG_0080

The office. Again, tan and taupe, with no closet doors. And a big ol’ radiator in an inconvenient spot.

IMG_0081

The kitchen had bright red paint (very patchy in person), old green countertops, and really nice new appliances and cupboards.IMG_0082

Plus a ton of storage! Those are pull-out shelves in the tall pantry.IMG_0094

Plus there was a bonus banquet made from some extra upper cupboards. You can see in this photo that the one on the left is damaged – apparently cupboards aren’t made to withstand the weight of someone sitting on them.

IMG_0085

The living room was actually a decent shade of green and has giant windows and french doors. Unfortunately, as you can see on the left in this photo, there were some chips in the wall, so the room had to be repainted.IMG_0086

Another shot of the living room, showing off the chips and the row of pretty stained glass windows.IMG_0087

The back hallway, with another huge closet (this time with doors).IMG_0095

Here you can see my front door in the little foyer and one wall of the dining room. Both were a bright, vivid teal – but there were lots of scuffs from bicycles.IMG_0096

Another view of the dining room, showing the built-in buffet and large bay window.IMG_0098And another view of the living room, looking into the dining room with a tiny sliver of the kitchen. Very bright!

As you can see, this place has great bones, but really needed some love in the form of cleaning and painting. I can’t wait to show you some progress.