Boyfriend’s not a crafty guy. He’s not much of a reader either, and definitely not a Young House Love junkie like some people here.
But after teasing me about Lesley coming down and the two of us waiting outside in the rain to get our very own autographed copy of their book, he had to see what the fuss was all about.
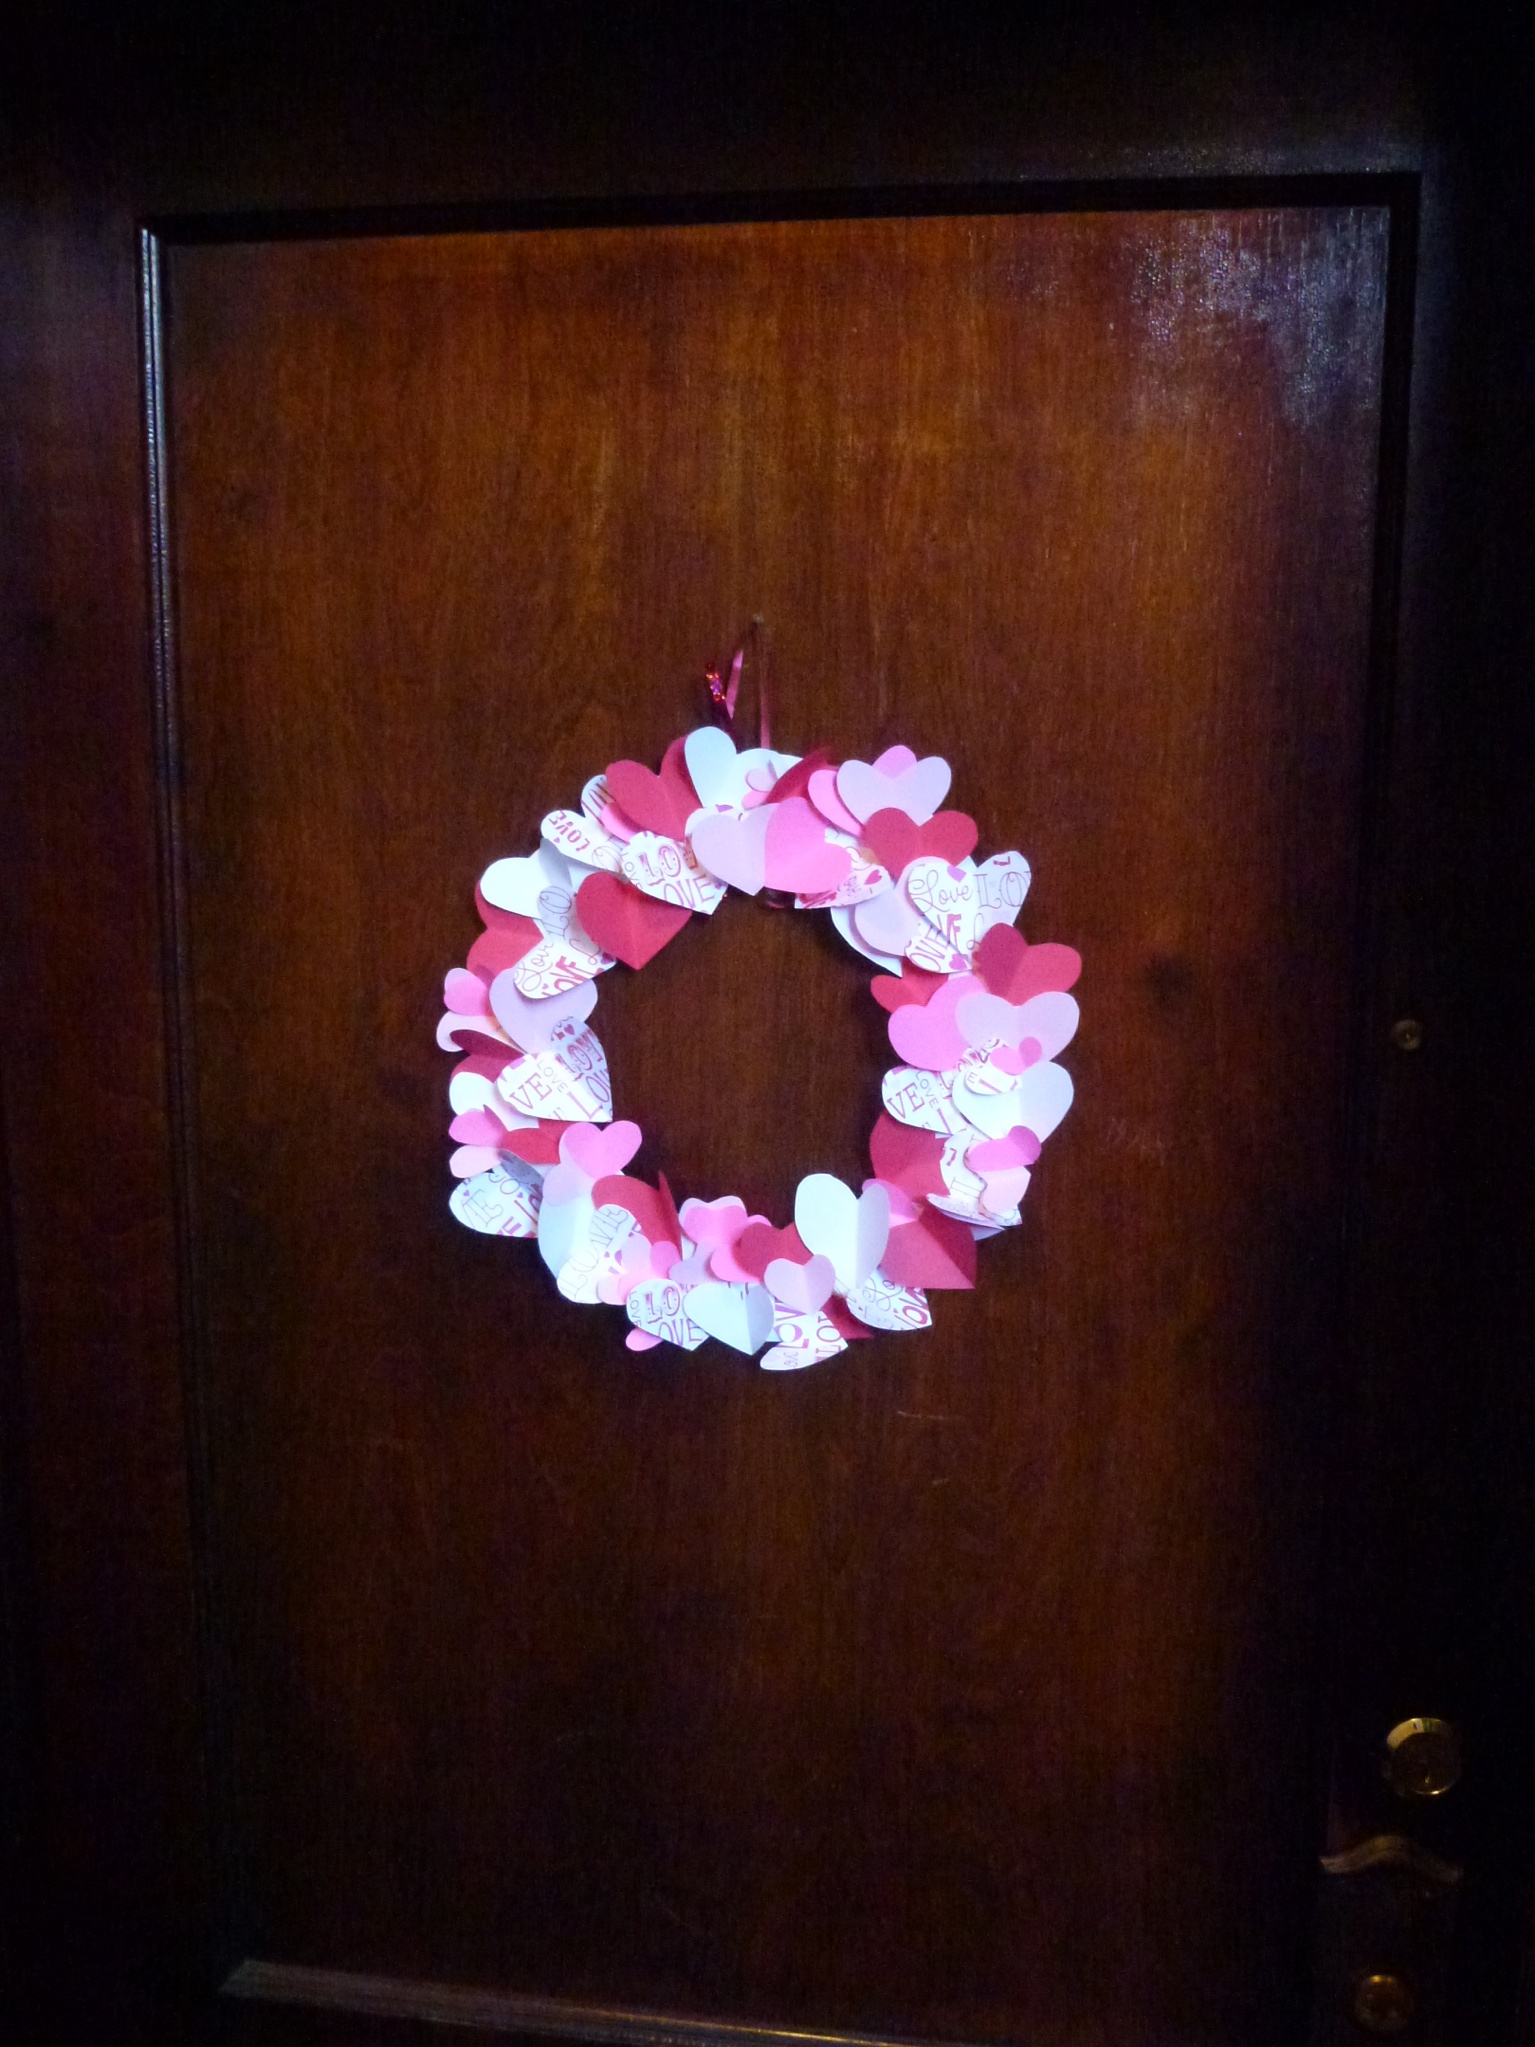
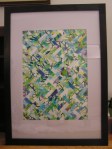
 And he saw a picture of this:

And he really liked it. Enough to refer back to it a couple times, and for me to decide it would be a pretty good birthday present. So for his birthday, I grabbed a big canvas, some craft paint and a few brushes (ok, I already had the brushes). I wrapped them up with a little canvas (to represent the big blank one which I didn’t think was worth wrapping). After a little confusion, he was excited, and over Christmas break we got it done.
Turns out he’s also totally hired on as my new staff photographer (have you noticed how bad all my pictures are?), so that’s a plus.

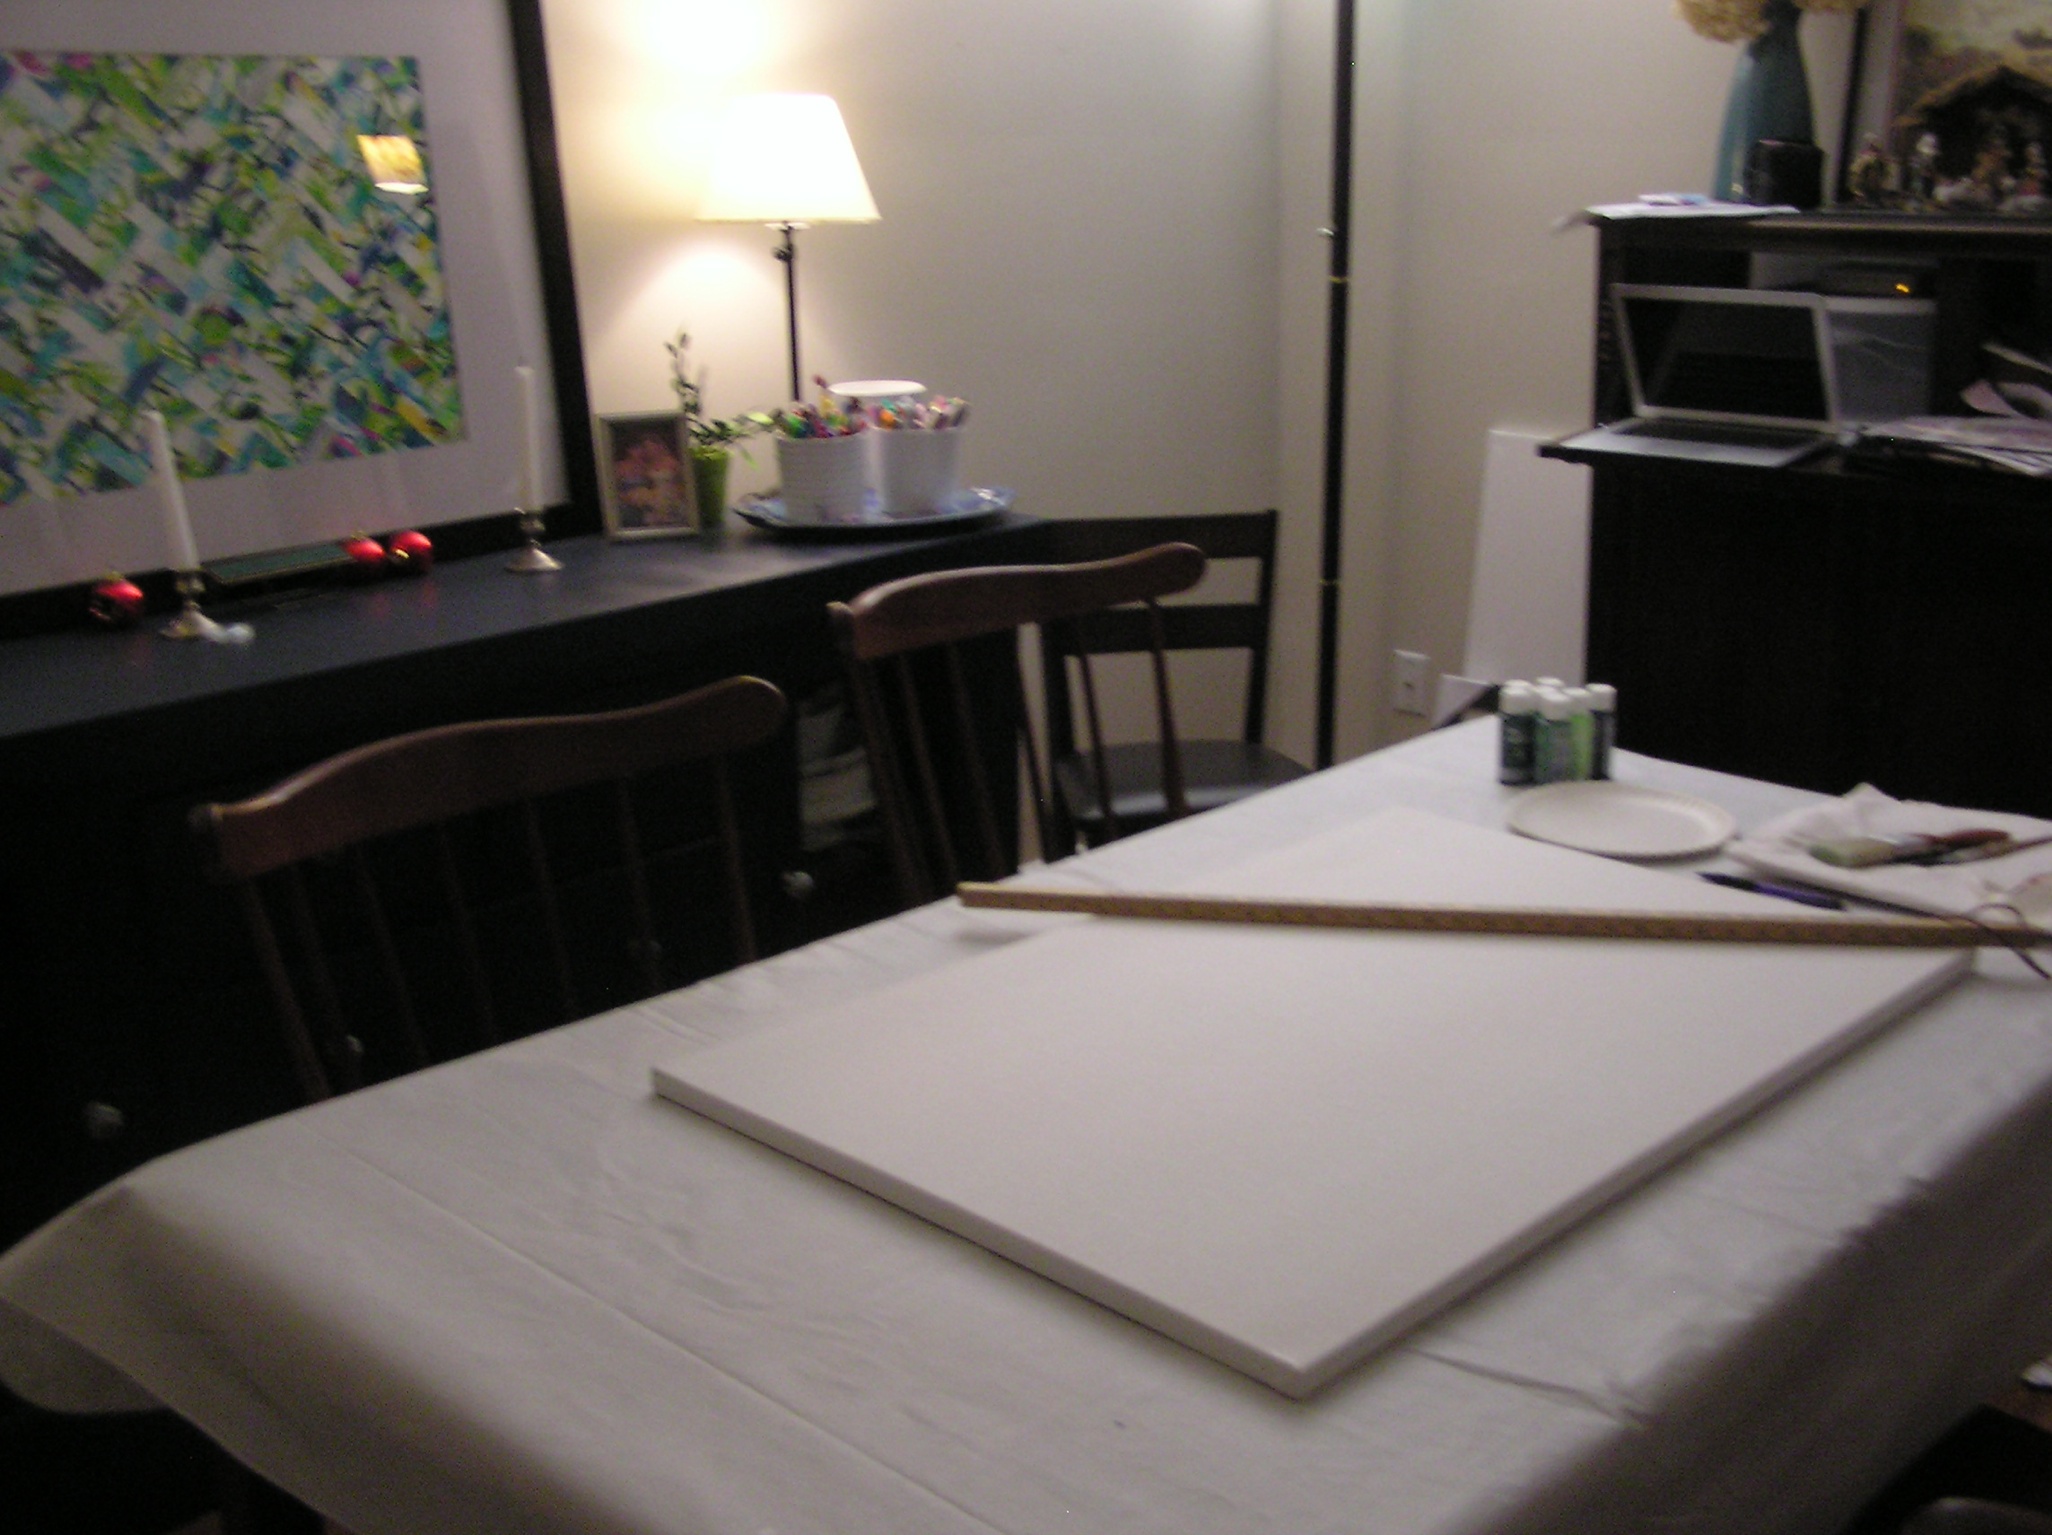
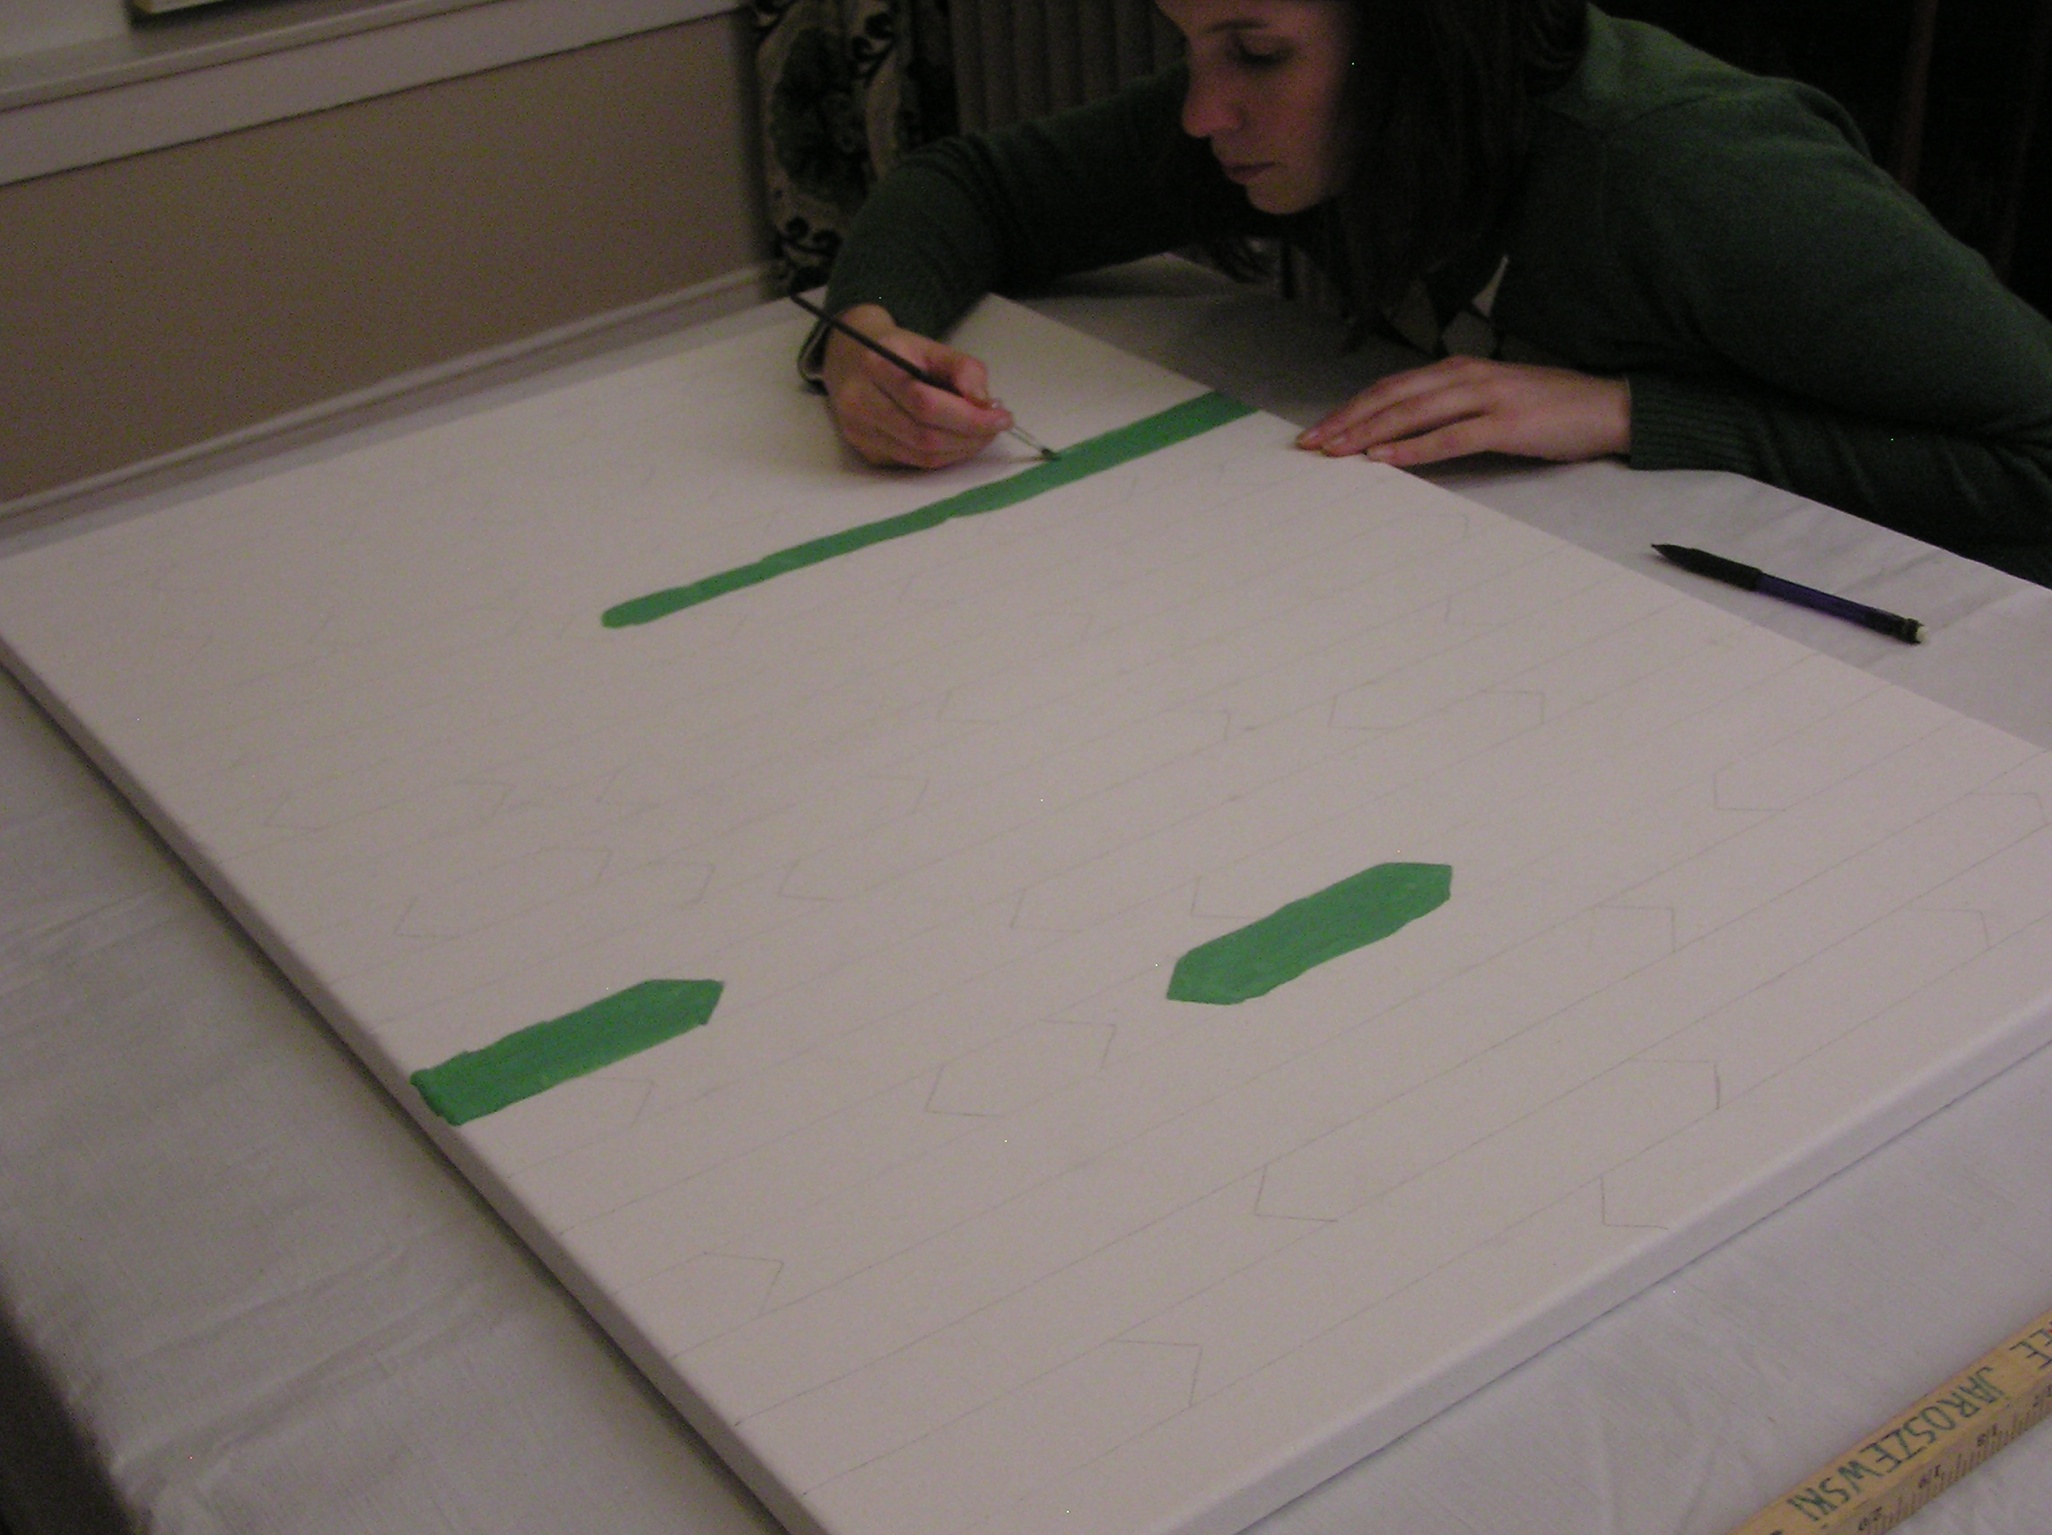
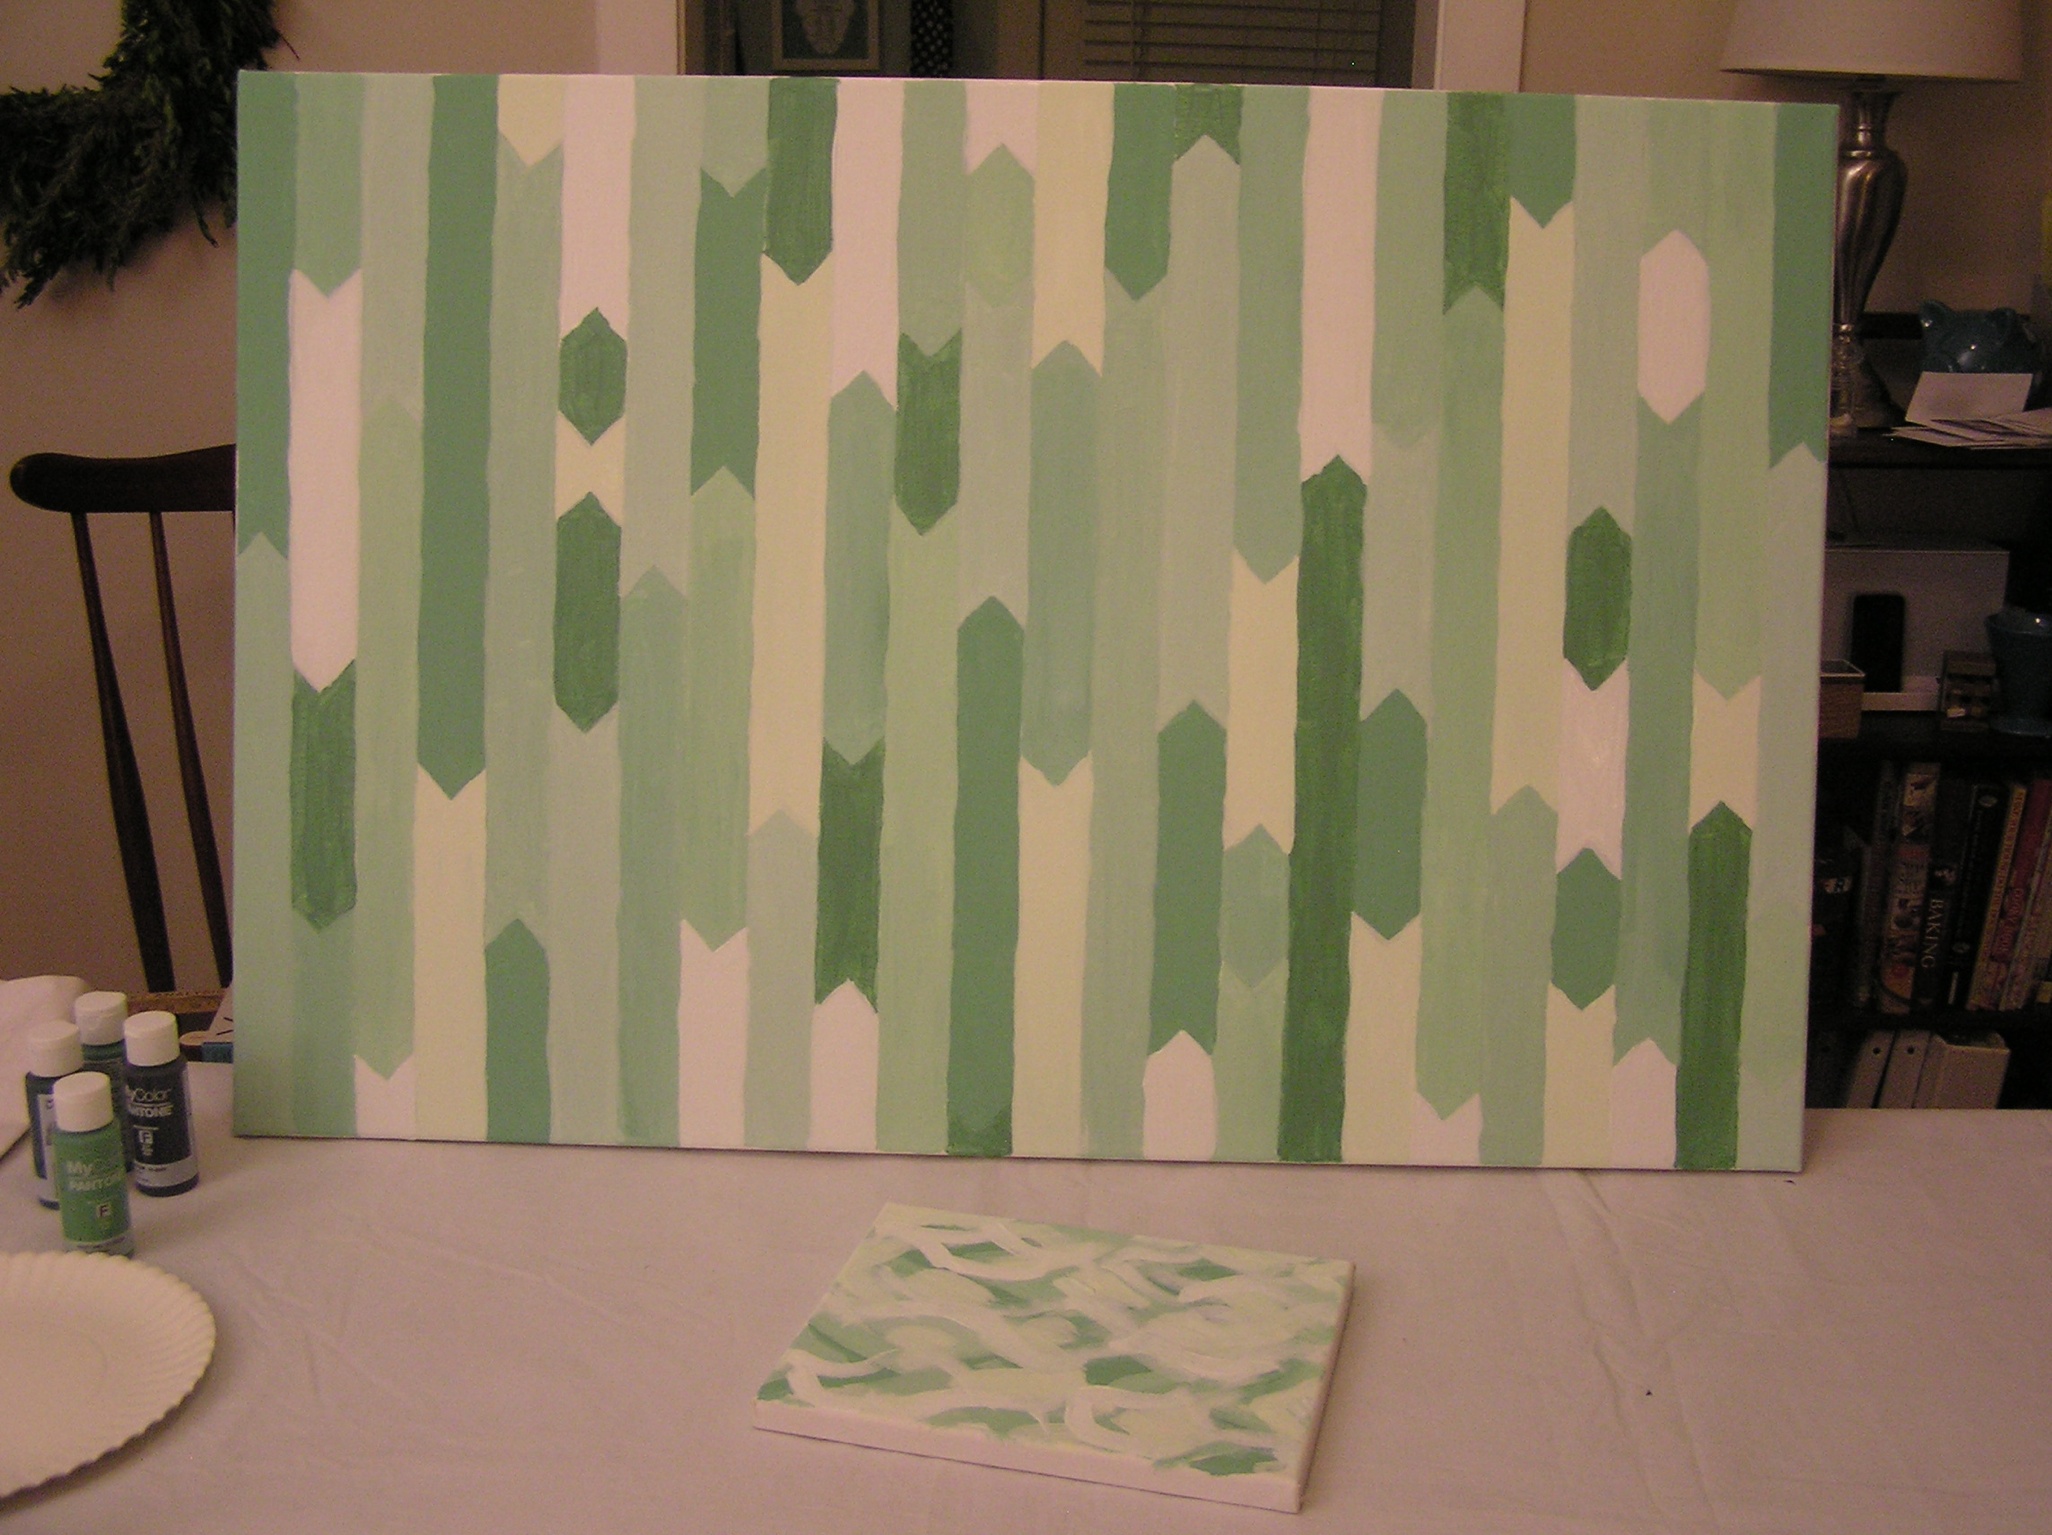
So we got out our canvas, a yardstick, several shades of green craft paint + white + silver metallic for some depth, a couple brushes and a paper plate for mixing.
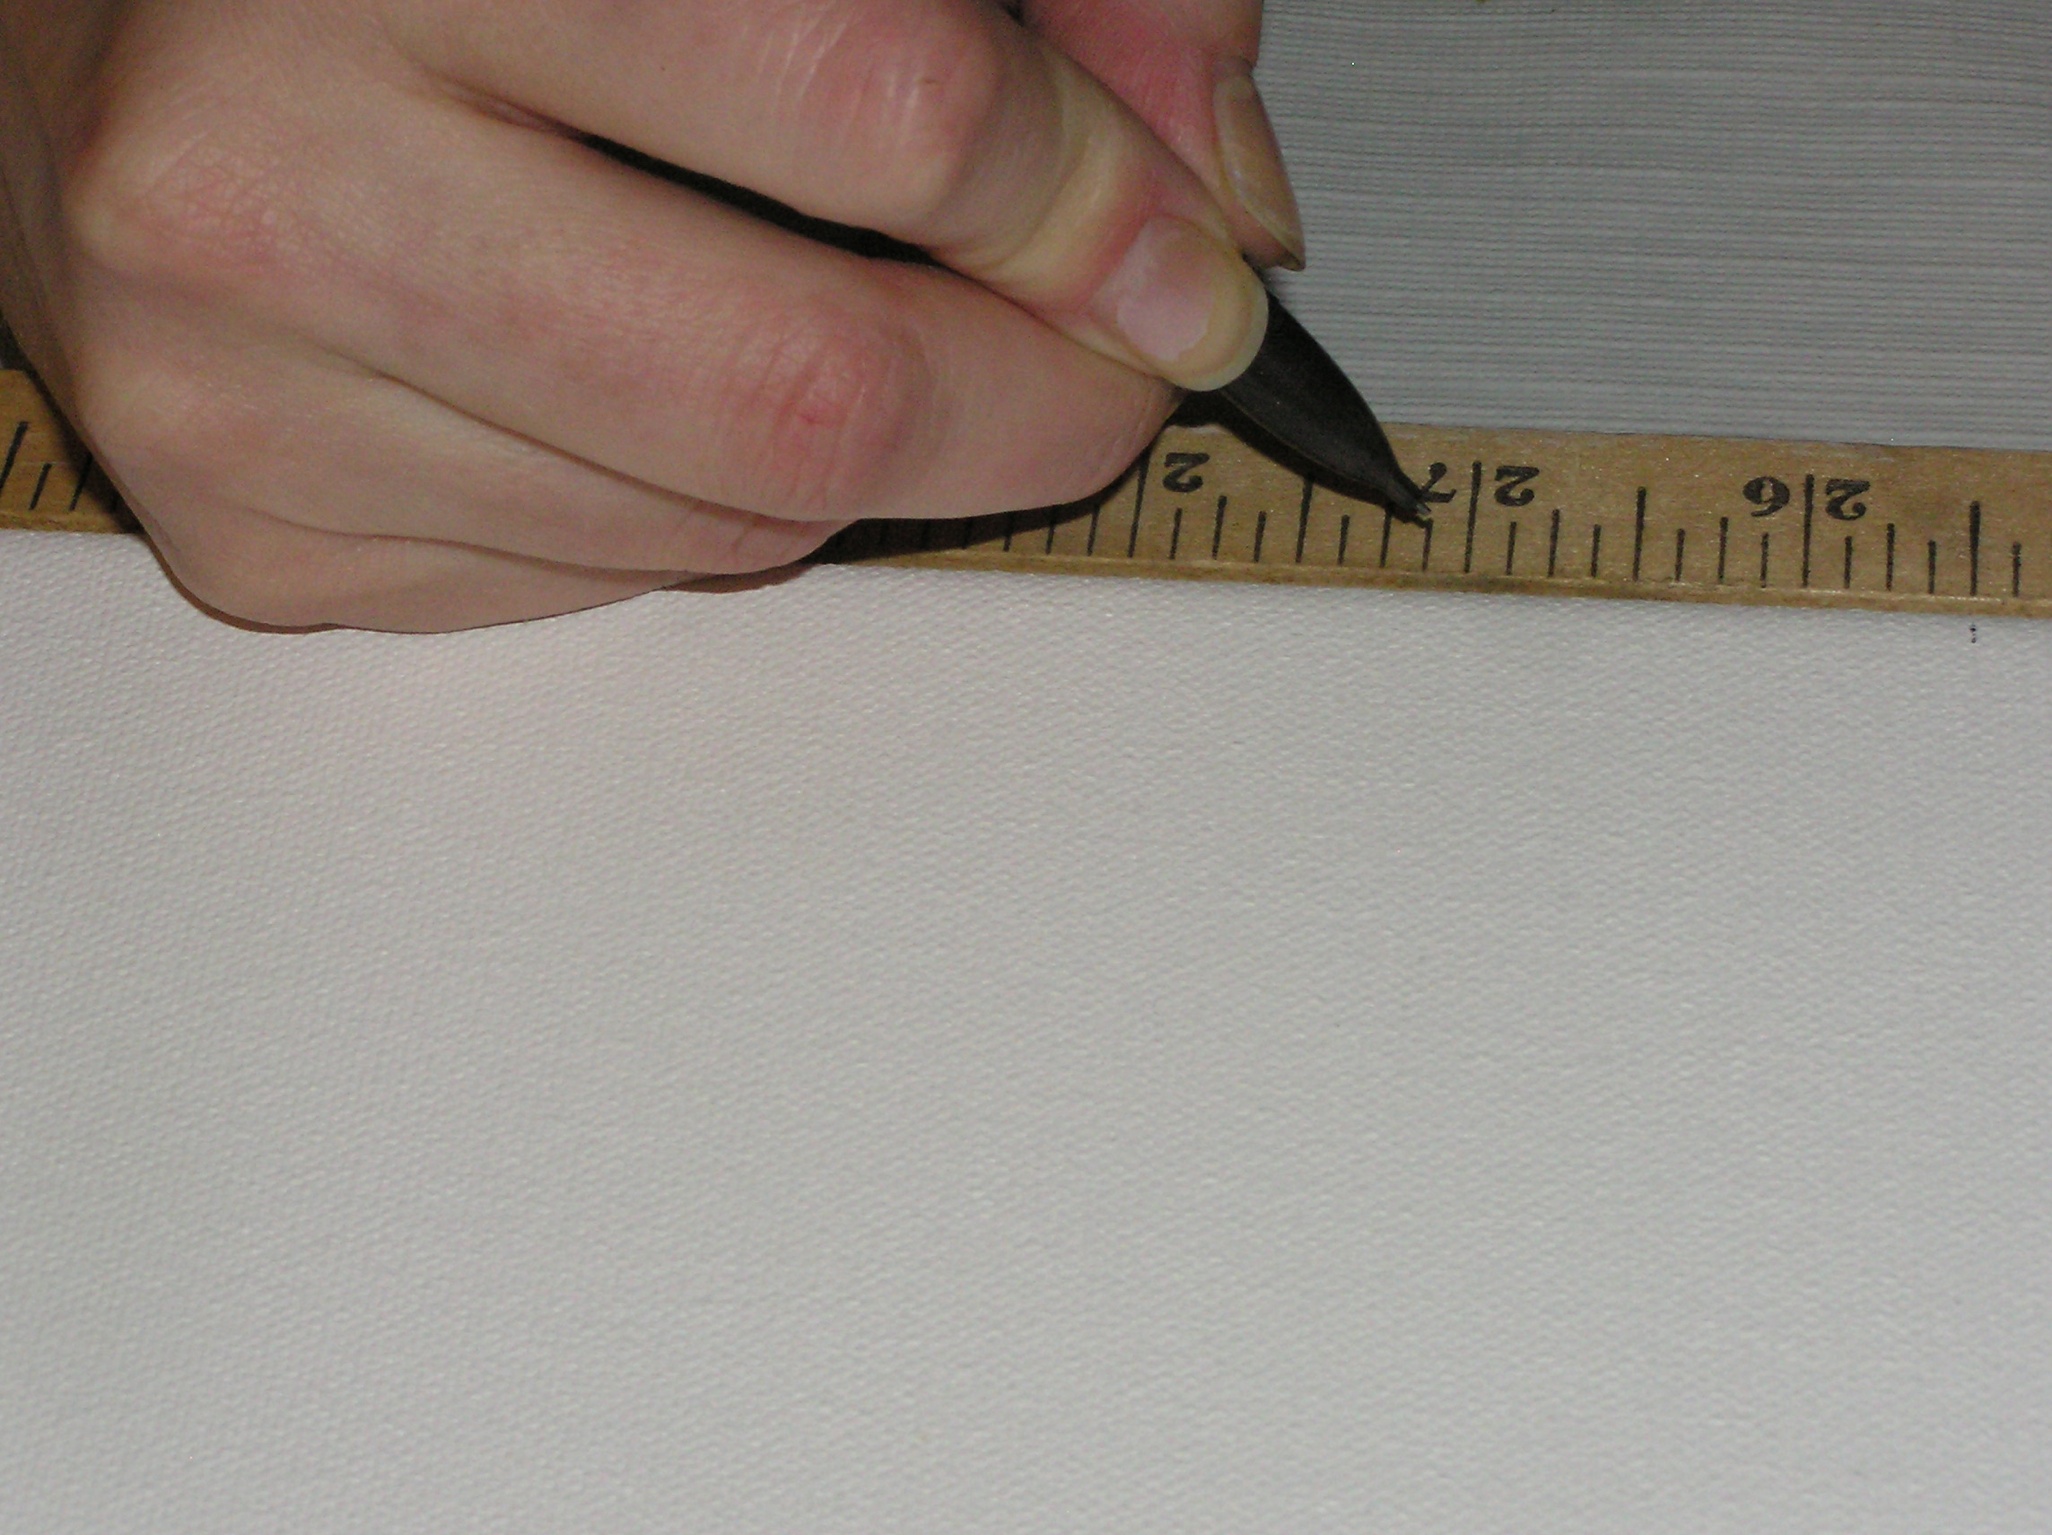
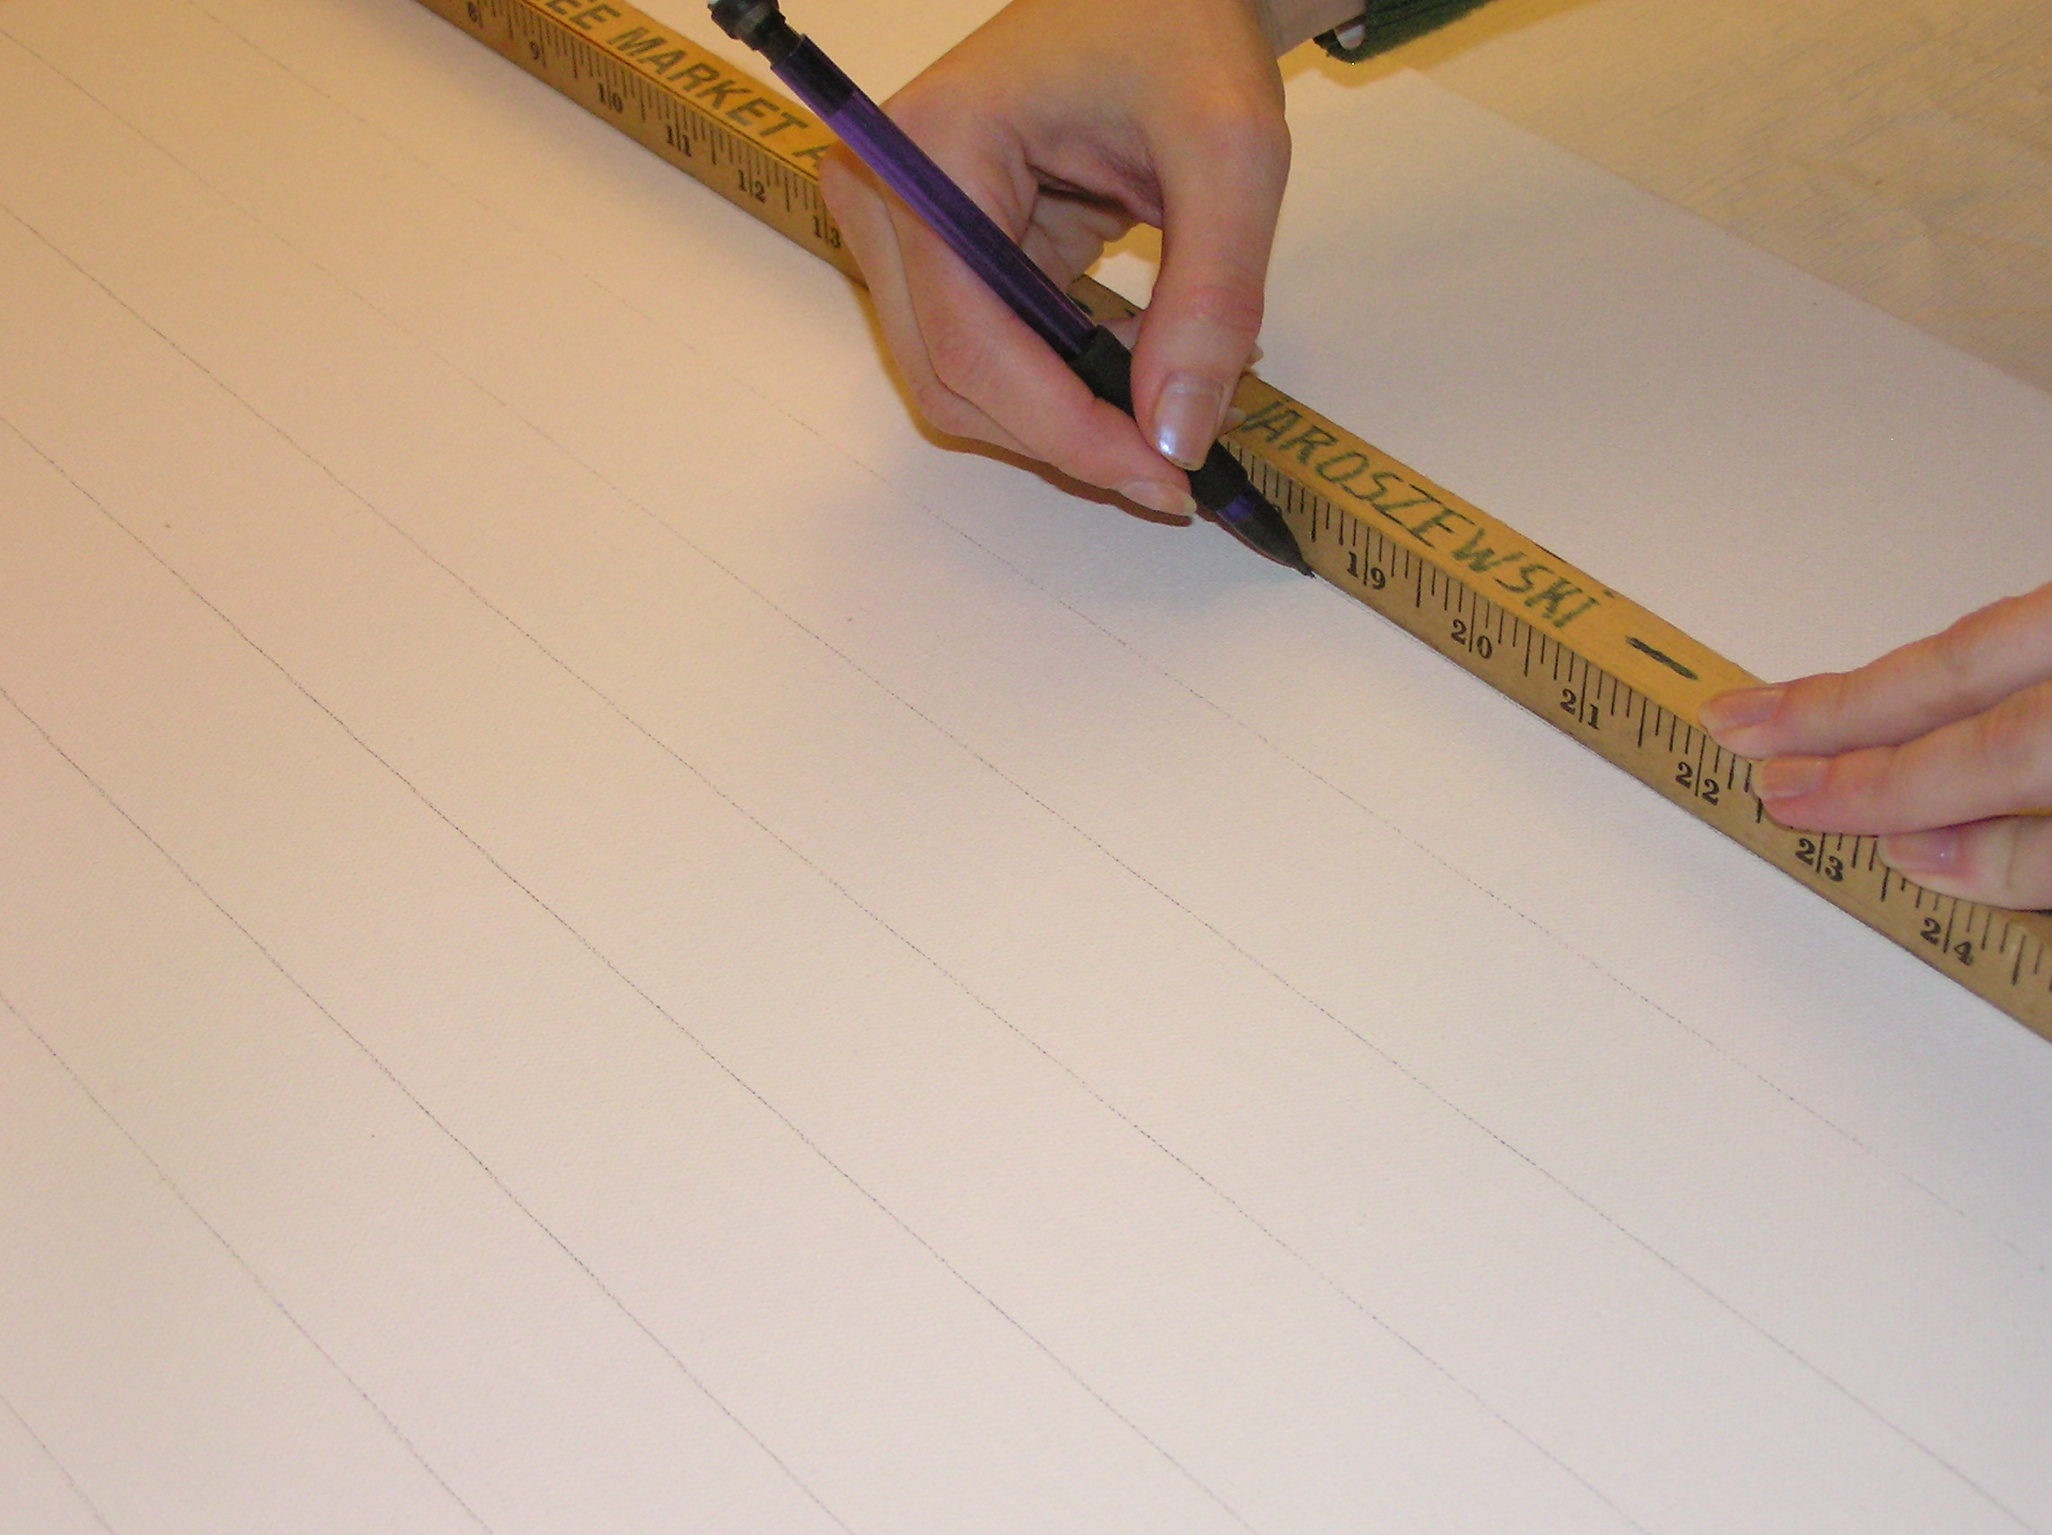
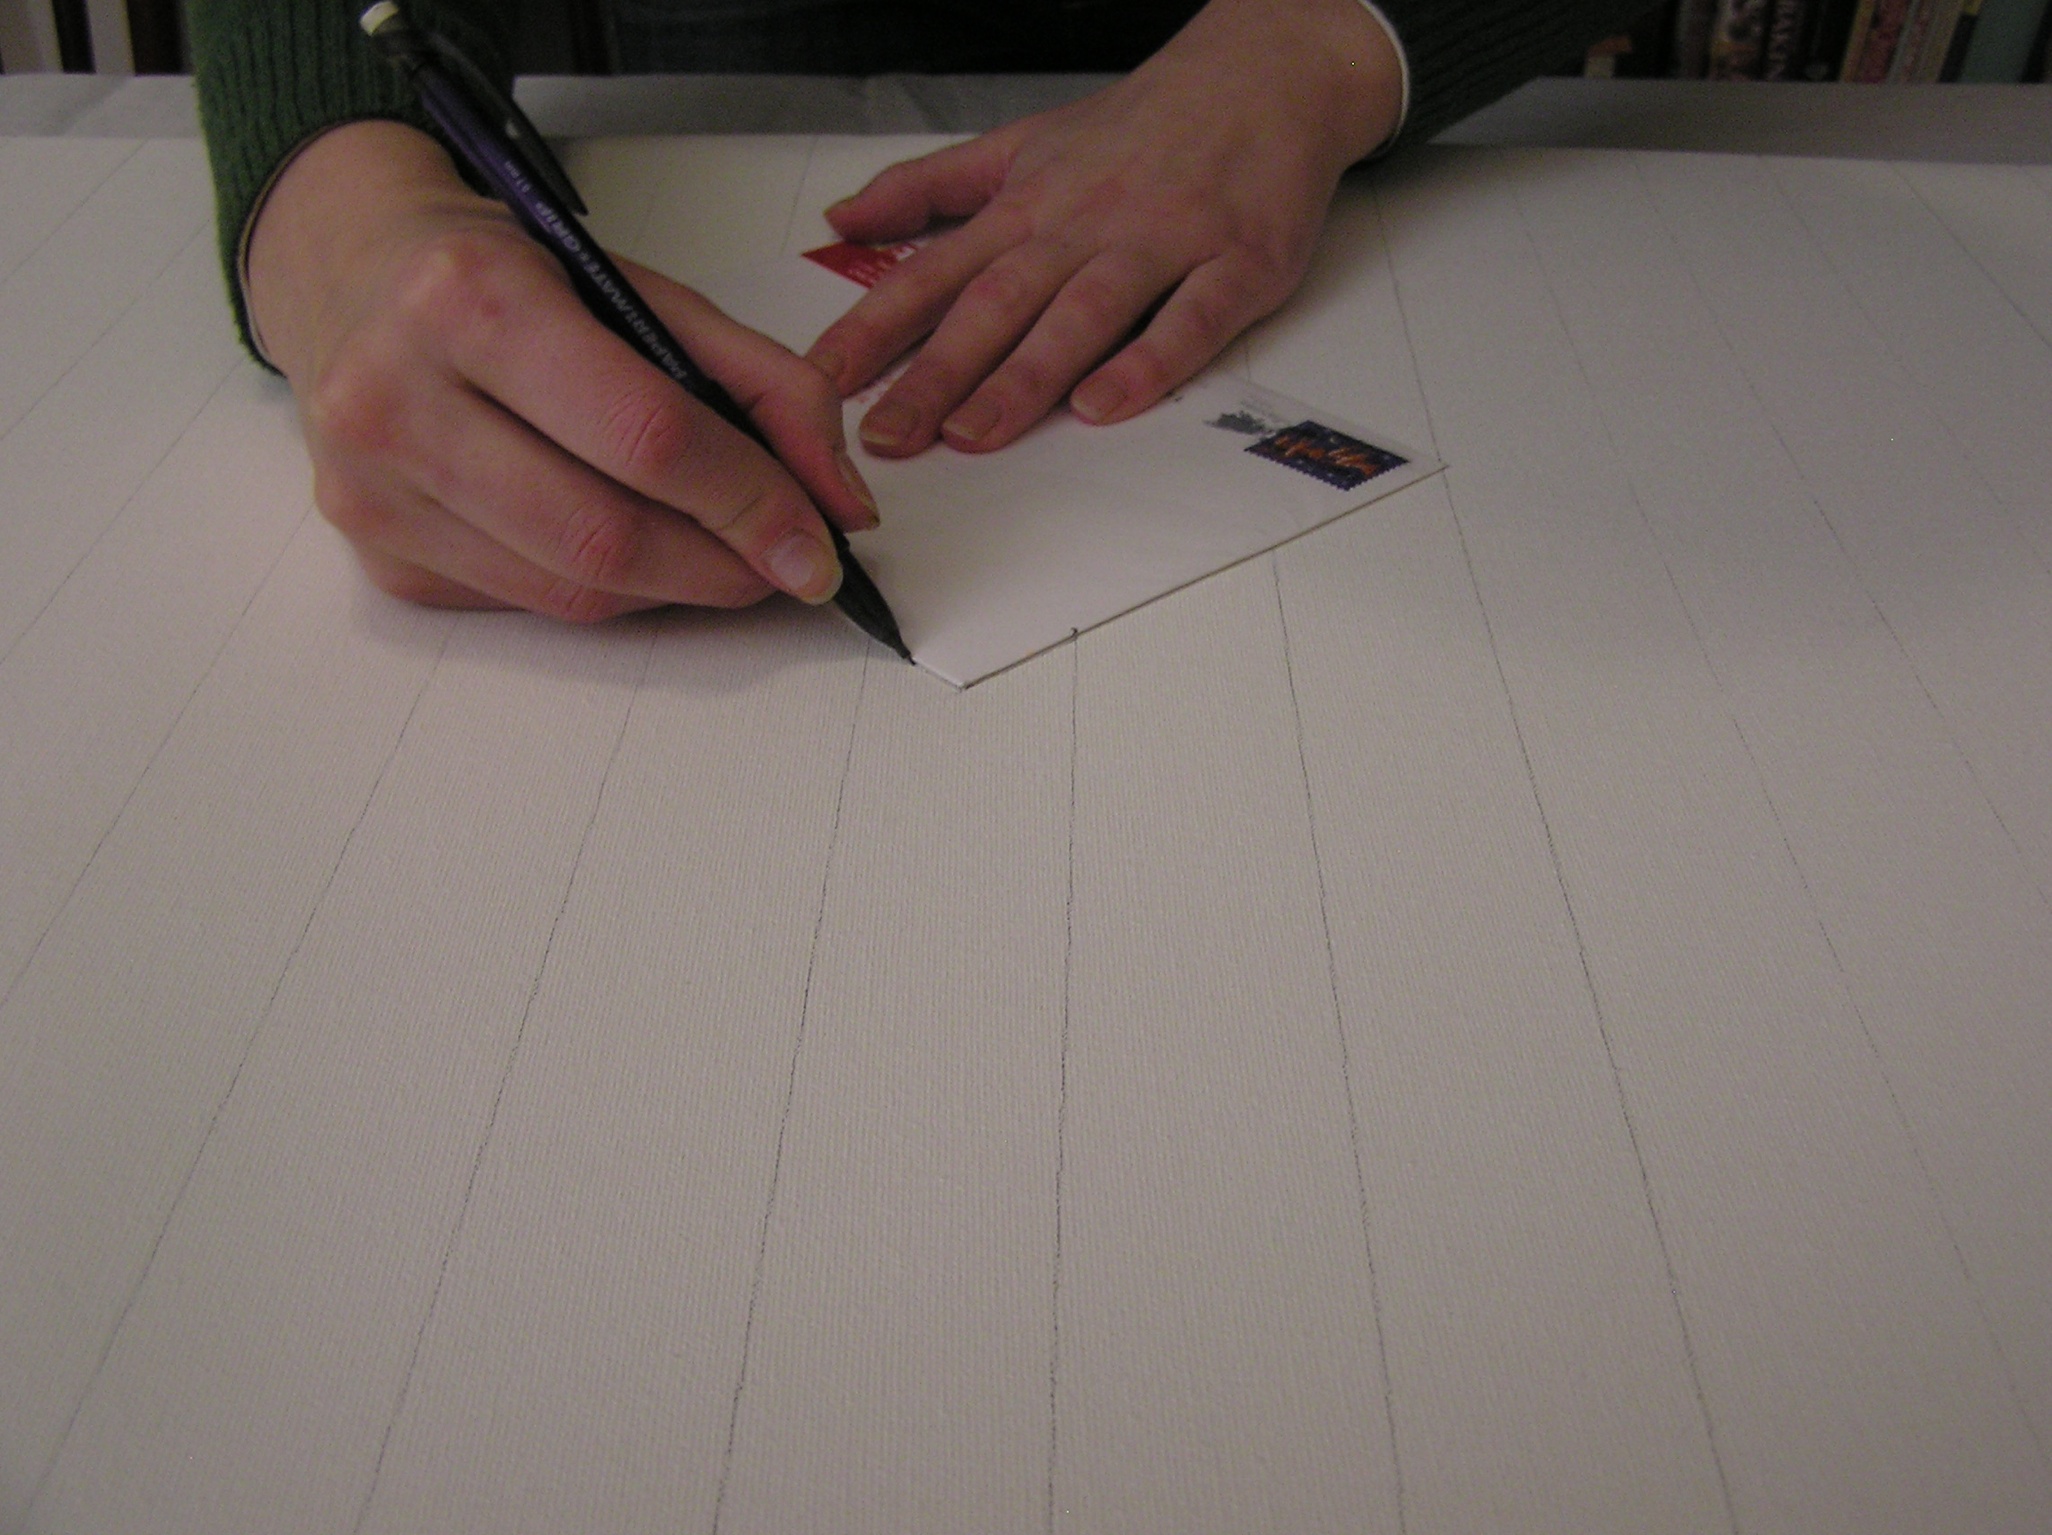
Then I got to measuring. We did 1.5 inch marks, using the yardstick facing the same direction down both long sides and then lining it up between the two marks to make lines. Then I just grabbed an envelope and made some random arrows. This part was hilarious. It’s not for me, so I was asking Boyfriend what he wanted. So he went and got the book, and started scrutinizing the picture. “Well, she never does too many close together.” “Don’t do diamonds. She didn’t do diamonds.” The best was “Ok, she did two, then three, then two, then four…” as he actually started counting how many arrows in each line. I stopped him and pointed out it didn’t have to look EXACTLY like what Sherry did. That’s an IT guy for you, right?


Then it was time for painting. As with anything paint, you can always go darker, so I started with what I thought would be a mid-to-darker color (which was one of my greens mixed with white). Of course, it ended up being our darkest.
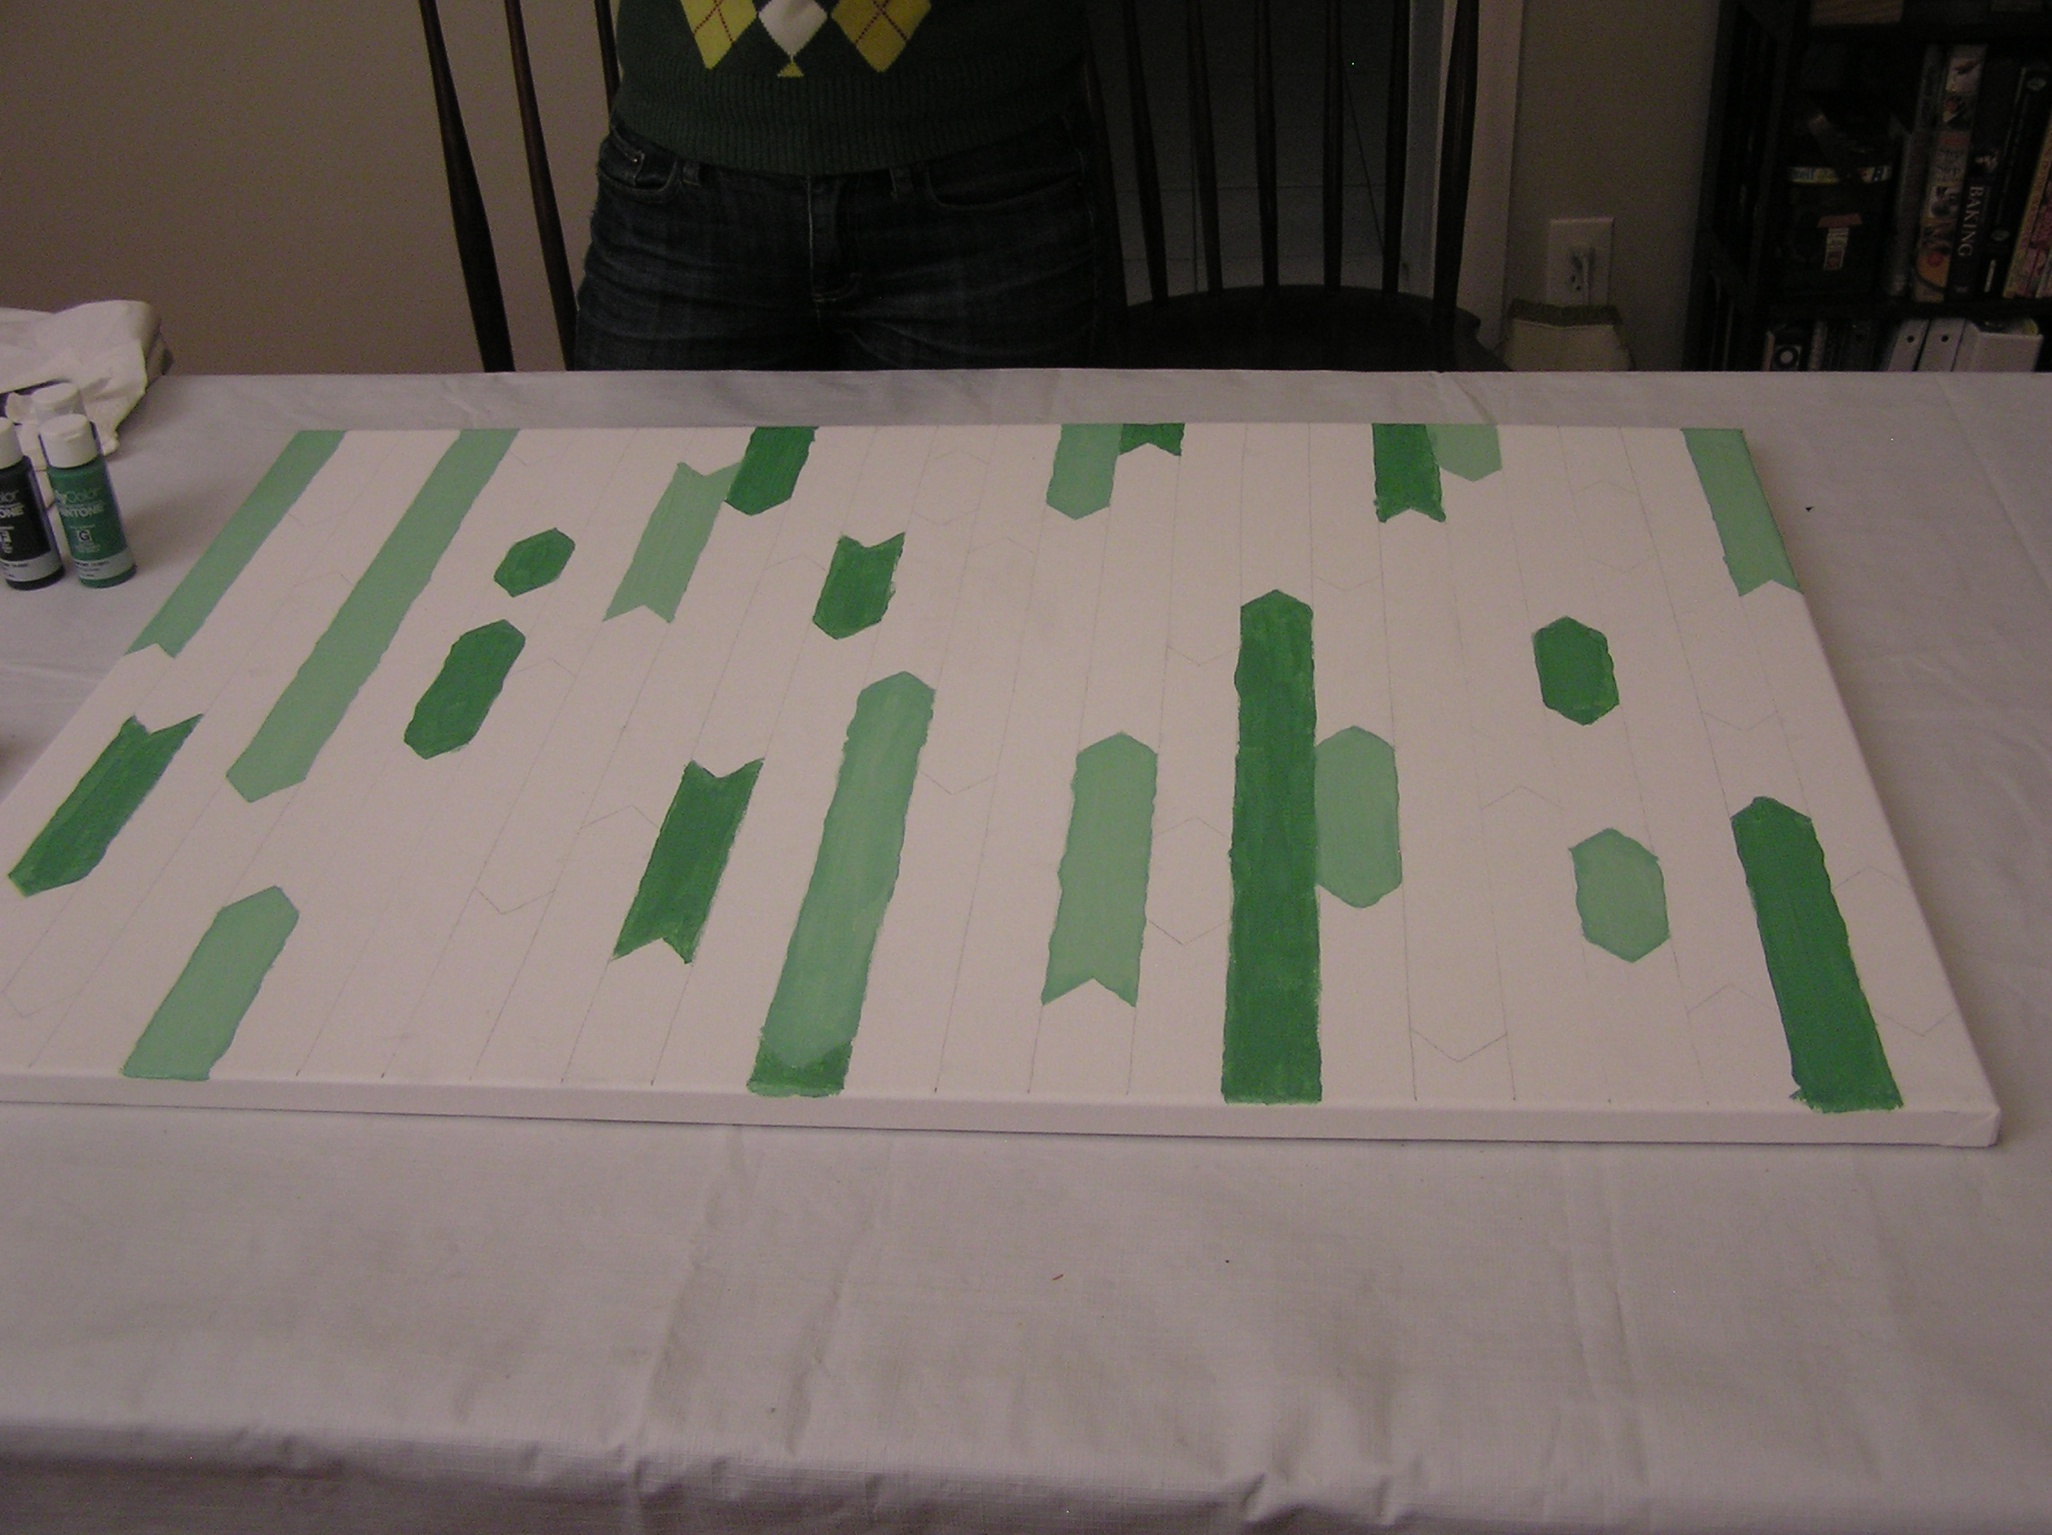
 From there, we just mixed new shades, usually just lightening what we were working with, and adding a lime-y green to some mixes, with silver to others (I didn’t want it to look too flat and Sherry didn’t provide formulas, so I was allowed to do this.)

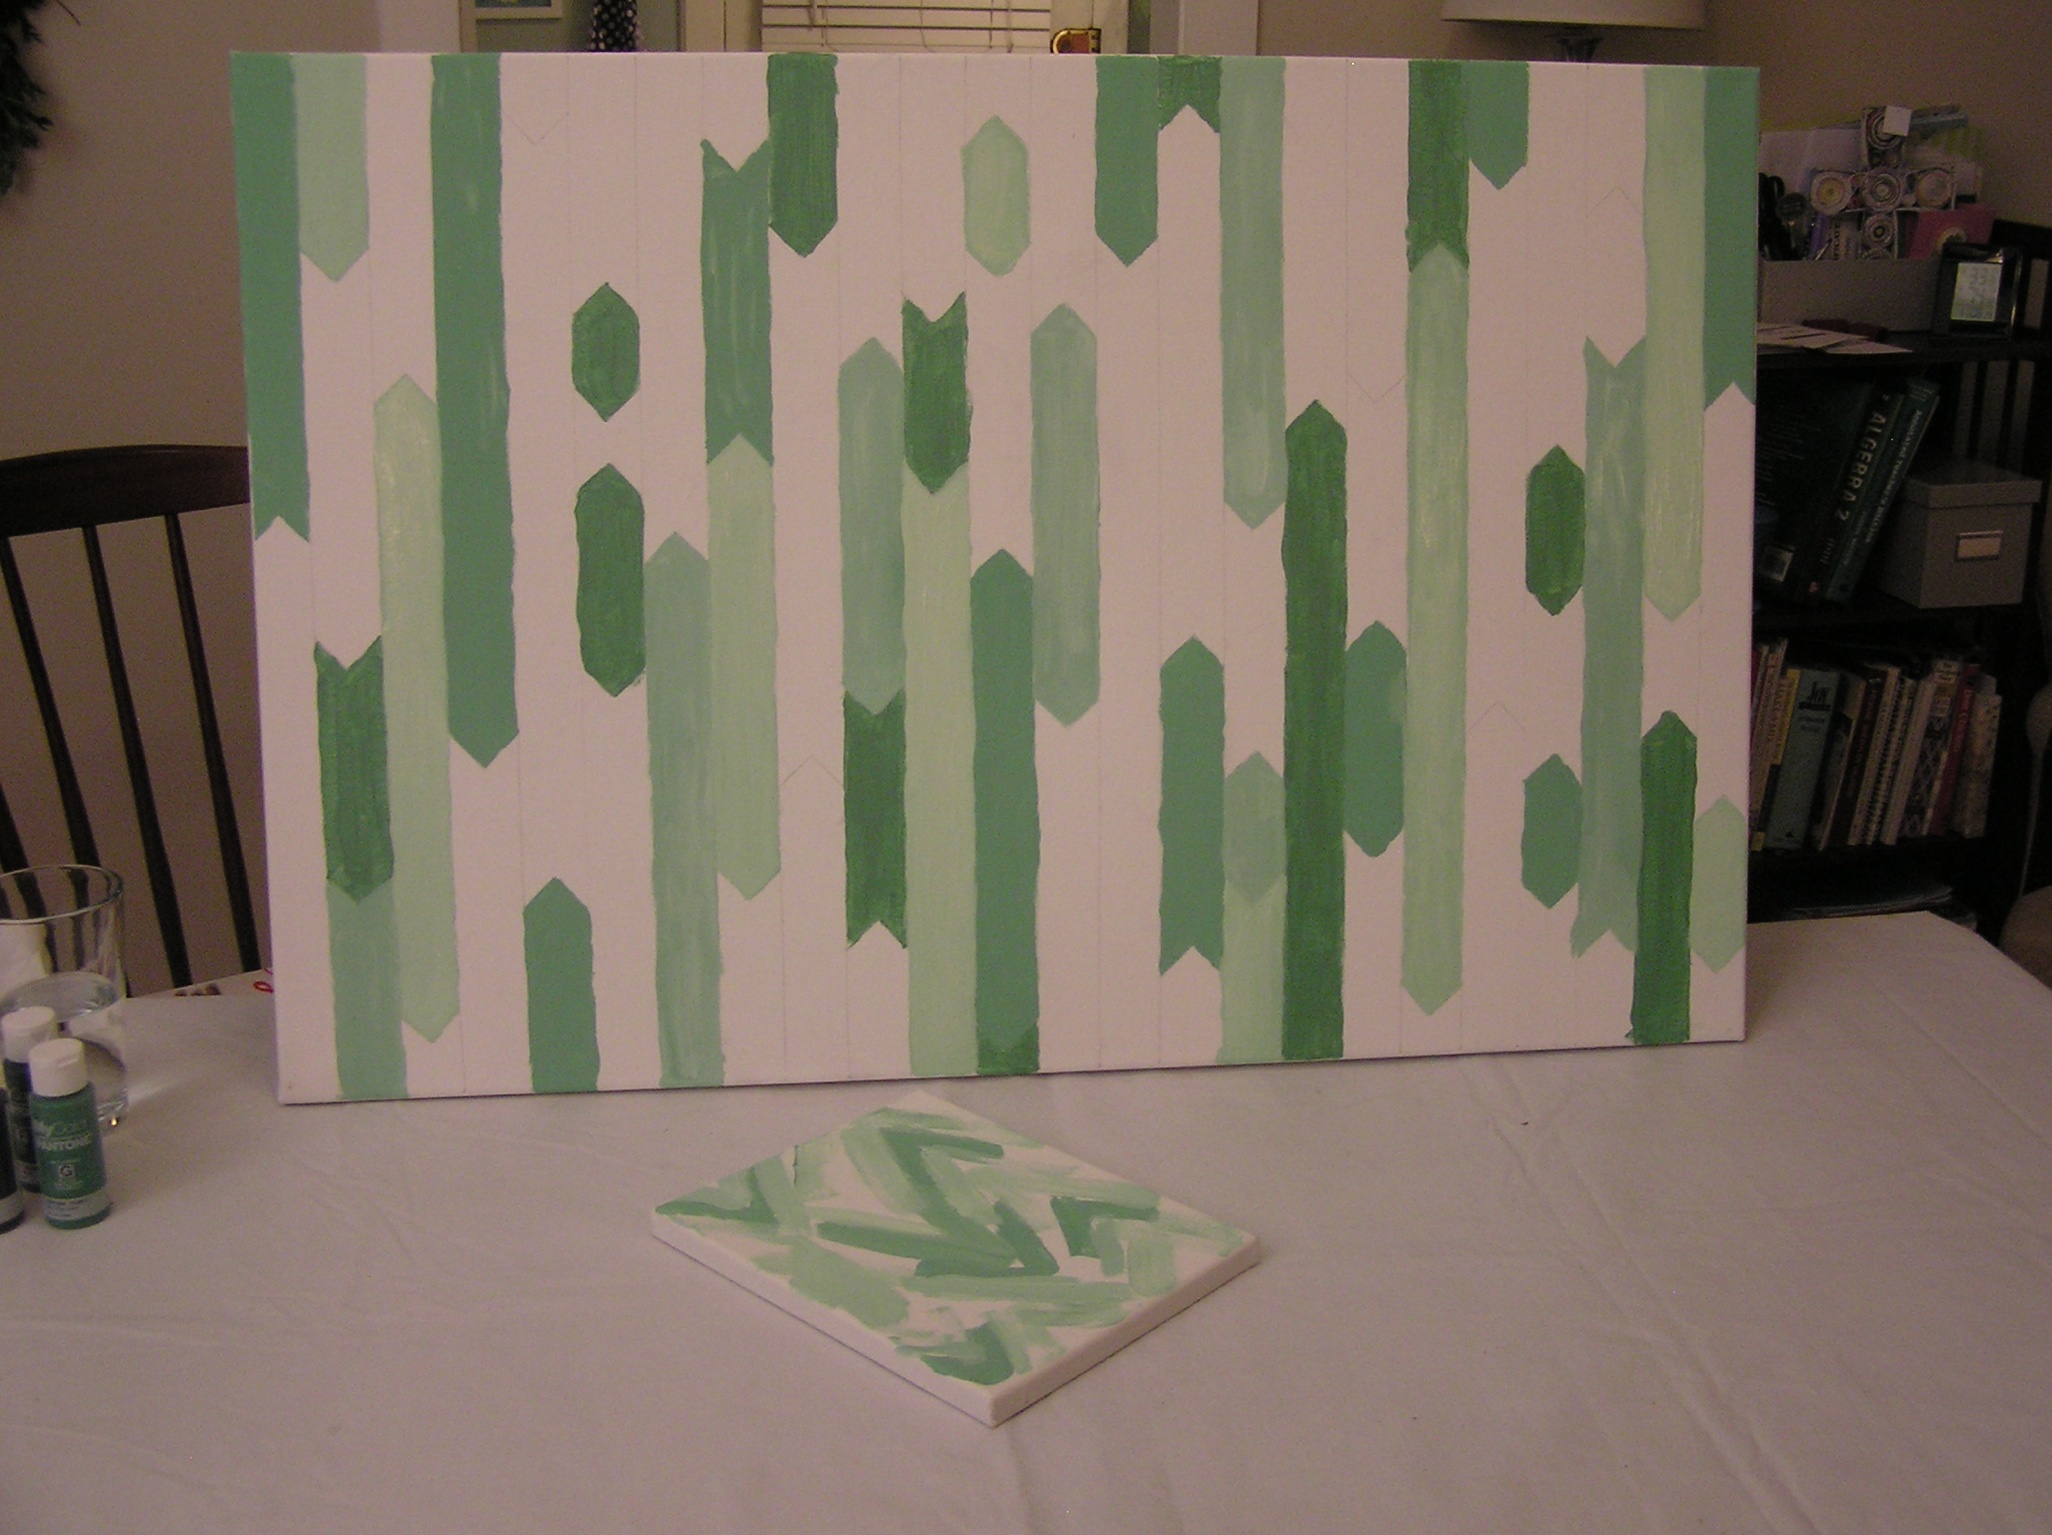
My new photographer Boyfriend even made me hold it up at regular intervals to make sure he got some good progress shots (see, totally hired!)
 And I started on the little bonus canvas you see–see if you can find it later in my house!
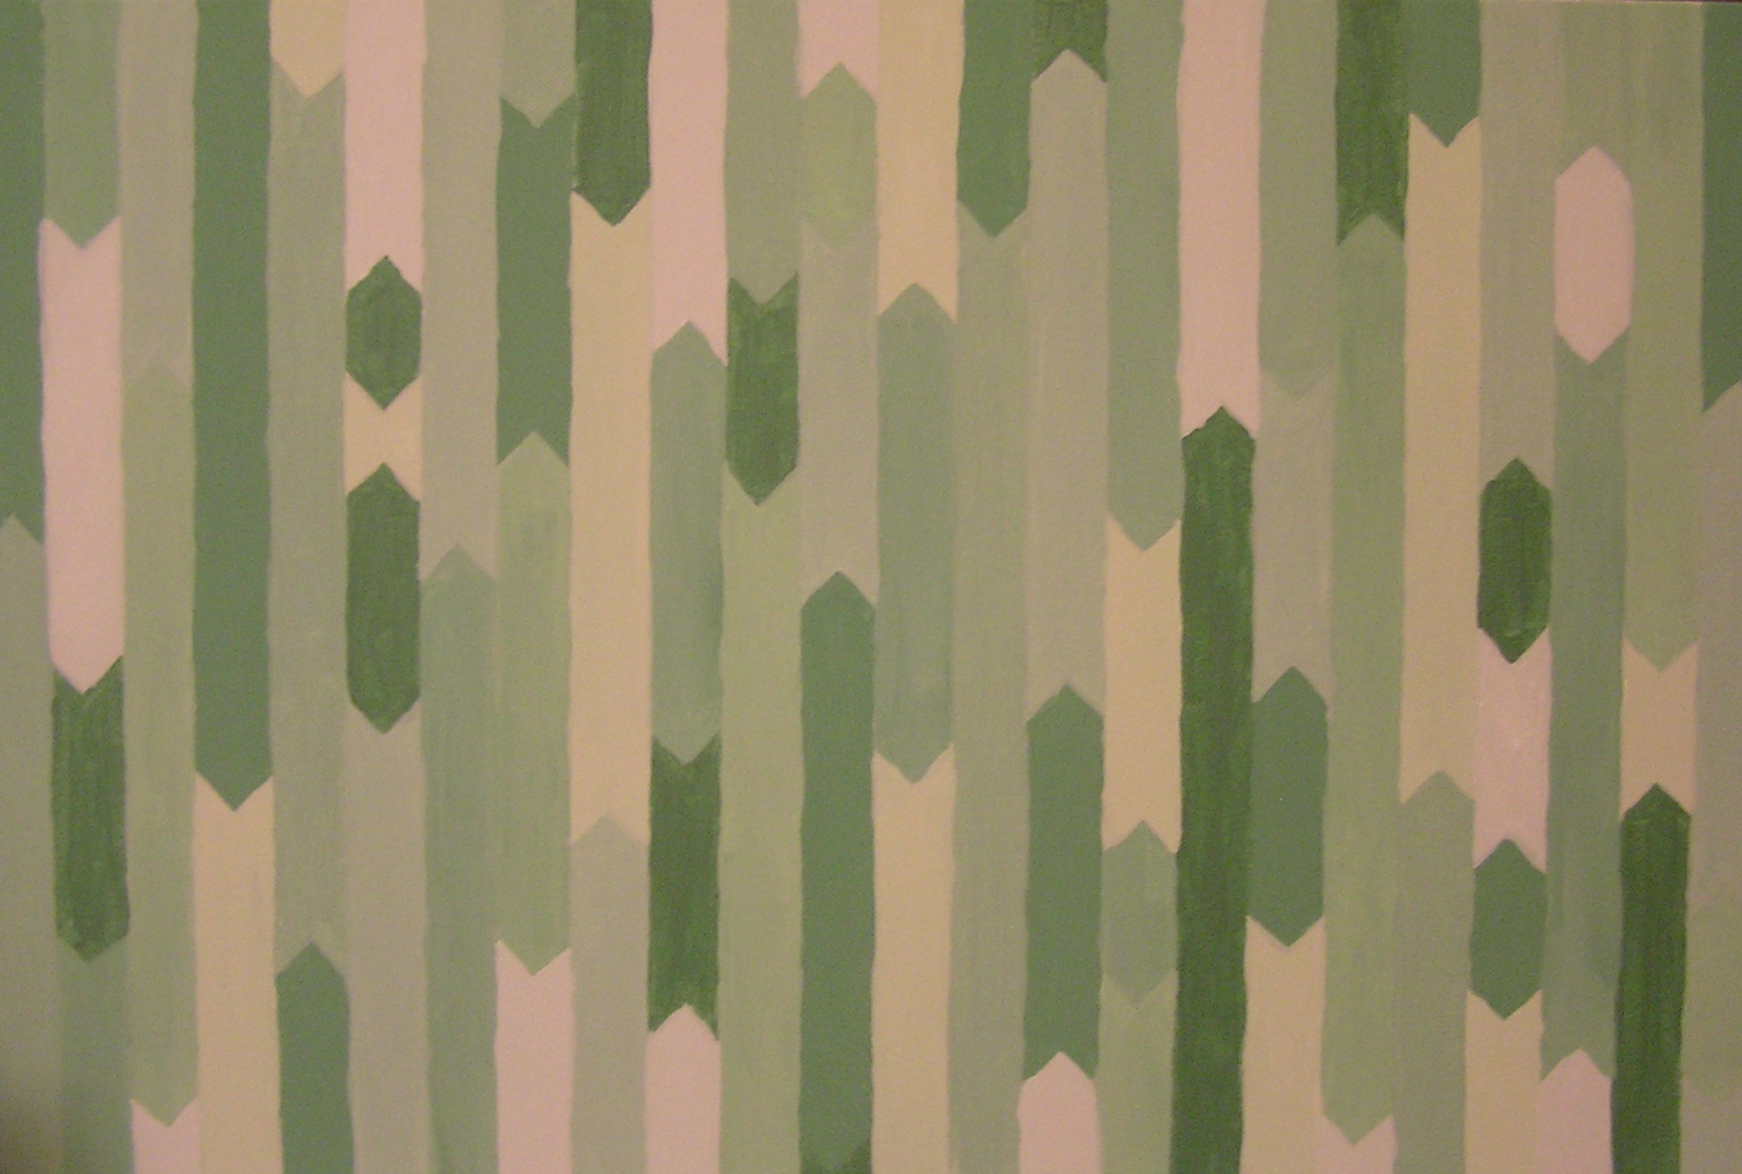
 And then finally it was done! He loves it and so do I. Right now it’s hung sideways on a nail in my house waiting for his move to a new place at the end of the month. But it will be the first thing you see when you walk in his new place. Now if I can just convince him I don’t do this with everyone I date (which is true! Right Lesley?!)

What’s your favorite piece of art you’ve made?