Carnaval 2013: Gold Stars and Blue

I planned a party. It was a little over a week ago, but the pictures just came out.

p1450699132-3

The party was really a benefit, held for the mission organization of my church. That’s their logo, which is not just relevant because the benefit was for them but because the majority of my contribution consisted of bringing that shape into the decorations. Its a ten-pointed spiky-not-chubby star.

chicagolightsstar

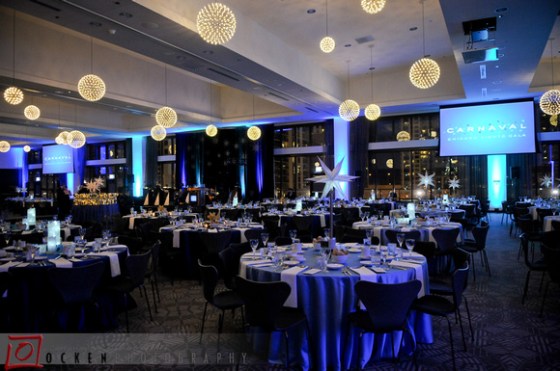
That, combined with shades of blue, were our driving force behind the decorations. Every table had a blue tablecloth (in several shades) and a centerpiece with a glass base wrapped in a word representing one of the mission programs, and gold stars in some form.

Short Centerpiece

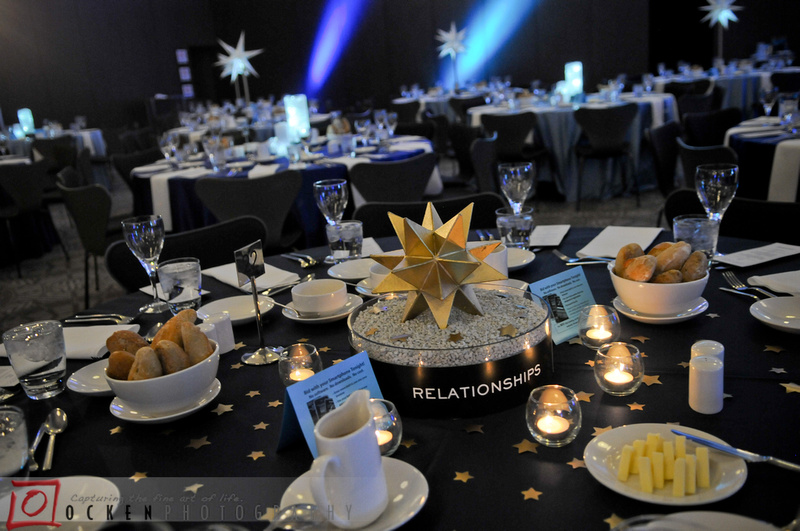
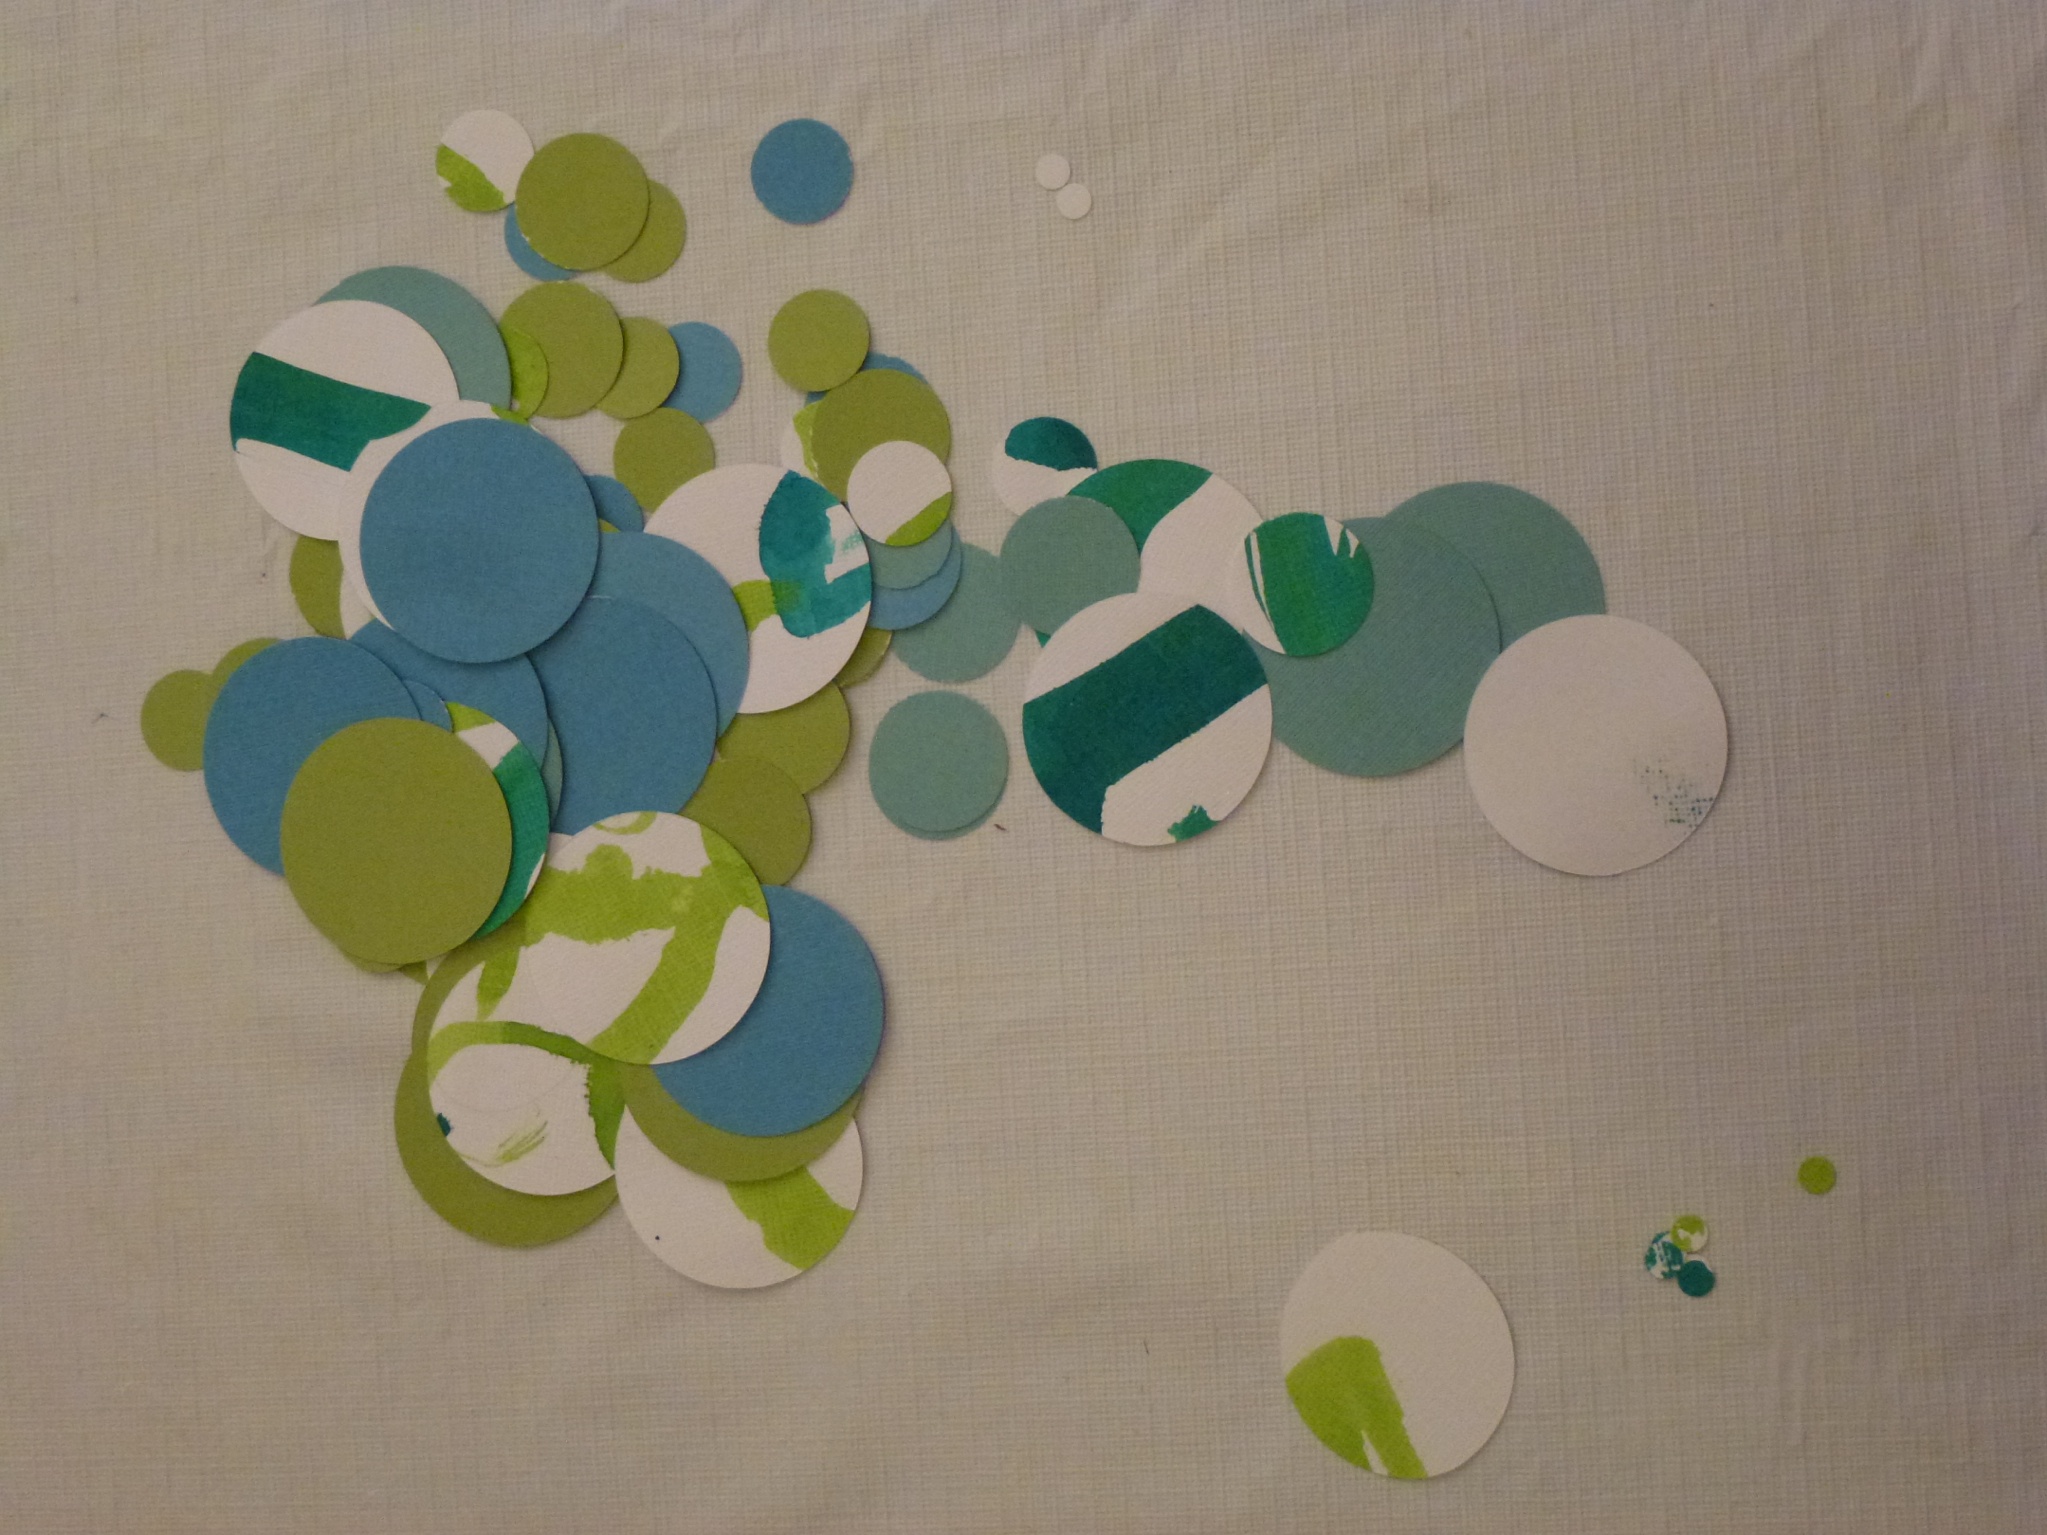
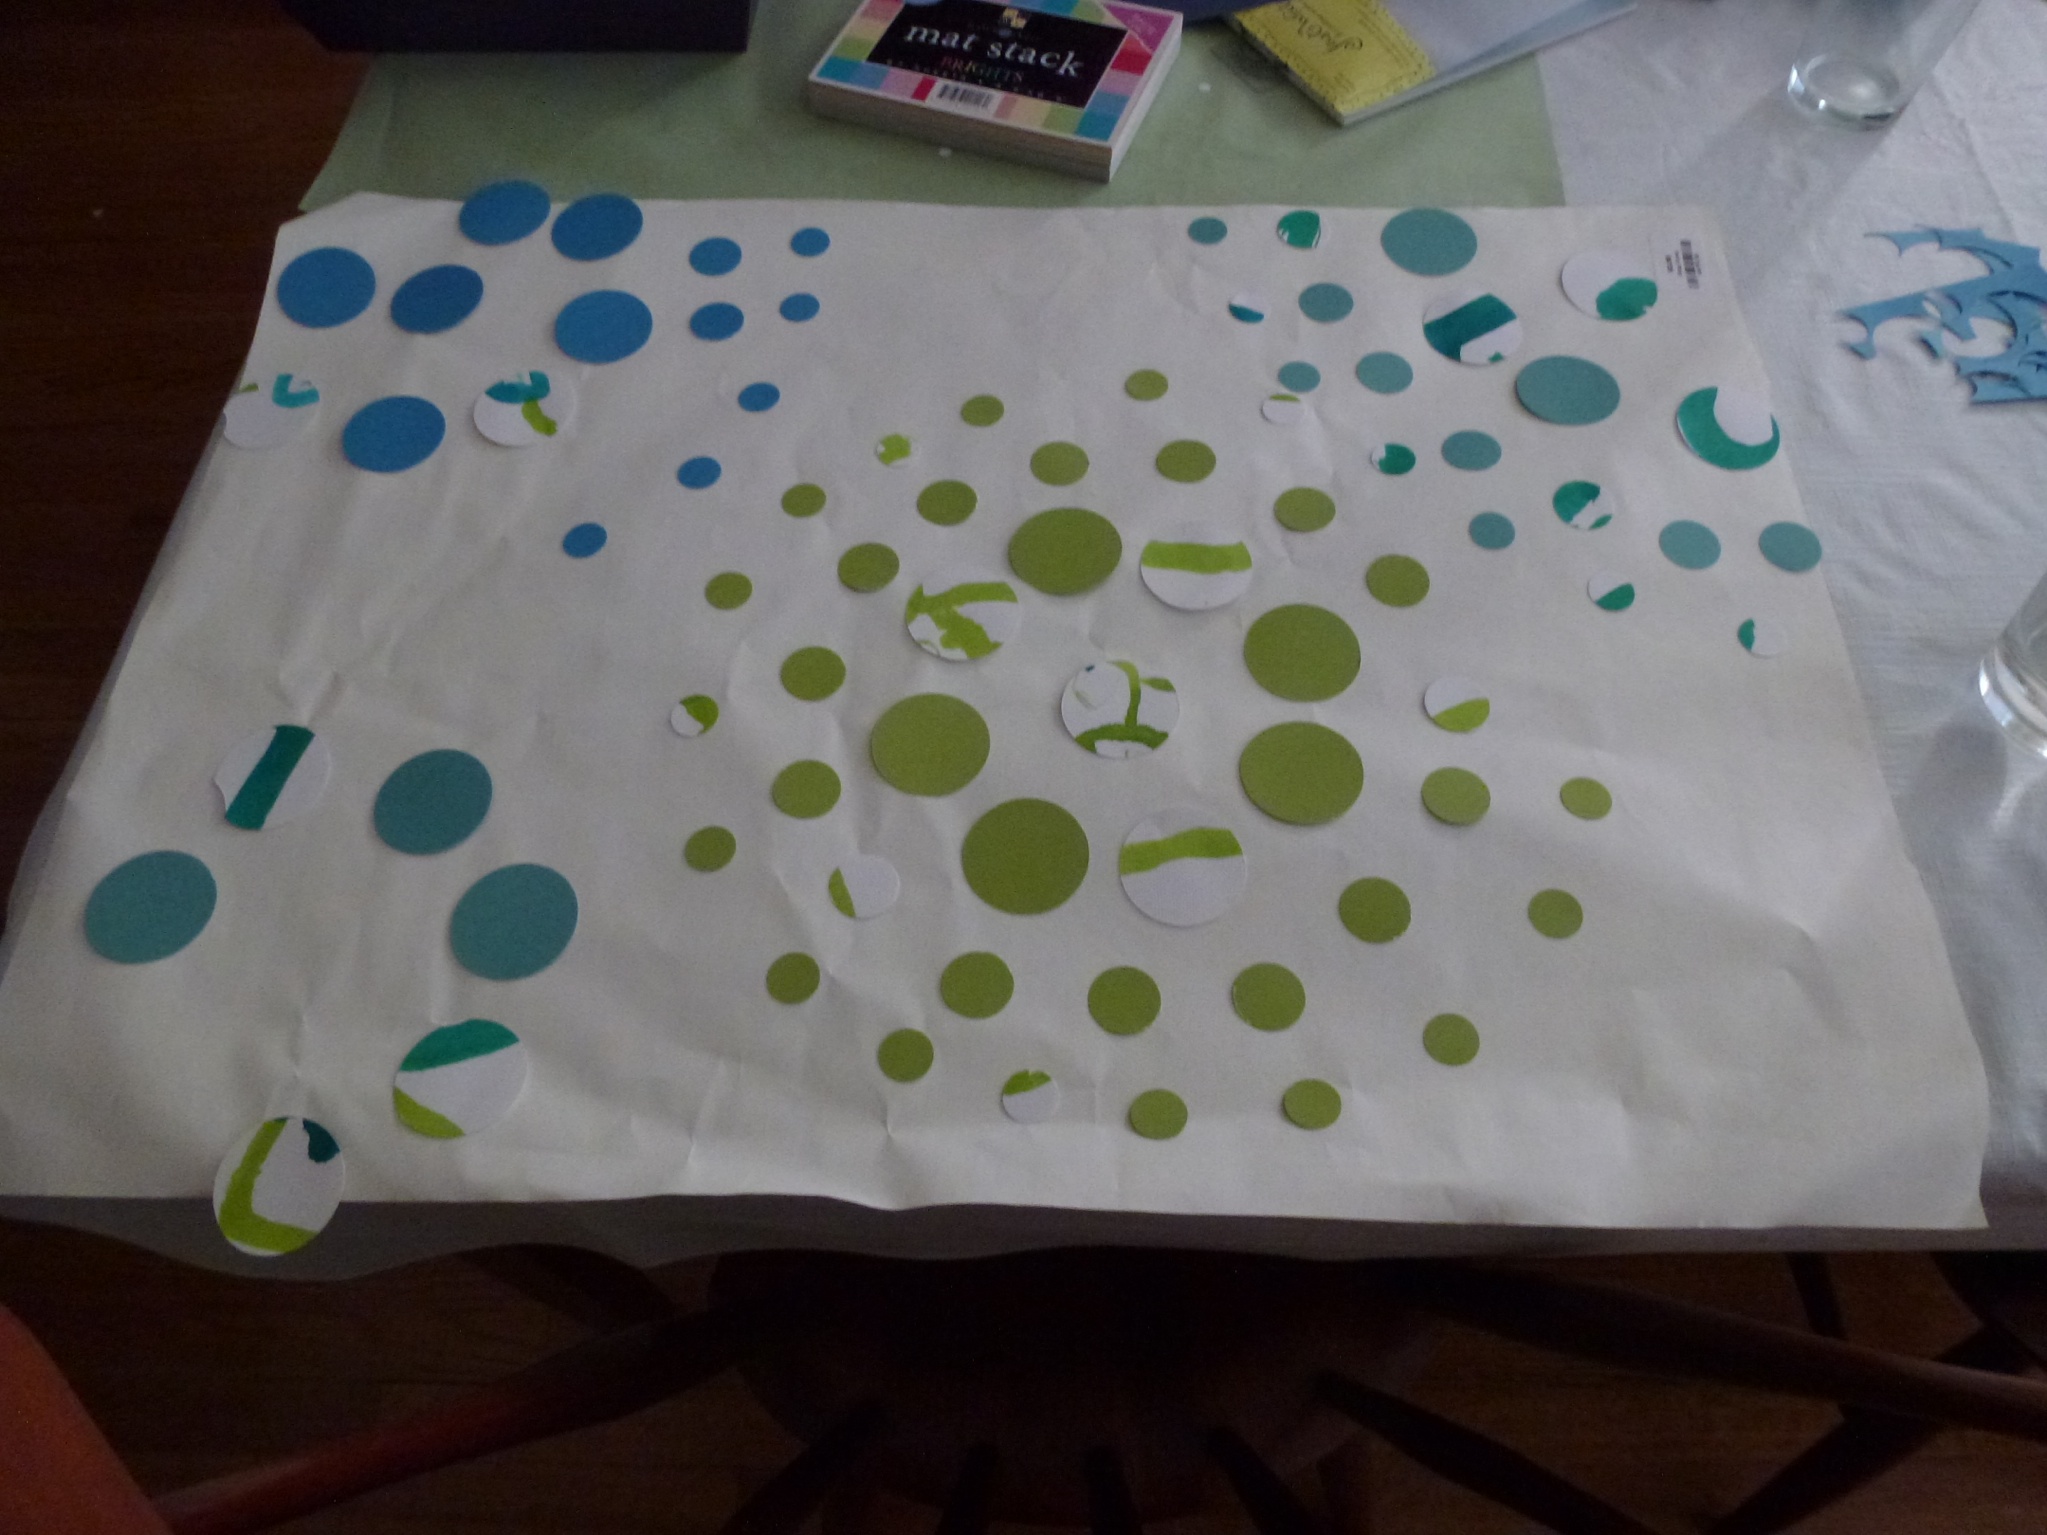
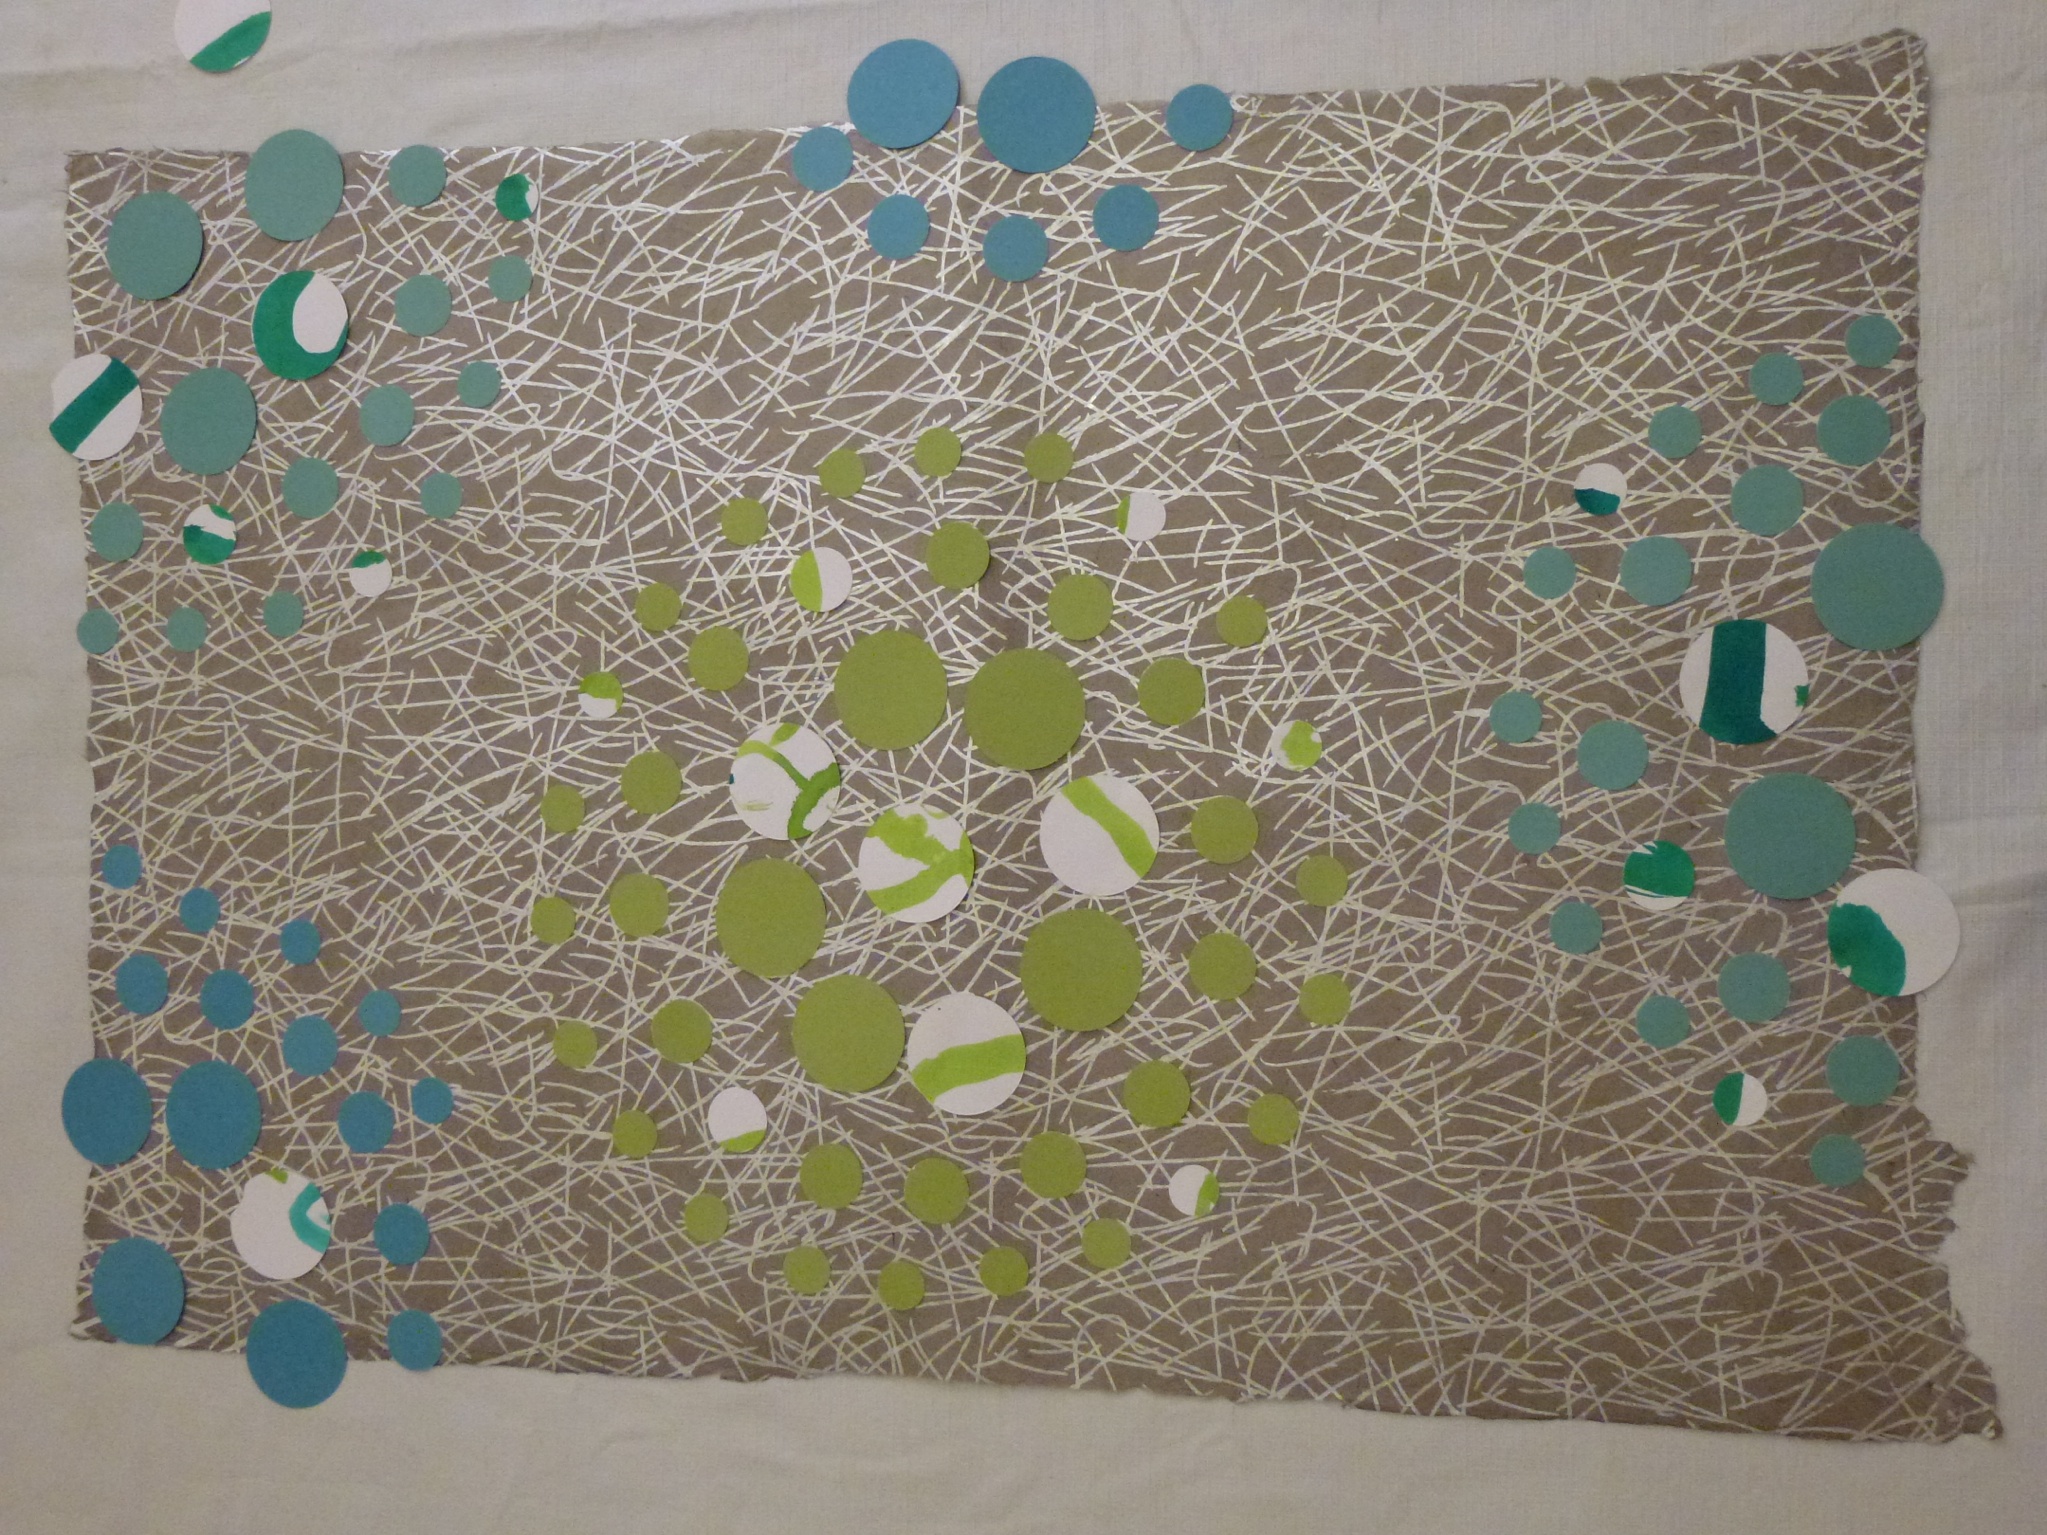
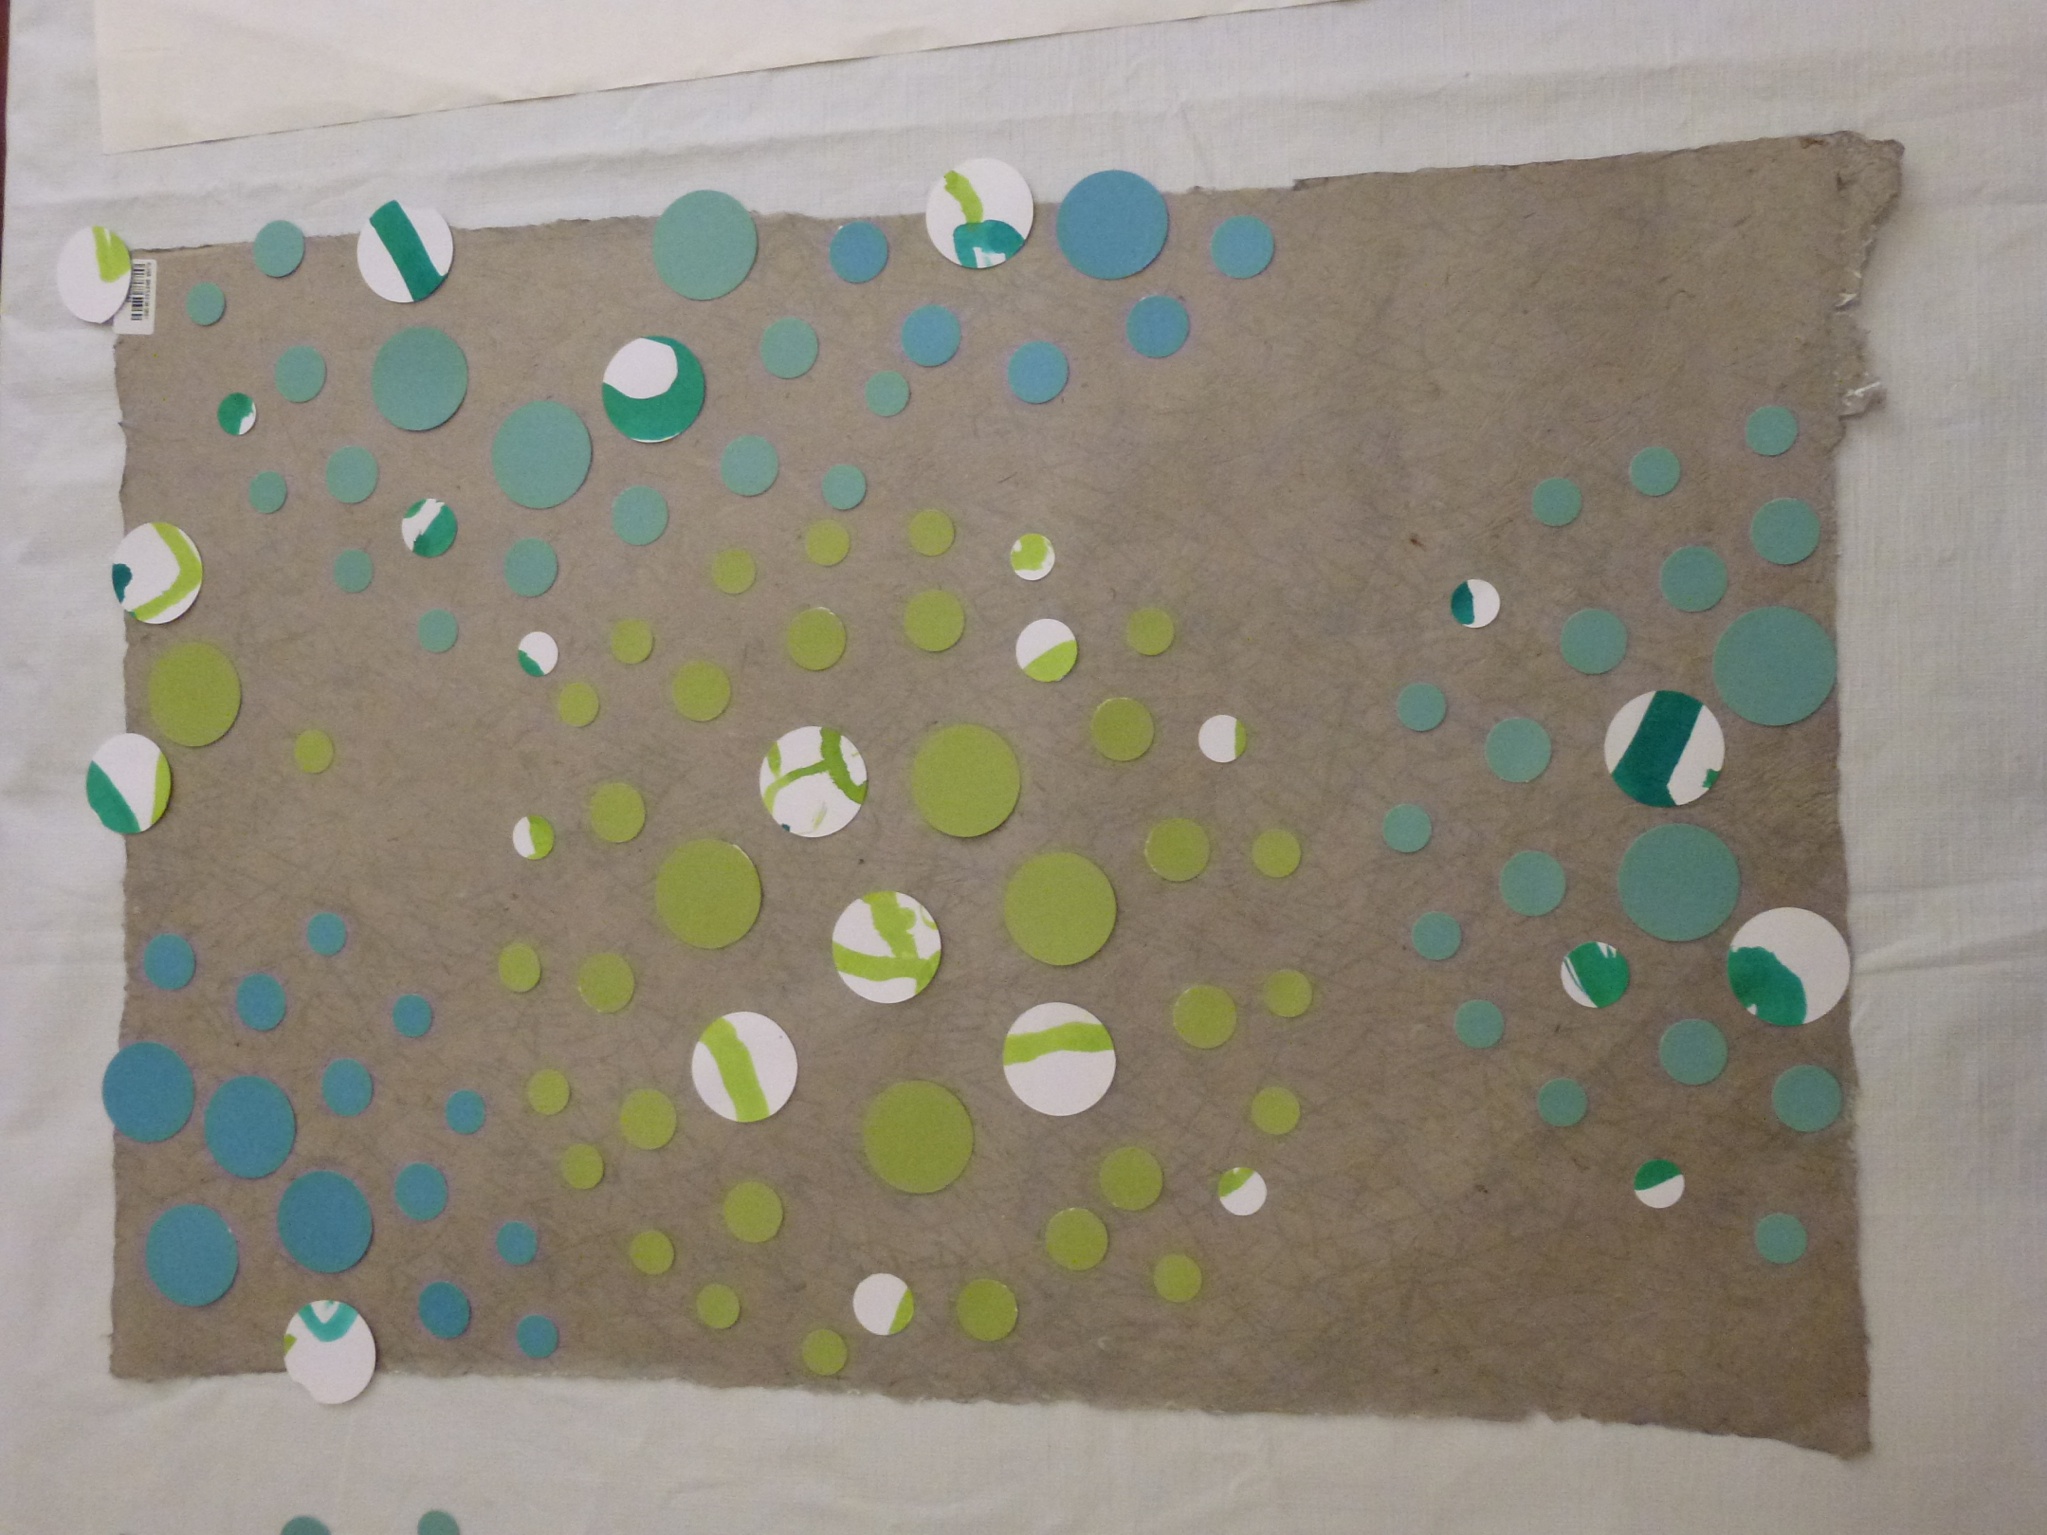
The short centerpieces, clustered on the first two rows of tables out from the dance floor, had shallow vases filled with gravel (on top of a styrofoam cake form to save on gravel cost/weight) with a 3D papier mache star in gold. They also had small gold stars in two sizes (painstakingly punched by, um, my students) and several candles scattered around.

Medium Centerpiece

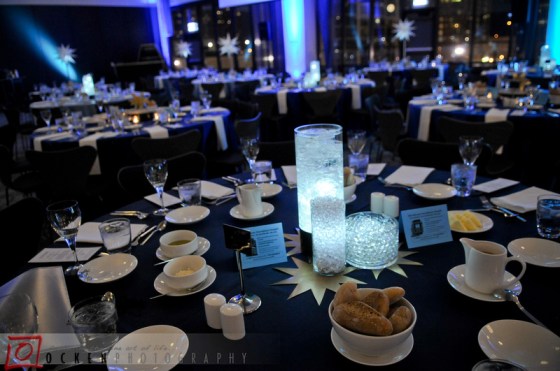
The medium centerpiece had three vases, each with a different texture, lit from within with LEDs. Each vase was on a gold star, and the shades of gold were slightly different. I used wrapping paper for the stars, so they were not expensive, and they looked very nice as bases. The tallest vase had cellophane crinkled inside and then was filled with water (I was skeptical, but this actually looks really cool as long as you are careful to fold under the top crinkle so it doesn’t try poking out), the medium had plastic crystals (they look like ice cubes) and the shortest had clear water beads. The different textures lit up looked really neat.

Tall Centerpiece

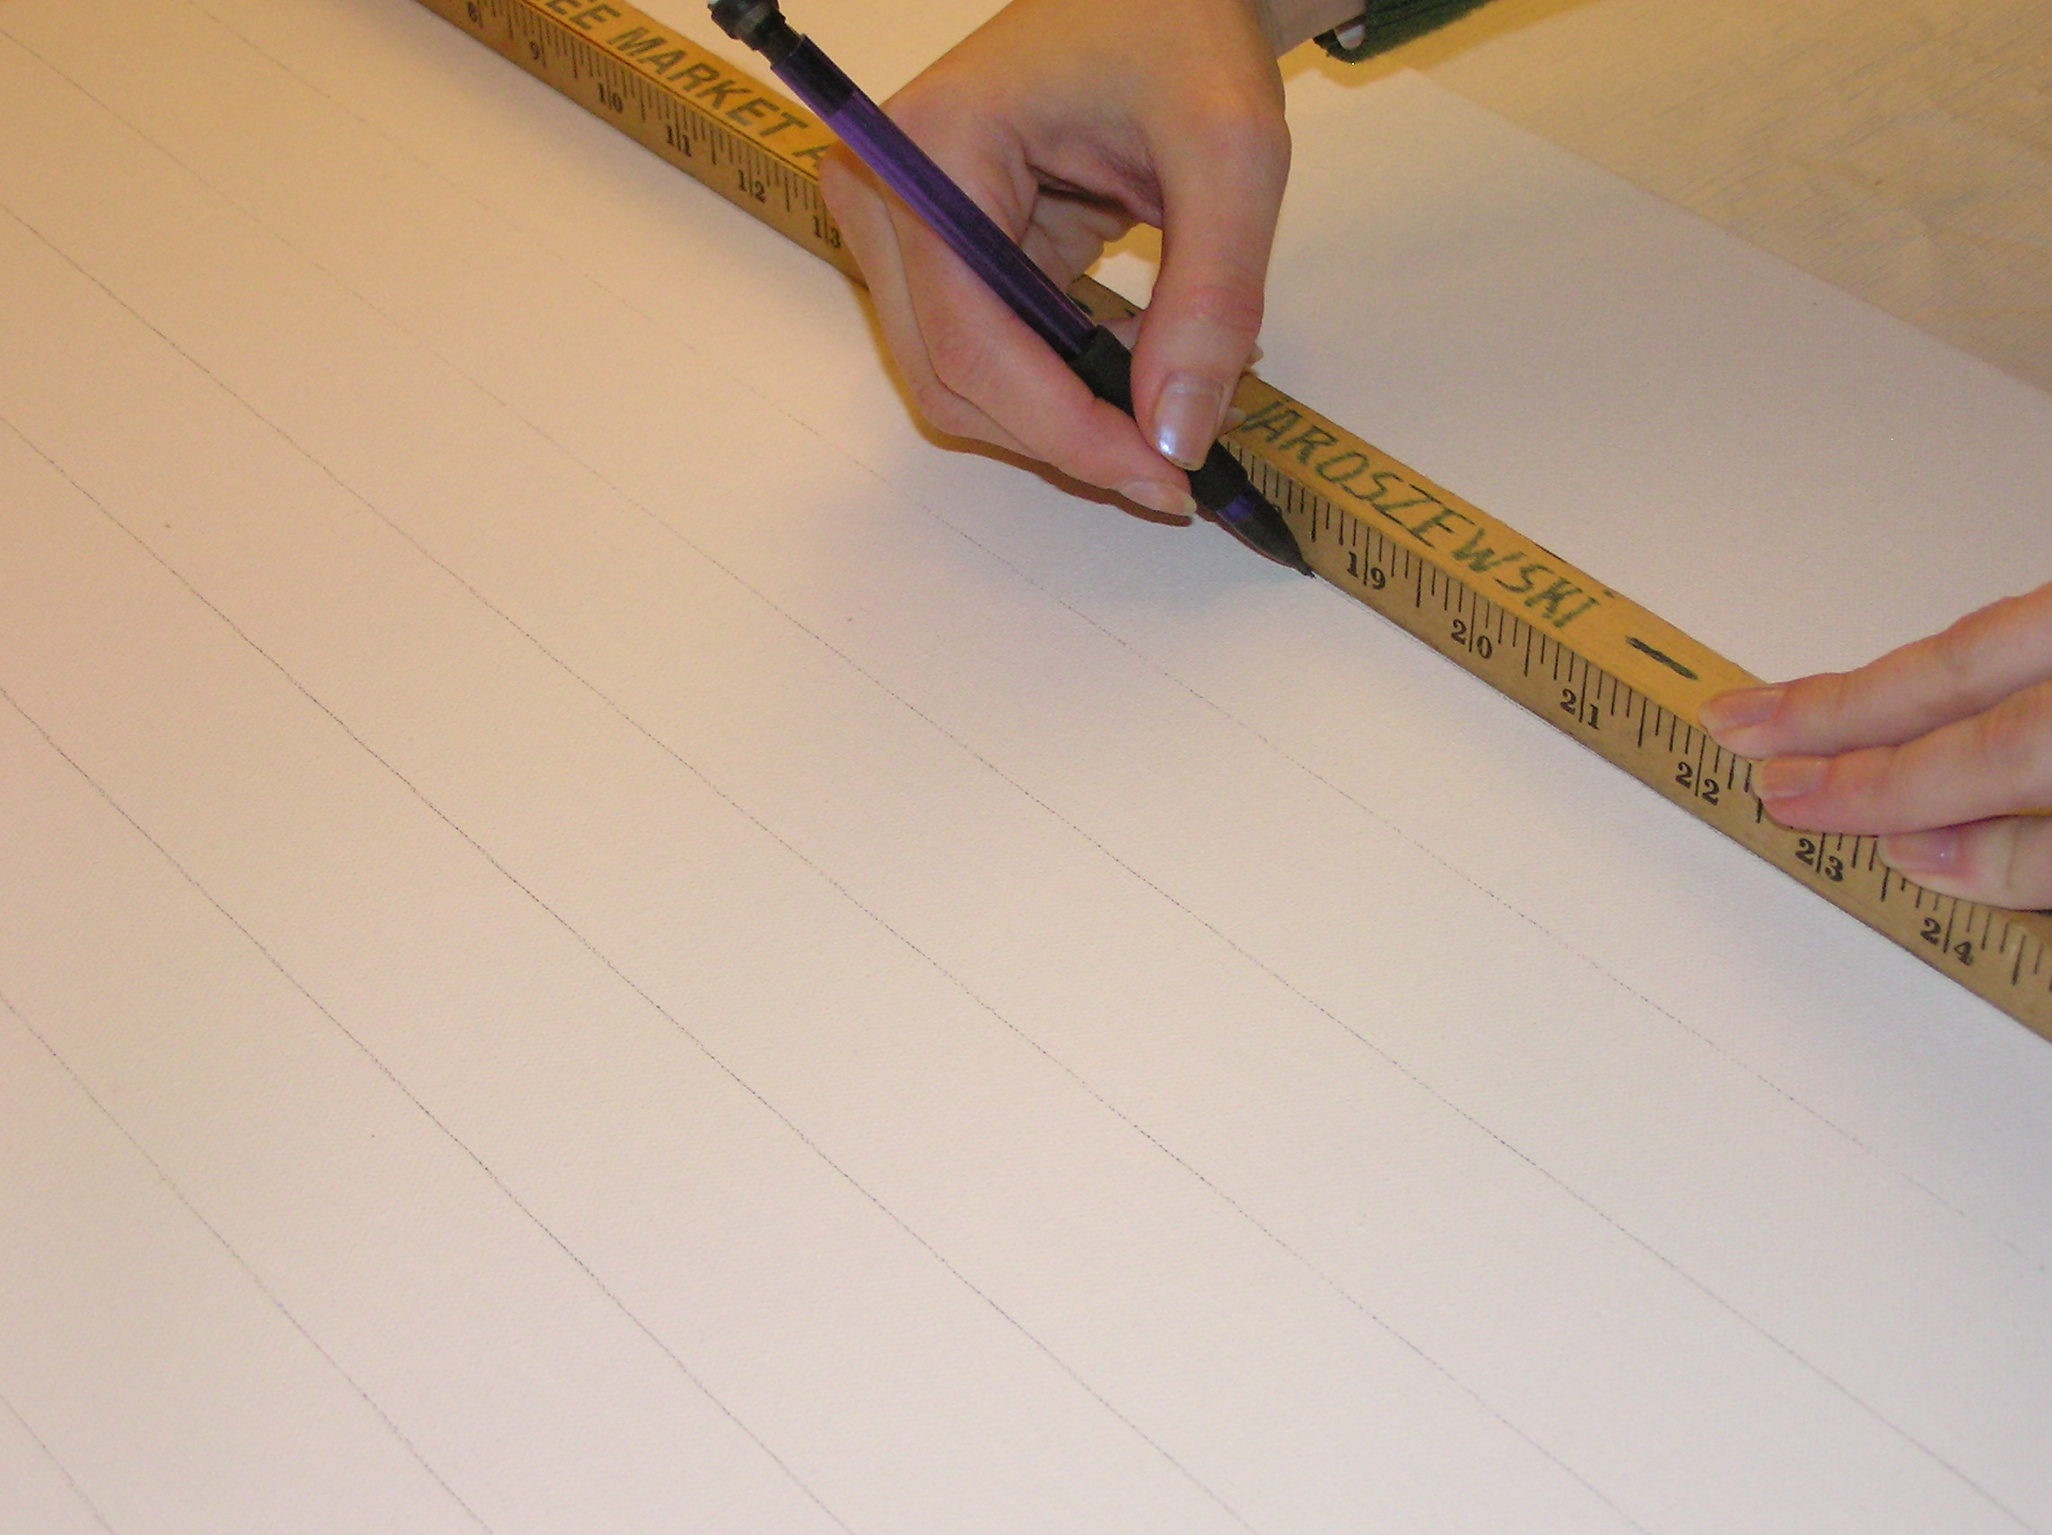
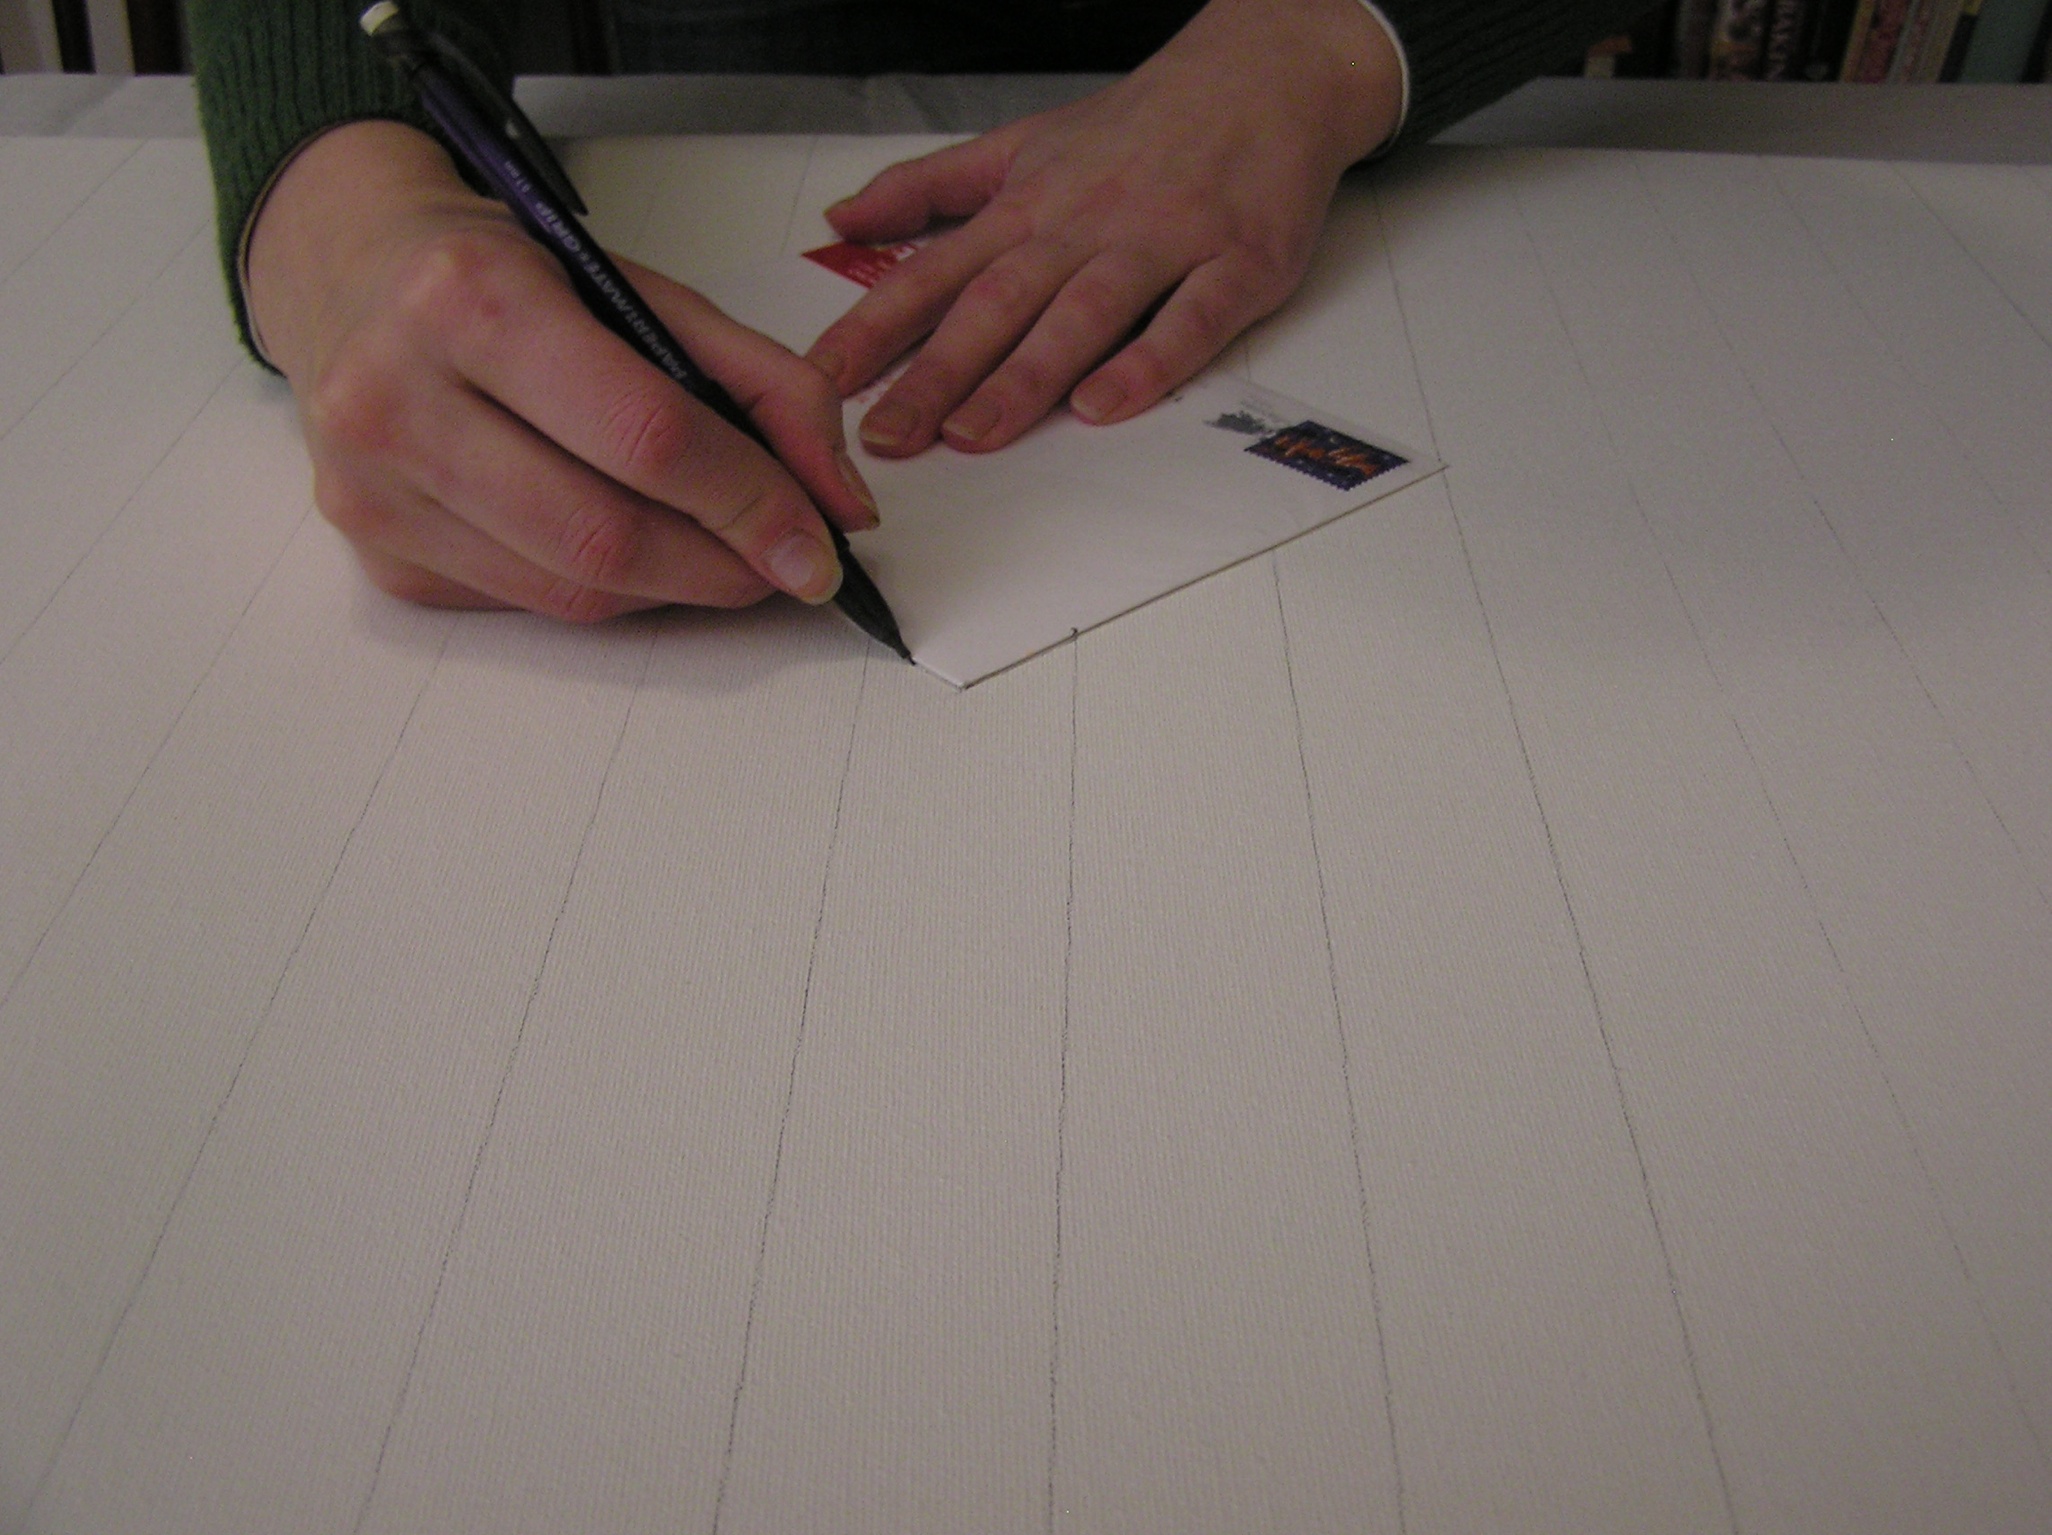
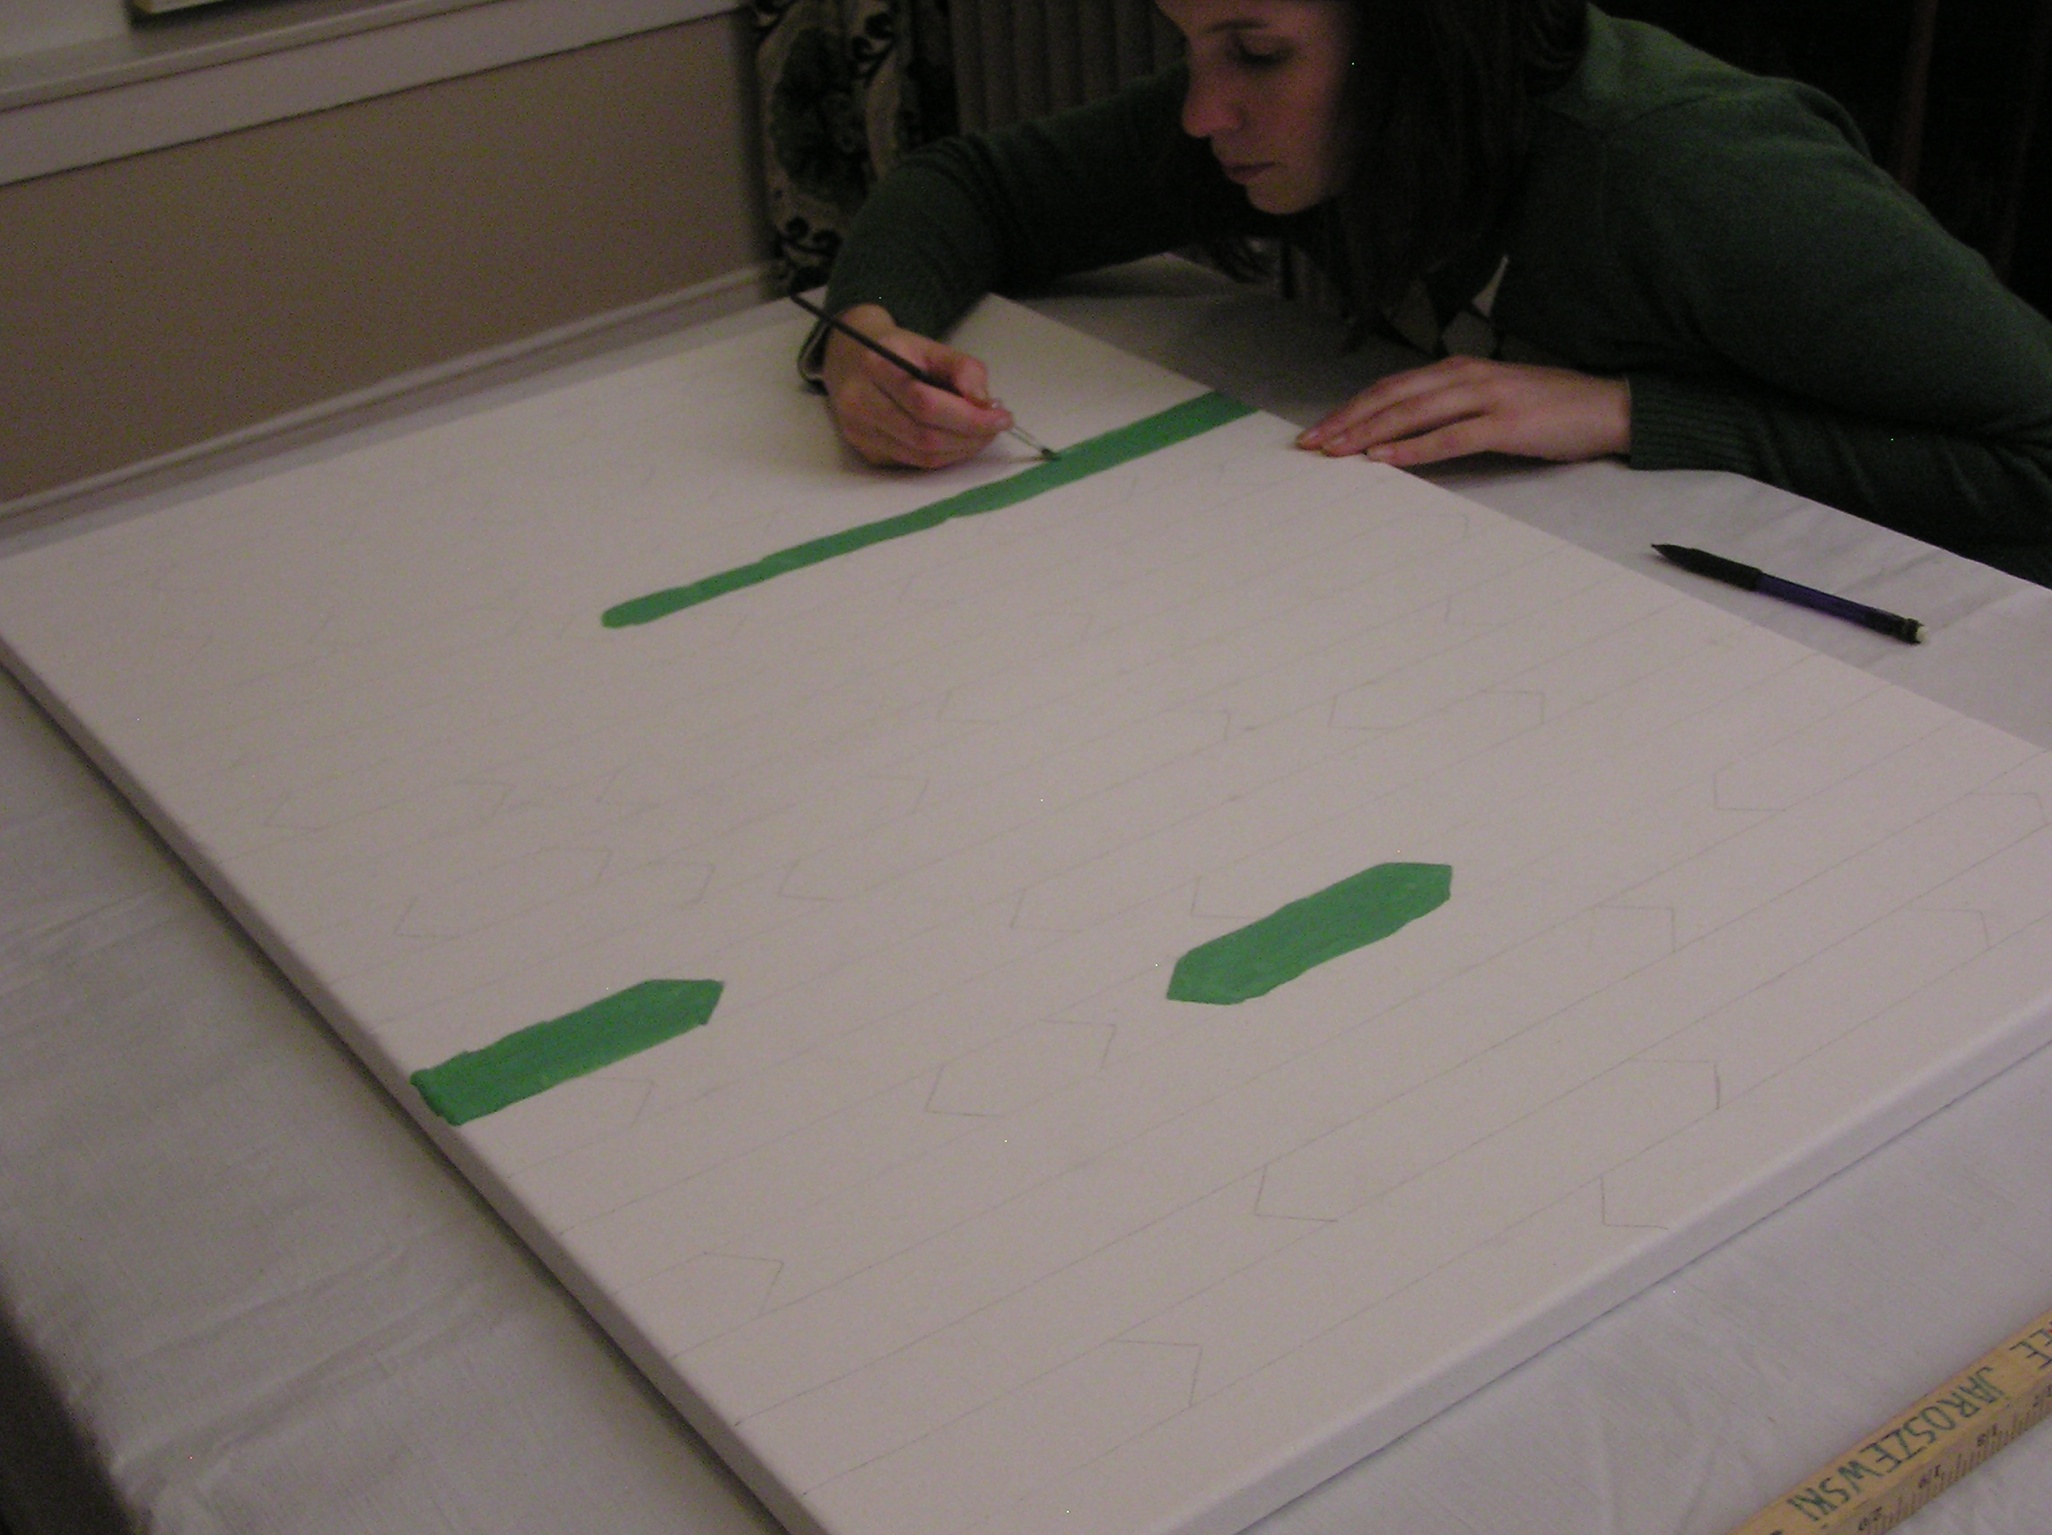
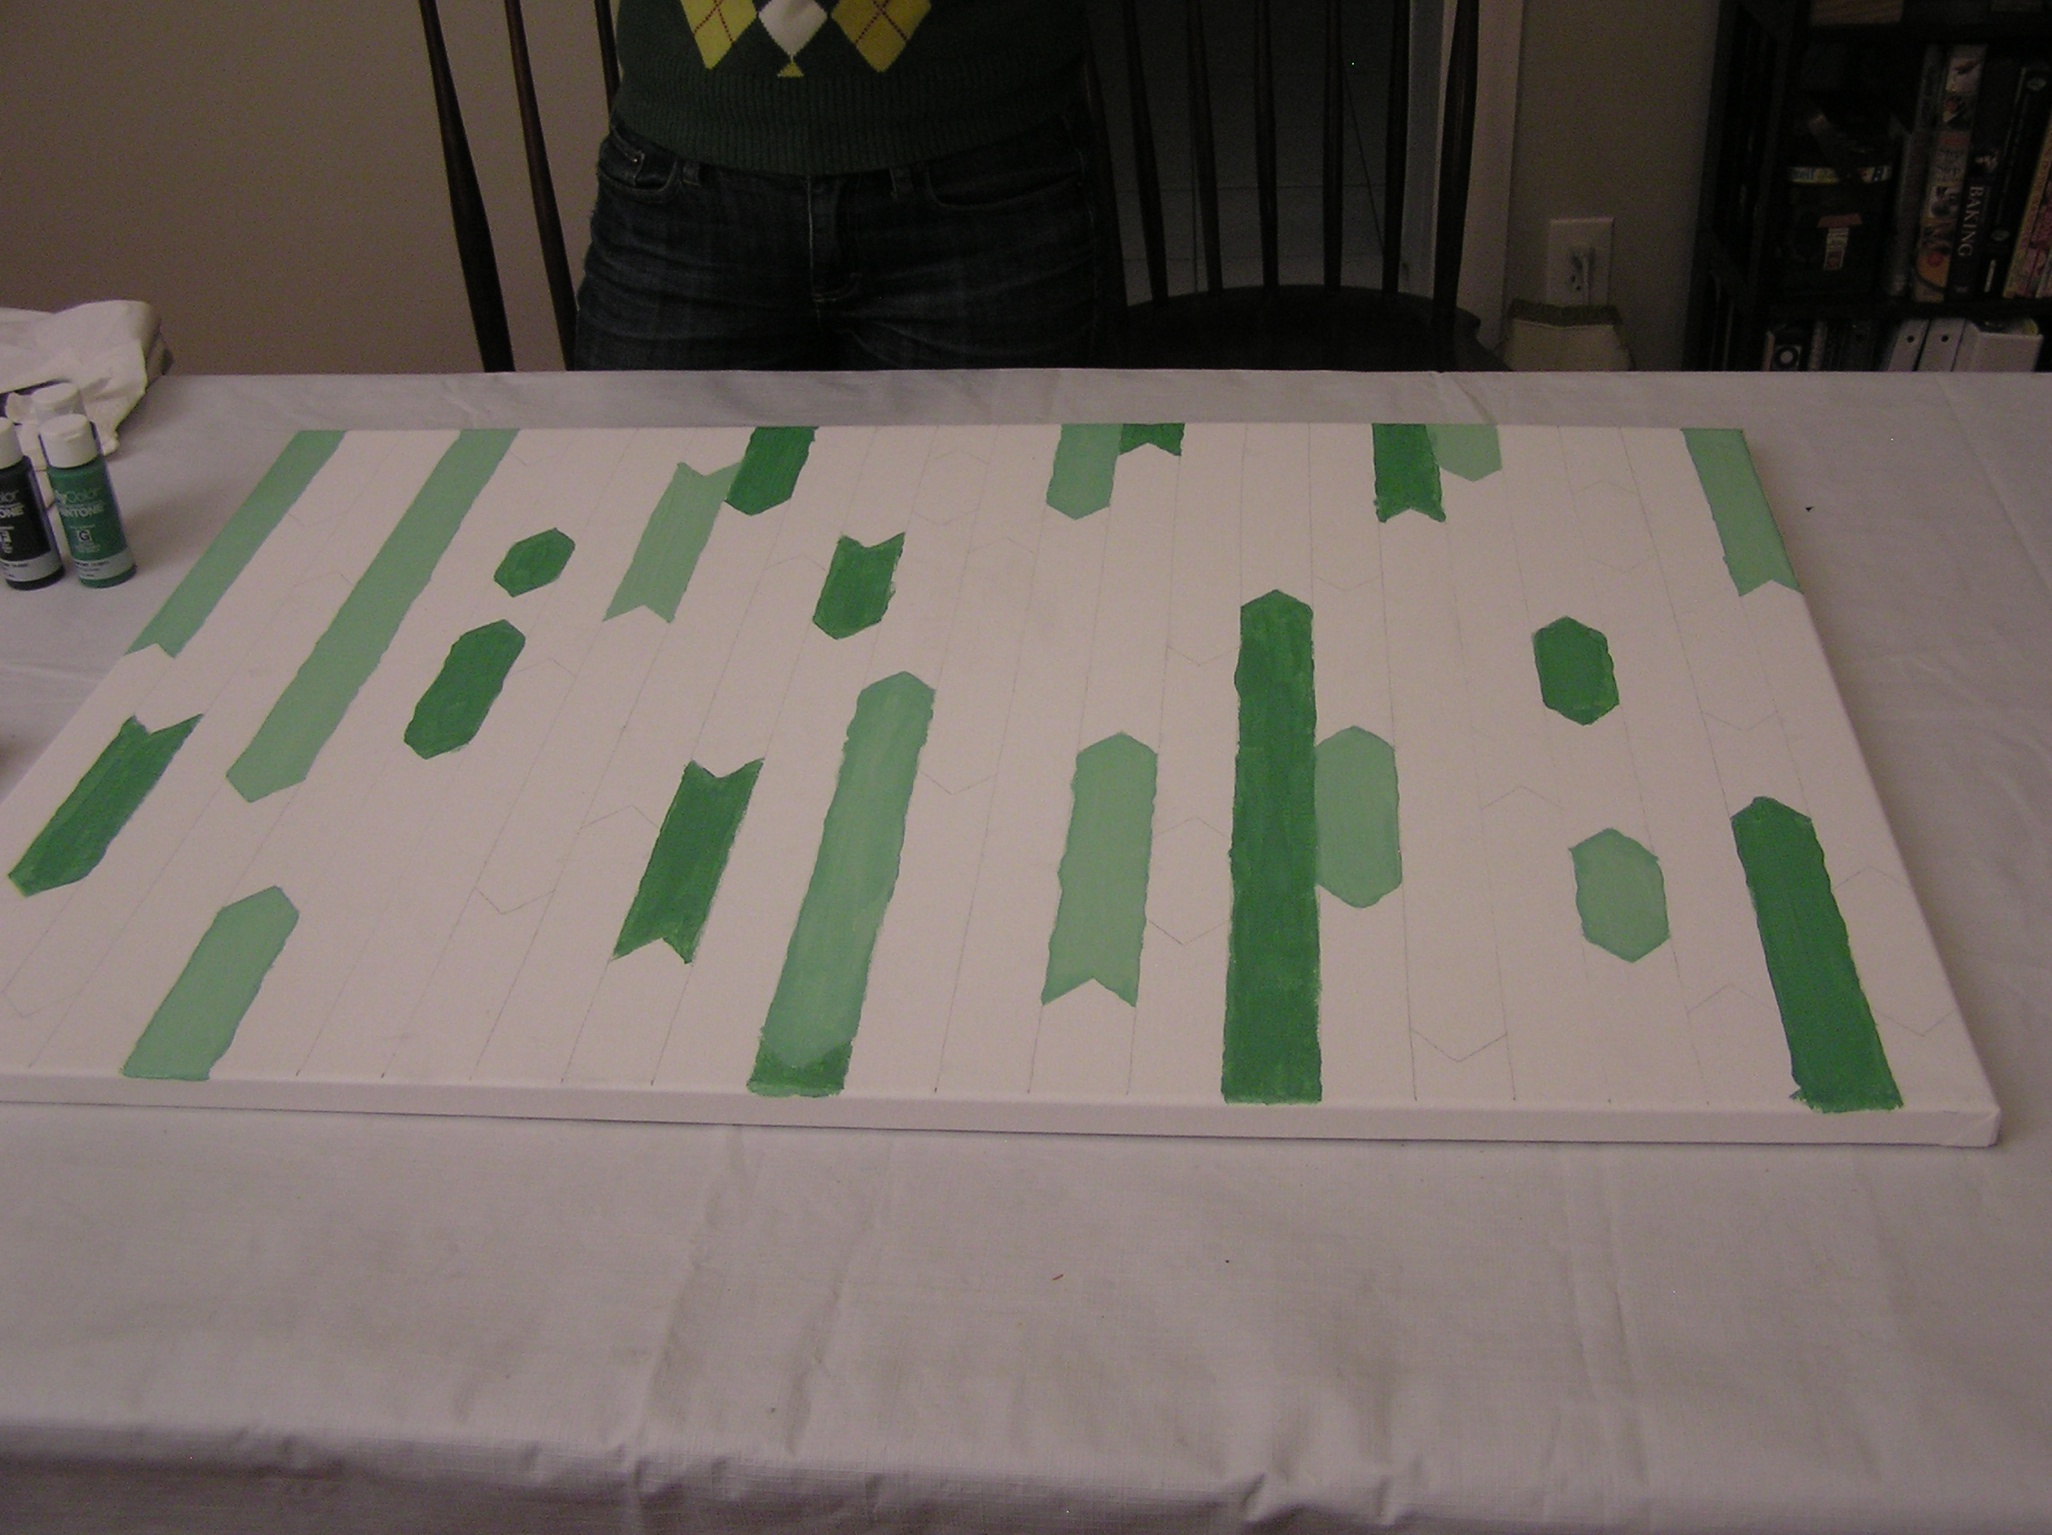
The tall centerpiece was pretty simple, with these large stars illuminated from within with LED lights on gold-covered pole (wrapping paper on PVC), held up in a dollar store vase with a word representing one of their programs or missions. The base, which you can just barely see, is an 18″ 10 point star. I made a template (math in real life!) for all of the medium and tall stars so they would look like our inspiration star above.

Illuminated Star

The stars looked really neat when the lights went down, and I loved how they looked with the lights in the room.

Wine Auction

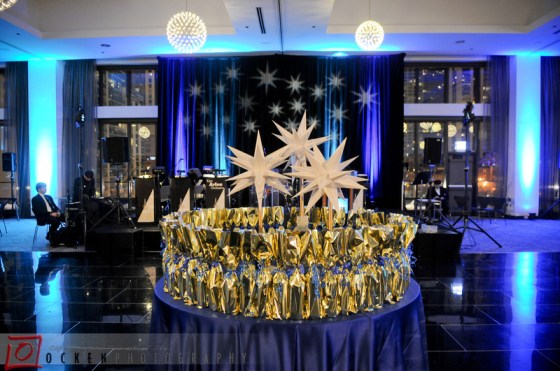
The dance floor held the bottles for the Mystery Wine Auction during dinner–you buy a ticket for a bottle of nice wine, and one lucky winner gets three really valuable bottles instead. I used three extra stars and some creative height-makers to give it some dimension and it really popped. Kathryn even ordered the gobo in the shape of the stars to project on the curtain behind the band.

The process was pretty cool–the committee chairs, Kathryn & Brad, both bought various things they thought could work with our very vague theme of “shades of blue,”  “something that goes with the cool lights” and “stars like the logo.” Kathryn found these amazing spiky gold balls that I loved, but they didn’t end up being the best fit for everything else. My main contribution was to say I could figure out how to make all the gold stars for the bases–so basically they asked me to be on the committee because I’m good at scissors.

M&M at Carnaval

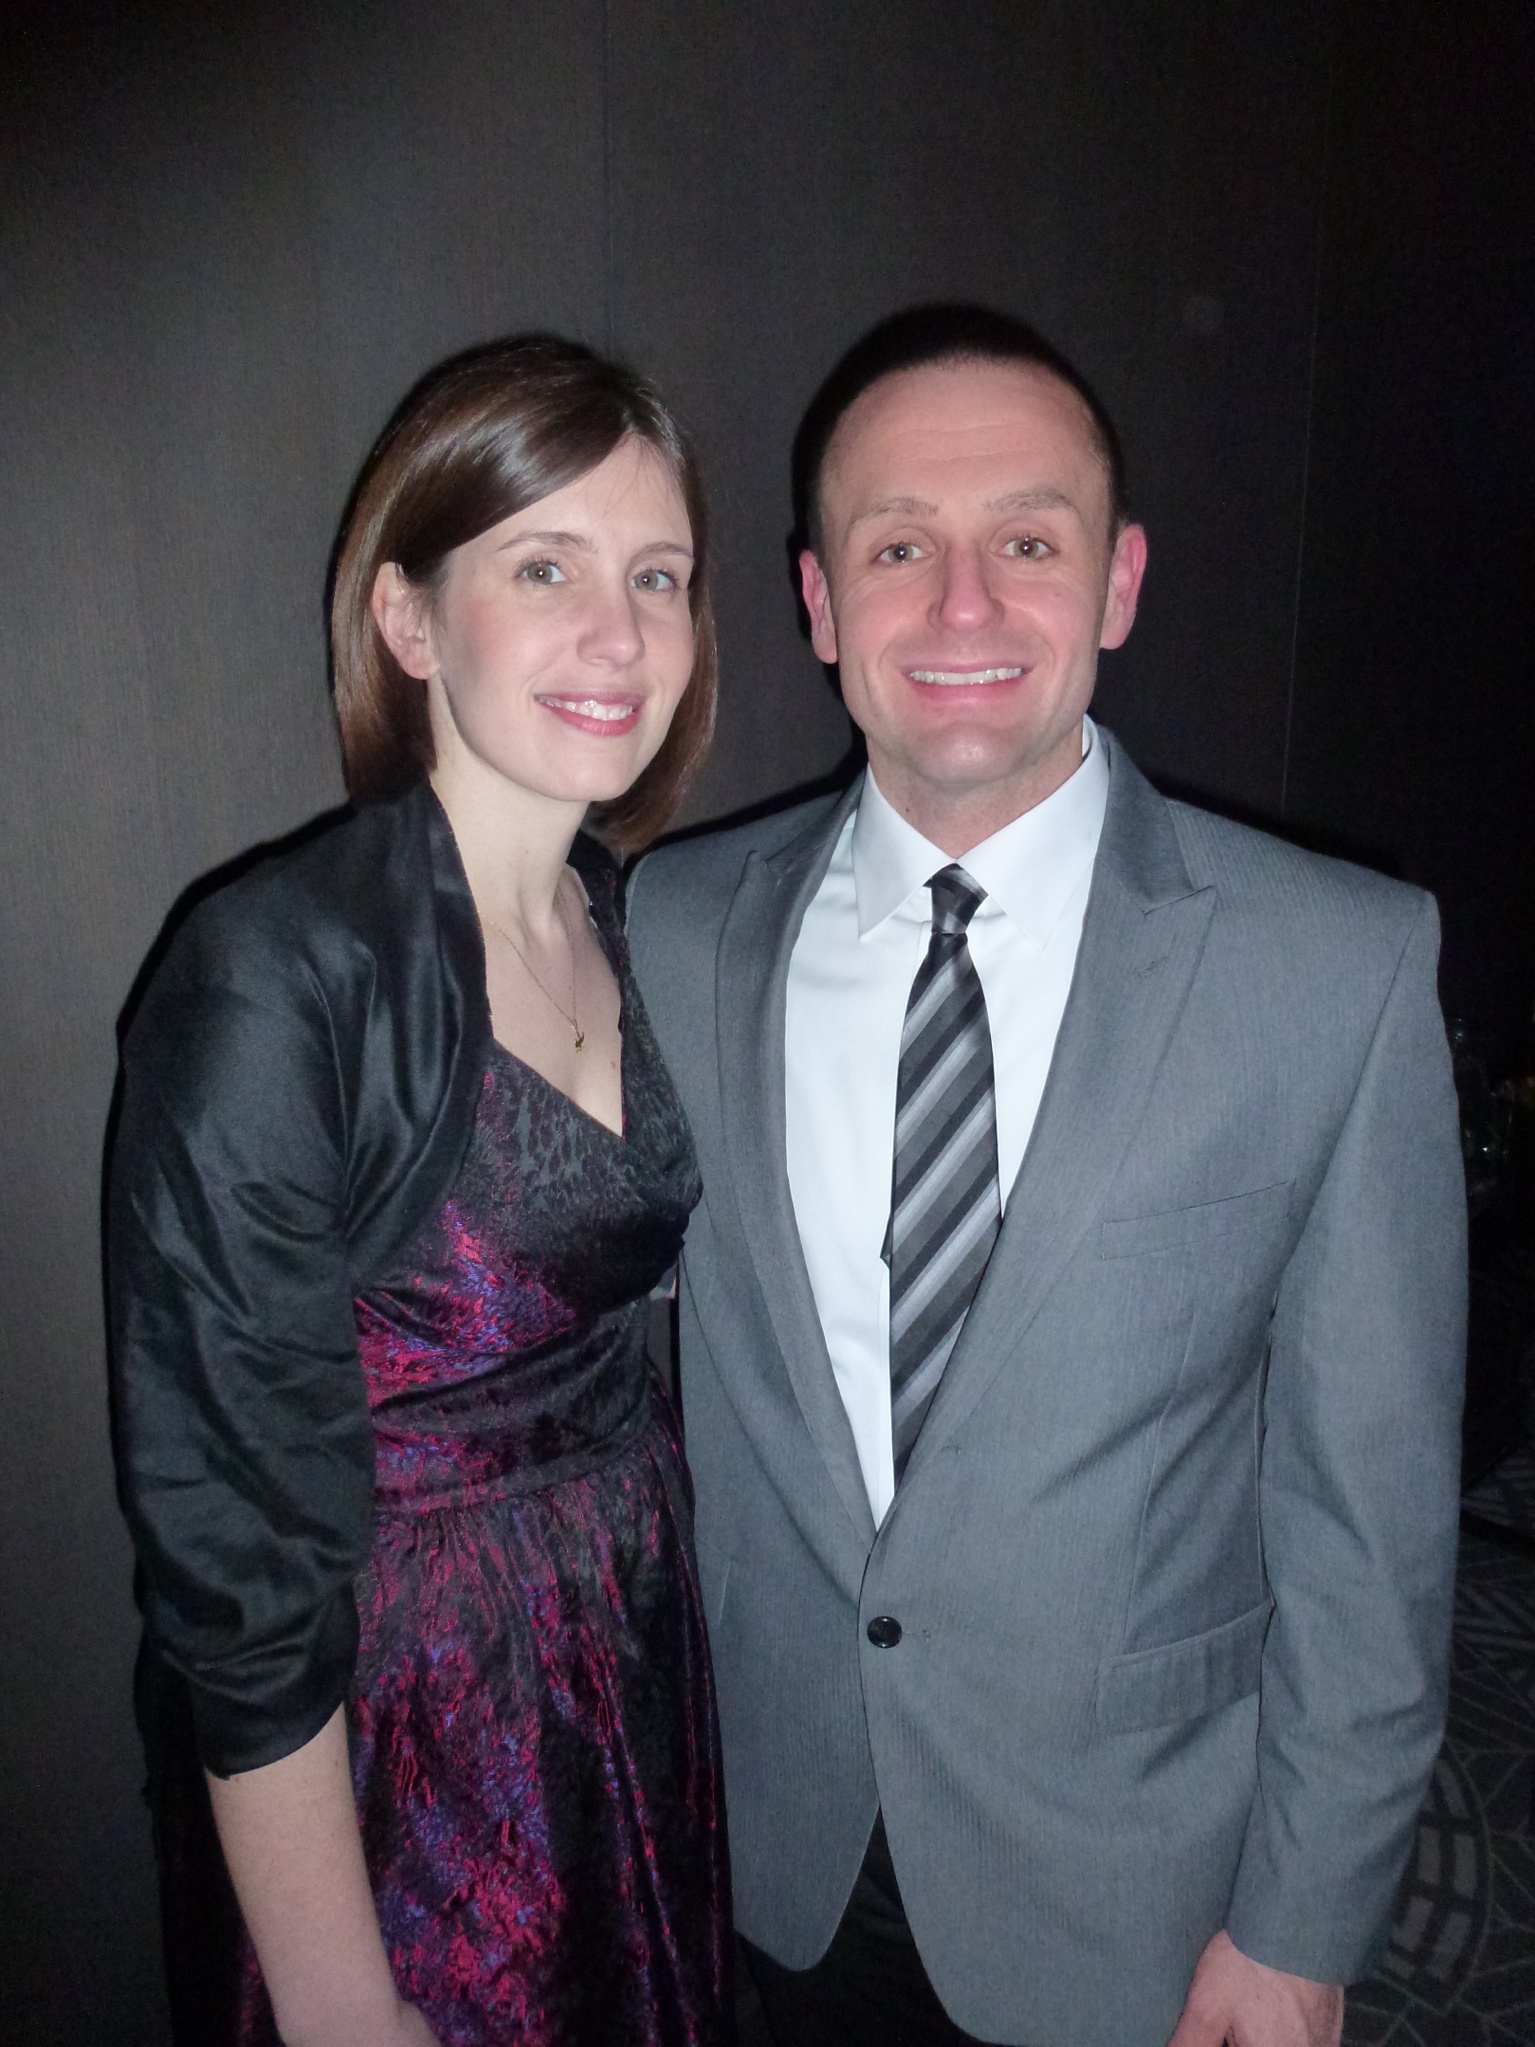
Oh, and I was there too. At a table with a tall centerpiece, my friends from the committee and Boyfriend. We had a lovely time. Boyfriend even got us a hotel room since I was on the committee (it was super modern with bright teal carpet)!

My Shoes Match

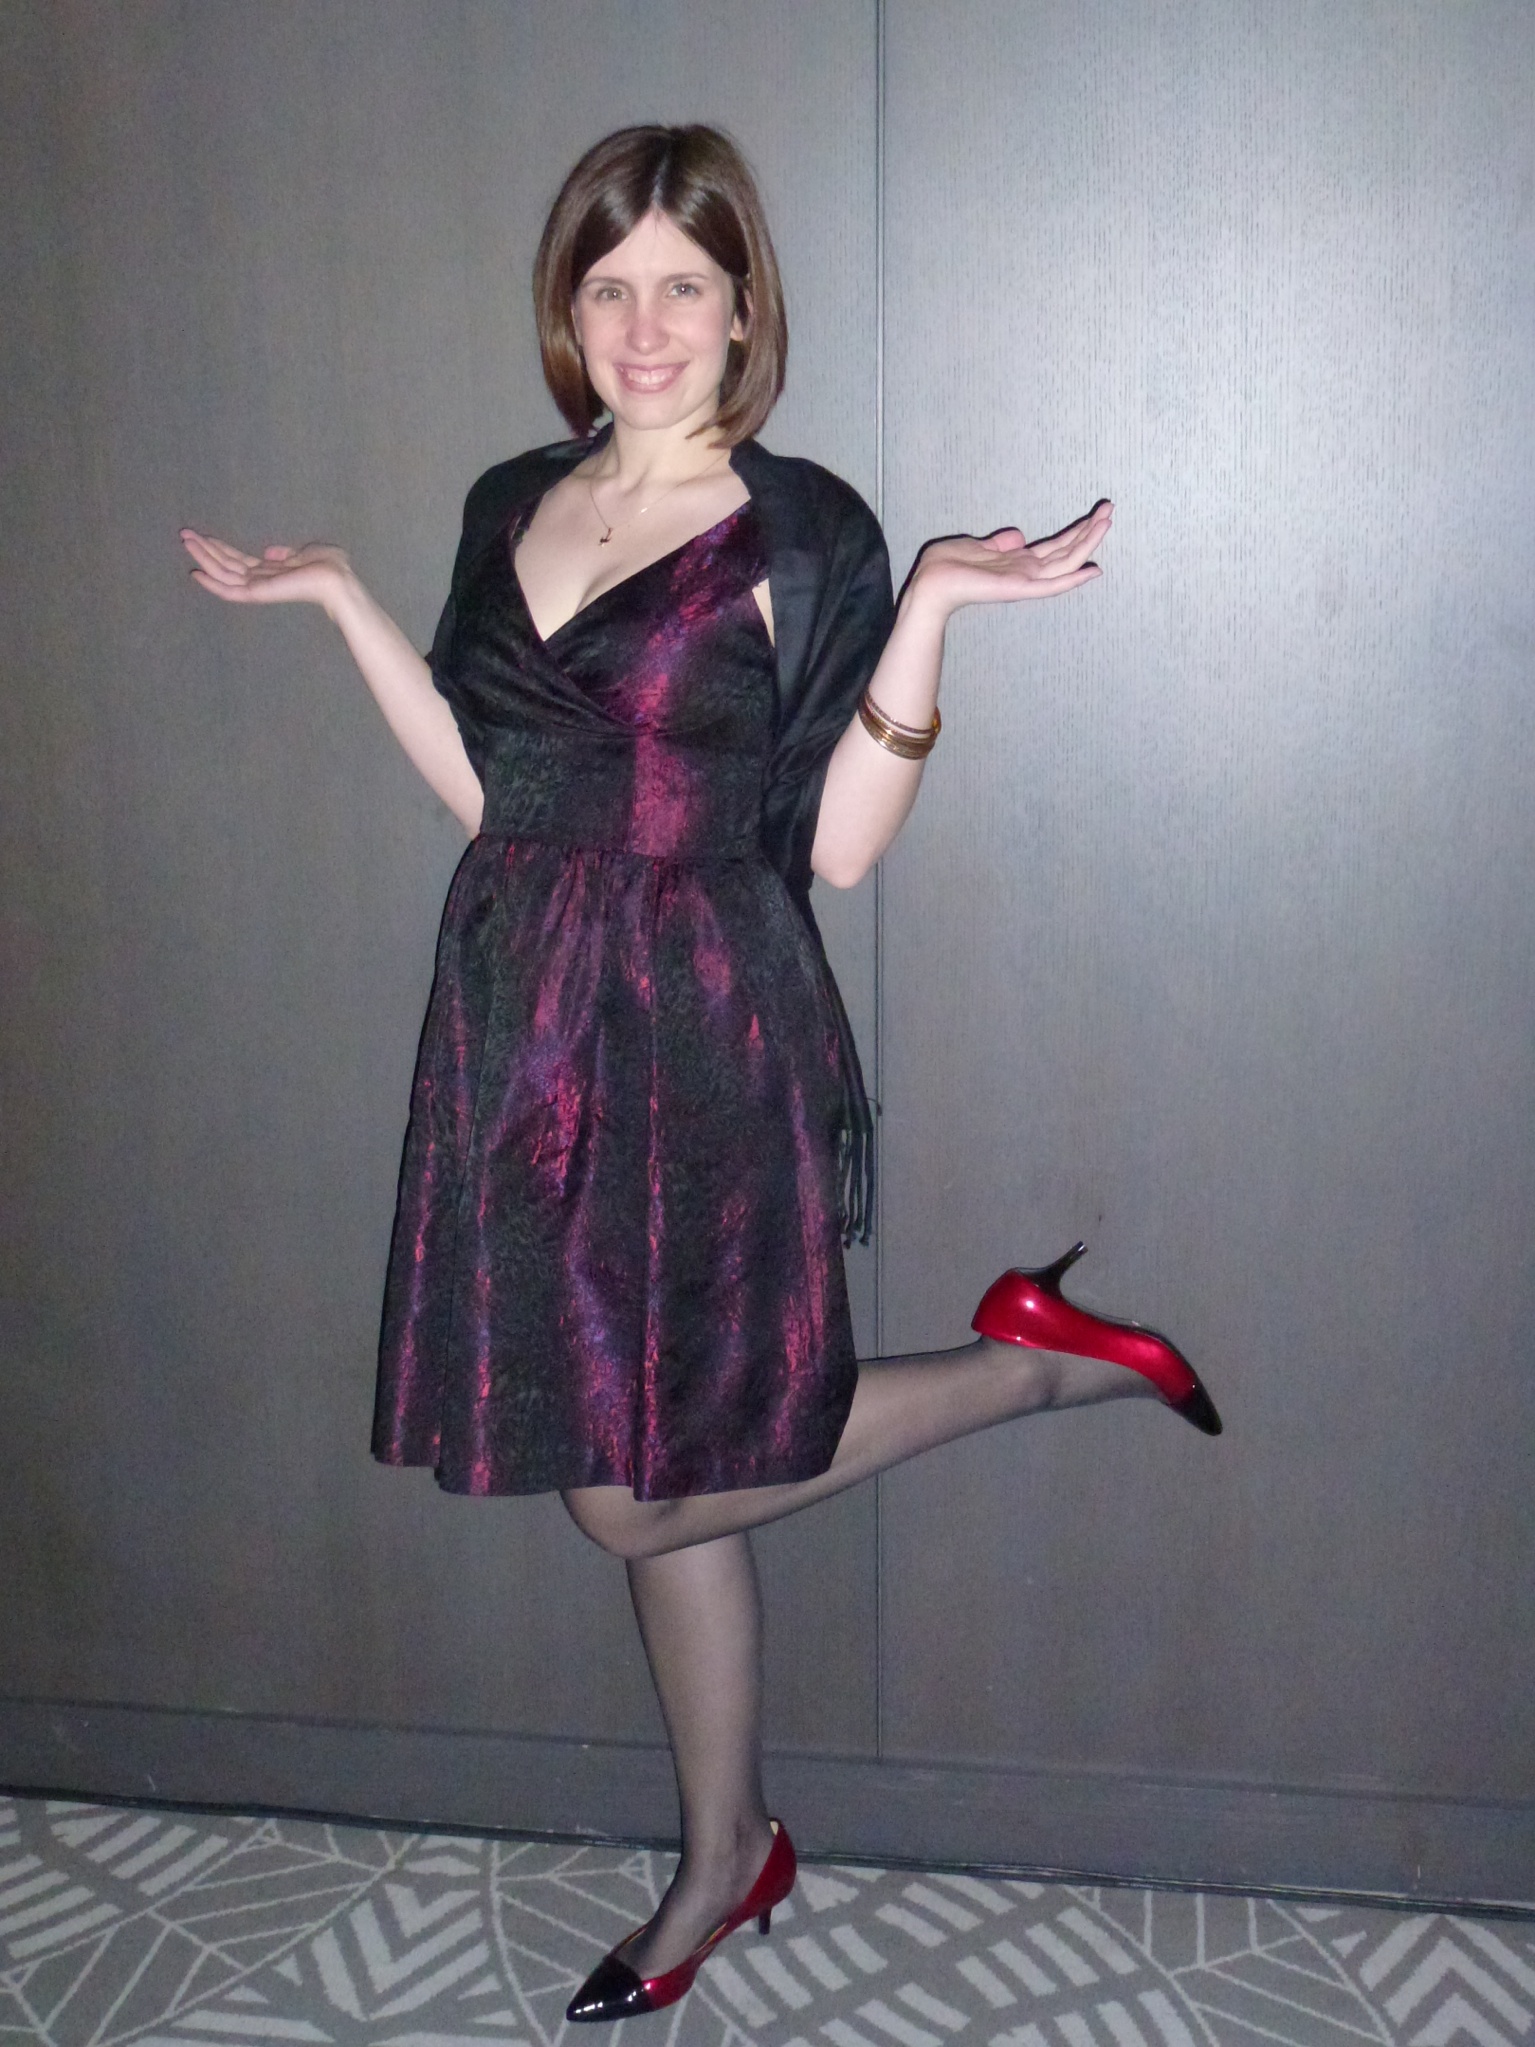
Also, my shoes matched my dress. I thought you should know.

What’s the biggest event you’ve worked on? Ever decorated for 500 some people?!

Style Evolution: Old Apartment

I started writing this post before I started moving. Then, no internet for three weeks (oh, the agony!). But now that I’m settling into the new place, I thought it would be fun to take a look at the old place.

Mary’s post about her living room is a pretty good description of how my style has evolved – I’ve worked with what I had and made the most out of things I don’t necessarily love. I have a lot of hand-me-downs, a lot of thrift store finds and a lot of furniture from box stores like Ikea and Target. And you know, I think I’ve made that work pretty well. That’s been my budget, and I think I managed to mix the practicality of using what I had and throwing in some smaller new stuff to make it work.

So let’s take a tour, shall we?

You enter the apartment at the top of a flight of stairs (no landing), and step into a narrow, L-shaped hallway.

The front hall

The front hall

Front hall towards kitchen

Front hall towards kitchen

When I moved in, most of the wall in the apartment were dingy beige and the trim was dusty taupe, and in pretty rough shape (tons of chips). It took about two weeks to paint the hallway, living room and bedroom. The gray here is Burnished Metal by Behr, and the Trim is Behr’s Ultra White. (I’m a huge fan of Behr’s Paint and Primer in one.) I love how this turned out. (I actually love this color so much that when I had paint samples stuck to the wall of my new place, I picked this color again, having no idea it was the same until I ran down to the basement to get touch up paint when I moved out.)

Since the space was so narrow (the exact width of the doorways), I only hung pictures on one wall in each passage, but I think keeping the frame sizes and shapes consistent really dressed up the space.

Kitchen

Kitchen

Since I painted so much of the apartment, I left the kitchen color as it was. It was a beige-y yellow that felt a bit Tuscan to me. The cupboards were a mishmash, but the giant wall of windows made up for any shortcomings in this kitchen. Pity the curtains are closed in this picture.

More Kitchen

More Kitchen

I invested in a nice island-type table that could seat four (even if you could only crack open the fridge when both flaps were up), added narrow shelves above the sink, asked my mom to make some basic cotton curtains for the windows (both for privacy and temperature control). And we added a ceiling fan, which made a huge difference in the functionality of this room in summer. Oddly, the bathroom was tucked under the eaves right off the kitchen.

Bathroom

Bathroom

Not stunning, but there was a ton of storage that made it usable. The sage green towels I’ve had for years looked pretty good too. On the other side of the kitchen was a small carpeted room that I used as a pantry.

Pantry

Pantry

Since it had an outlet and a light, I was not only able to store food in there, but kept my kitchen aid mixer and microwave in there too. It was just a step away from the stove, and really helped keep my limited counterspace clutter-free.

Looking into the living room

Looking into the living room

My living room evolved around a couple key hand-me-downs and some lucky clearance finds. The loveseat (and despite the size of the room, I could only have a loveseat because of the narrow hallway and door) was a gorgeous designer hand-me-down that used to belong to an interior designer friend of the family. The green chair and rug were both new, but floor models, so I got them each for about 75% off from Pier One and Ikea respectively. These are three pieces of furniture that I really love, but I have discovered that the loveseat is fantastic for curling up to watch a movie or read a book by yourself, but not really functional for company.

The "L" of the living room

The “L” of the living room

Now, you’ve seen these chairs before. They weren’t quite what I had in mind for this space, but they were a free hand-me-down from my mom, and I do love how they turned out with new paint and fabric. I also love how glass doors turn the cheapest Ikea bookshelves into something really special.

Living room looking toward hall

Living room looking toward hall

I also really like my TV armoire. I like that it keeps the TV dust-free and out-of-sight when I ‘m not watching, that it’s actually made of real wood with a nice finish, and that it was another free hand-me-down from friends of the family. I’m not crazy about the way you can see all the cords underneath, or about how wide it is, but all-in-all, it’s a nice piece.

Office

Office

Off to the side of the living room was another under-the-eaves room, which I used as an office. I had a desk made of two file cabinets and a huge glass table top. I regret buying that glass table top! It’s too heavy to move by myself and it’s so large I have to use brackets to brace it against the wall. The room had another sloped ceiling, but was long enough to pack in quite a bit of storage for my craft and office supplies.

Messy, messy office

Messy, messy office

Bedroom

Bedroom

The bedroom was one room I never really did much with. The Ikea dresser was purchased to fit a specific space in a previous apartment (and I’m sick of the blue) and I never really found a rug I liked, so I just threw down a tiny Ikea mat. Also, the radiator made bed placement really difficult.

Bedroom window

Bedroom window

I do love my textured white curtains (and the cute dog peeking out the window). But I’m not crazy about my headboard anymore. Or the return-discounted mattress set I purchased almost 10 years ago (it’s a full-size firm bed, and I’m a side-sleeper who’d rather have a soft queen-sized bed). Also not great? The blankets I constantly have on the bed to keep dog hair off my sheets because someone likes to nap there while I’m at work.

So there it is. Not super-stylish, but not too terrible either. But now that I’m in the new place, I’m eager for some change. And, for the first time in my adult life, I can actually purchase a few new things too. I still have a pretty strict budget, but there’s a little more flexibility to, say, buy a couch that I like, instead of one at Goodwill. So I think it will be really interesting to see how things evolve in the new place.

At the same time, I keep reminding myself that part of the reason I have inexpensive, fine-for-now furniture is because I rent, and I never know how long I’ll be somewhere or what the next place will be like. So it still doesn’t make a ton of sense for me to spend a fortune on  decorating a place I might be in for a year or two. And money I don’t spend on that, is money I can eventually spend on buying and decorating a place that I actually own.

Loving the Living Room

I moved the best of two worlds (my apartment and my sister’s; she headed for California) into my condo, but the best of both worlds came with some drawbacks. Having all of the furniture I needed meant I didn’t need to buy anything (yay!) but I also didn’t get to choose anything (boo!).  In a few rooms that meant giving myself some time to choose what I wanted and upgrade over time to better pieces.

My living room, however, was another story. That room was fully furnished, and much of the furniture was very nice.  The centerpiece? A (very valuable) Oriental rug from my grandmother. I also had most of my father’s newly-divorced living room set, with a masculine/traditional look going. It wasn’t bad, but it definitely wasn’t my taste either. Especially with my darker-gray walls in a North-facing room, it also made the room feel dark and small.

Living Room Old

Also, it looked like my grandparents lived here. I felt like the sofa was old-man, the table was old-lady and the rug just old-people. I am a brat, and I am sorry. The table on the left of the sofa was nice though…honestly, that was the only thing I genuinely liked. I was neutral on the other end table and the blue chair.

I considered repainting the walls to make it work, but my friend Brad (he of the brilliant paint choices) suggested a new rug might make a huge difference. (This is probably why he now works for a home staging company, right?)

We went on a mini shopping spree, picking up a new end table lamp in glass (much lighter then the heavy ceramic you see above), a rug that was both smaller AND lighter, and new throw pillows for the couch. On a whim, he also talked me in to a new lamp for the mantel. I was “meh” about it when he picked it, but now I love it. I still wouldn’t necessarily say its “my style” but it is so perfect for the space–a great lesson about style not being the only indicator that something is right!

Living Room ProgressThat was two years ago, and I instantly loved it more—it doesn’t even look like the same room! Incredible considering we changed only three things (and added a cream blanket that was formerly hanging out in my bedroom).

So. much. better. I hosted game club at my house shortly after this, and one girl asked if I’d gotten a new couch and told me she really liked it. A couple days later another friend said the same thing. I don’t love it still, but it was a great working-with-what-I’ve-got lesson.

Next up, that table. It belonged to my parents. Who are divorced, and have been for 19 years. They bought it when they got married. Goodbye. I pinned the heck out of various table ideas. I thought glass would be great for making the room look lighter still, but Brad (yep, the home styler again) pointed out that his glass coffee table it takes two people to move it. Oh. So I settled on two smaller glass cube tables. These are really similar (identical?) to Pottery Barn’s Tanner Cube tables, except they were less than $100 each on Overstock.com.

Living Room Feb 12Oh, and I got the same Target chair that everyone else has. Can you spot my Christmas presents? The pillow is sitting pretty on the couch (love the rectangular shape) and the blanket basket is diagonal from this shot.

P1000636_2

Boyfriend got me a basket and a new blanket for Christmas. I don’t like the look of the red one, but its cozy so I live with it.

Blanket basketAnd the rest of the room? Here’s looking from the windows back towards the door…you can just make out the stenciled hallway reflecting in the mirror on the hall cabinet.

Living Room Door view

And from the center hallway, where you can see the lamp a little better. Both the base and shade are oval, and the color is just right.

P1000623_2

I’m mostly happy with the mantel right now. The photo is me and my parents before my sister was born–my uncle took it. And the little photo canvas is one of my grandfather’s photos. There was a huge set that used to be hung in their house, and when we divided up their estate I got this one. It was taken before I was born when my grandparents (mothers) came out to my grandparents (fathers) house in Tahoe. He was an avid photographer and my mom has some of his old photos displayed too. I don’t love the framing, but its permanently attached so I’ll deal–and the picture is gorgeous. I’m still working on styling all this, but its much better than it used to be!

Living Room Mantel

What are your best tricks for styling mantels? Tables? Mine definitely still need some work!

WWWYHbutton6

Pinterest Challenge: Ring Around the Artwork

winter-challenge

It’s Winter Pinterest Challenge time! Thanks to some motivation from Megan (The Remodeled Life), Katie (Bower Power), Sherry (Young House Love) and Michelle (Decor and the Dog), I pulled together some new artwork (with & for Boyfriend).

Circle Art: Framed

Back in November, I went to visit my sister in Milwaukee. In the course of my (epically bad) train trip, I was left with nothing but a piece of paper and pen (and a phone. No keys. No wallet. No coat. Just a phone.) given to me by strangers (seriously. It was bad.). Mostly out of options, I started on my Christmas list, and a list of things to give others, especially the Boyfriend (he’s pretty tough to shop for).

His walls are either art by Ikea or pictures of his family, so something with more meaning seemed like a good idea, but what? It seemed cute to make something together, but that could be something only girls find cute–what if he thought it was dumb? Or I could combine the two!

I absolutely loved Amanda’s artwork that she made from her children’s artwork:

herringbone-art-round-2-after

So much so that I made my own, but without the “aw, cute” of using my kids artwork. (You have to have actual kids for that sort of thing.) So instead I made my friends make me artwork at my birthday party.

Large Scale Art pieced from paintings by friends

But. Boyfriend has a nephew! I could have his four year old nephew make me some art, and turn that into something cool…

Along the lines of my pieced-together birthday art, but something different. 4 year olds probably won’t produce a ton of useable artwork, so I wanted something that could use his nephew’s picture as a component but probably not the focus. So I decided on circles…

I have a love affair with circles (I have a whole board of cards that involve circles) and on my Things for my Wall board, I pinned this:

Floral Burst box64It’s from Etsy shop box64studios, and although this one is no longer available, they have a similar listing here. I thought it was really cool, and thought something similar would look great as one of my bathroom artwork options.

Plus Boyfriend already has a circle thing going. He just moved, but here’s a picture of his old living room:

Mike Living Room

The rug is from the Home Decorators Collection and I love the circle pattern.

Boyfriend’s nephew painted me a couple of pictures a few weeks before Christmas, and I cut them into circles and put them in a box. I wanted to make sure he liked the idea, so for Christmas I just gave him the box of circles. (It was the one gift he chose to open at breakfast–he was a little bewildered.)

Circle Art: Cut and Ready

I grabbed a sheet of fancy gift wrap from my stash and did a practice run on the cream back.

Circle Art: Test Run

Looking pretty good. Needs way more little circles. (Flashback to my Heart Art, where I had oodles of way-too-big hearts and needed tons more baby hearts). We also didn’t love the way it looked on white–the circles that were only partially painted were blending in a little and we didn’t love the look. [If you do this, I’d recommend using art that is thoroughly painted/colored so you can use a white background. Much simpler.) After a trip to Paper Source, we came home with a sheet of gray handmade paper with some silver texture to it and laid it out again.

Circle Art Take 1: Busy Paper

Yeah. Too busy.

So we tried again, flipping over our piece of fancy paper and laying down the design again.

Circle Art: Loose Overlapping Rings

Much calmer. The paper still has a nice texture and doesn’t look plain but it isn’t fighting with the circles. But Boyfriend didn’t like the circles overlapping (as they are in the top left corner) and overall we thought more definition might look better. So we tightened up the arrangement.

Circle Art: Ready to Glue

Then it was time to glue. I started out with glue dots, which worked fine, but it would have used a lot (and after my Valentines wreath I’m running a little low!) We used a combination of tape runners and double sided tape, but I think most adhesives would work as long as your paper isn’t too delicate (some adhesives discolor paper).

When we finished, we popped it in a large Ikea frame, and hung it on my wall!

Circle Art: Framed

I know it doesn’t fit on the wall–it also doesn’t belong in my house, but Boyfriend is traveling (again) and its as good a place as any for it. It will live in his new living room above the couch.

Want to see my other Pinterest Challenge projects?

Pinterest Challenge: Map-lined drawer

Map-lined drawer

Storybook FinalSentimental Storybook Art

Do you have any homemade art in your home?

Happy Birthday to Anyone!

(Except it never works that way…someone’s birthday rolls around, I look at my stash and none of them are quite right. Figures.)

Highly reproducible: Letterpress square from Paper source on a colored card with contrasting paper

Highly reproducible: Letterpress square from Paper source on a colored card with contrasting paper

One of my favorite cards I've ever made. This was using scraps from my birthday present artwork and I adore how it turned out.

One of my favorite cards I’ve ever made. This was using scraps from my birthday present artwork and I adore how it turned out.

I had this card with a pink border. I had a sticker with the same pink and some dimension. It's like the gateway drug of card making...

I had this card with a pink border. I had a sticker with the same pink and some dimension. It’s like the gateway drug of card making…

Do you ever make cards? Which of these is your favorite? Also…anyone want more direction on how to make cards? I wasn’t sure if anyone cared.

Bathroom Updates

This is a short little post on a little bitty thing. But sometimes those updates are the most fun, so I’m sharing anyhow. I’m loving the new bathroom, but still having a minor issue.

Medicine Cabinet BeforeThat. Not just the part where it isn’t the tidiest, but the part where I can’t actually see things in there very well. My old medicine cabinet had a white interior, and I could see things in it. This one? Not so much. When I wash my face or brush my teeth I put my hair back in a headband and ponytail, so I leave those two things in there. Both are black. They’re on the bottom shelf. See them?

Yeah, me either.

I can lean all the way over and look close and I still can’t see them half the time, and it was driving me nuts.

The surface is also wood, and I worried that drippy toothbrushes and the like would hurt the wood eventually.

Enter the Target placemat:

Placemats Uncut

Which I cut into:

Placemat strip cut

And then emptied out the cabinet:

Medicine Cabinet Empty

And plopped it in (ok, so I measured too):

Strip in Cabinet

Now can you find my headband?

Medicine Cabinet with Wipe Clean placemat strip

Yep, me too! (It’s just to the left of the toothbrushes). If the mat gets dirty or sticky or anything, I can just pull it out and wash it off, leaving my medicine cabinet like new and me able to find my headband at 6 am!

This isn’t my first Target placemat use–I have a couple in my kitchen for things like the bottom of the baking pan cabinet and underneath oils. Super easy, cleans up and if it gets too dirty I can just toss it out and my cabinets will be none the worse for wear! They cost about $2 and although the designs change, they always seem to have these in stock.

Do you line your medicine cabinet? Ever used a placemat for an unconventional purpose?

Happy Valentines Day!

Valentines Pancakes


Happy Valentines Day!

Boyfriend is traveling (for work) right now, so we did our thing last weekend. I made my favorite pancakes for breakfast in the heart molds he got me for my birthday this summer. Hope your day is as sweet as our chocolate chip pancakes!

Quick and Easy Valentines Wreath

I decorated!

Valentines Paper Heart Wreath 1

Reds and pinks are not my decorating colors (I rarely even wear red), but I made a small exception for Valentines Day.

I wanted a little something for my door and a wreath seemed like a fun choice. No real instructions–I used five different coordinating papers, one of which was patterned with the word love and then cut strips between 2-4.5″ and then folded them in half. Then I free hand cut out a bunch of hearts.

I used a scrap of posterboard and (roughly) cut a 12″ circle about 2.5″ thick for my wreath base, then I grabbed a roll of small glue dots and went for it. I started with the bigger hearts and spaced them out a little and stuck ’em down. Then I started layering in smaller hearts. I needed to cut several rows of little hearts at the end to fill in small holes so there wasn’t awkward spaces. It was very low-tech.

Then I hung it up. I live in a condo, so my front door is in the hallway–no weather worries here!

Valentines Paper Heart Wreath 2

The whole thing took me maybe an hour and was pretty painless.

Do you decorate for Valentines Day?

Pancake Mix

I love pancakes. Nice real fluffy ones, with some taste to them. Ideally with mini chocolate chips.

Pancakes Final

In junior high home ec class, my teacher had a cookbook (from the 70s) called Make a Mix Cookery. Being the cool junior high schooler I was, I was obsessed with this book. I thought it was the coolest thing ever. You could just MAKE MIXES. You didn’t have to buy mixes OR make things from scratch. Magical!

Now it costs 4 times retail on Amazon. But I bet its still awesome.

Now it costs 4 times retail on Amazon. But I bet its still awesome.

My mother, sensing an opportunity, got it for me for Christmas. Not the vintage 1978 edition but the current one (current at the time, which means I have the 90’s edition and the new one is from 2006. But I’m sure its still awesome!)

MakeaMix

I’ve really only used four mixes from the book, but two of them are such standbys it has more than paid for itself. My favorite (and a recipe I’m known for) is buttermilk pancake & waffle mix.

Pancake Mix Ingredients

Ingredients:

  • 2 cups dry buttermilk powder (I use Saco brand, in the center below, which is available at both major grocery stores in the area)
  • 8 cups all purpose flour
  • 1/2 cup sugar
  • 8 teaspoons baking powder (which is 2 T + 2 t)
  • 4 teaspoons baking soda (which is 1 T + 1 t)
  • 2 teaspoons salt (that’s, um, 2 t)

Directions: Put in large bowl (mine is a 5 qt, which is the largest I own). Stir together with a whisk to really mix it thoroughly. I always do flour and sugar first, because the buttermilk powder can stick to the sides of the bowl a bit. And I mix the little dry ingredients in with a partially dumped cup of flour because I think they blend better that way. But I may be making that up.

After the mix is done, I put in the medium rubbermaid.

After the mix is done, I put it in the medium Rubbermaid canister.

Making the mix takes ten minutes tops, so its really easy–but even ten extra minutes is no fun when you just rolled out of bed on Saturday morning and want some breakfast. Which is why this mix is so awesome–now its like making Bisquick but better!

Just add:

  • 1.5 cups mix
  • 1 cup water
  • 2 Tablespoons oil
  • 1 egg

Making PancakesAnd mix! I leave a 1/2 cup scoop in my mix, so its just three quick scoops, then a cup of water and 2 tablespoons of oil. If I’m feeling fancy I crack the egg into the empty measuring cup and beat it quickly, but usually it goes right in the bowl. Mix until its all incorporated, but not any longer than you need to, scraping down once or twice for lumps.

THEN turn on the stove. You can go wash your face or something now–leaving the batter to sit for a couple minutes while the pan is warming up gives the baking powder and buttermilk powder a chance to activate and make your pancakes fluffy and delicious. T

Pancake Mixed

You can see the bubbles trying to rise to the surface in this bowl that has been sitting for about three minutes.

These are a specialty on church retreats, and I always bring my own pan AND make a test pancake (why, yes, people do tease me for this. But they also love my pancakes). On my own stove I don’t need to make a test pancake, because I know that 7 is the right setting, but its well worth the time. Know when to flip! The test I always do is to throw a little water on the pan. Its never a good idea to put food (of any type) on a pan that isn’t finished heating (you won’t notice as much with a nonstick pan, but that doesn’t make it a good idea). If the water sizzles and evaporates, the pan is ready for some pancakes. If it takes a little bit, adjust the heat if needed or just be patient. It will be warm soon.

If you have any mix-ins (mini chocolate chips! blueberries! walnuts!) throw them in now. I actually don’t do them all at once, and stir IMMEDIATELY before pouring–otherwise they just sink, so the first one will have three sad little mini chips and the last one will be chips barely held together by trace amounts of pancake. It isn’t cookie dough–batter doesn’t suspend things well. So I throw in a small handful of mini chocolate chips, give it a quick stir with my scraper and pour out some pancakes.

Pancakes Ready to Flip

I love my square pan. Much better than the pair of 8 inch fry pans we used our first semester in our college apartment.

They are ready to flip when you see a good number of bubbles, as above.

Pancakes Cooked

Delicious! Keep a plate on an adjacent burner to stack up the pancakes on–and if something is in the oven, close to the vent. The added heat will keep them warm and ready.

What’s your favorite breakfast food? Pancakes? Eggs? Bacon? (I can’t even make eggs–that’s what Lesley or Boyfriend are for!)

Boyfriend Birthday Art

Boyfriend’s not a crafty guy. He’s not much of a reader either, and definitely not a Young House Love junkie like some people here.

But after teasing me about Lesley coming down and the two of us waiting outside in the rain to get our very own autographed copy of their book, he had to see what the fuss was all about.

YHLBookAnd he saw a picture of this:

(Not the picture from the book, which isn't even about the art in the first place)

And he really liked it. Enough to refer back to it a couple times, and for me to decide it would be a pretty good birthday present. So for his birthday, I grabbed a big canvas, some craft paint and a few brushes (ok, I already had the brushes). I wrapped them up with a little canvas (to represent the big blank one which I didn’t think was worth wrapping). After a little confusion, he was excited, and over Christmas break we got it done.

Turns out he’s also totally hired on as my new staff photographer (have you noticed how bad all my pictures are?), so that’s a plus.

So we got out our canvas, a yardstick, several shades of green craft paint + white + silver metallic for some depth, a couple brushes and a paper plate for mixing.

So we got out our canvas, a yardstick, several shades of green craft paint + white + silver metallic for some depth, a couple brushes and a paper plate for mixing.

Then I got to measuring. We did 1.5 inch marks, using the yardstick facing the same direction down both long sides and then lining it up between the two marks to make lines. Then I just grabbed an envelope and made some random arrows. This part was hilarious. It’s not for me, so I was asking Boyfriend what he wanted. So he went and got the book, and started scrutinizing the picture. “Well, she never does too many close together.” “Don’t do diamonds. She didn’t do diamonds.” The best was “Ok, she did two, then three, then two, then four…” as he actually started counting how many arrows in each line. I stopped him and pointed out it didn’t have to look EXACTLY like what Sherry did. That’s an IT guy for you, right?

Arrow art measure 1Arrow art measure 2Arrow art make arrows

Then it was time for painting. As with anything paint, you can always go darker, so I started with what I thought would be a mid-to-darker color (which was one of my greens mixed with white). Of course, it ended up being our darkest.

Arrow art progress 1From there, we just mixed new shades, usually just lightening what we were working with, and adding a lime-y green to some mixes, with silver to others (I didn’t want it to look too flat and Sherry didn’t provide formulas, so I was allowed to do this.)

Arrow Art progress 2My new photographer Boyfriend even made me hold it up at regular intervals to make sure he got some good progress shots (see, totally hired!)

Arrow Art Progress 3And I started on the little bonus canvas you see–see if you can find it later in my house!

Arrow Art Progress 4And then finally it was done! He loves it and so do I. Right now it’s hung sideways on a nail in my house waiting for his move to a new place at the end of the month. But it will be the first thing you see when you walk in his new place. Now if I can just convince him I don’t do this with everyone I date (which is true! Right Lesley?!)

Arrow Art Final 2

What’s your favorite piece of art you’ve made?