I started writing this post before I started moving. Then, no internet for three weeks (oh, the agony!). But now that I’m settling into the new place, I thought it would be fun to take a look at the old place.
Mary’s post about her living room is a pretty good description of how my style has evolved – I’ve worked with what I had and made the most out of things I don’t necessarily love. I have a lot of hand-me-downs, a lot of thrift store finds and a lot of furniture from box stores like Ikea and Target. And you know, I think I’ve made that work pretty well. That’s been my budget, and I think I managed to mix the practicality of using what I had and throwing in some smaller new stuff to make it work.
So let’s take a tour, shall we?
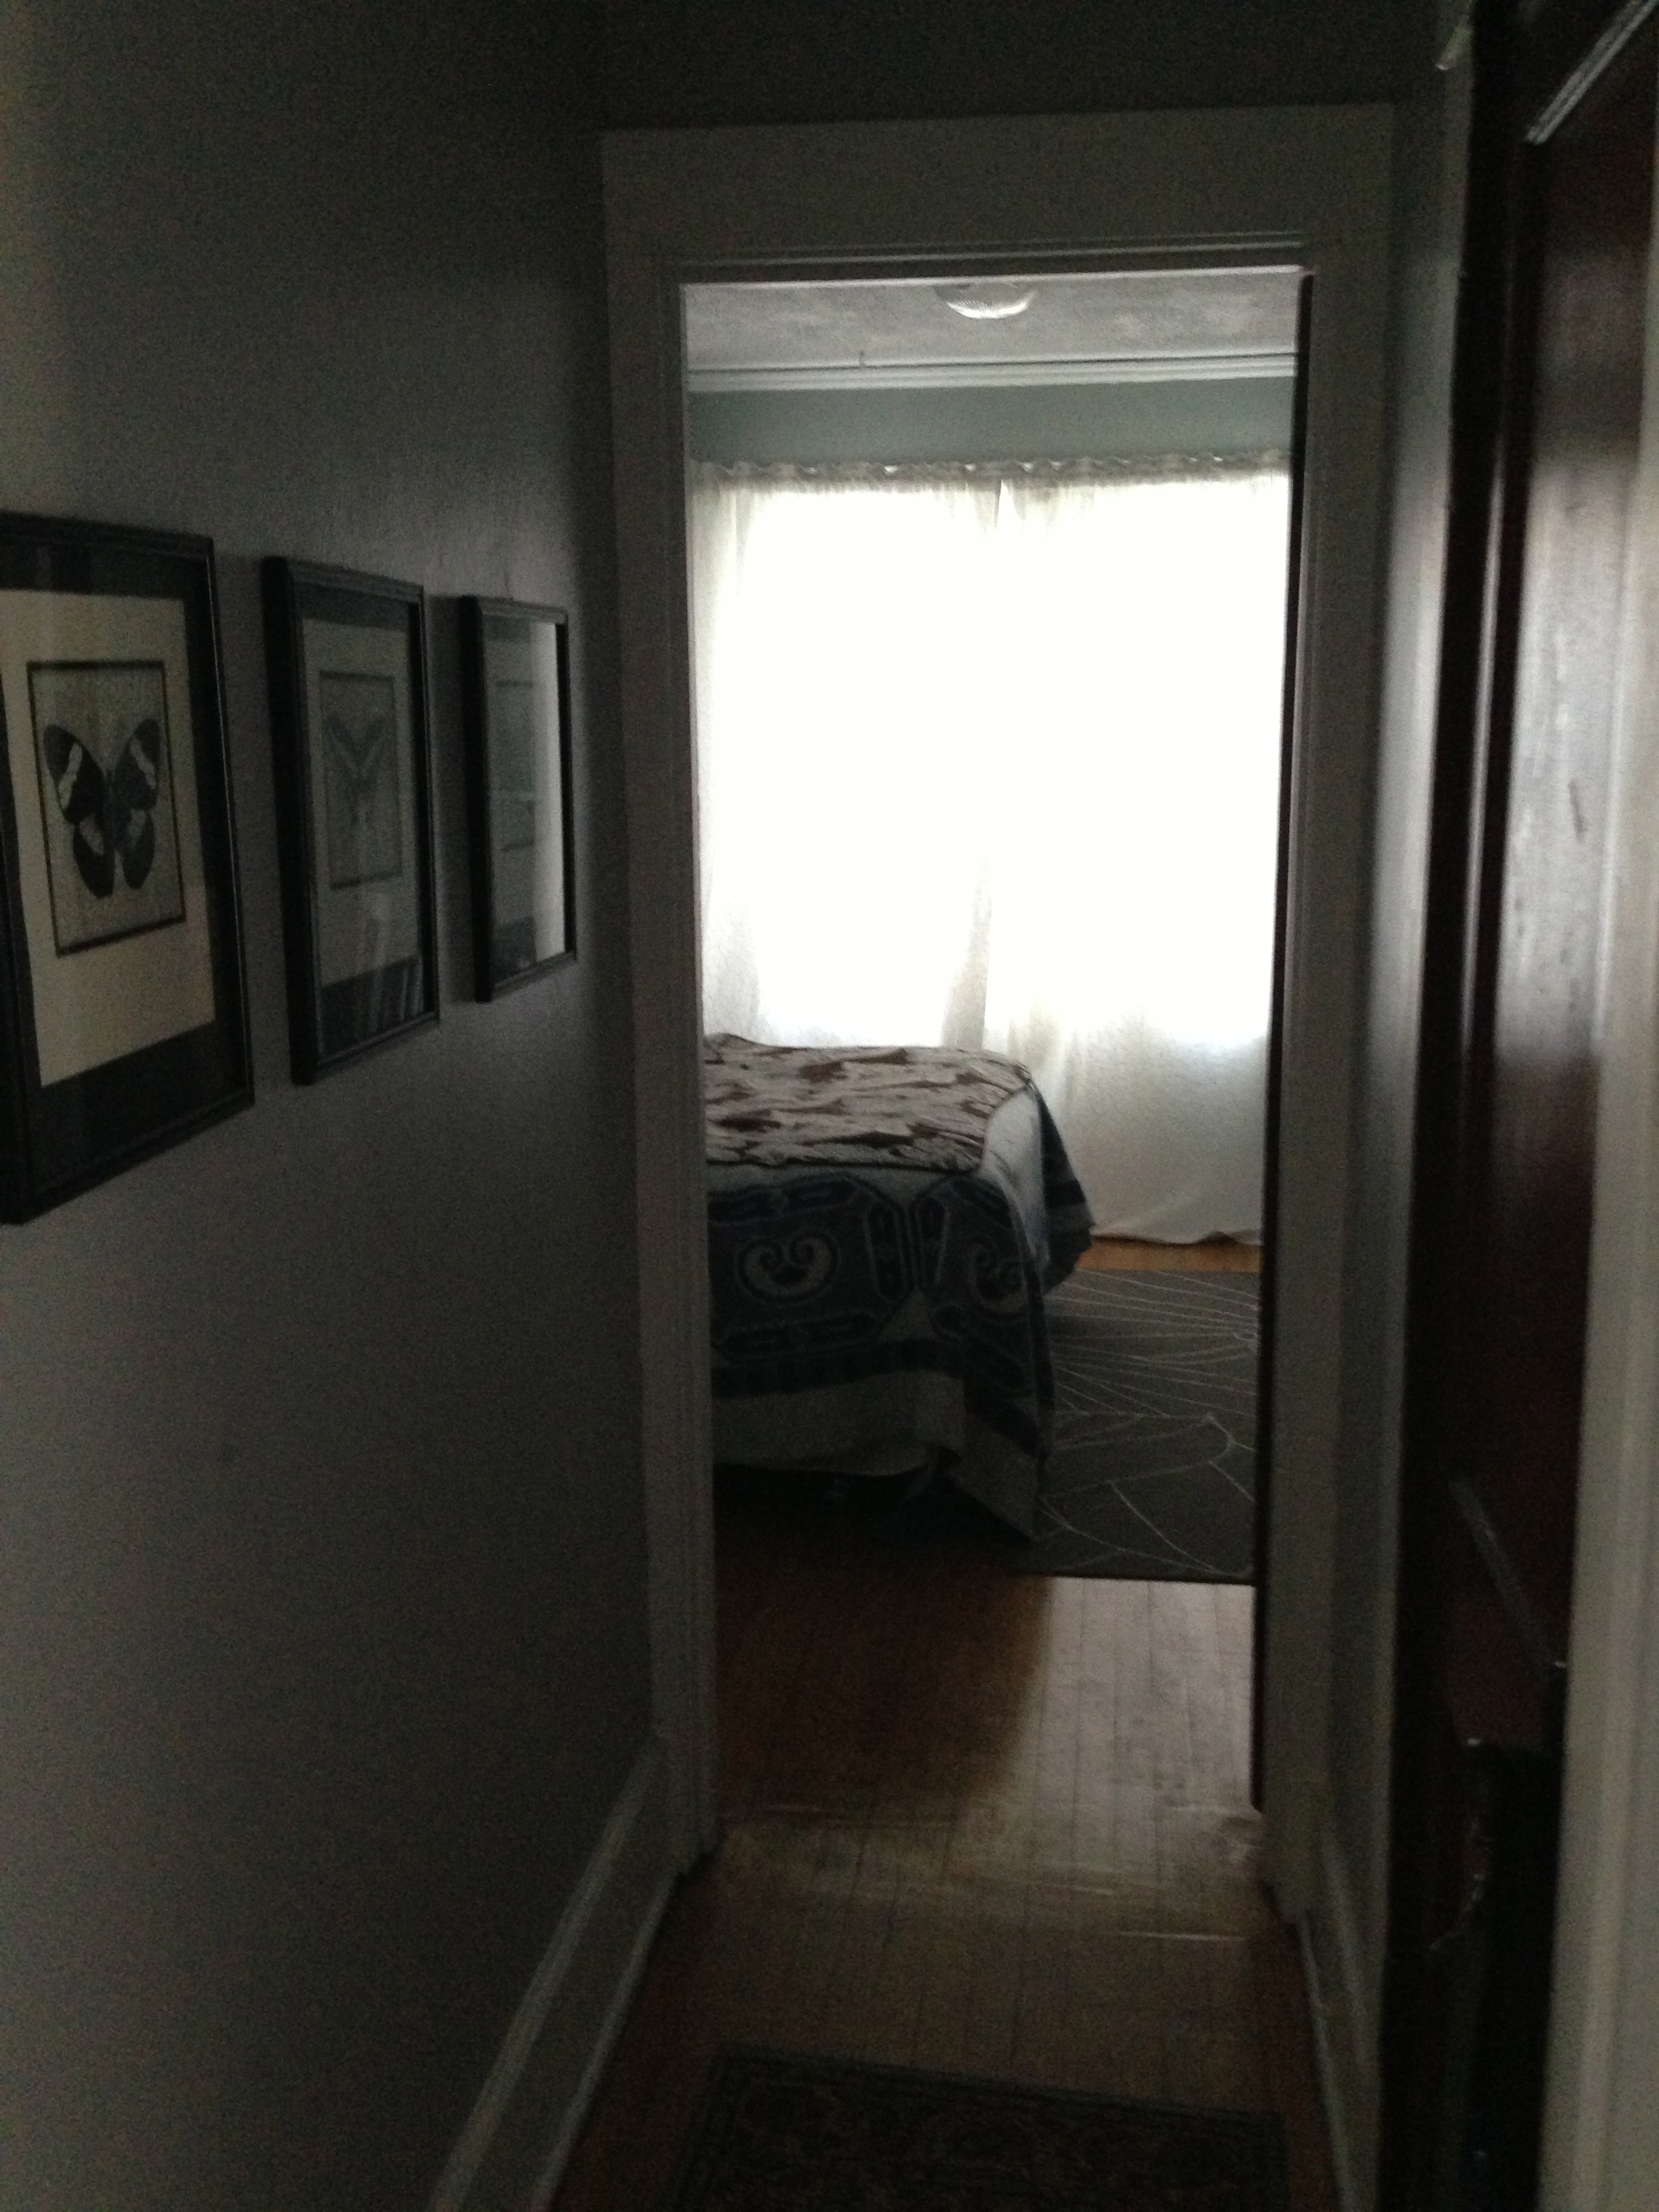
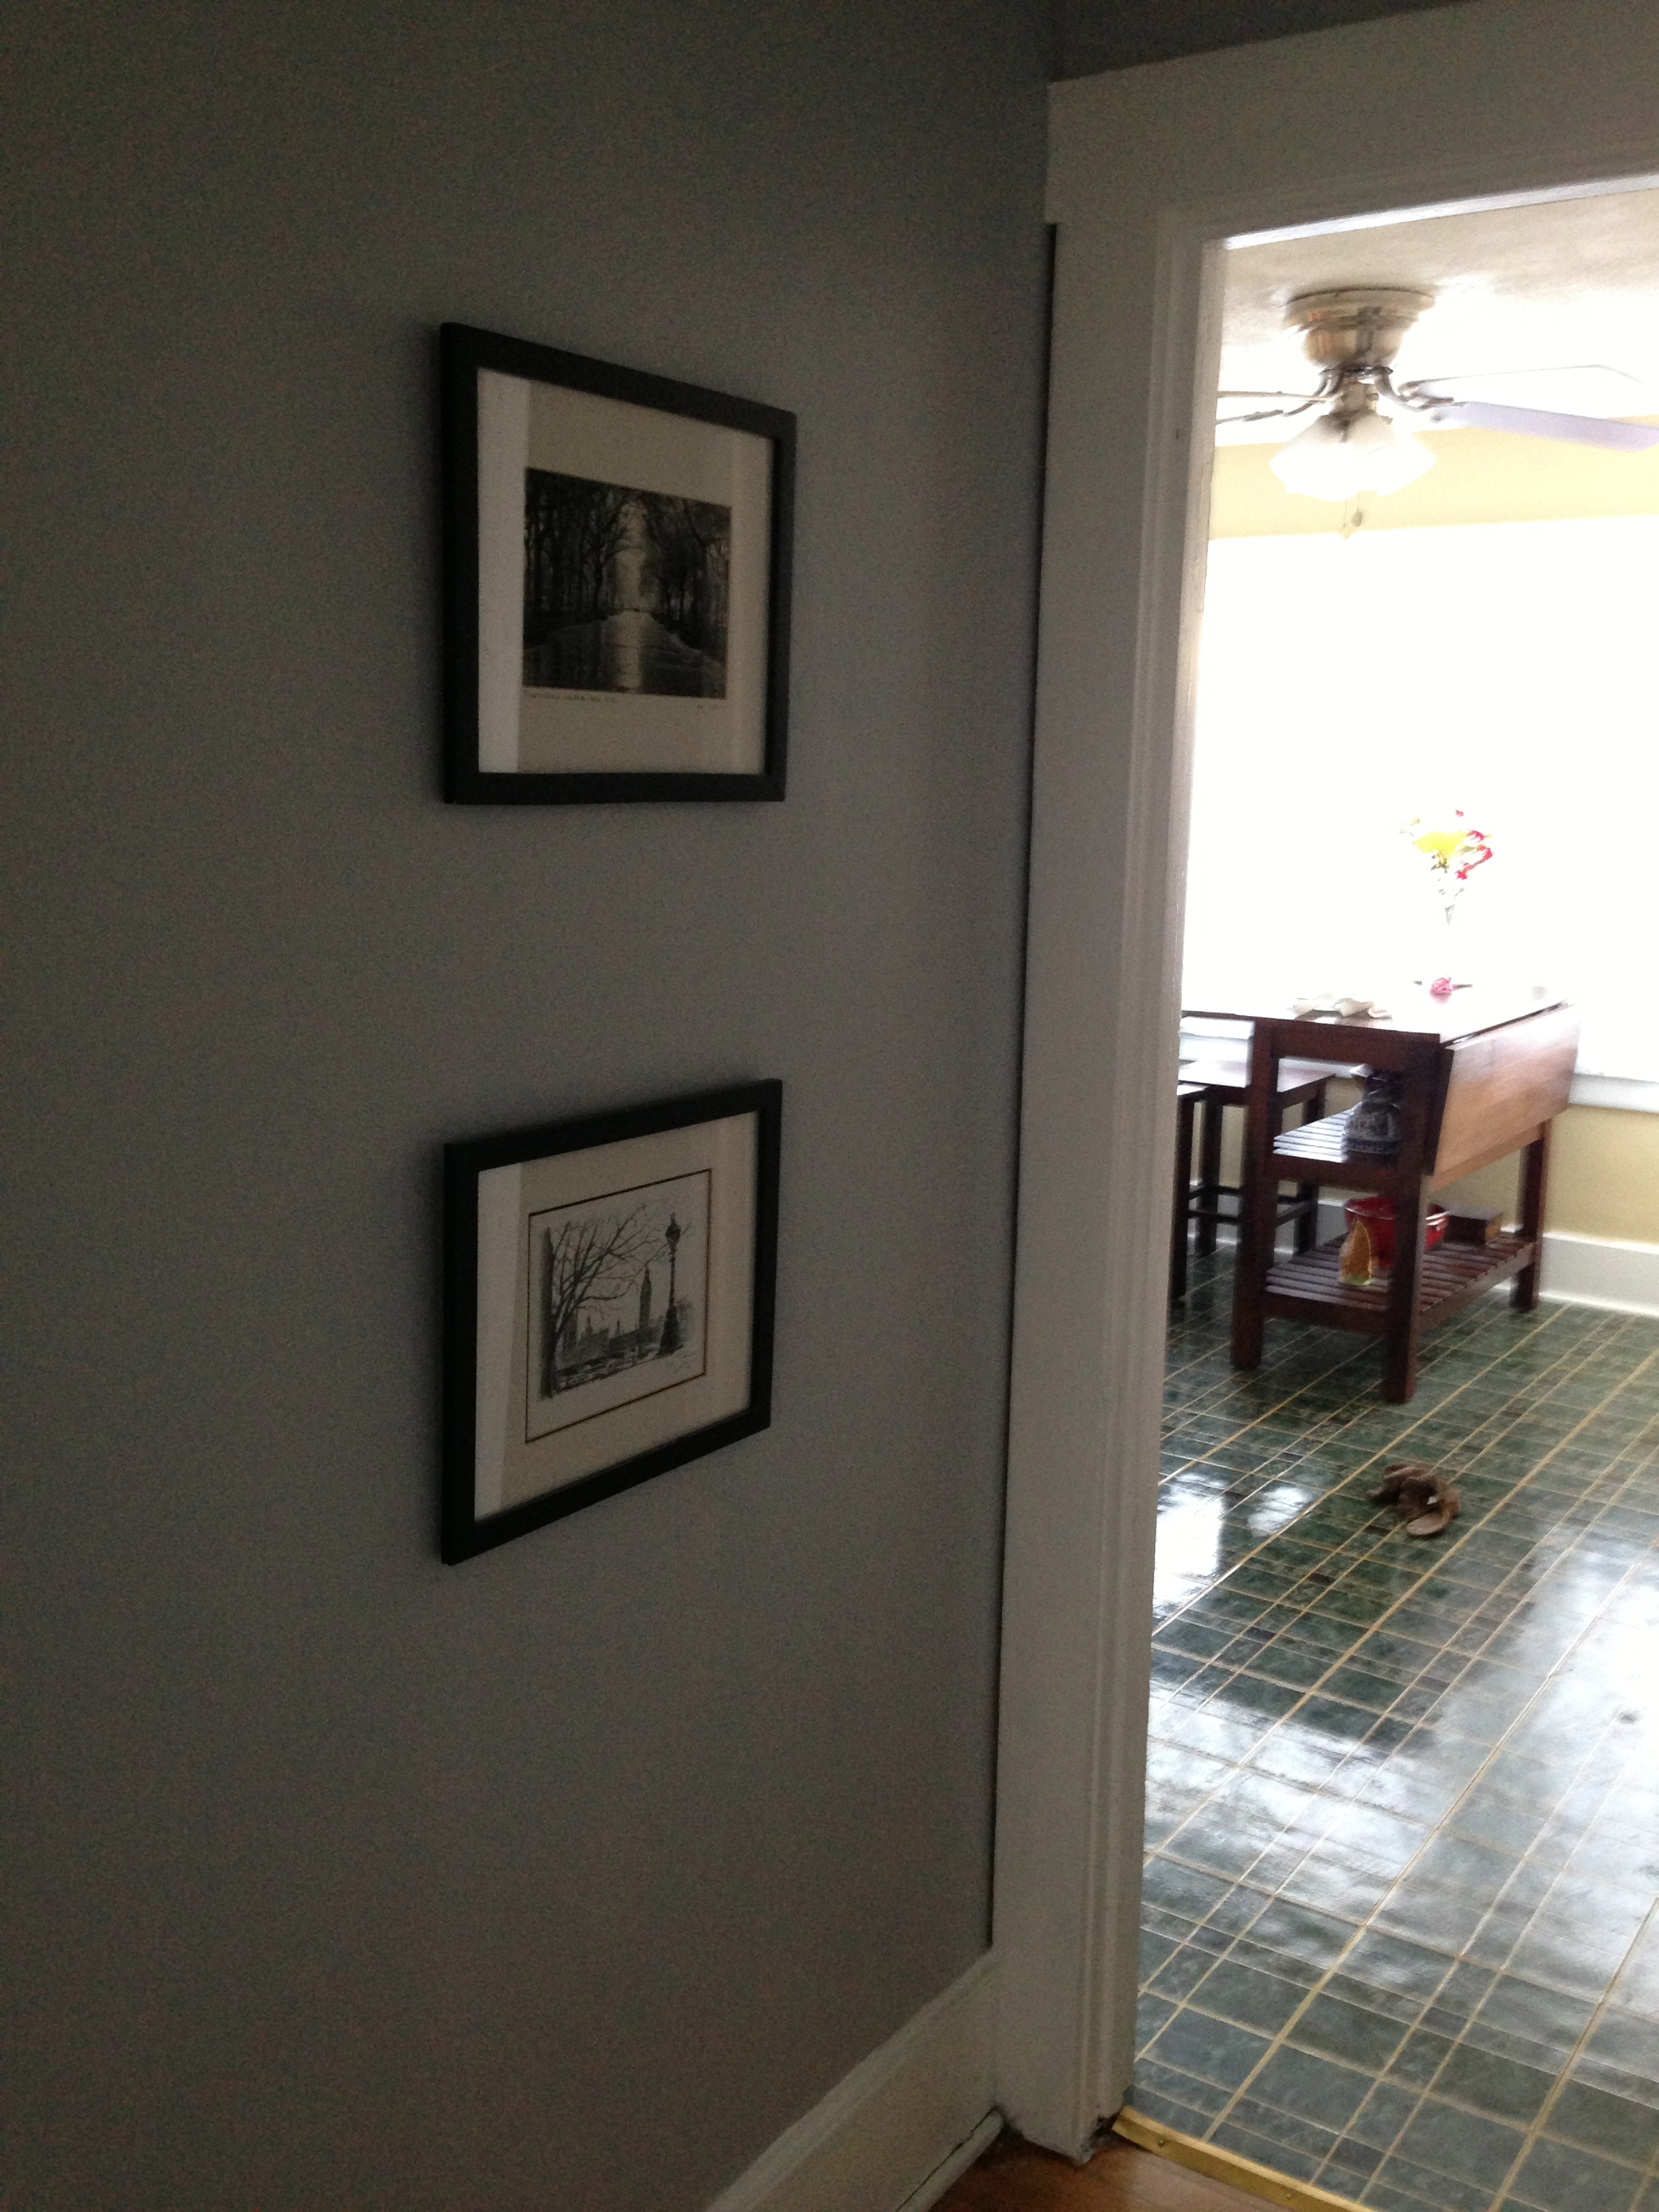
You enter the apartment at the top of a flight of stairs (no landing), and step into a narrow, L-shaped hallway.

The front hall

Front hall towards kitchen
When I moved in, most of the wall in the apartment were dingy beige and the trim was dusty taupe, and in pretty rough shape (tons of chips). It took about two weeks to paint the hallway, living room and bedroom. The gray here is Burnished Metal by Behr, and the Trim is Behr’s Ultra White. (I’m a huge fan of Behr’s Paint and Primer in one.) I love how this turned out. (I actually love this color so much that when I had paint samples stuck to the wall of my new place, I picked this color again, having no idea it was the same until I ran down to the basement to get touch up paint when I moved out.)
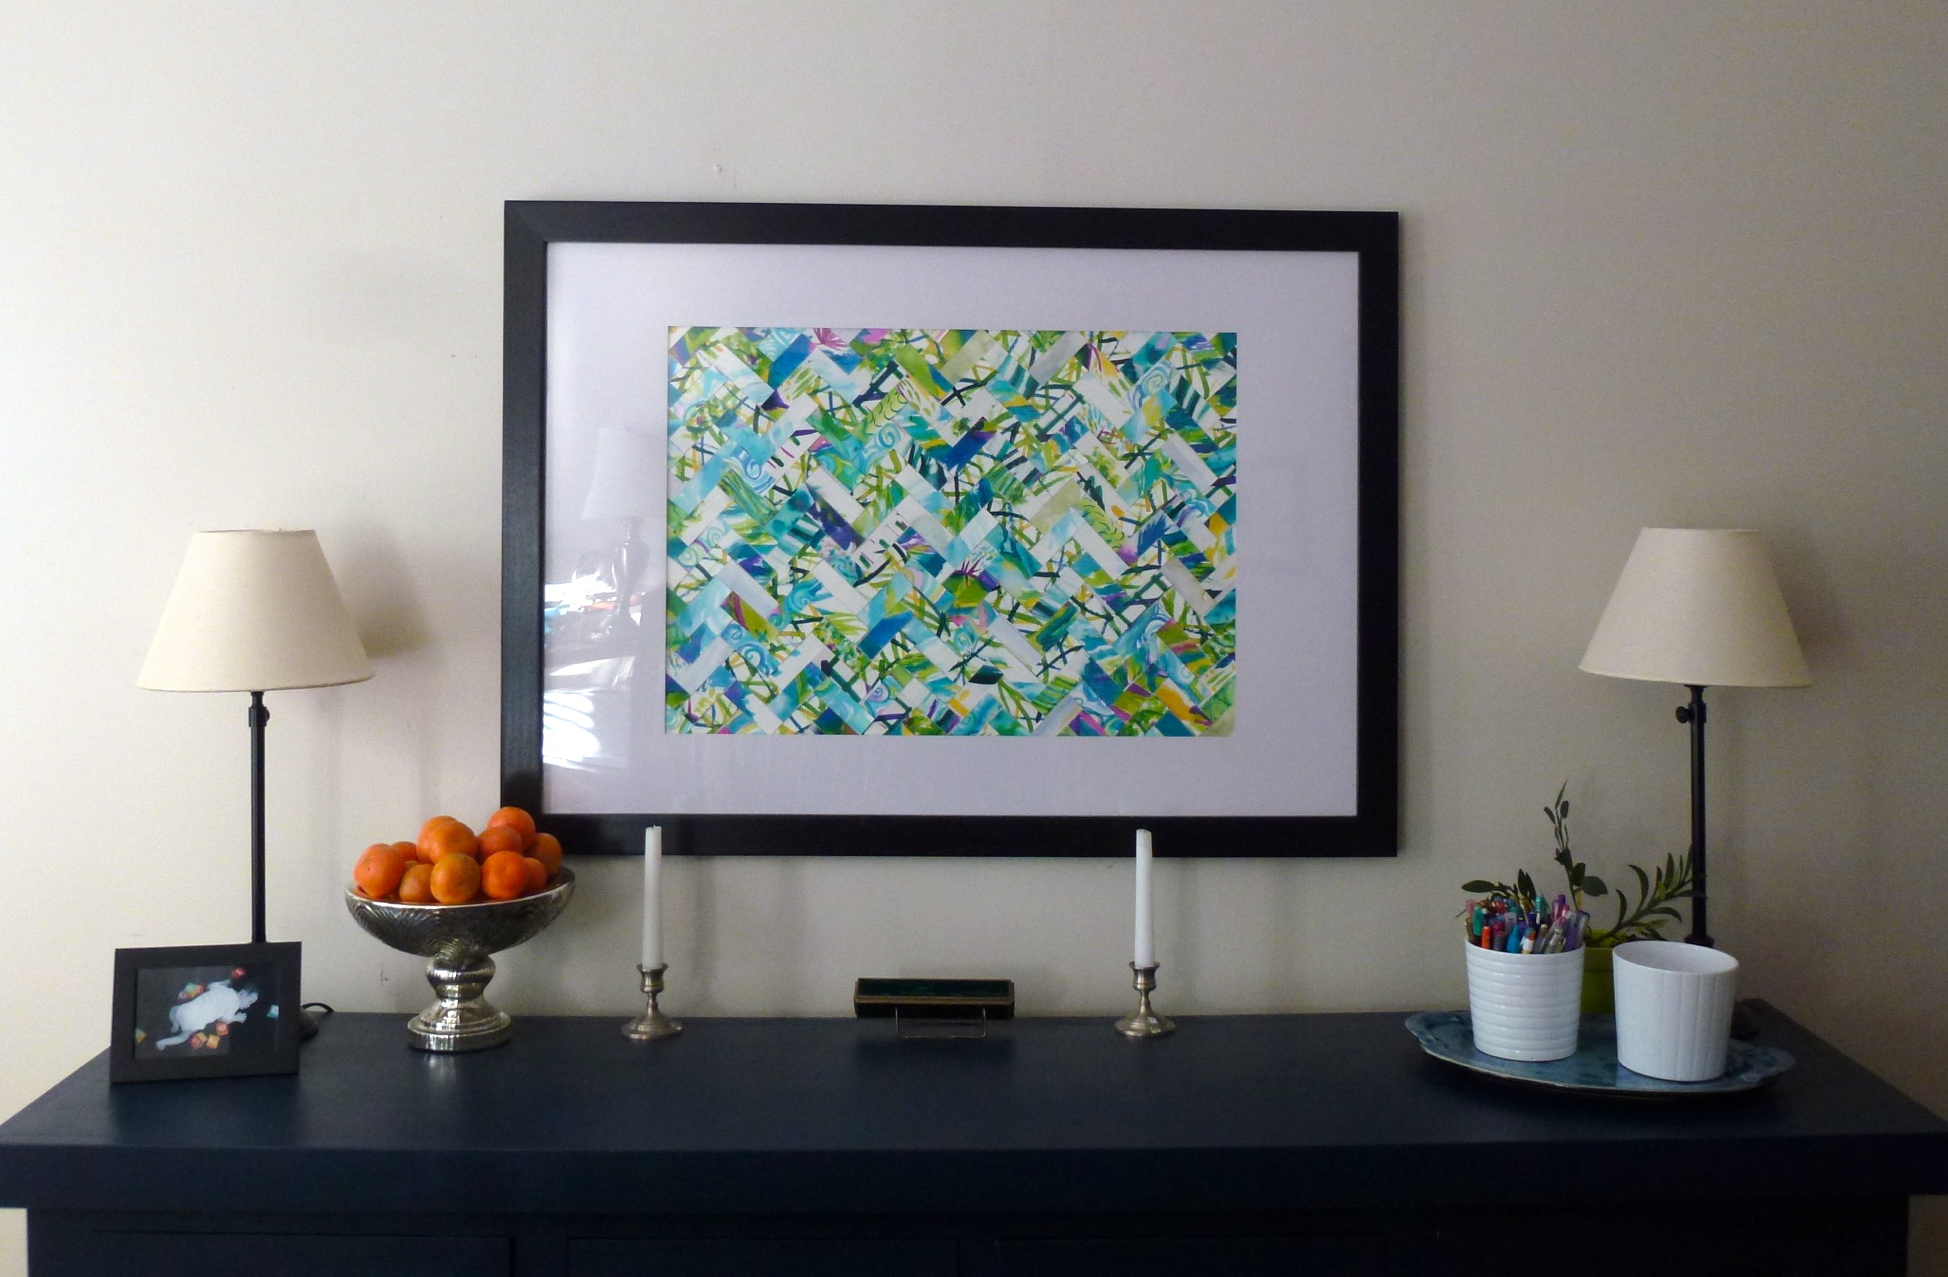
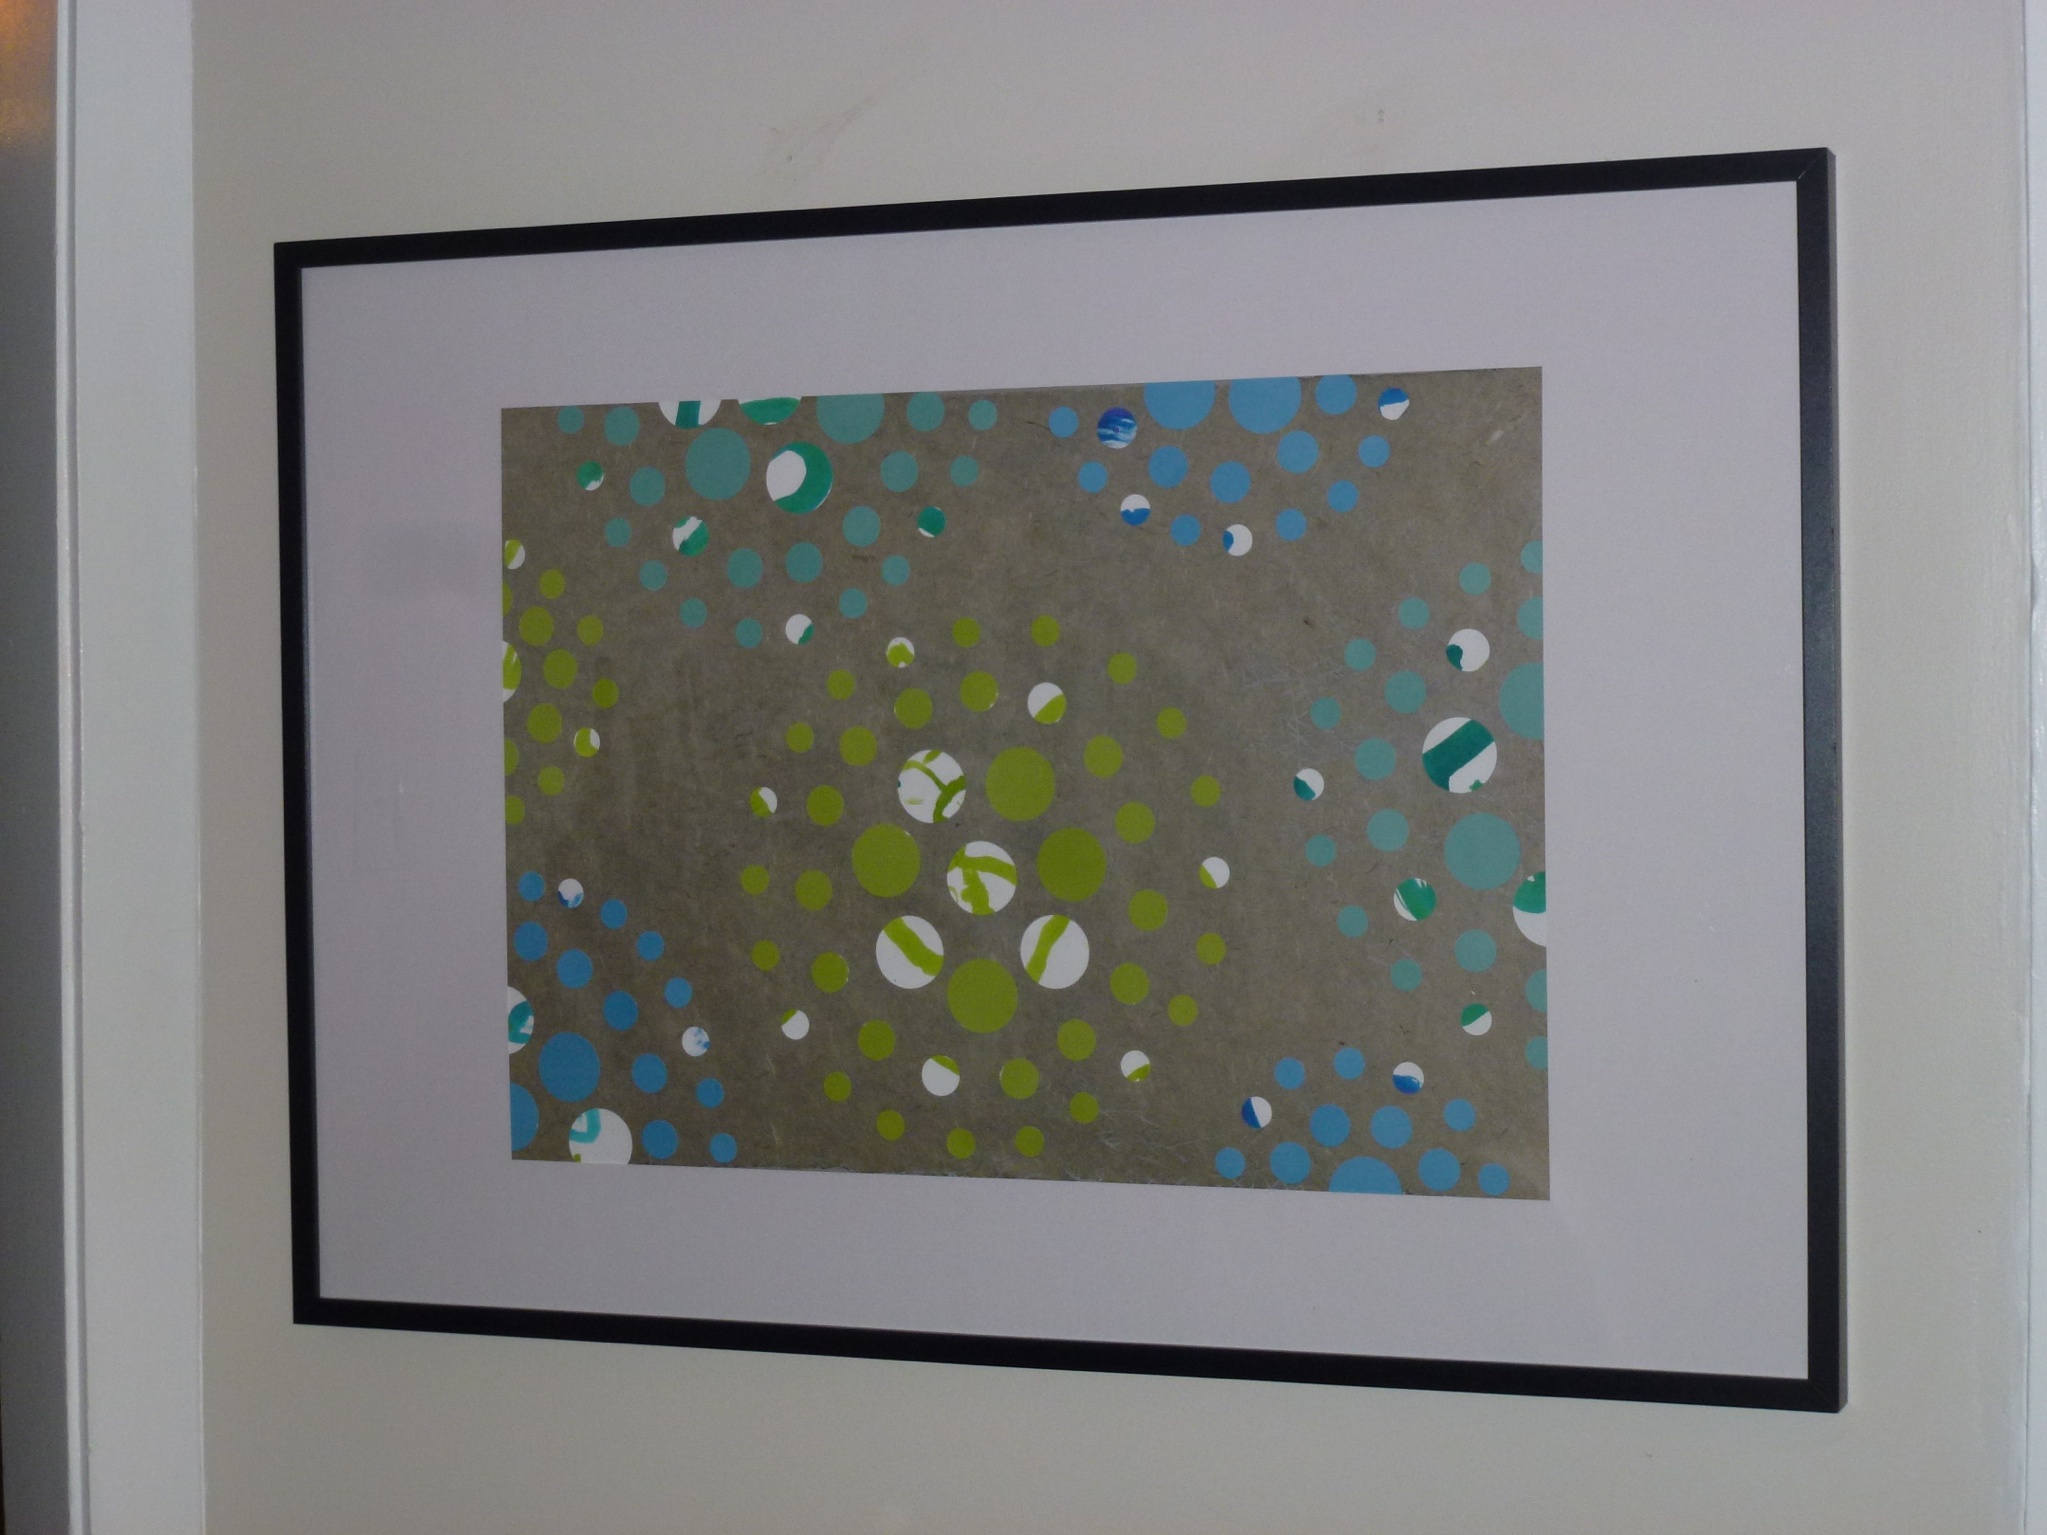
Since the space was so narrow (the exact width of the doorways), I only hung pictures on one wall in each passage, but I think keeping the frame sizes and shapes consistent really dressed up the space.

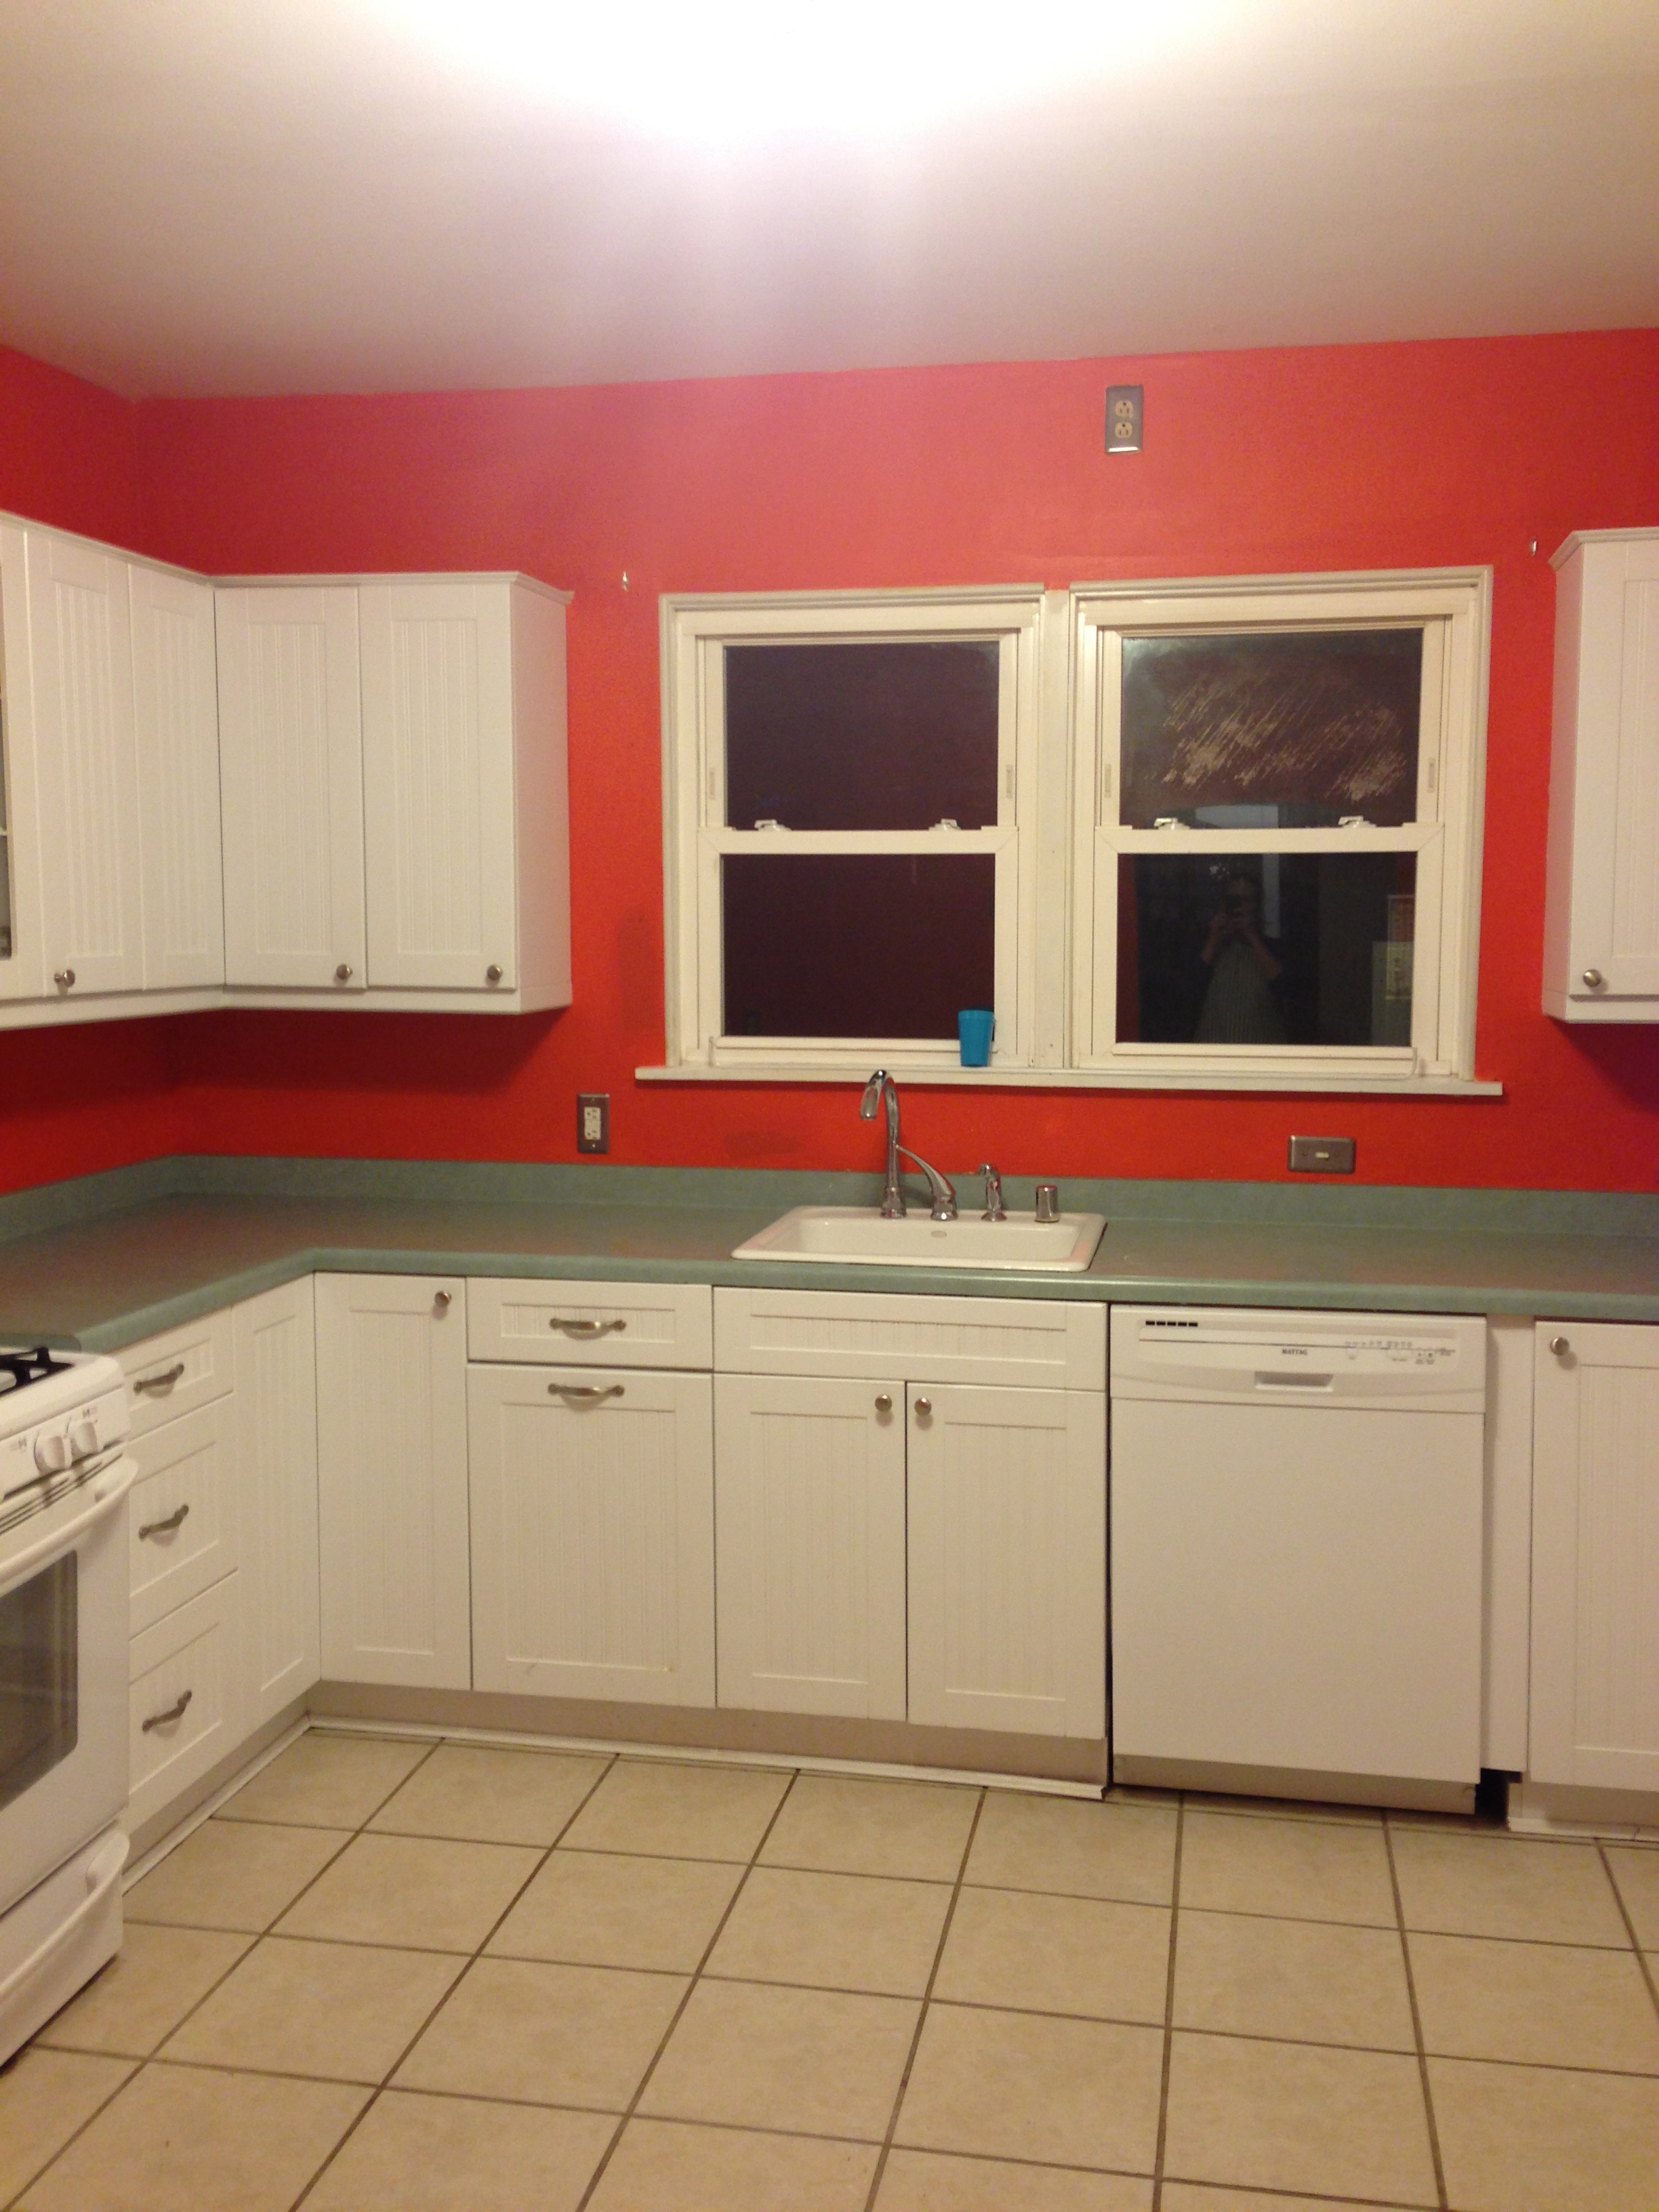
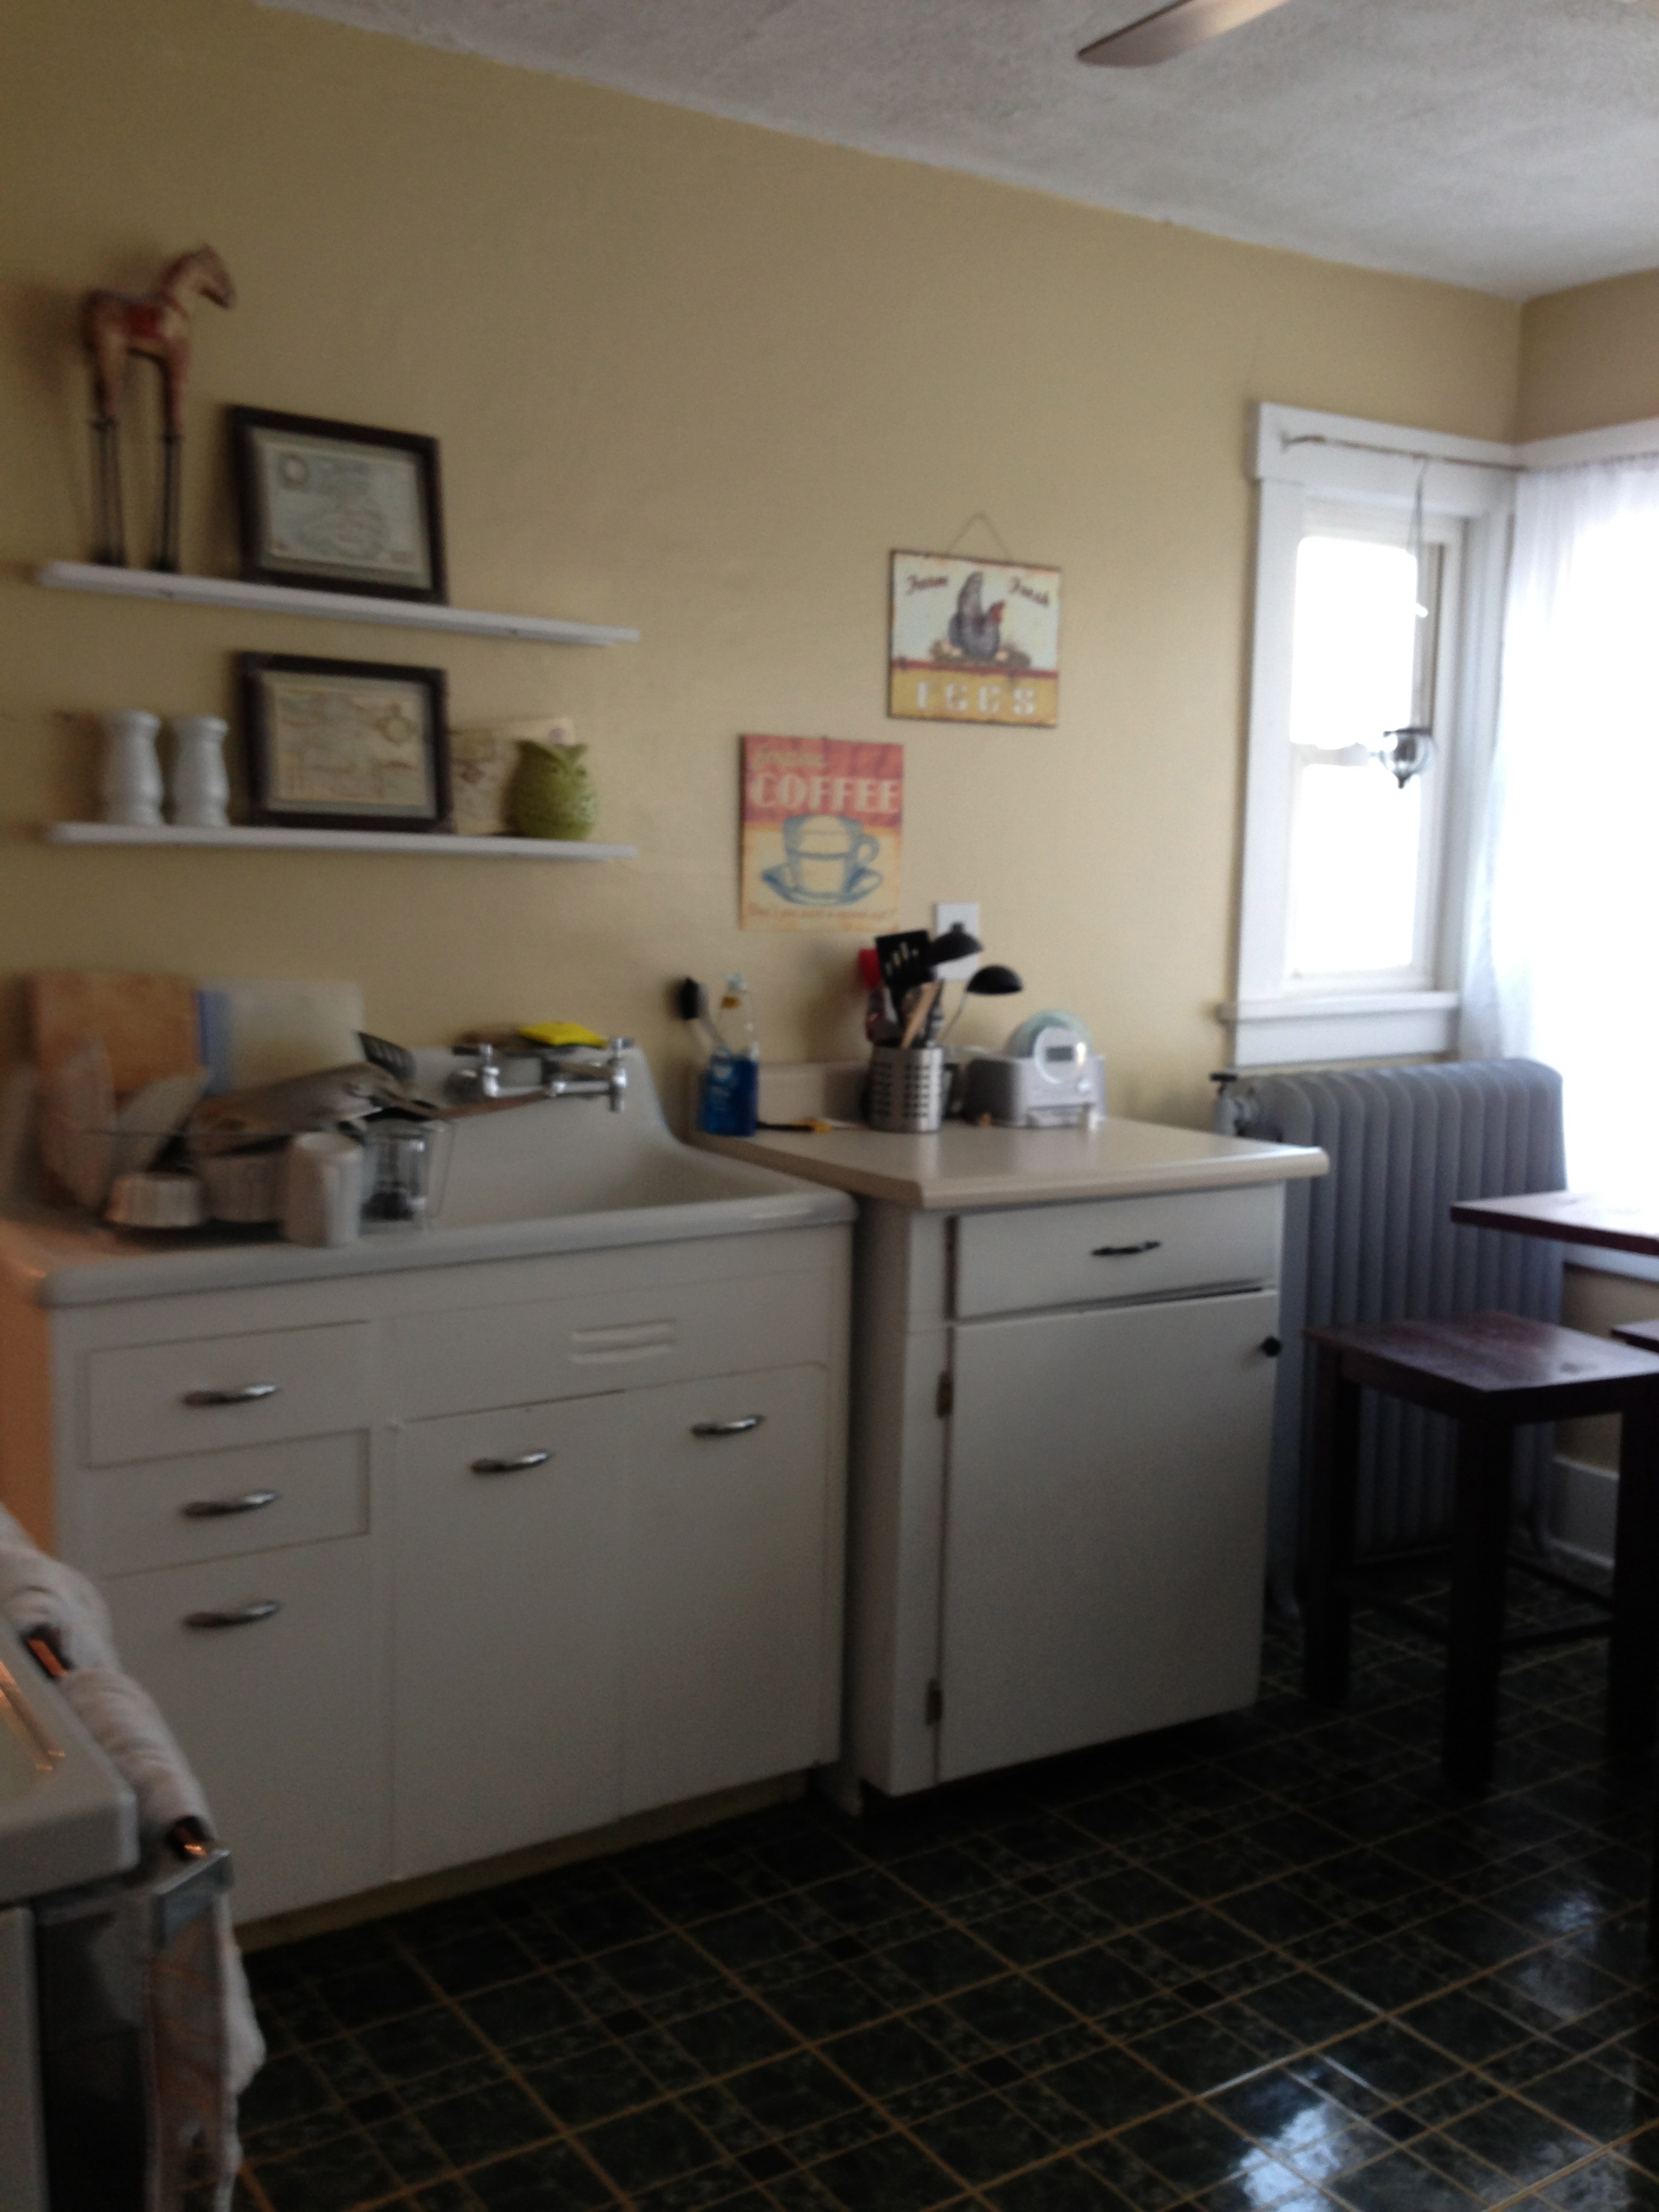
Kitchen
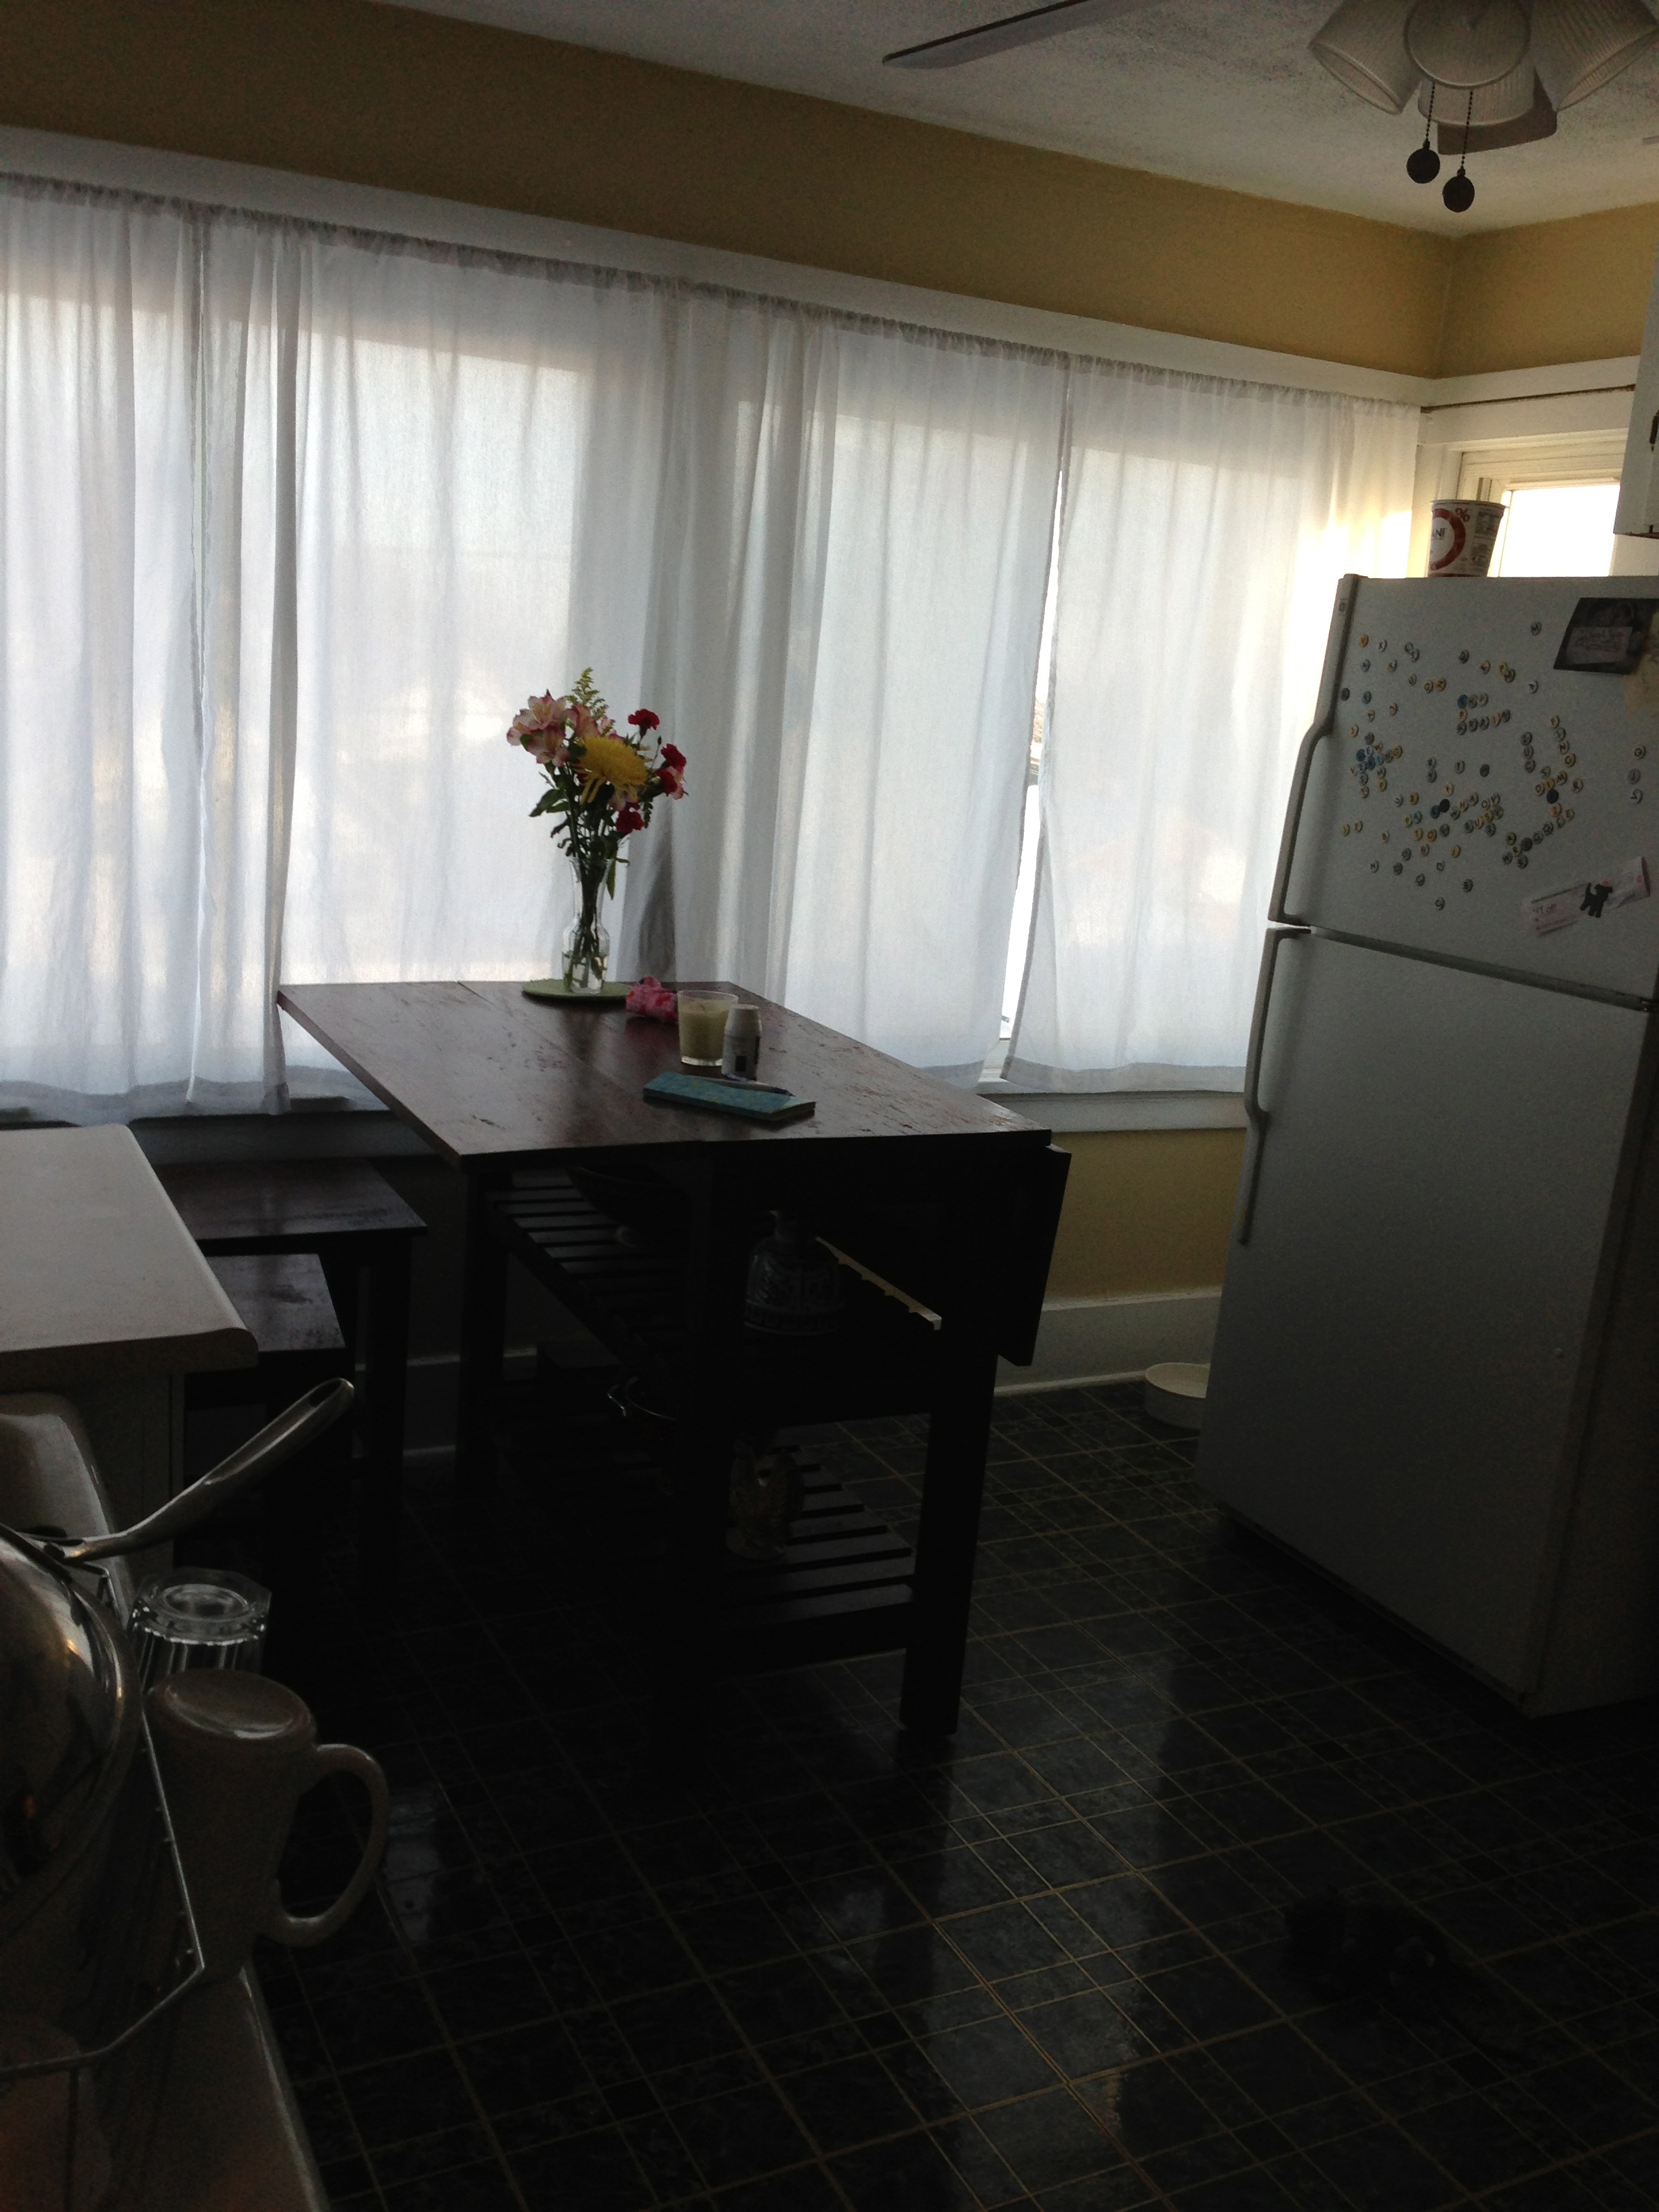
Since I painted so much of the apartment, I left the kitchen color as it was. It was a beige-y yellow that felt a bit Tuscan to me. The cupboards were a mishmash, but the giant wall of windows made up for any shortcomings in this kitchen. Pity the curtains are closed in this picture.

More Kitchen
I invested in a nice island-type table that could seat four (even if you could only crack open the fridge when both flaps were up), added narrow shelves above the sink, asked my mom to make some basic cotton curtains for the windows (both for privacy and temperature control). And we added a ceiling fan, which made a huge difference in the functionality of this room in summer. Oddly, the bathroom was tucked under the eaves right off the kitchen.

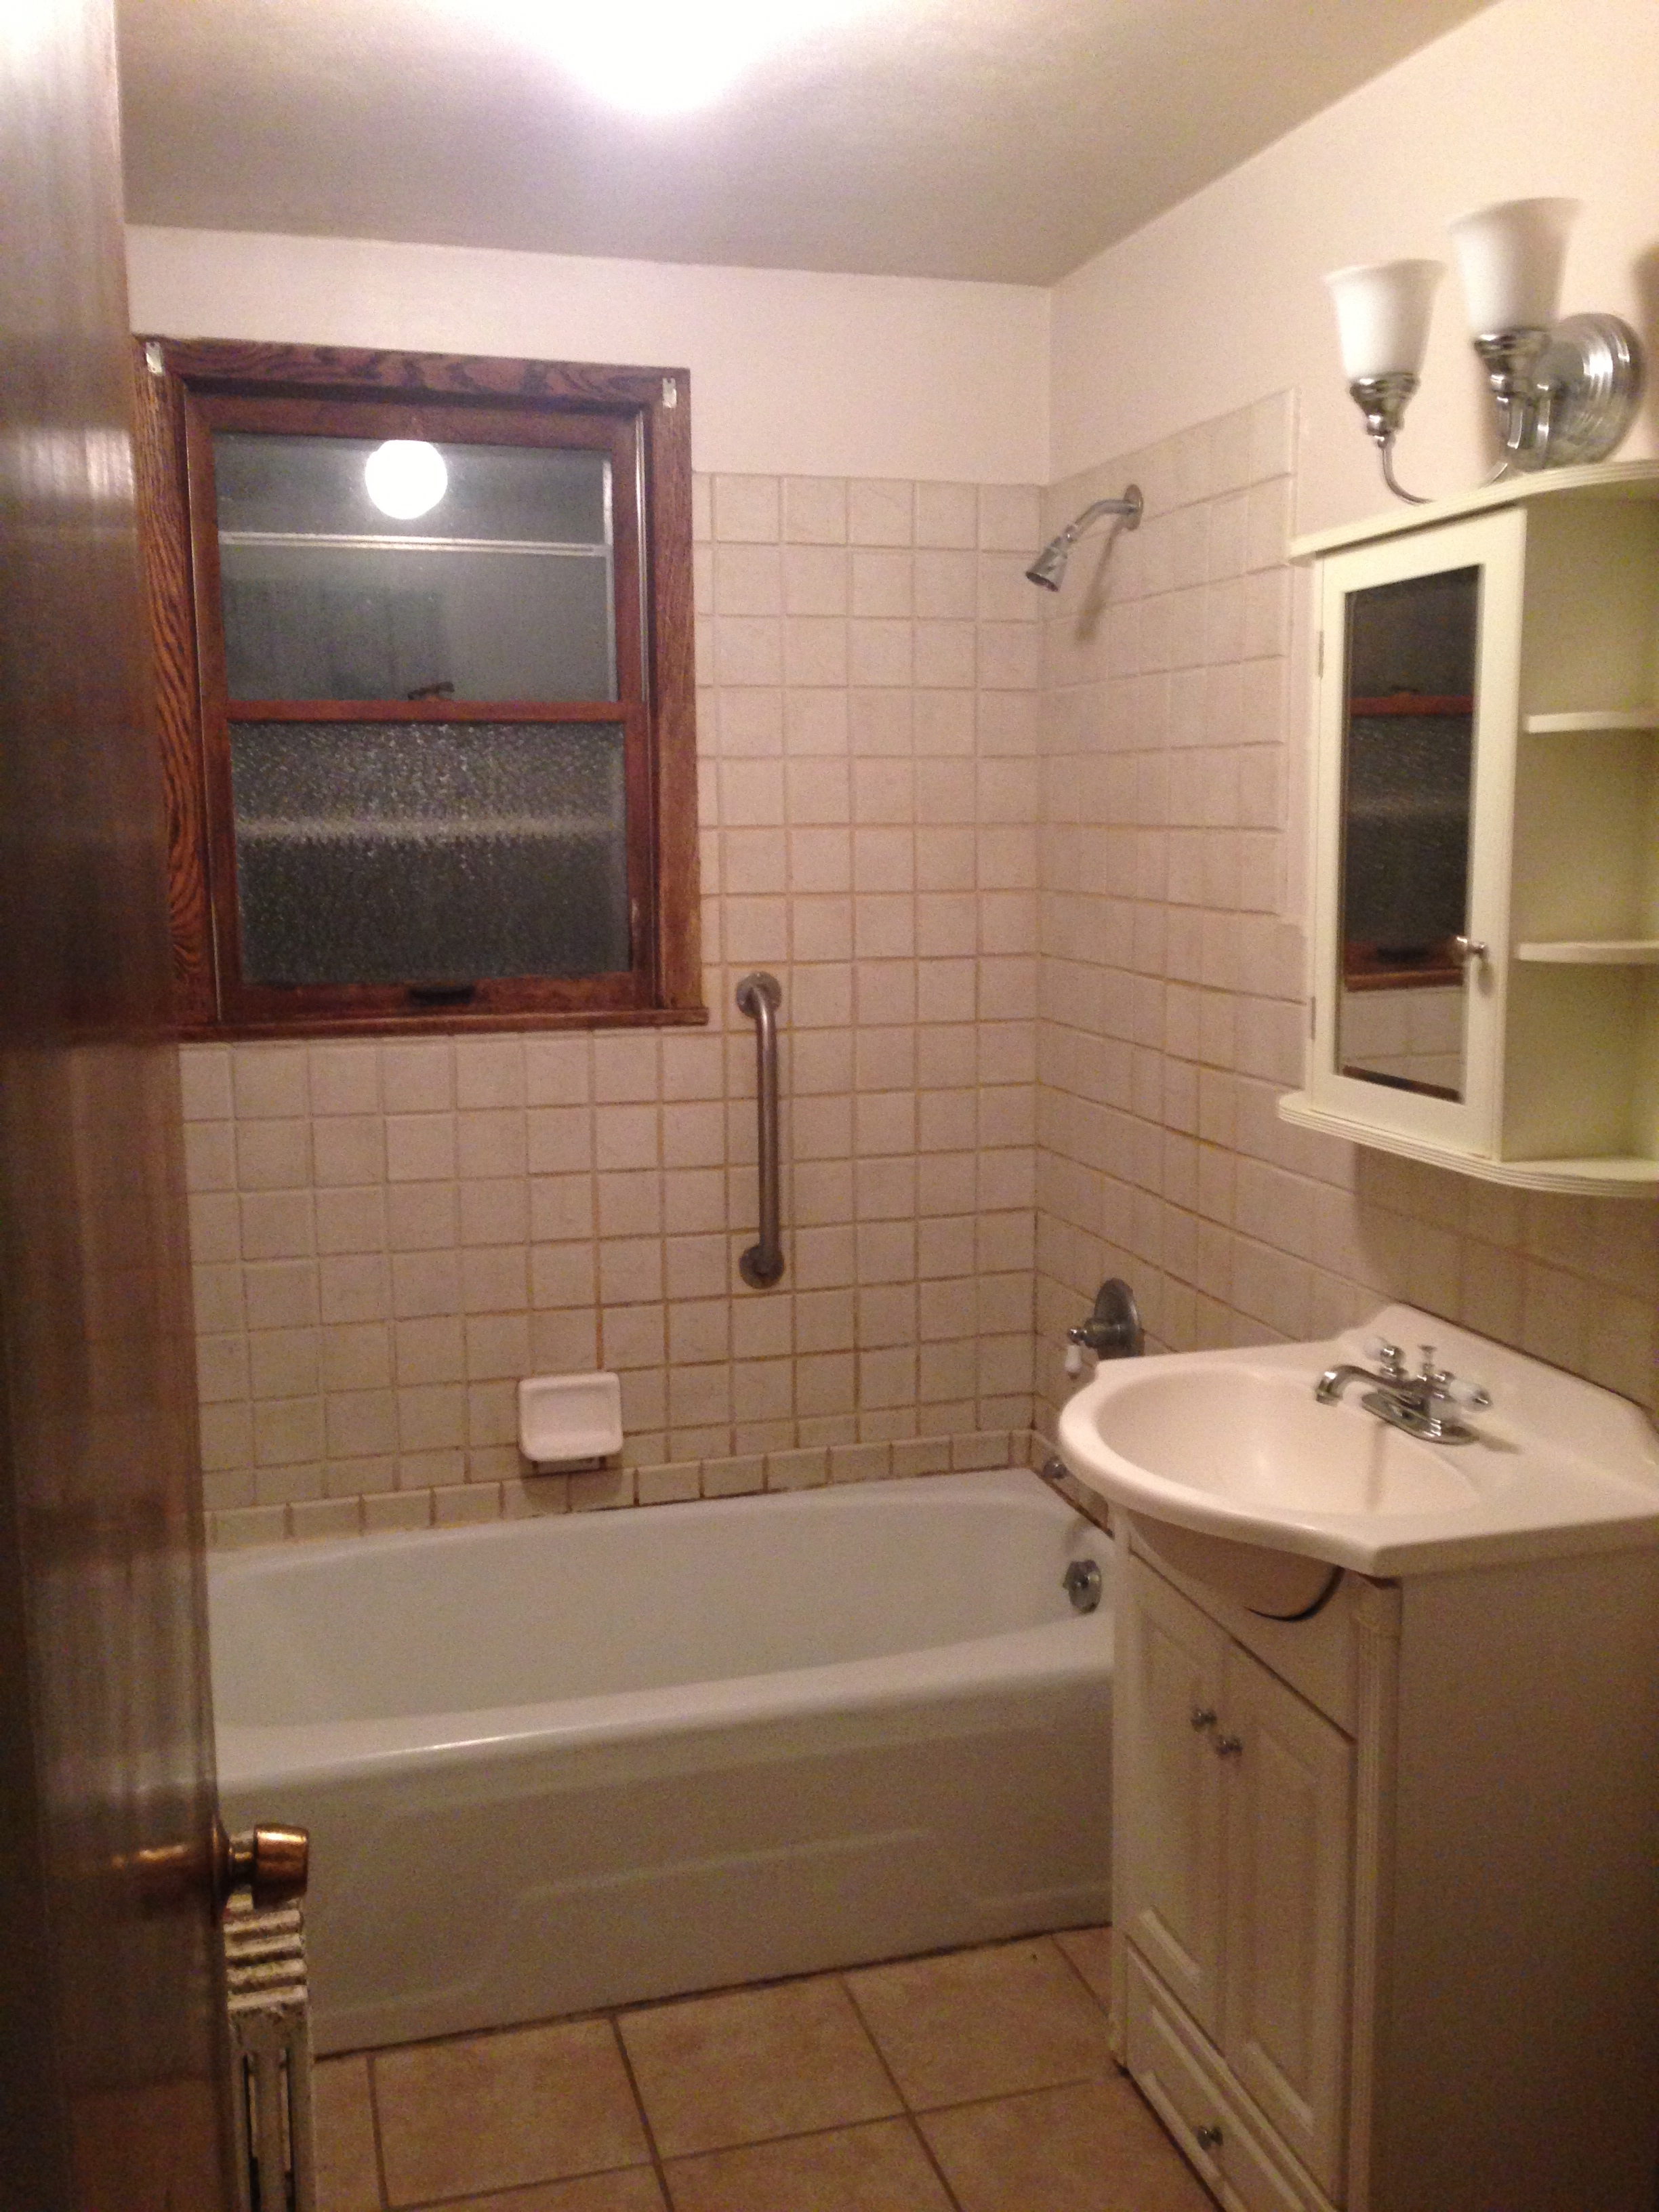
Bathroom
Not stunning, but there was a ton of storage that made it usable. The sage green towels I’ve had for years looked pretty good too. On the other side of the kitchen was a small carpeted room that I used as a pantry.

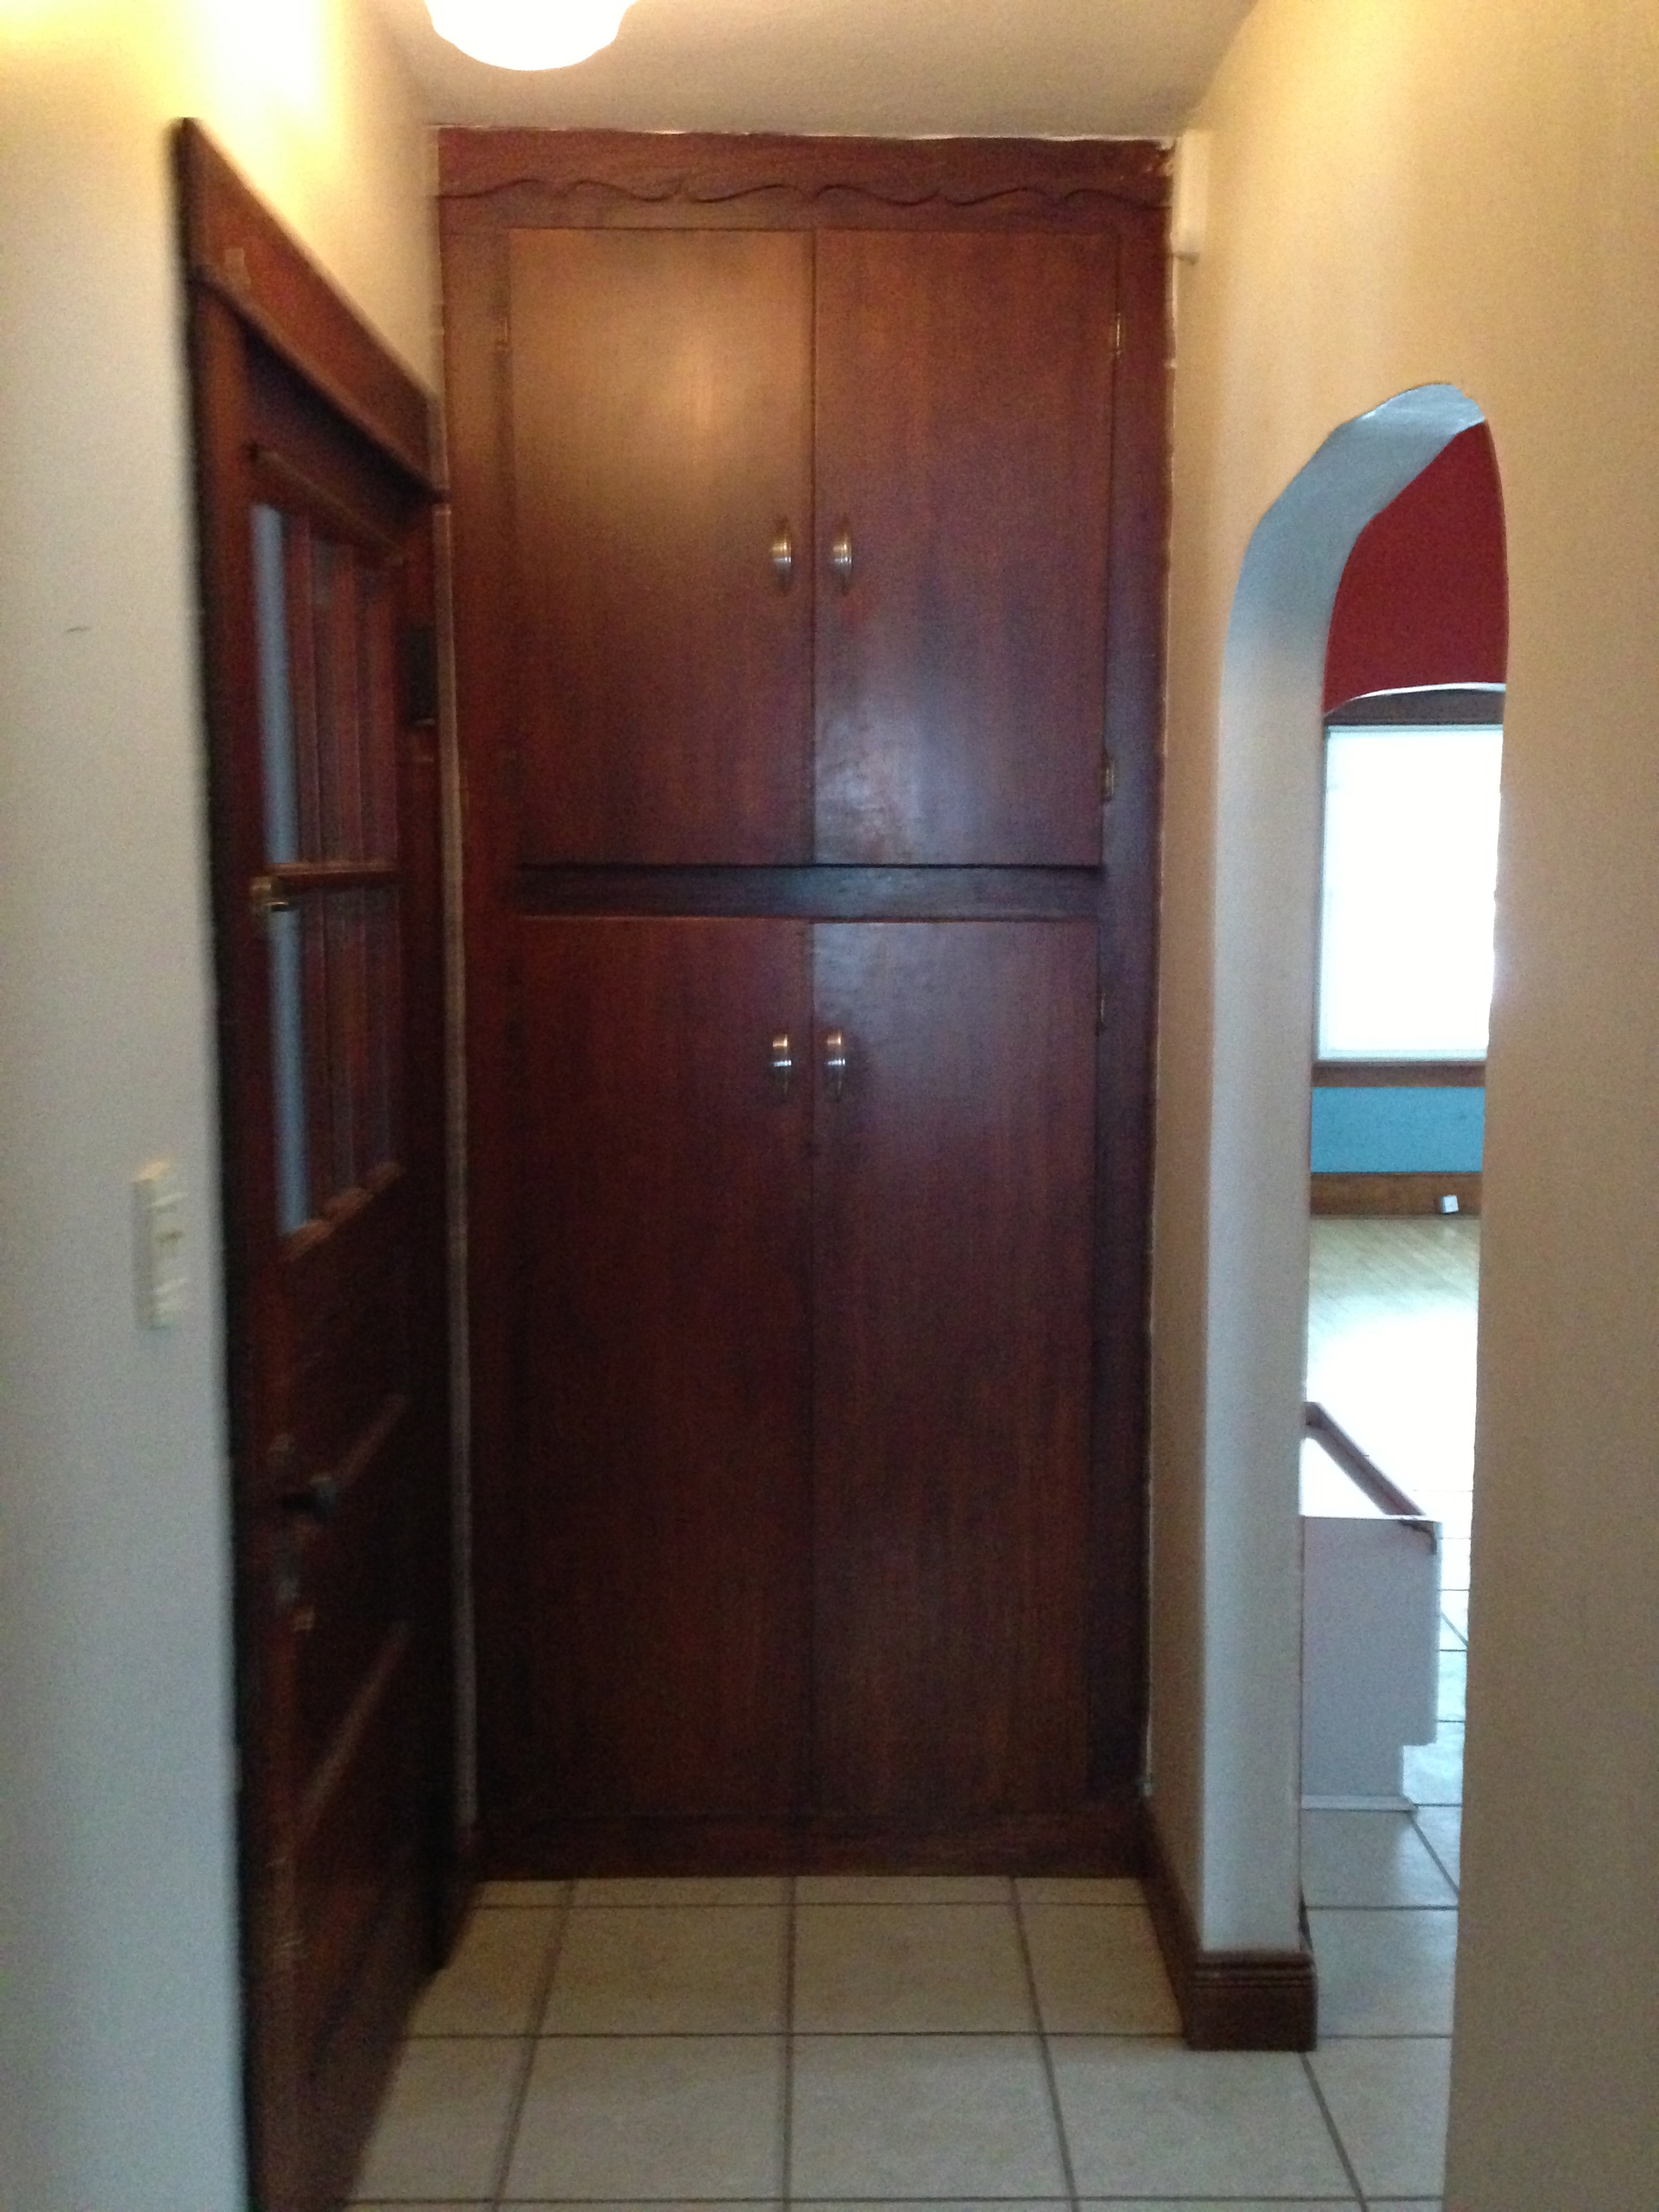
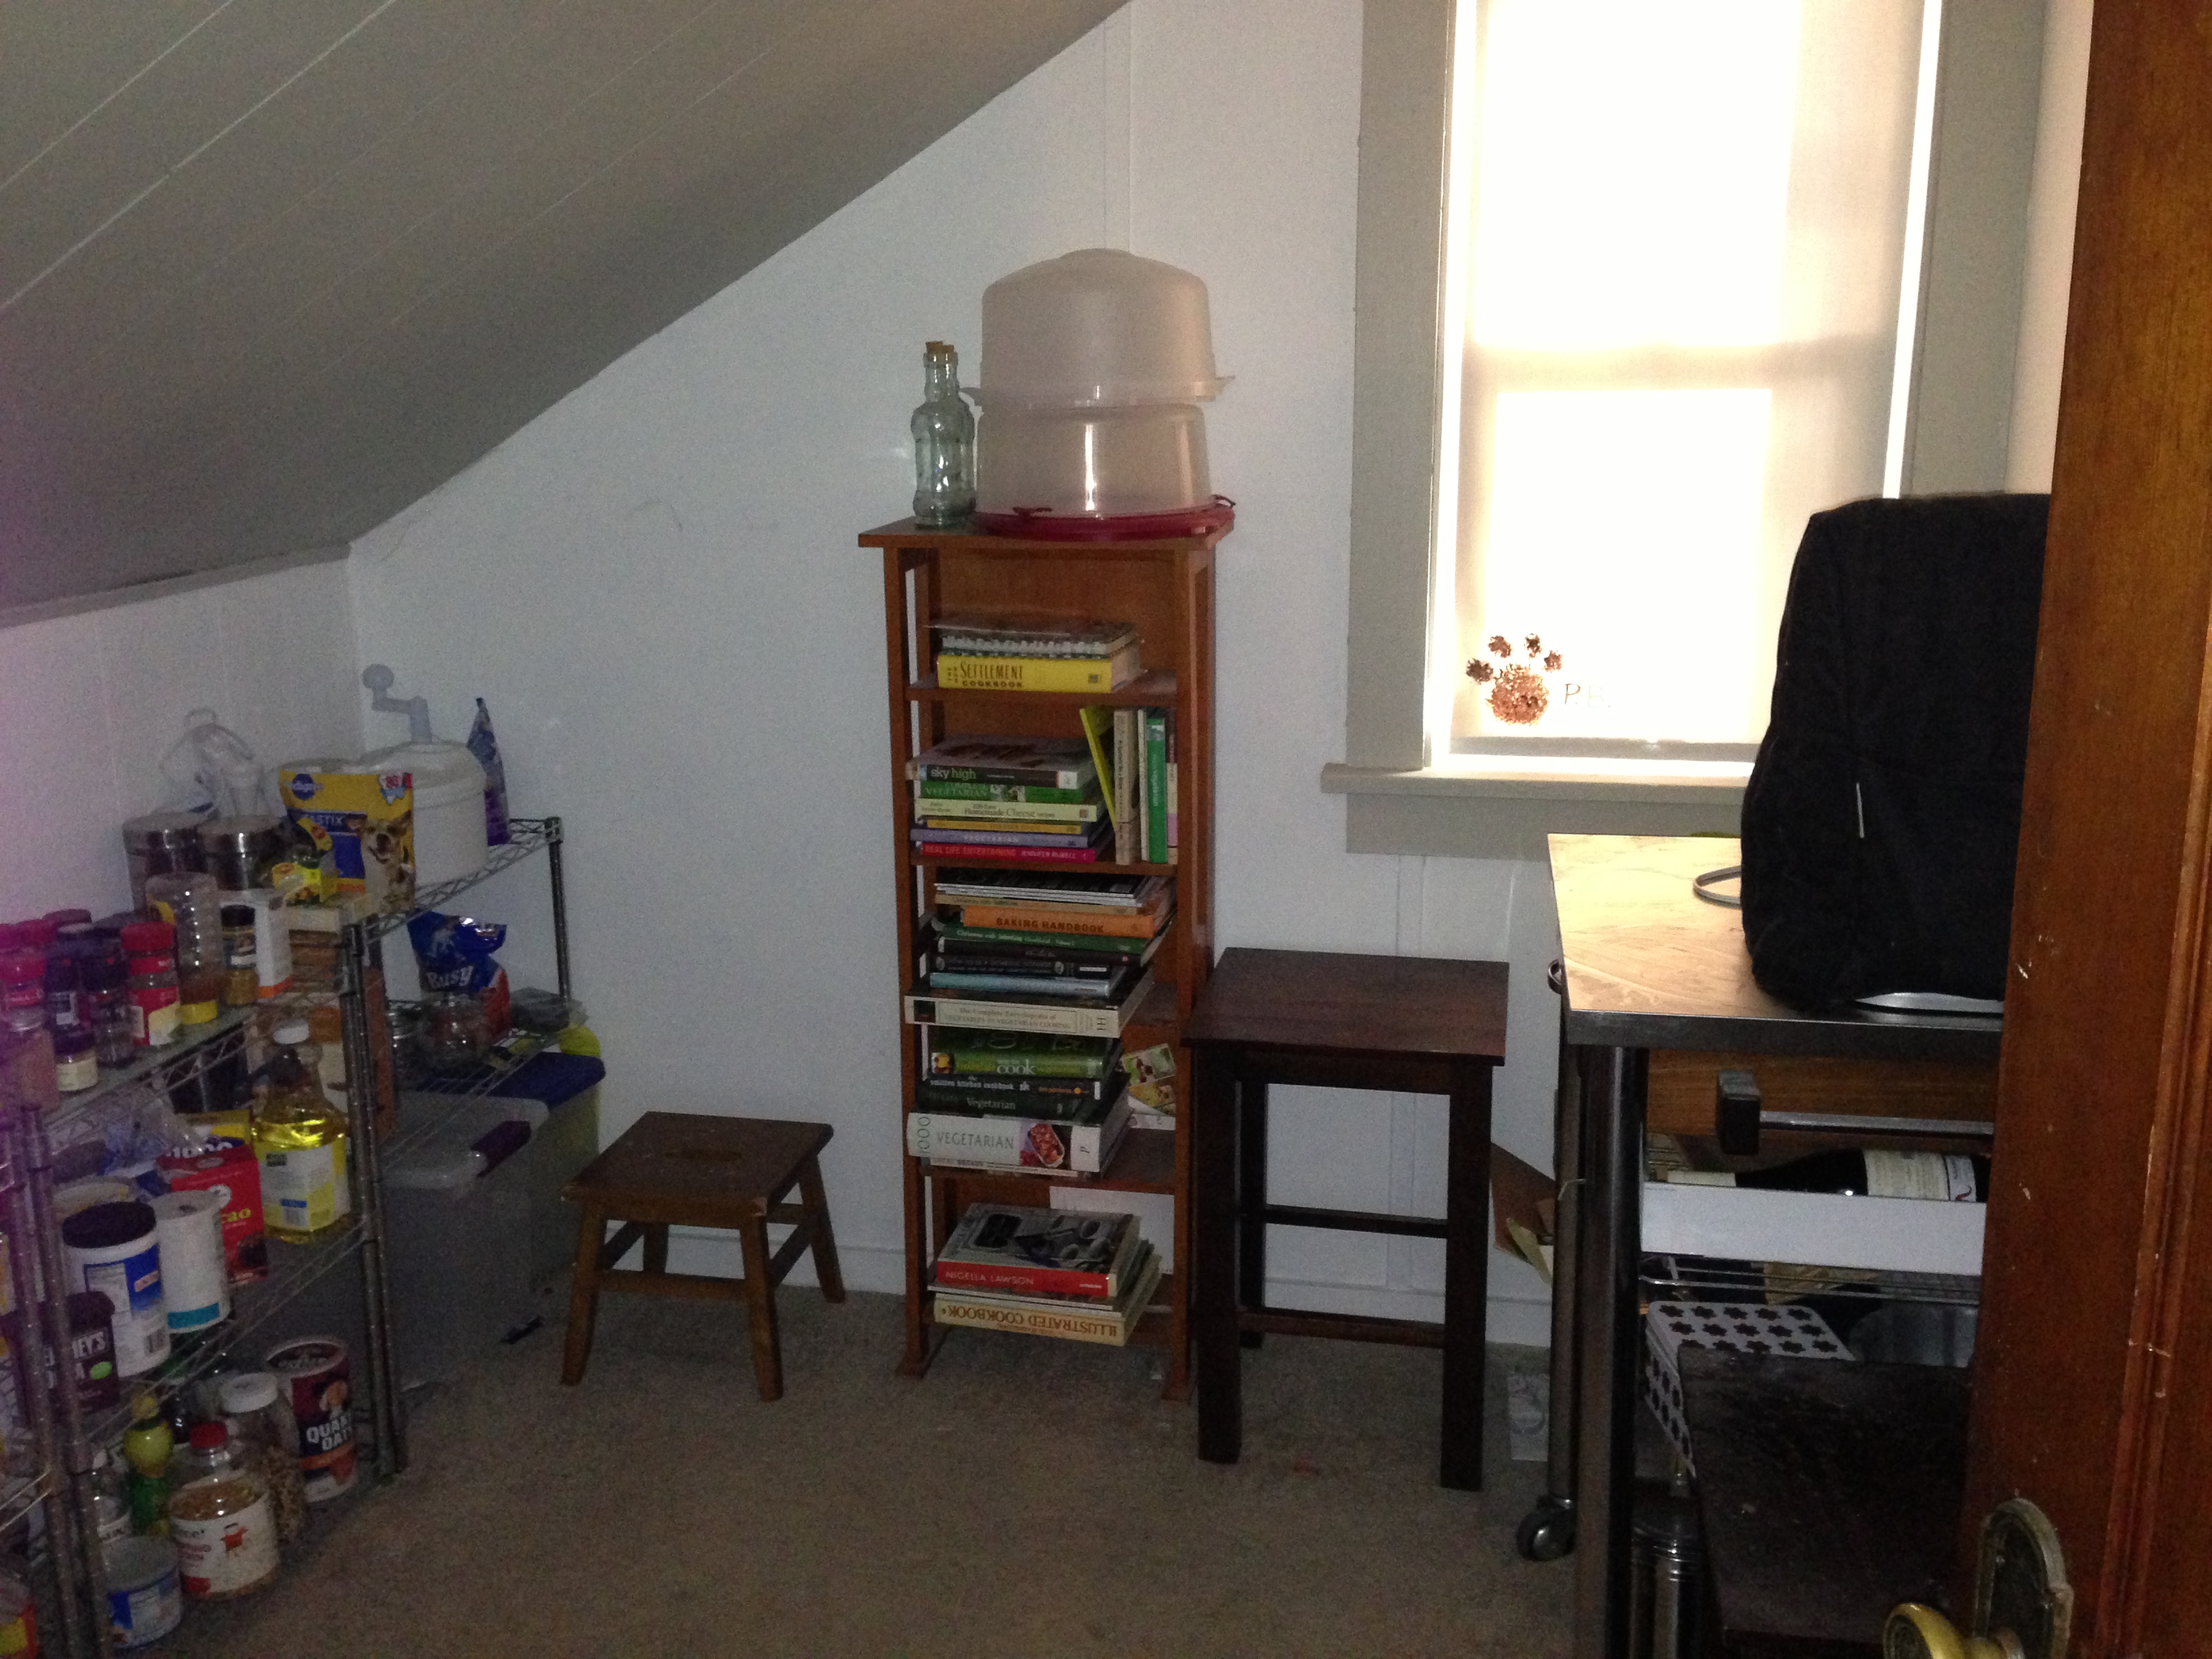
Pantry
Since it had an outlet and a light, I was not only able to store food in there, but kept my kitchen aid mixer and microwave in there too. It was just a step away from the stove, and really helped keep my limited counterspace clutter-free.

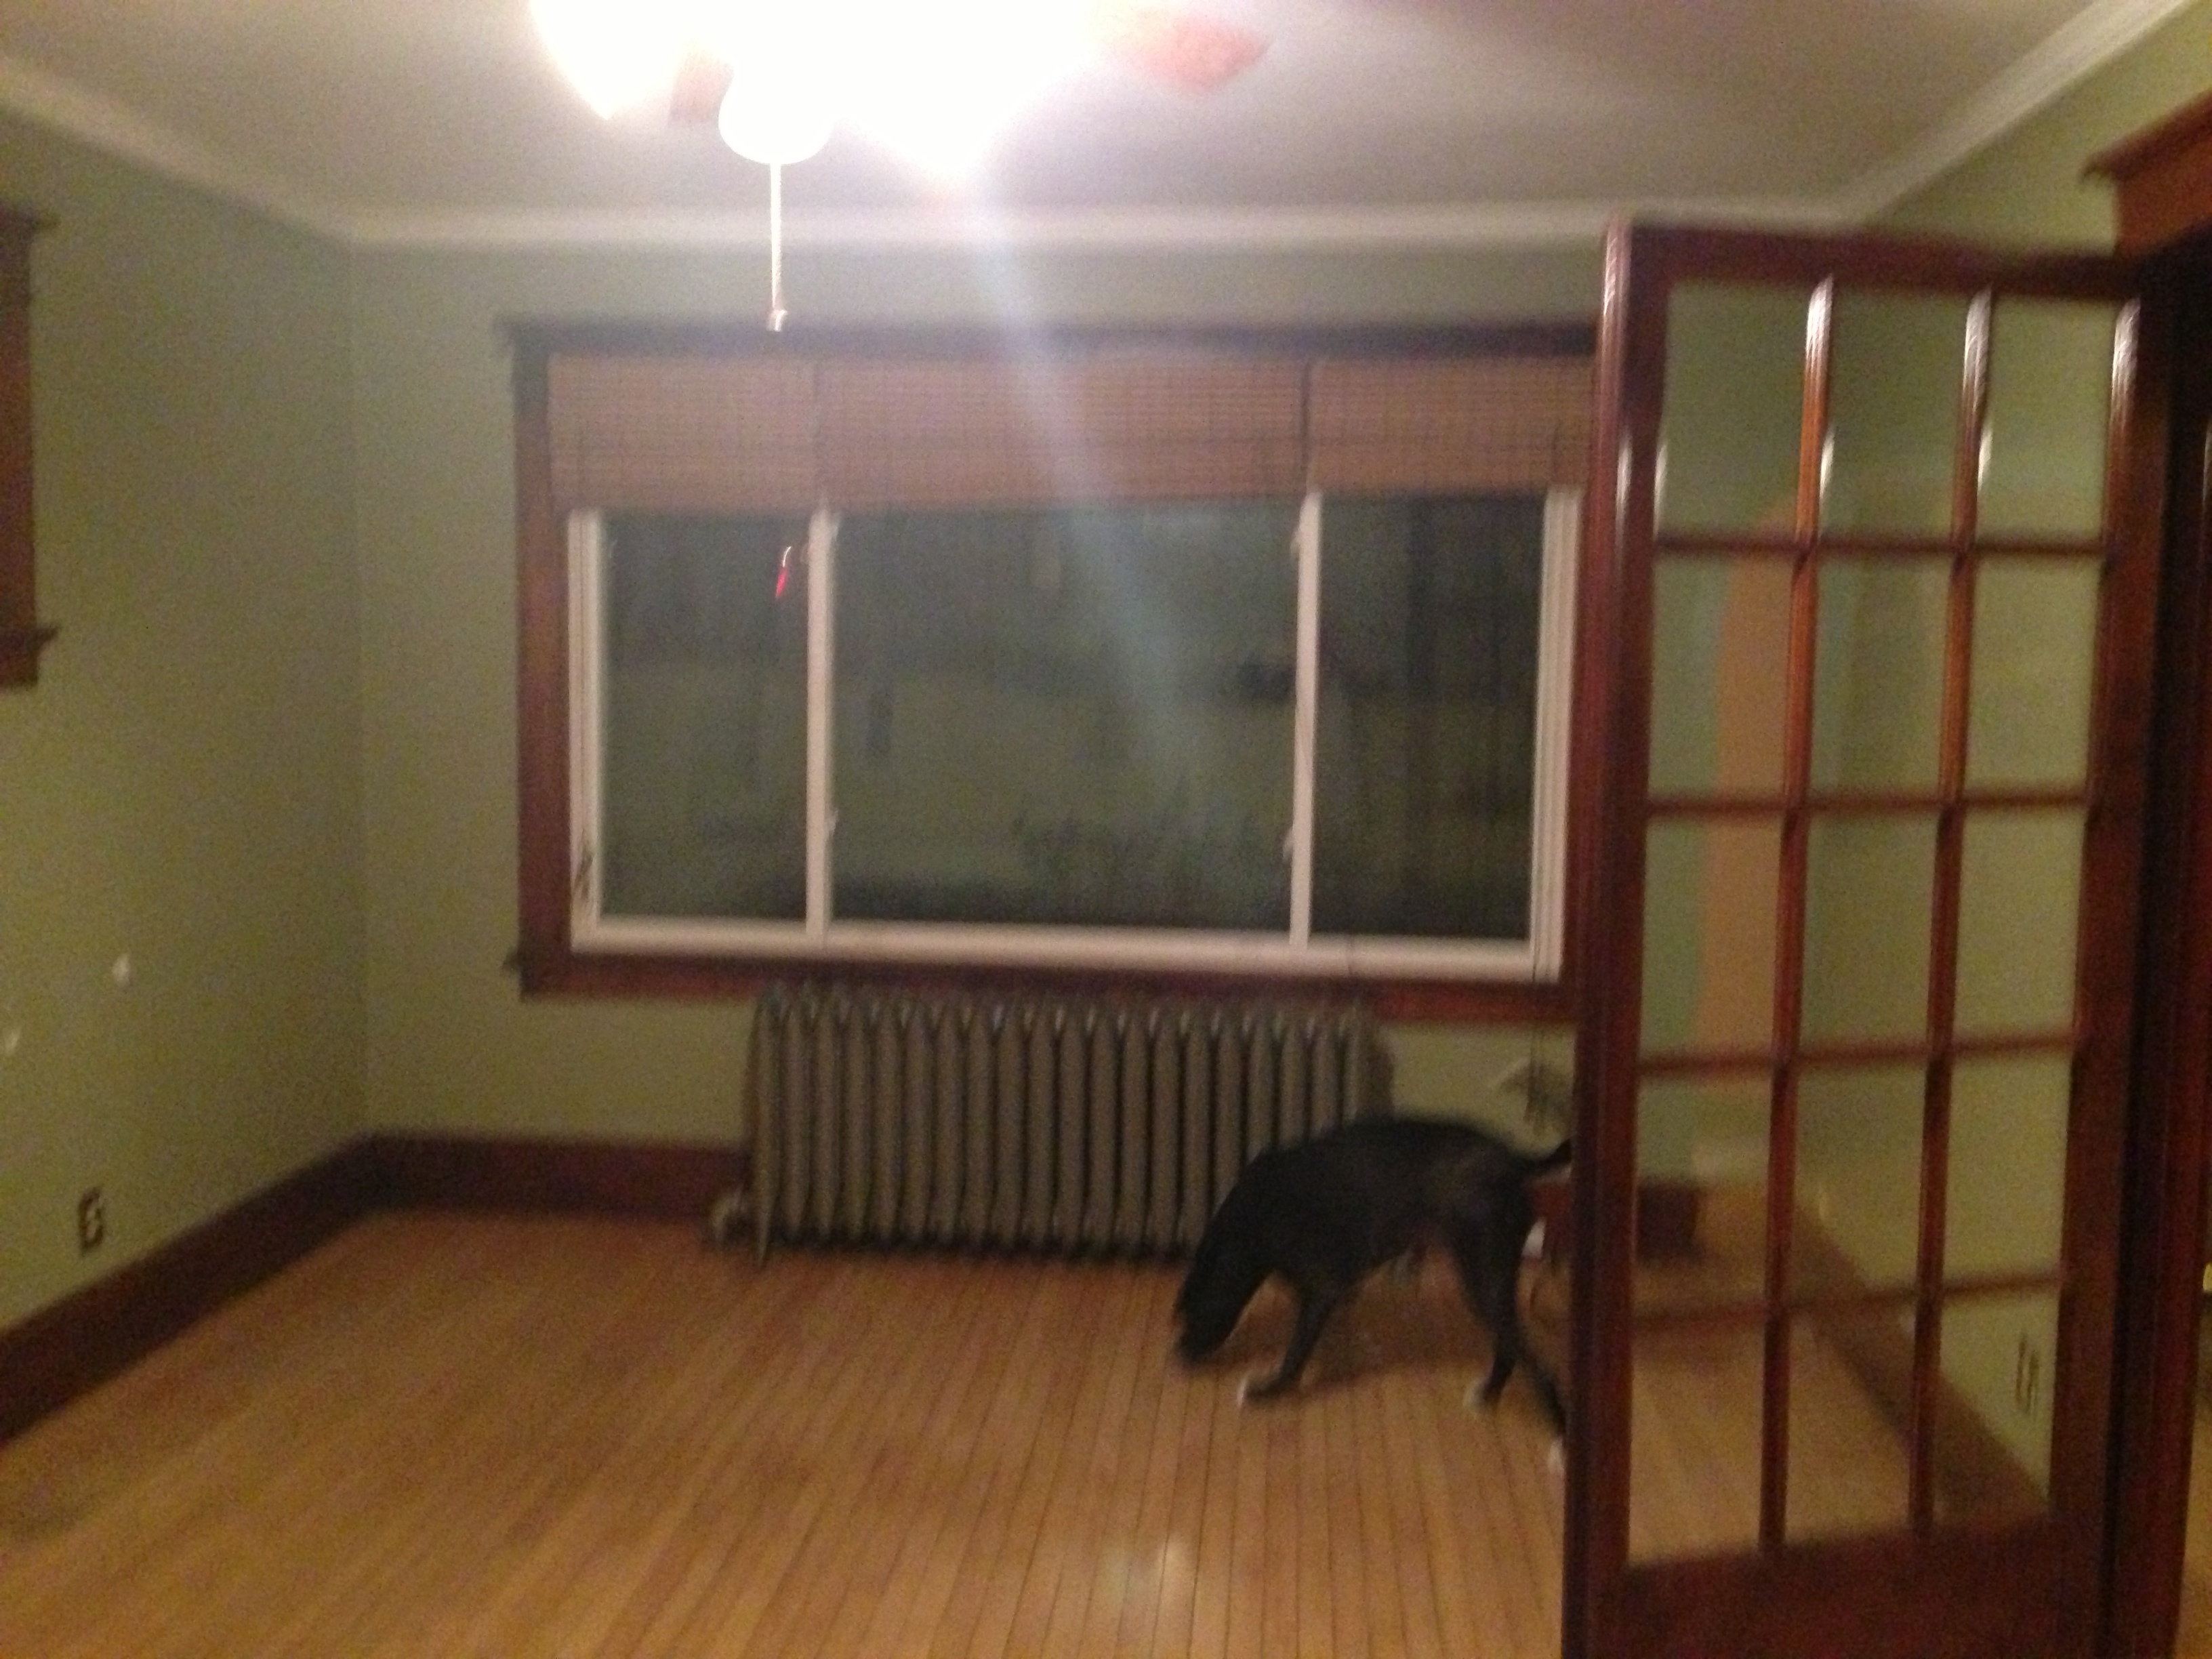
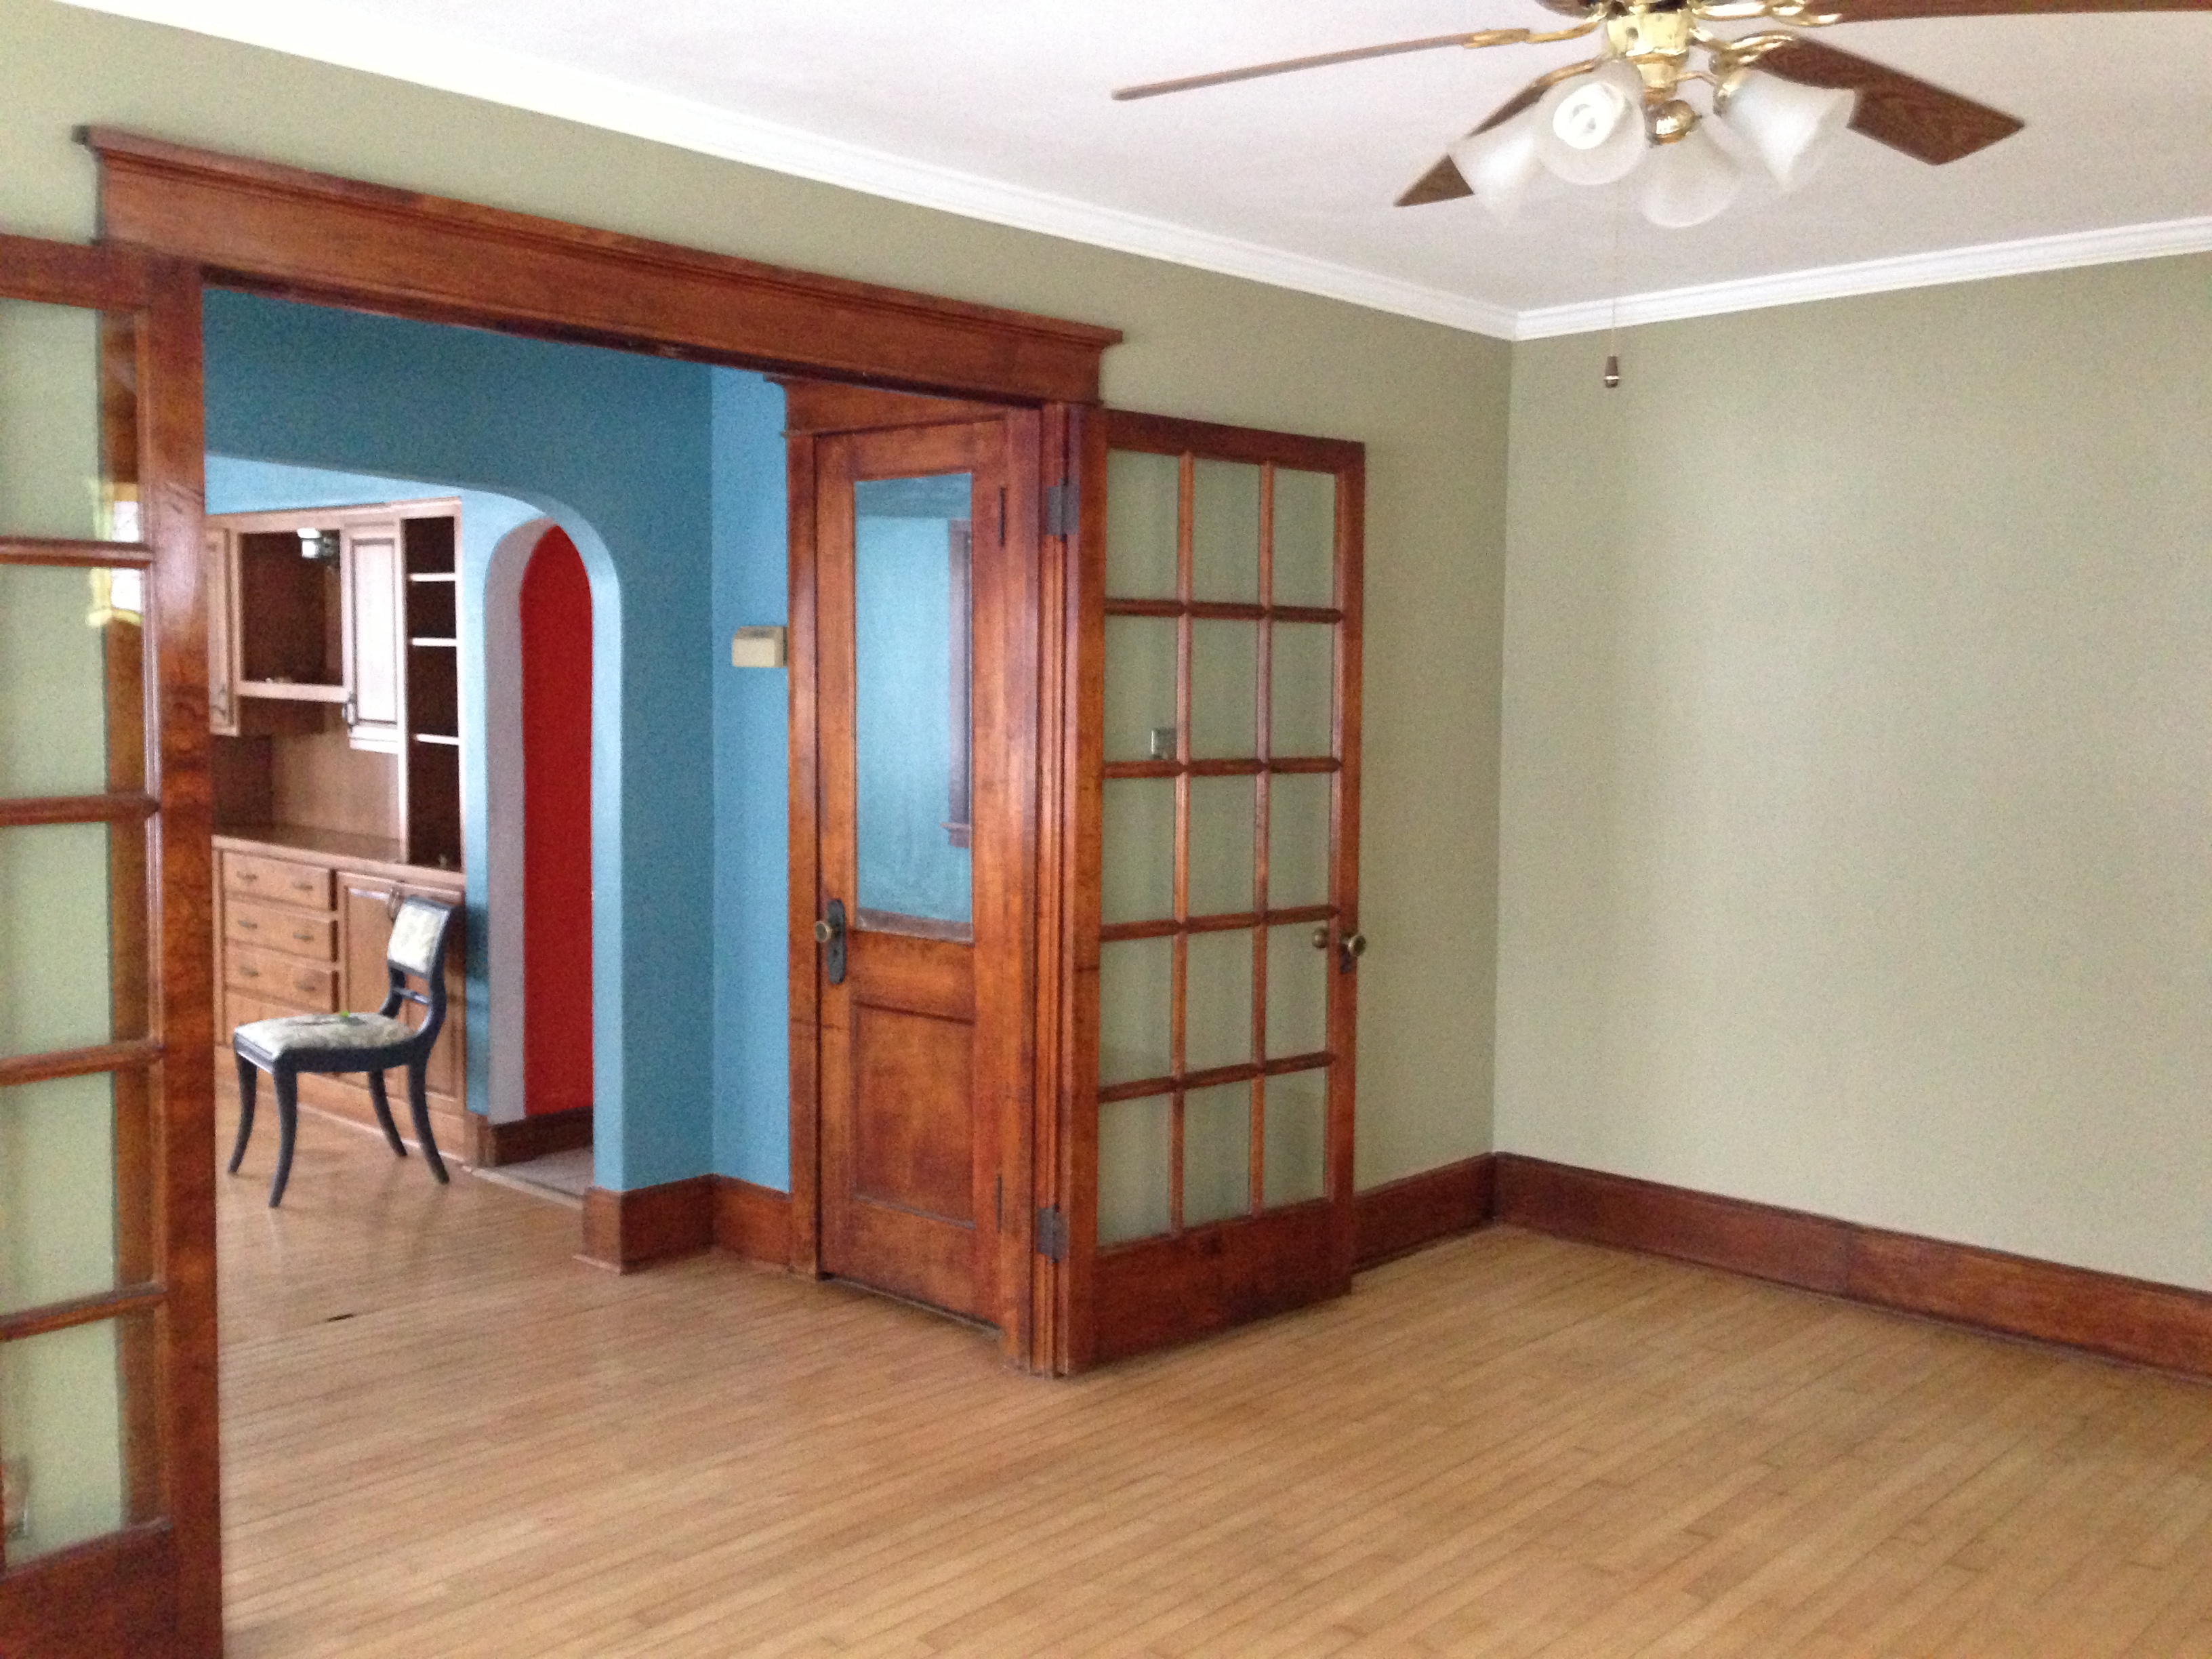
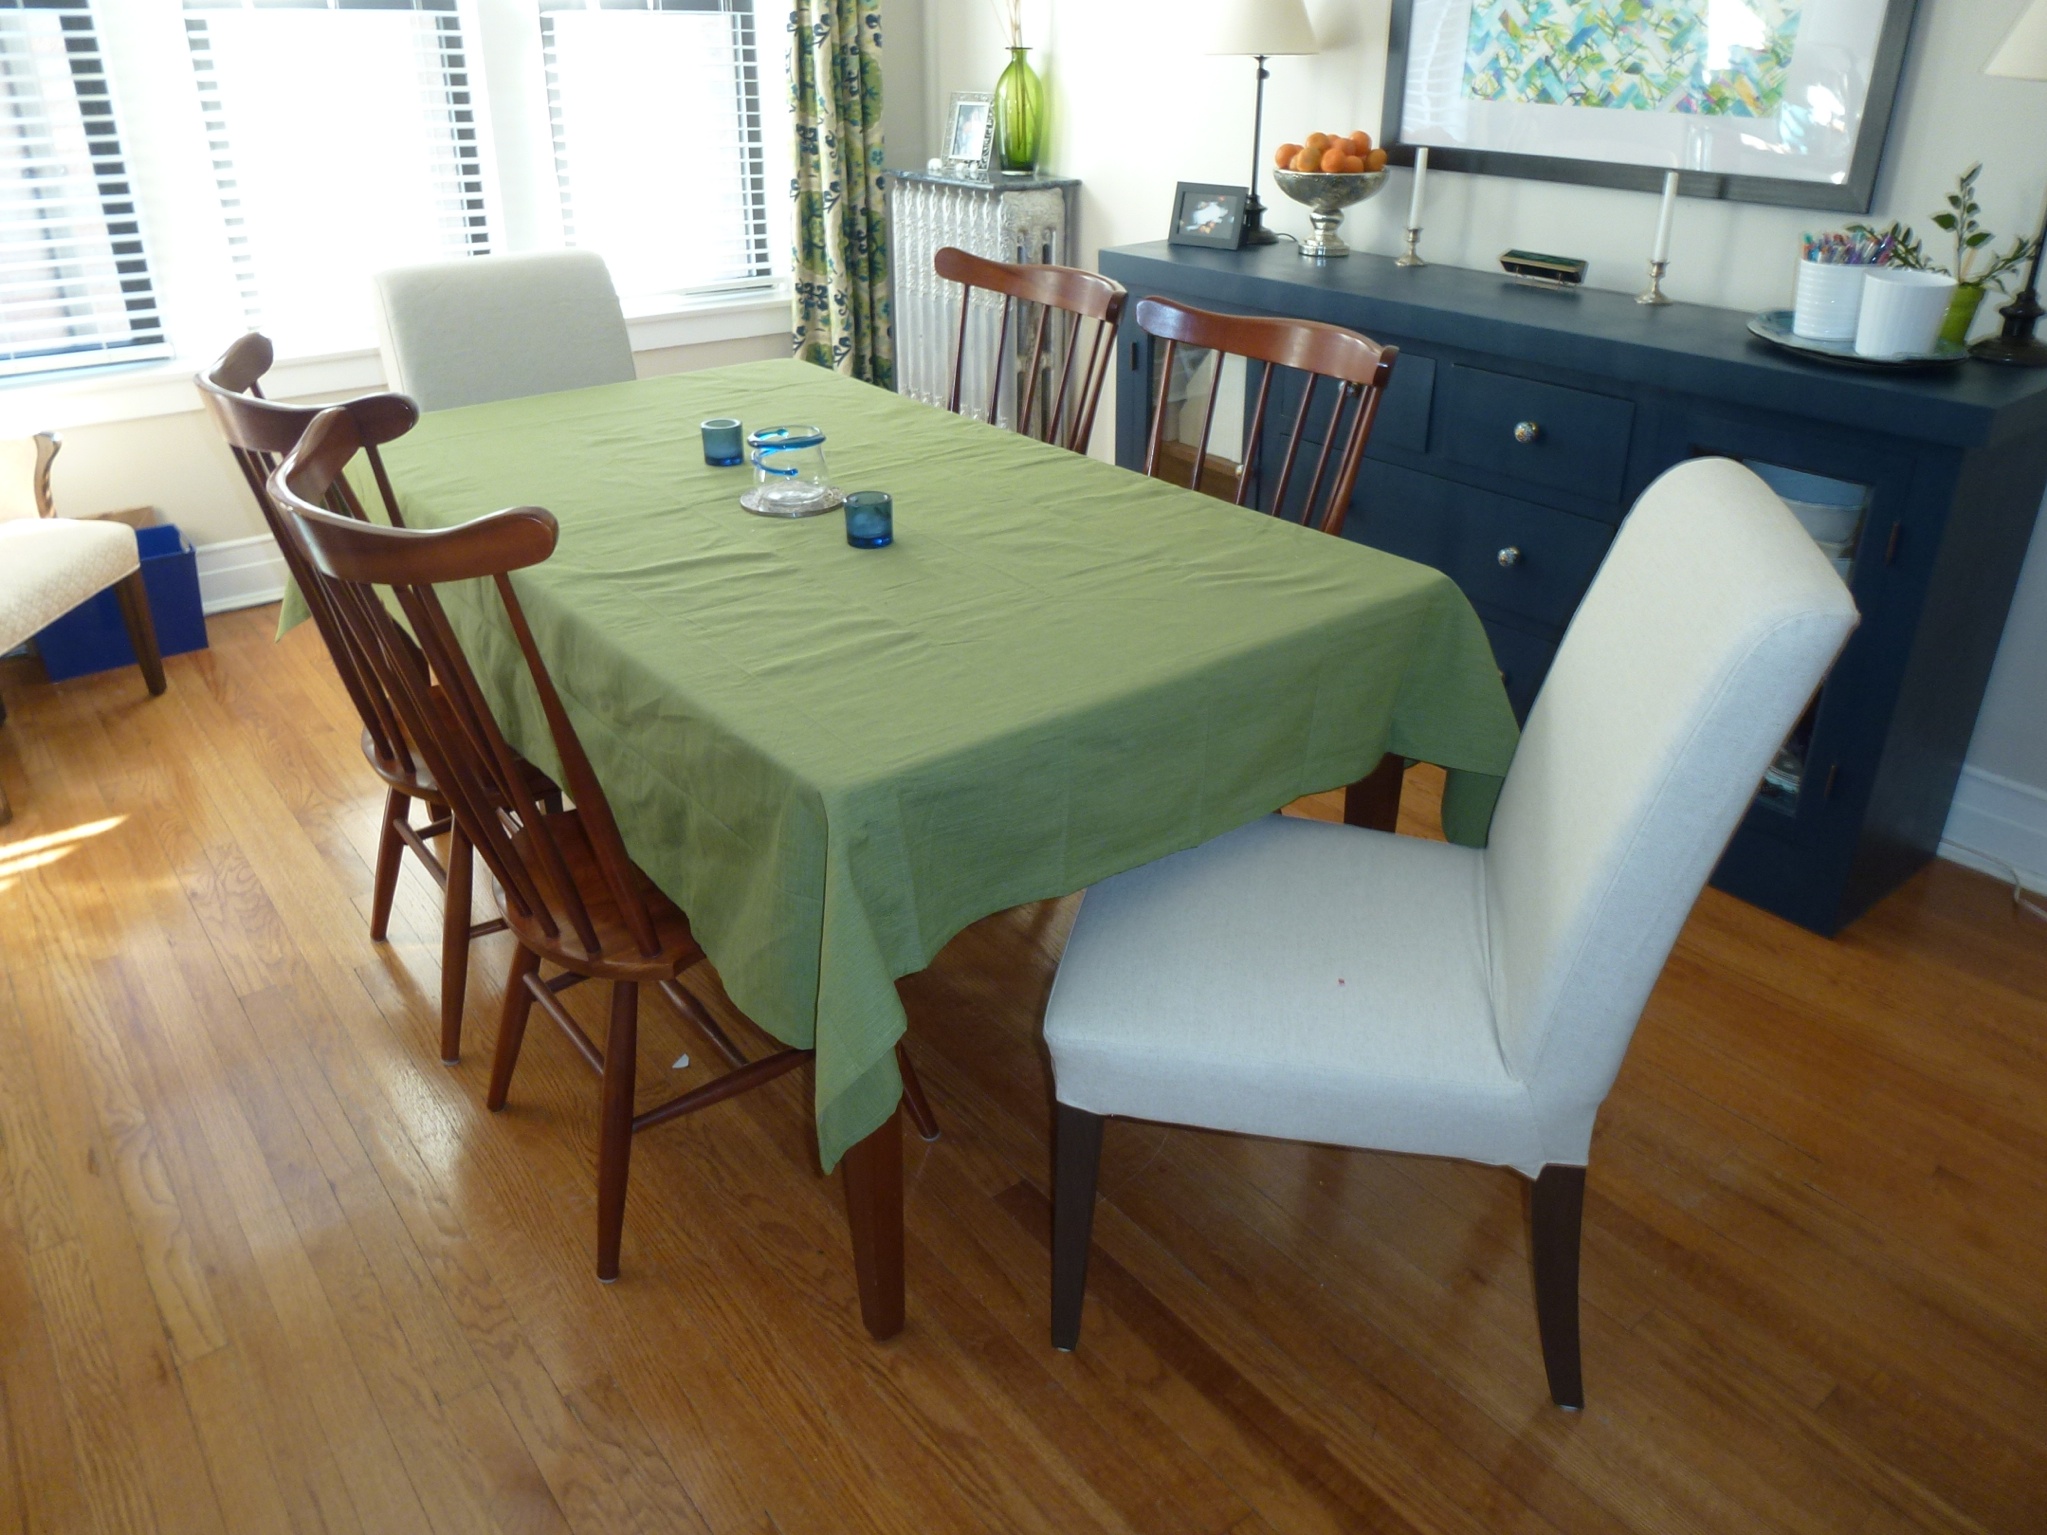
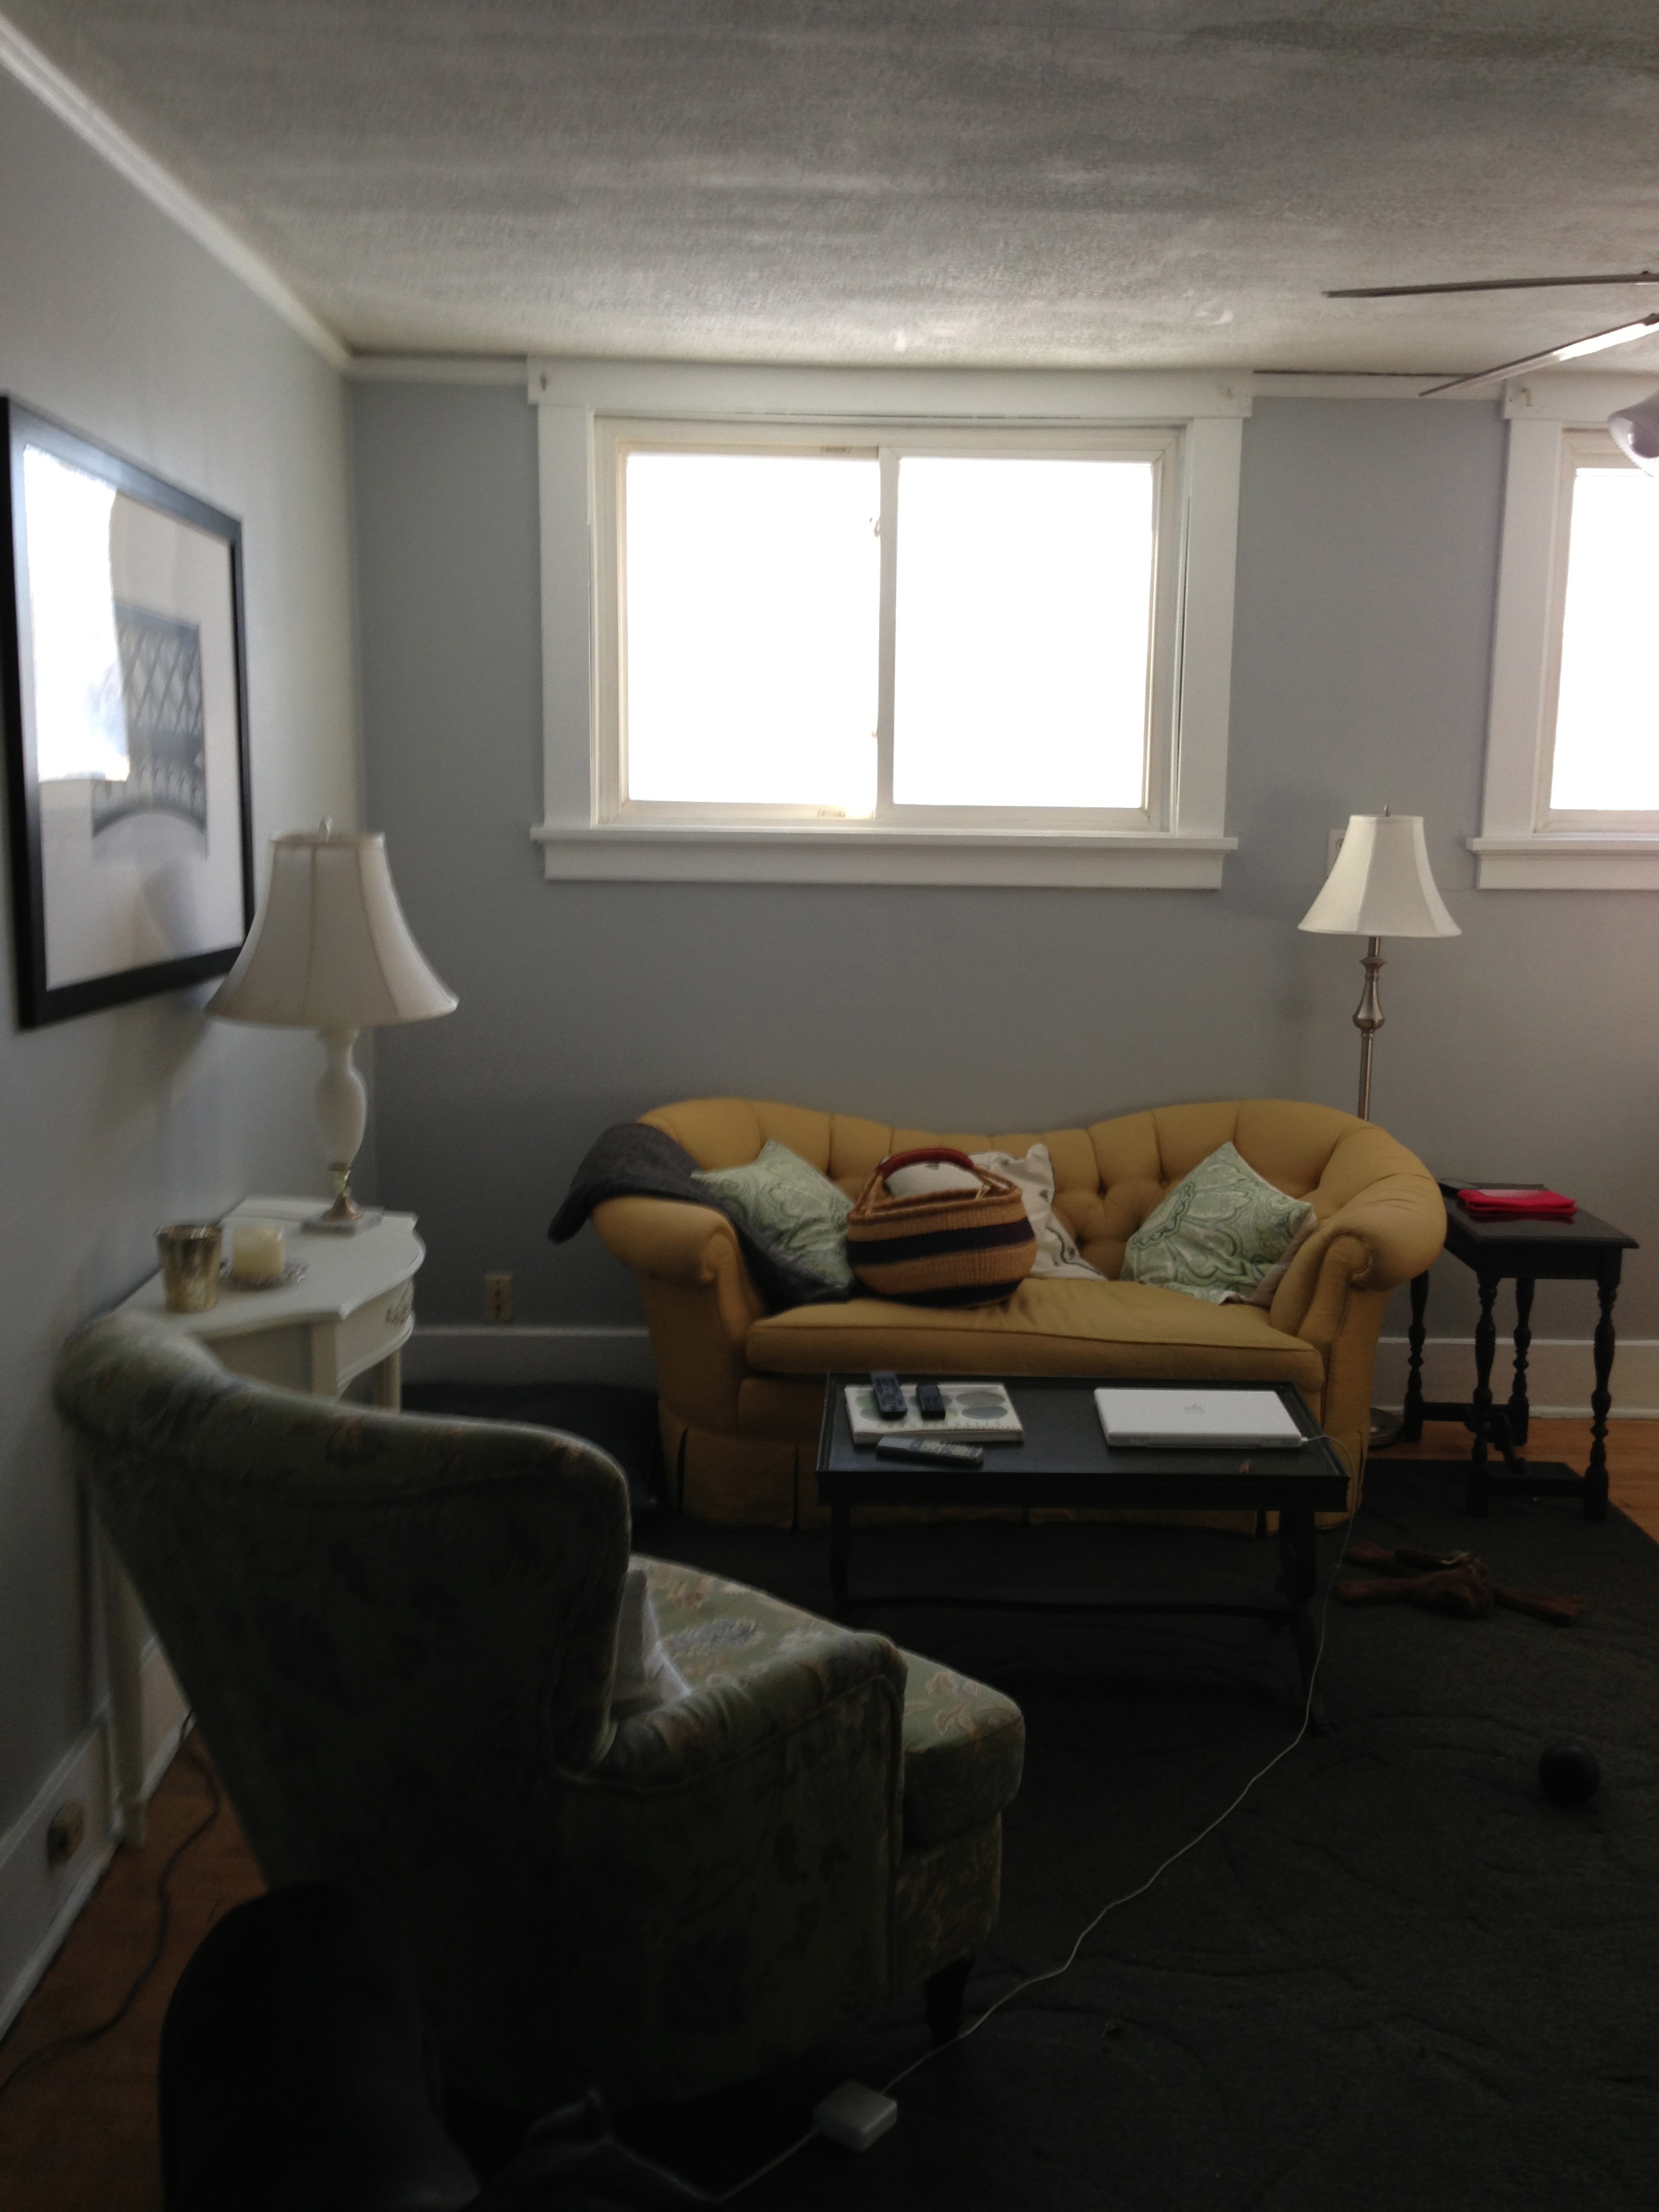
Looking into the living room
My living room evolved around a couple key hand-me-downs and some lucky clearance finds. The loveseat (and despite the size of the room, I could only have a loveseat because of the narrow hallway and door) was a gorgeous designer hand-me-down that used to belong to an interior designer friend of the family. The green chair and rug were both new, but floor models, so I got them each for about 75% off from Pier One and Ikea respectively. These are three pieces of furniture that I really love, but I have discovered that the loveseat is fantastic for curling up to watch a movie or read a book by yourself, but not really functional for company.

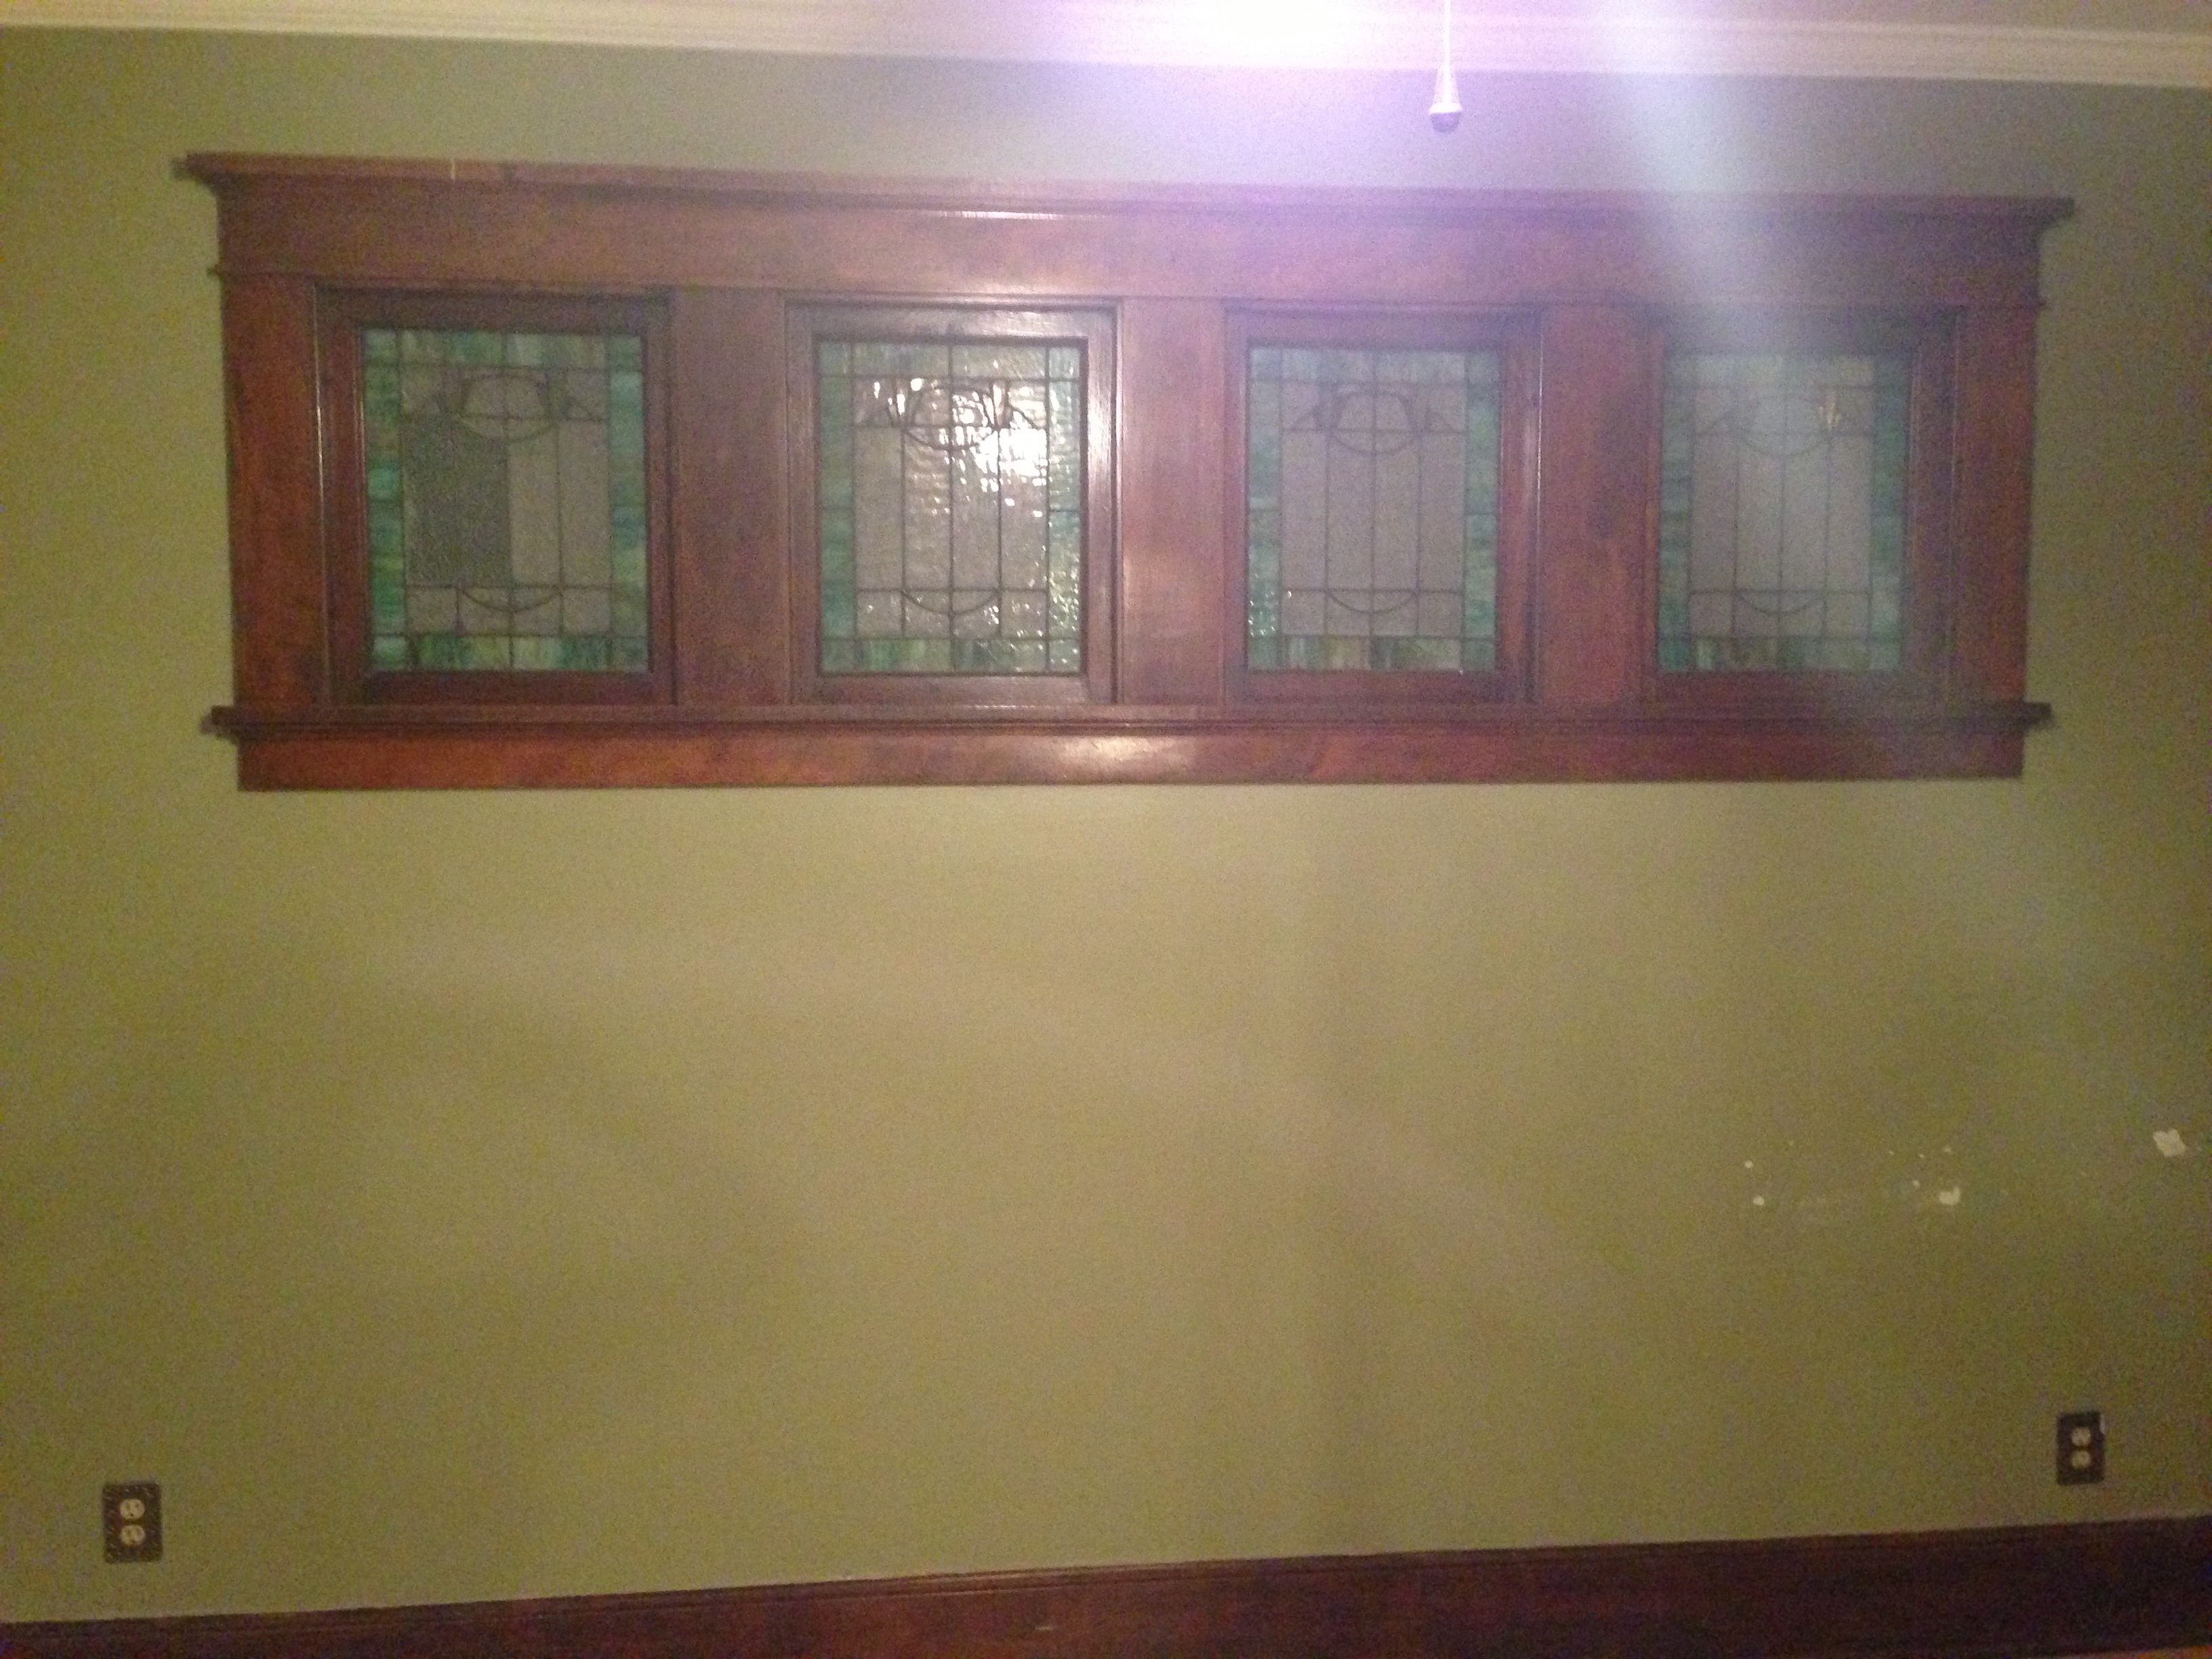
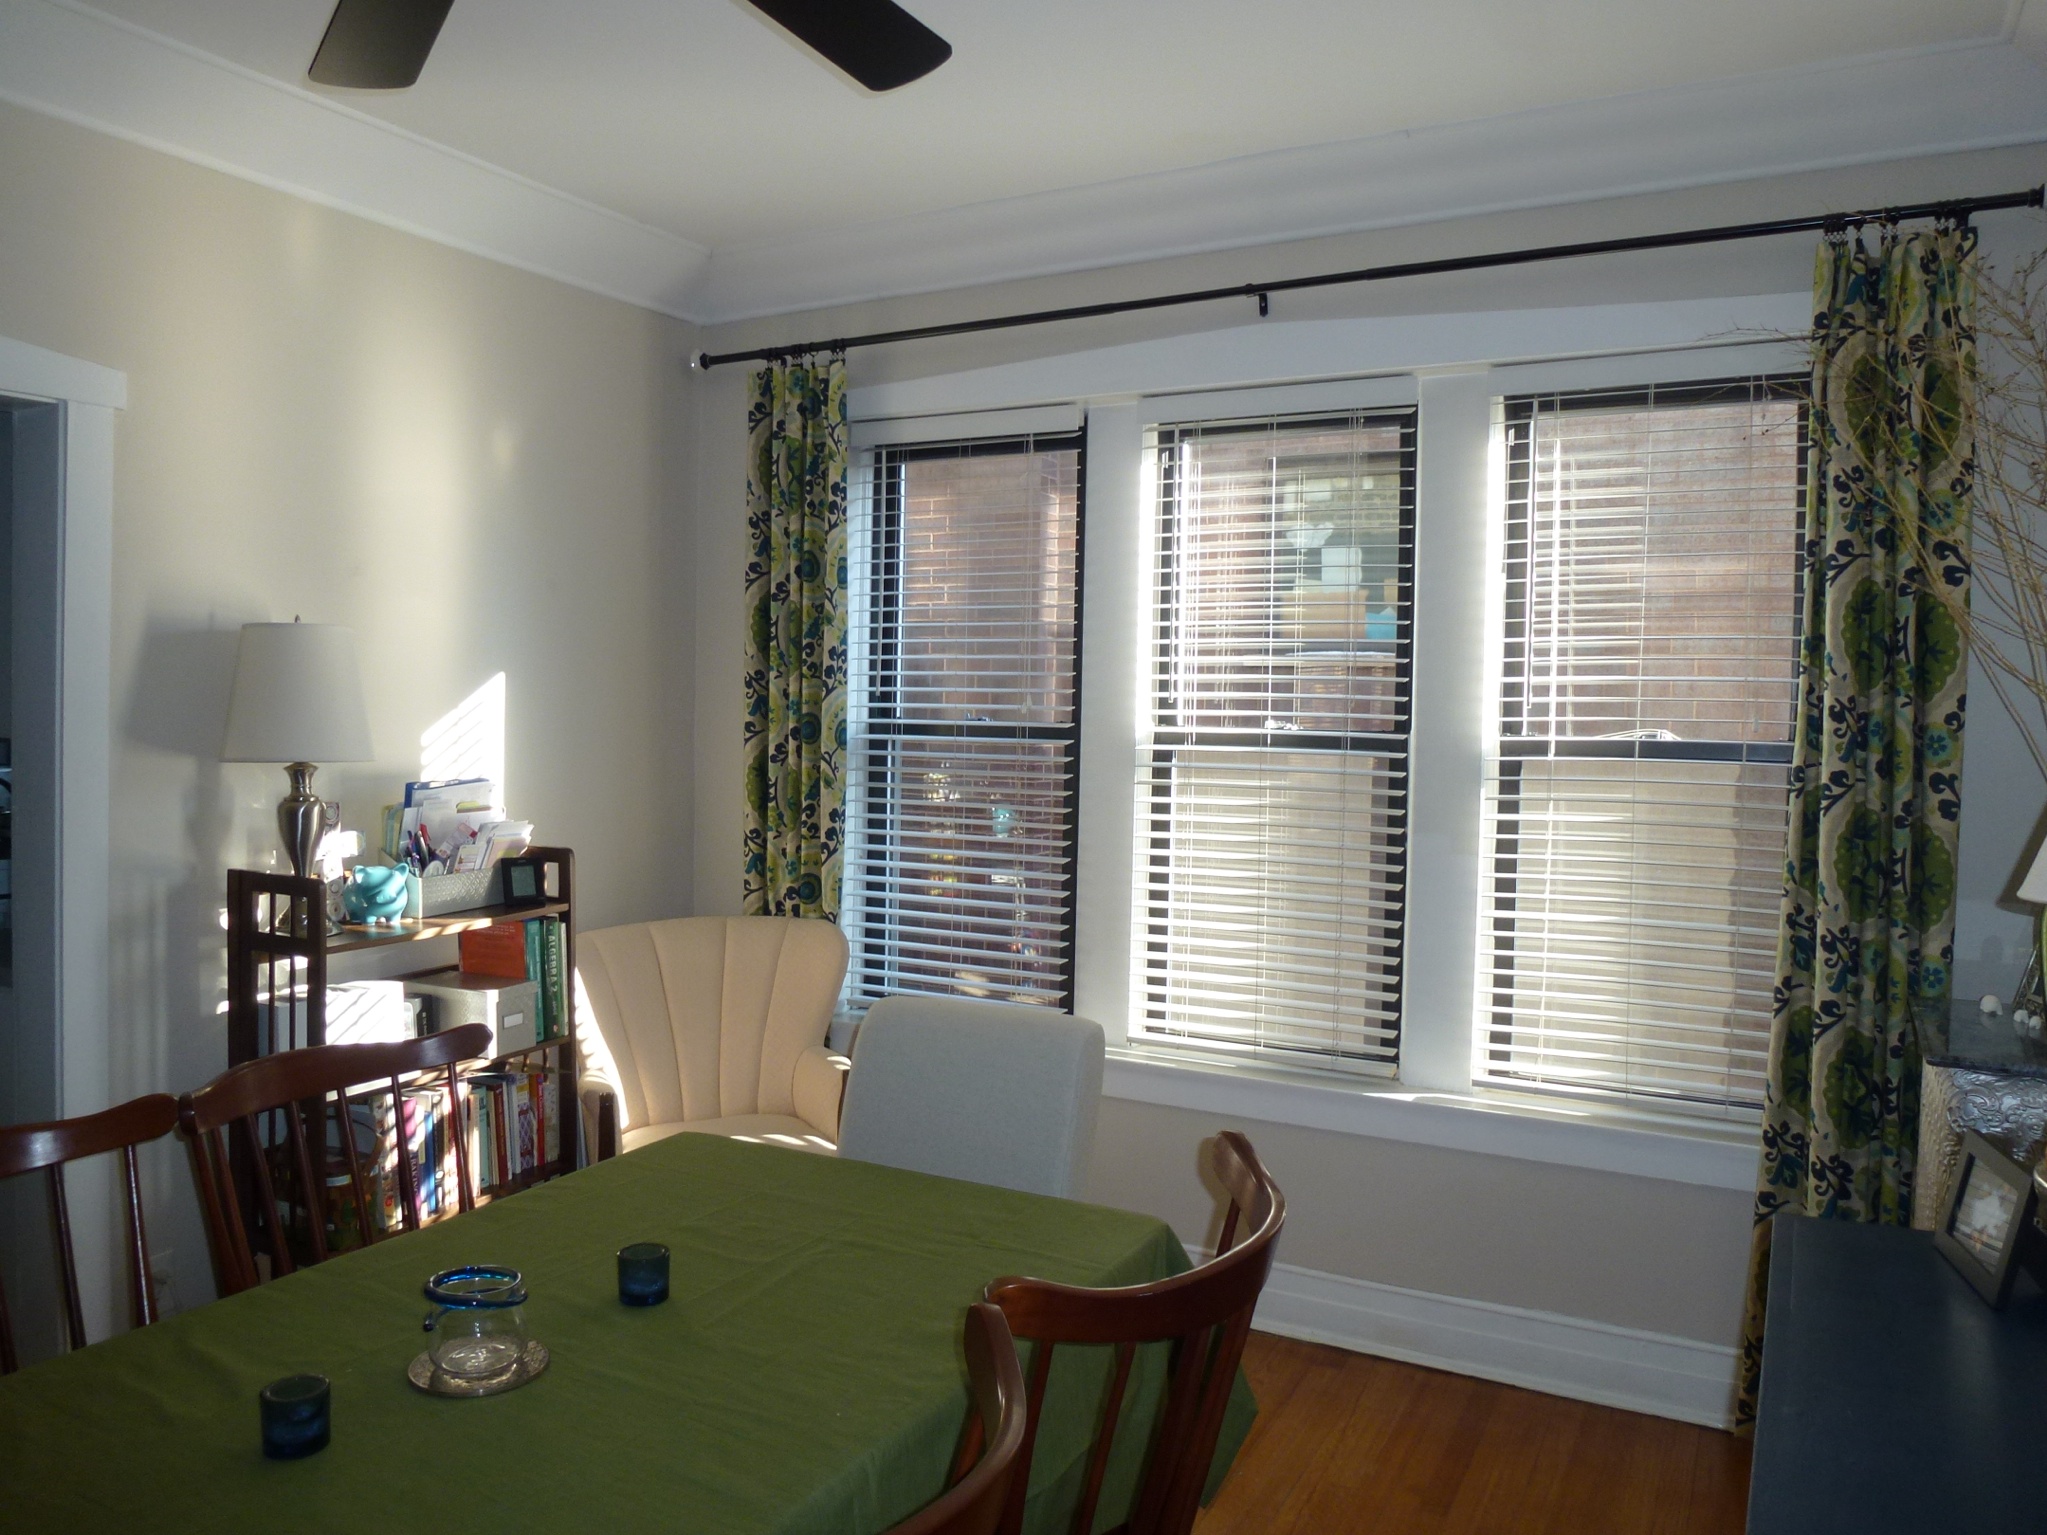
The “L” of the living room
Now, you’ve seen these chairs before. They weren’t quite what I had in mind for this space, but they were a free hand-me-down from my mom, and I do love how they turned out with new paint and fabric. I also love how glass doors turn the cheapest Ikea bookshelves into something really special.

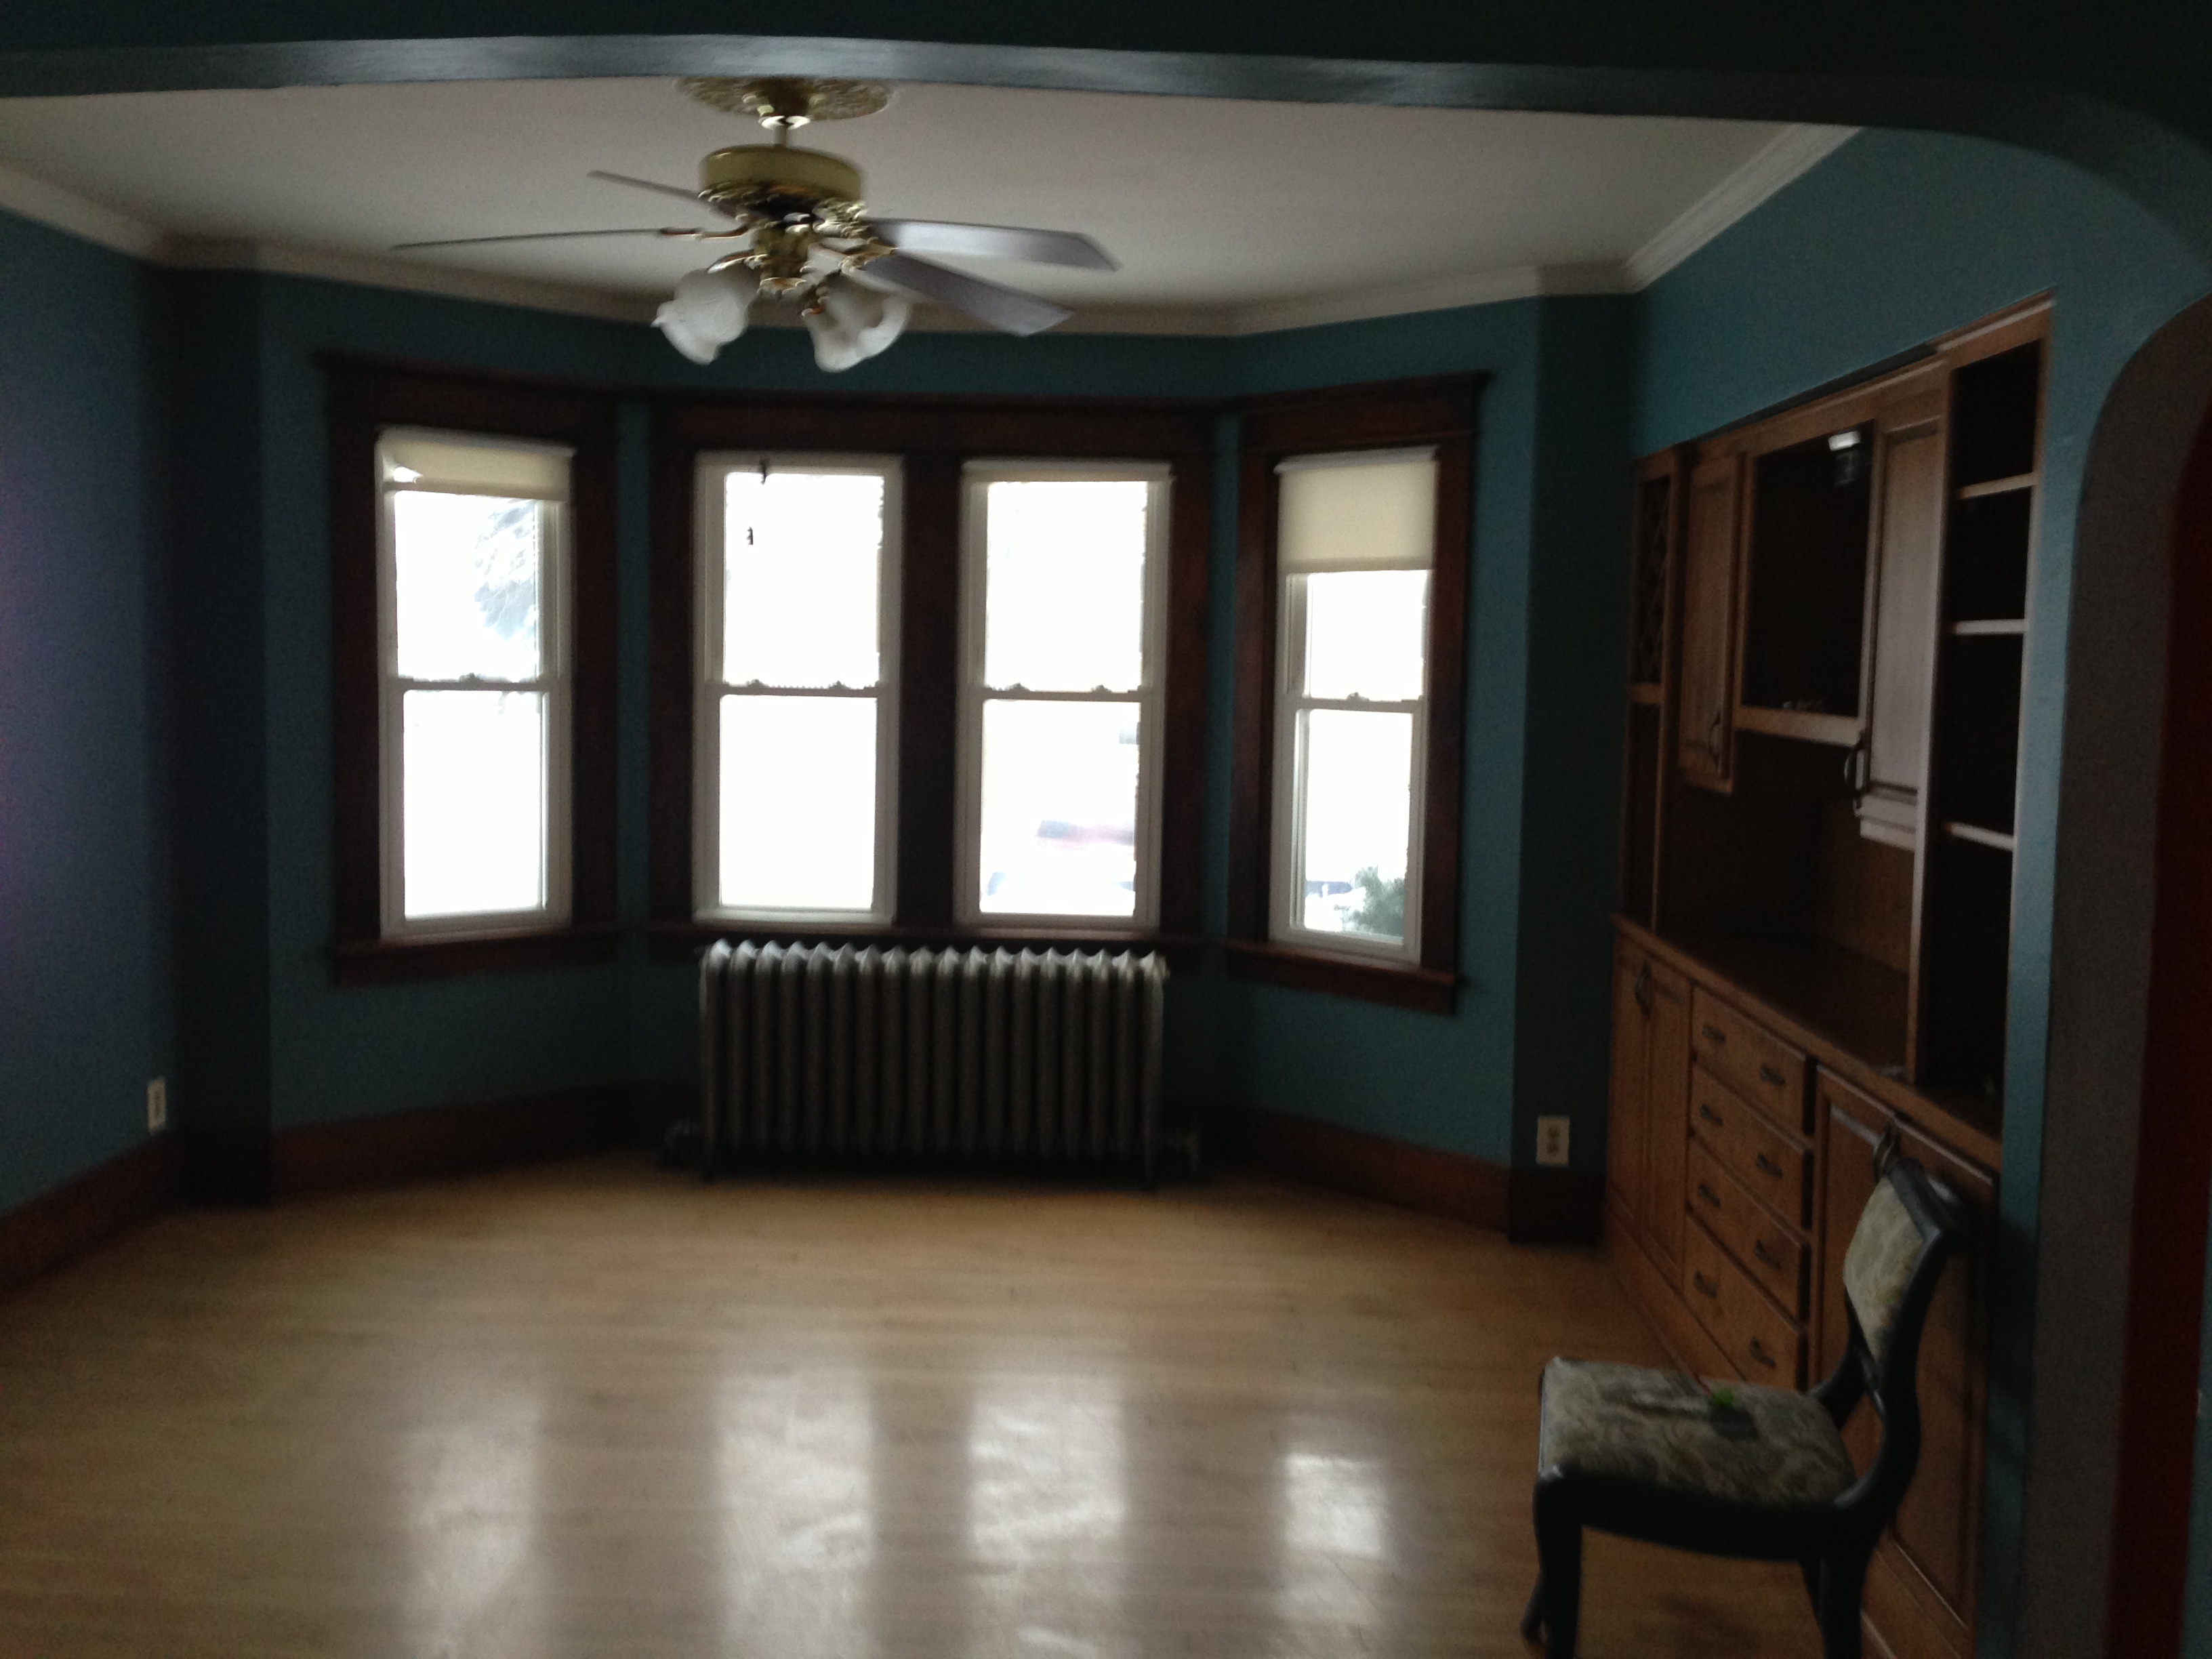
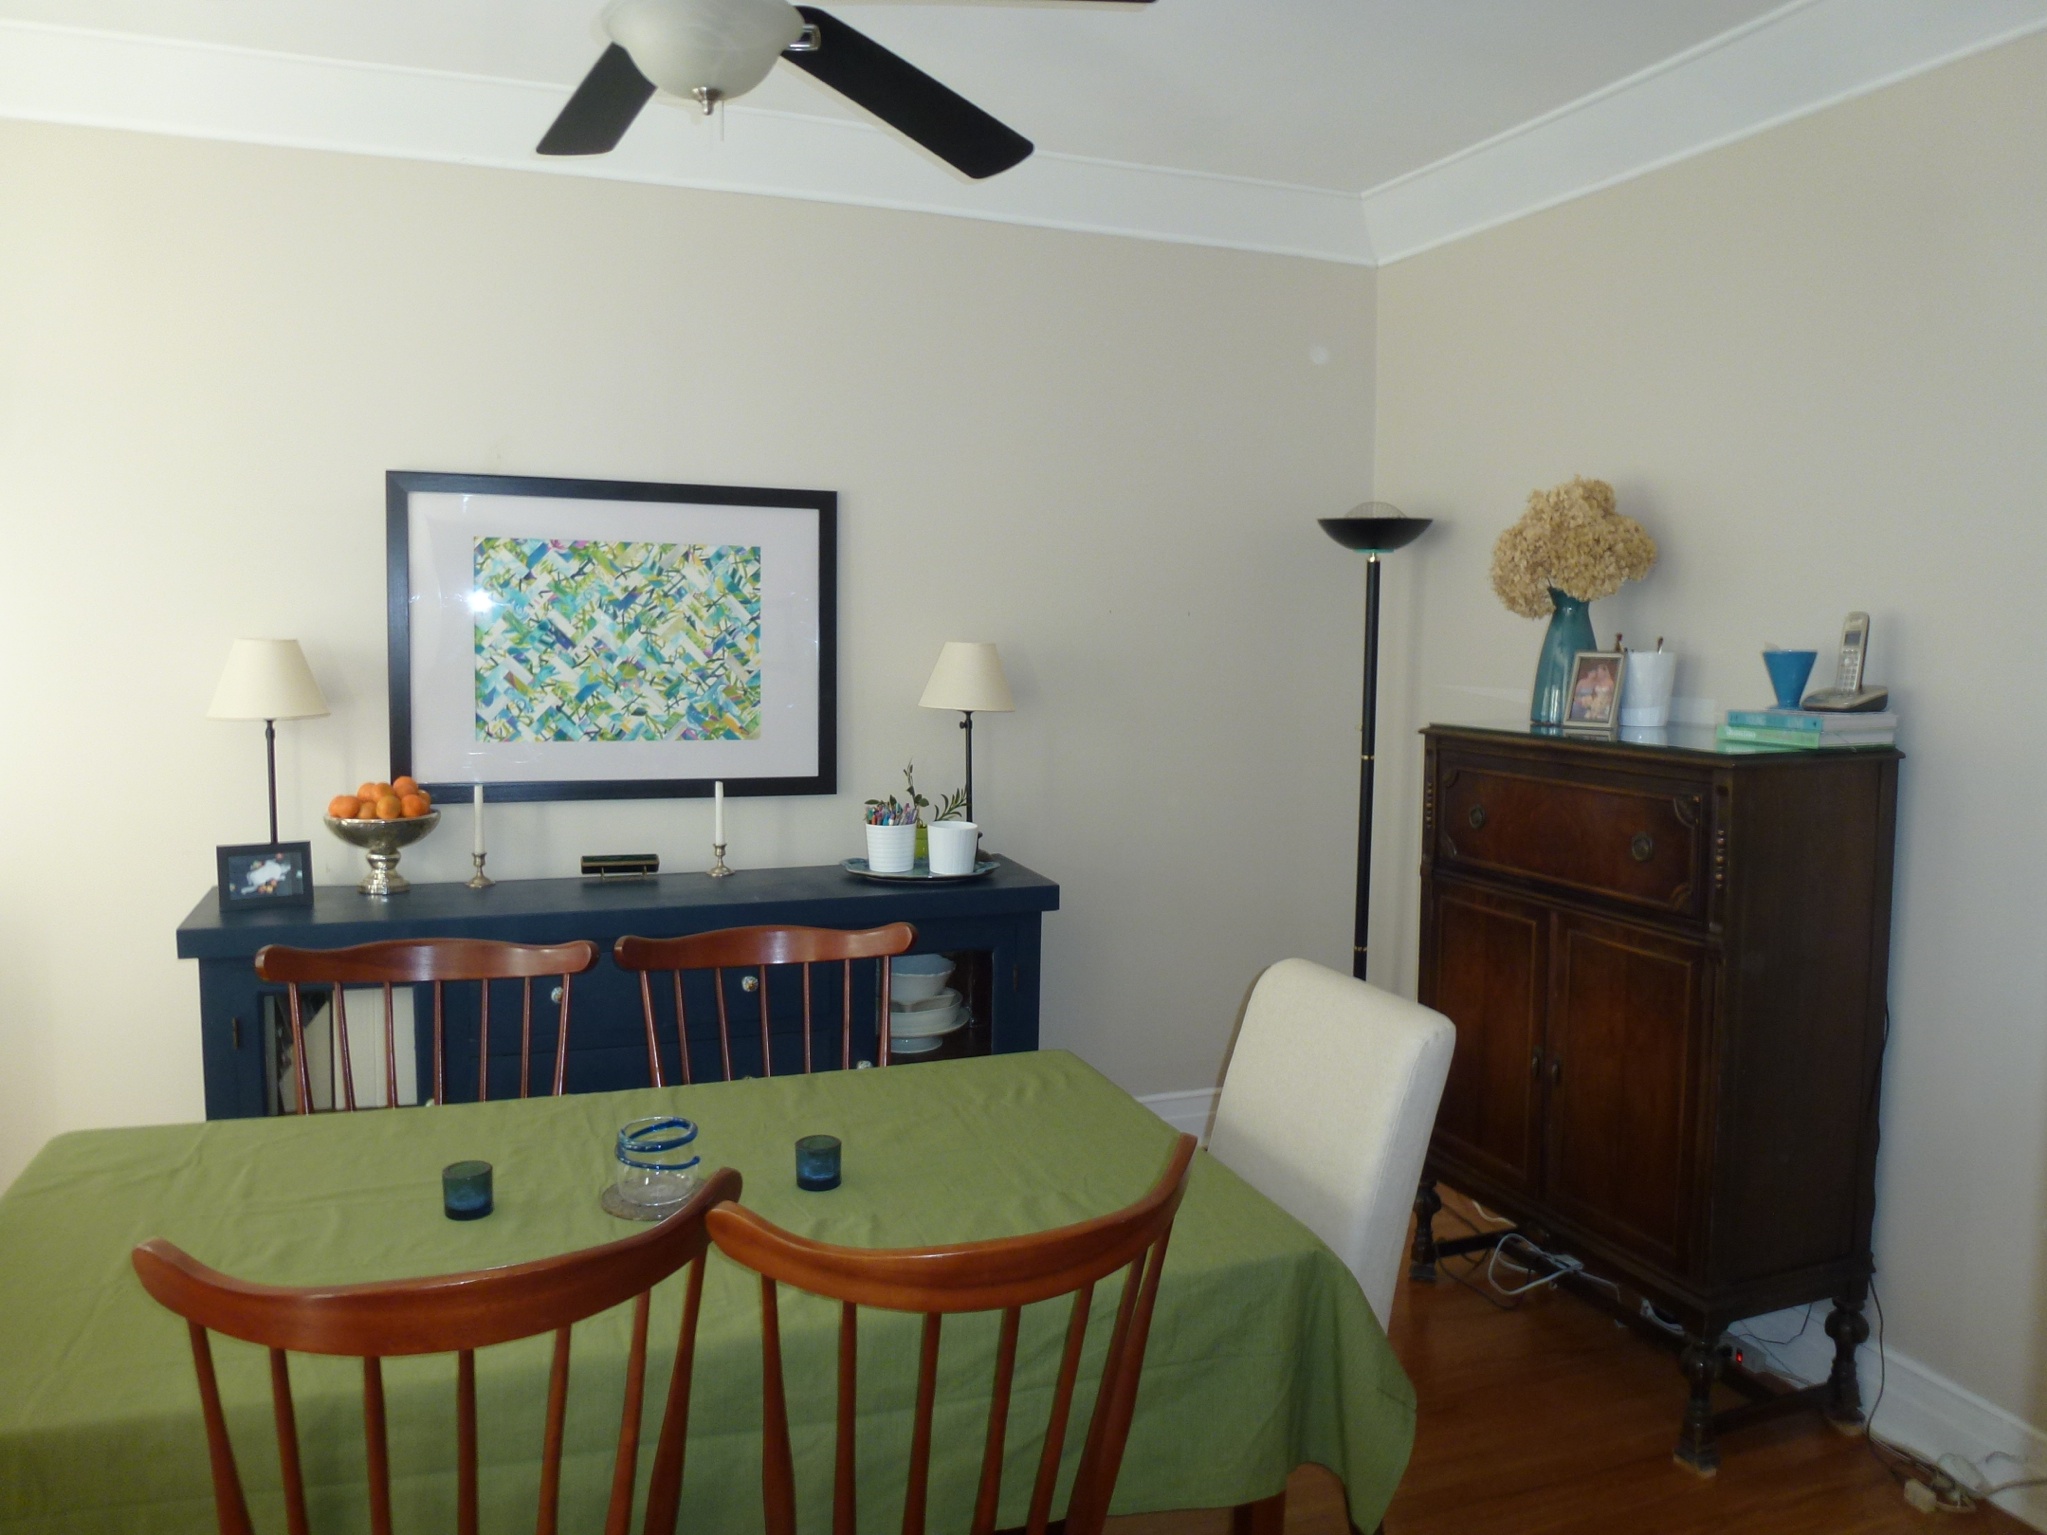
Living room looking toward hall
I also really like my TV armoire. I like that it keeps the TV dust-free and out-of-sight when I ‘m not watching, that it’s actually made of real wood with a nice finish, and that it was another free hand-me-down from friends of the family. I’m not crazy about the way you can see all the cords underneath, or about how wide it is, but all-in-all, it’s a nice piece.

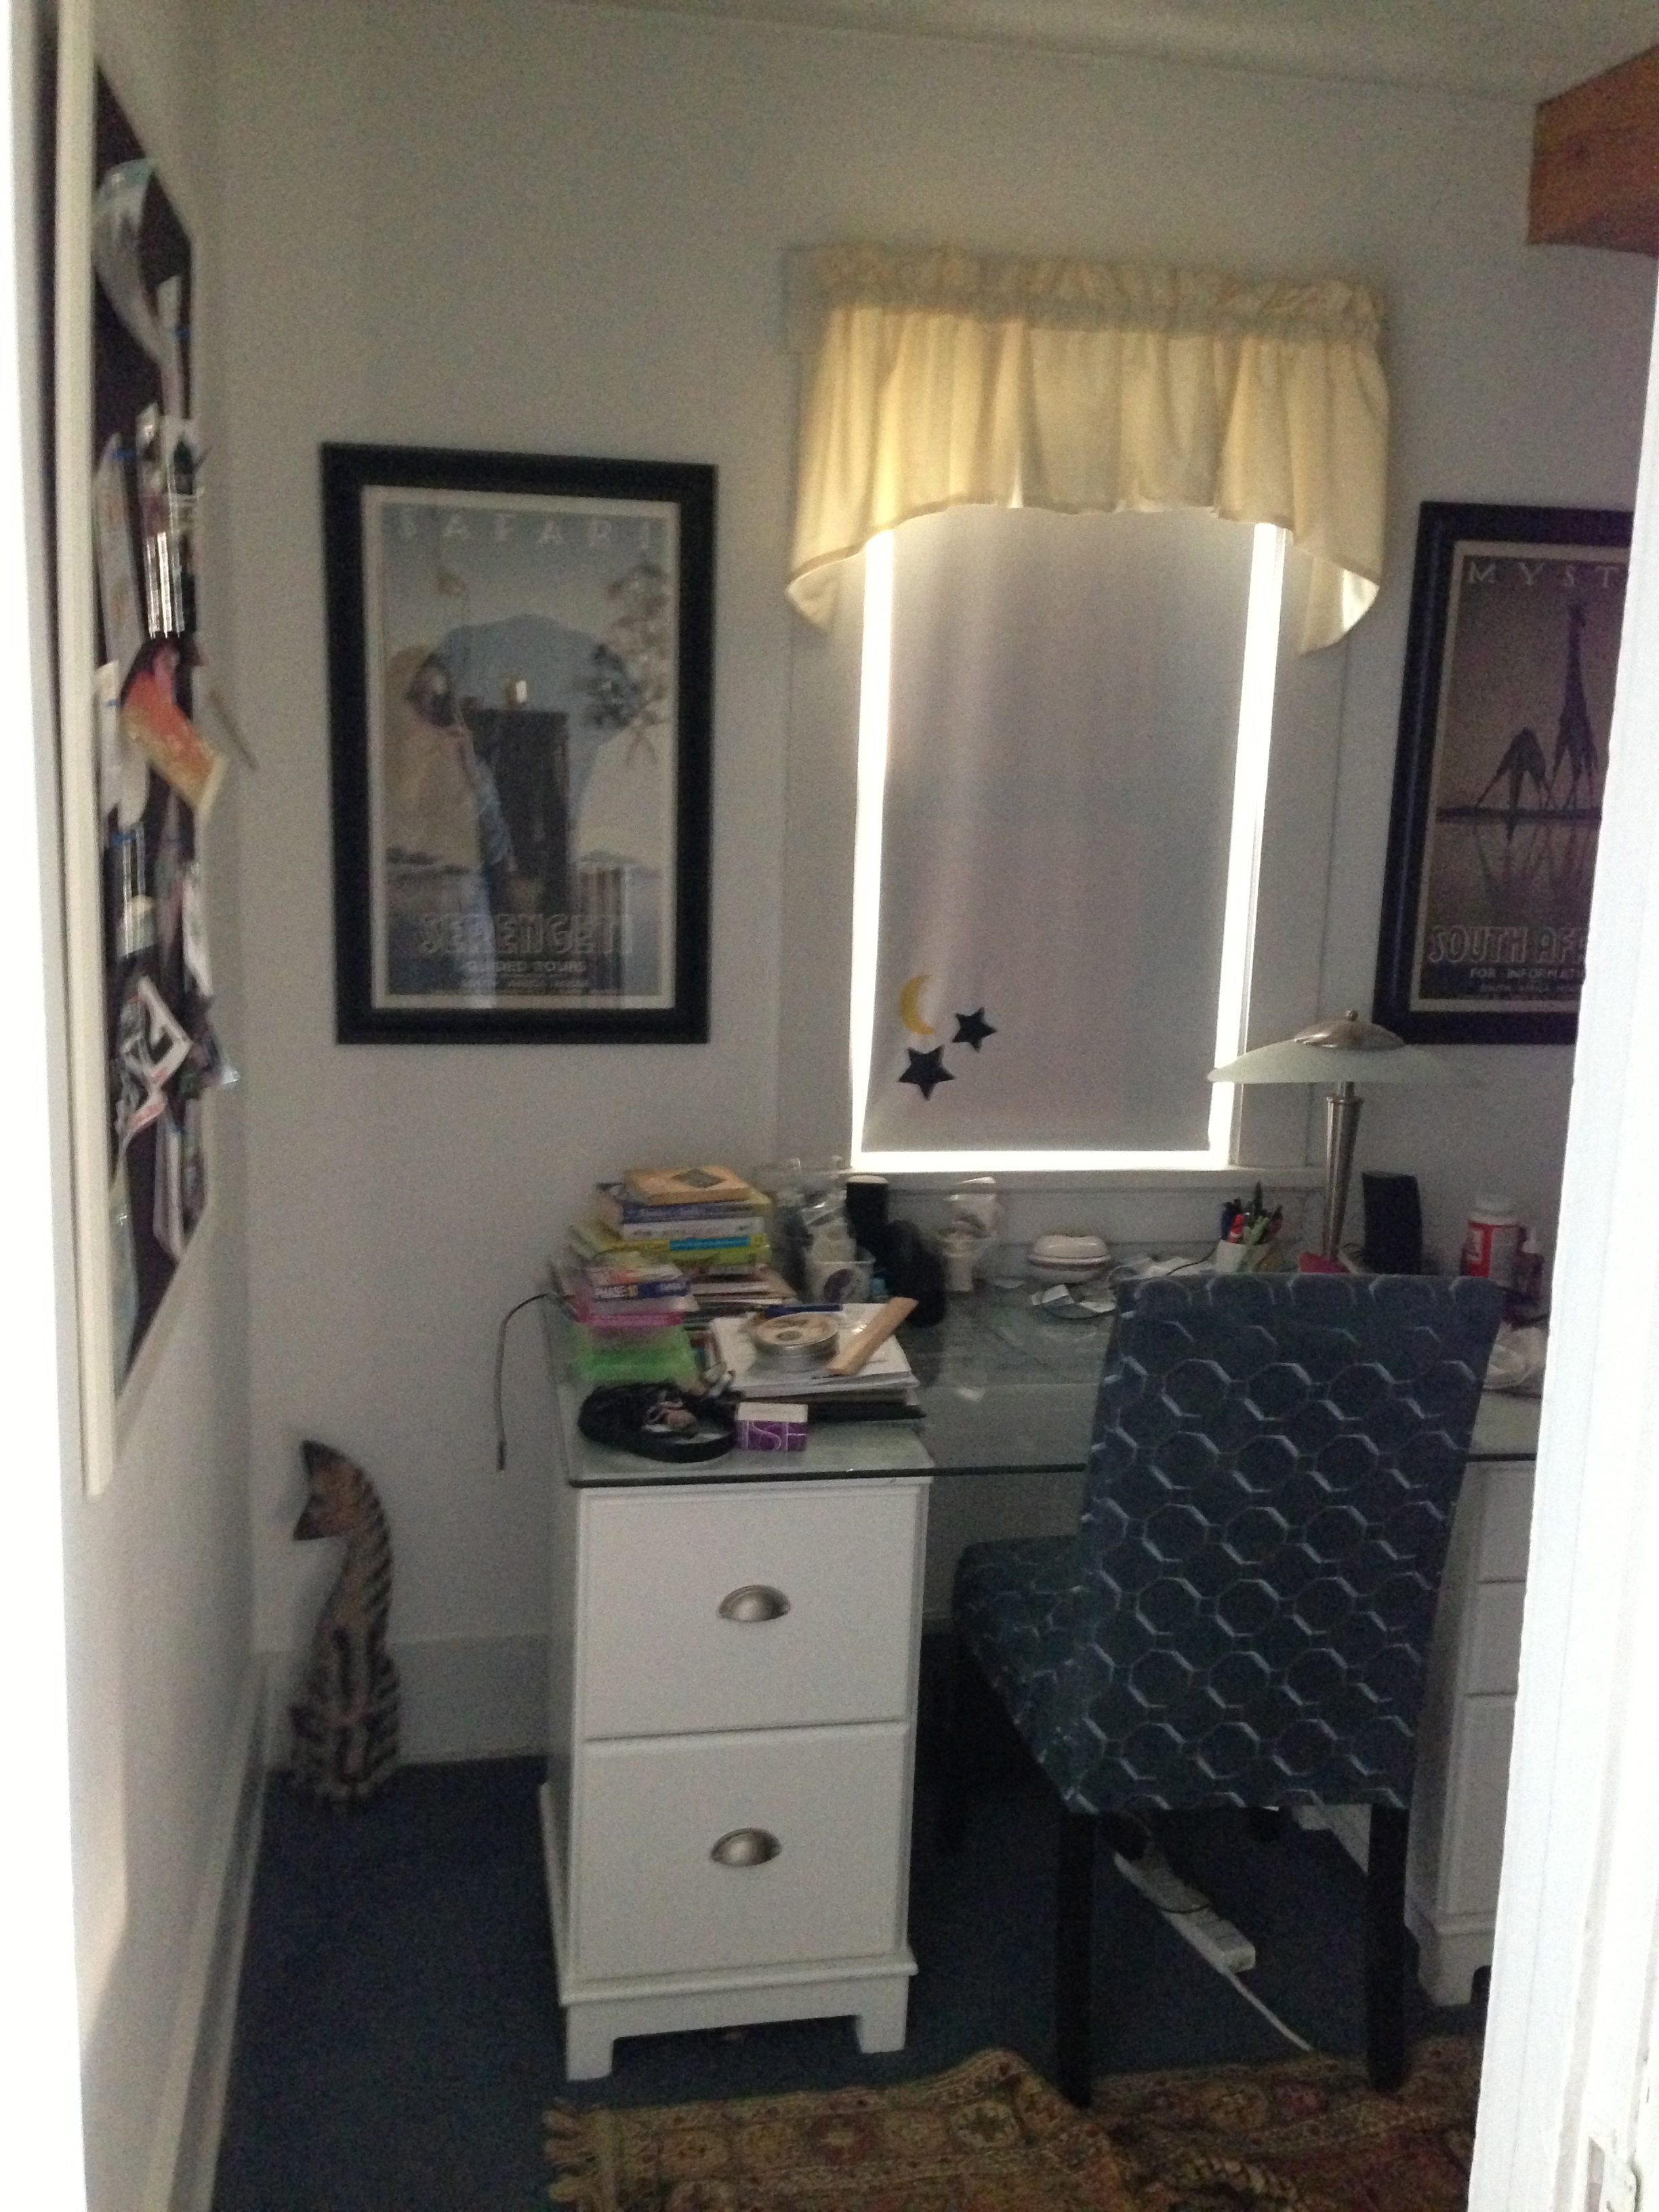
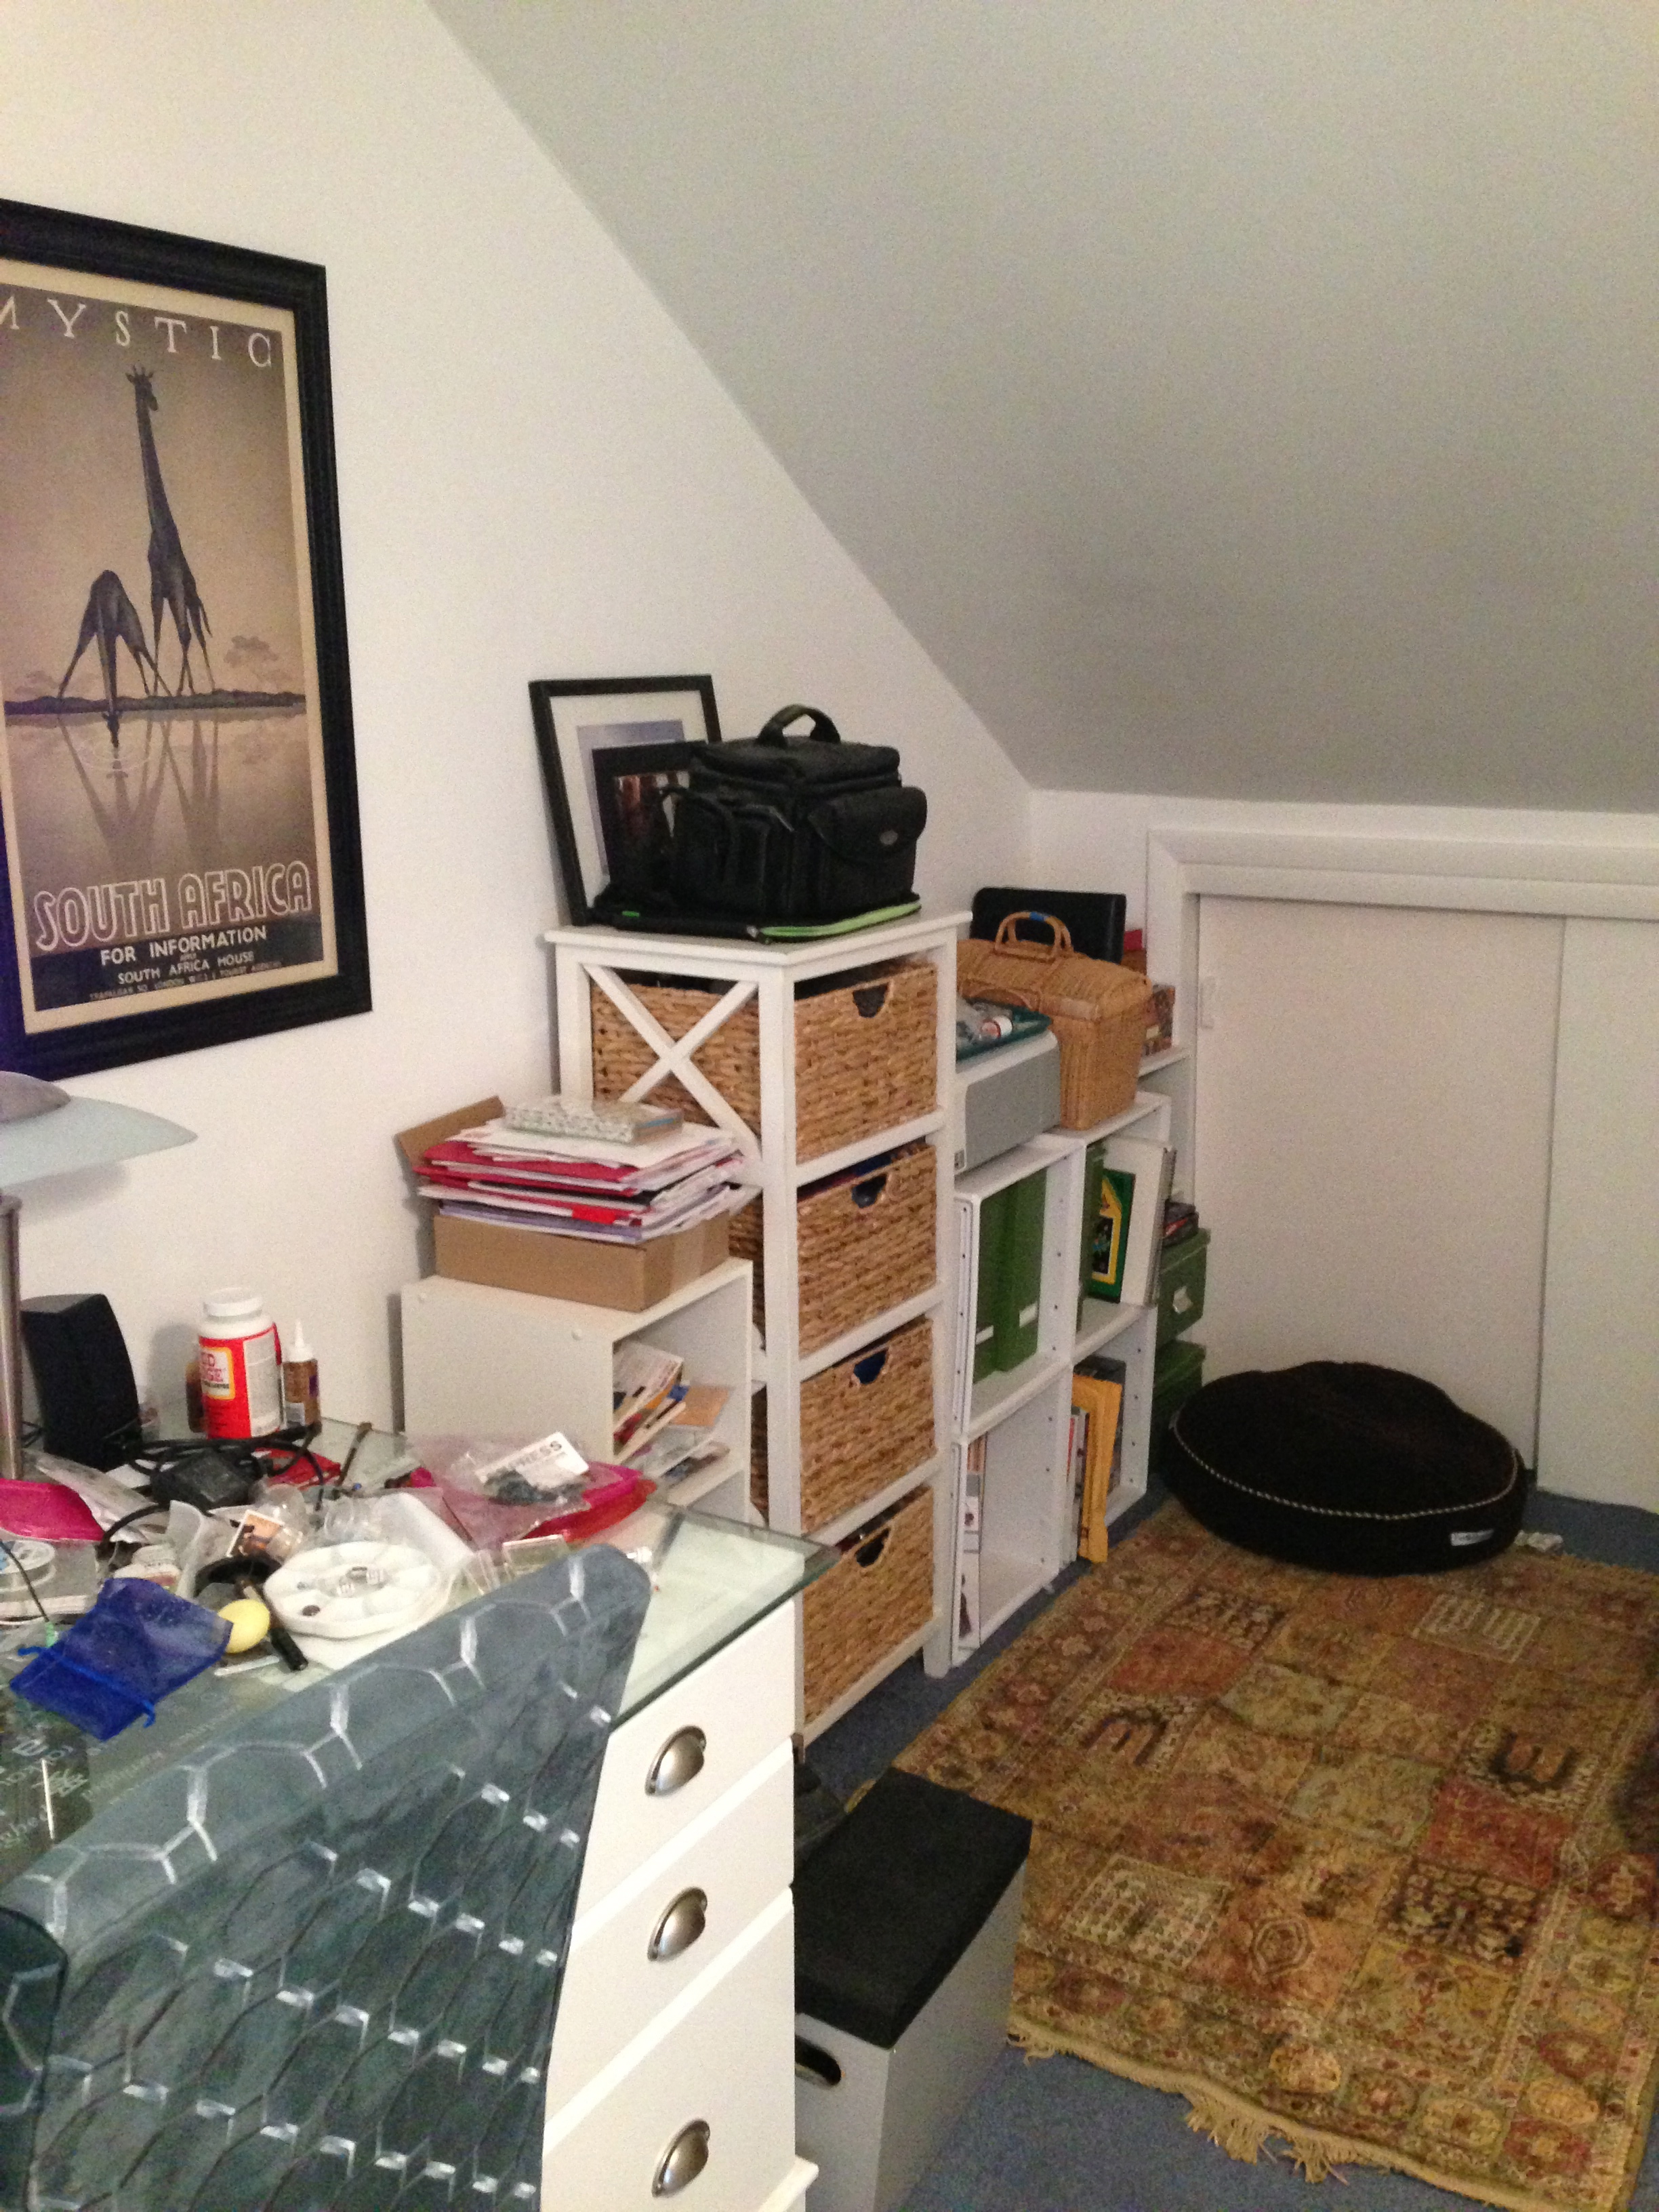
Office
Off to the side of the living room was another under-the-eaves room, which I used as an office. I had a desk made of two file cabinets and a huge glass table top. I regret buying that glass table top! It’s too heavy to move by myself and it’s so large I have to use brackets to brace it against the wall. The room had another sloped ceiling, but was long enough to pack in quite a bit of storage for my craft and office supplies.

Messy, messy office

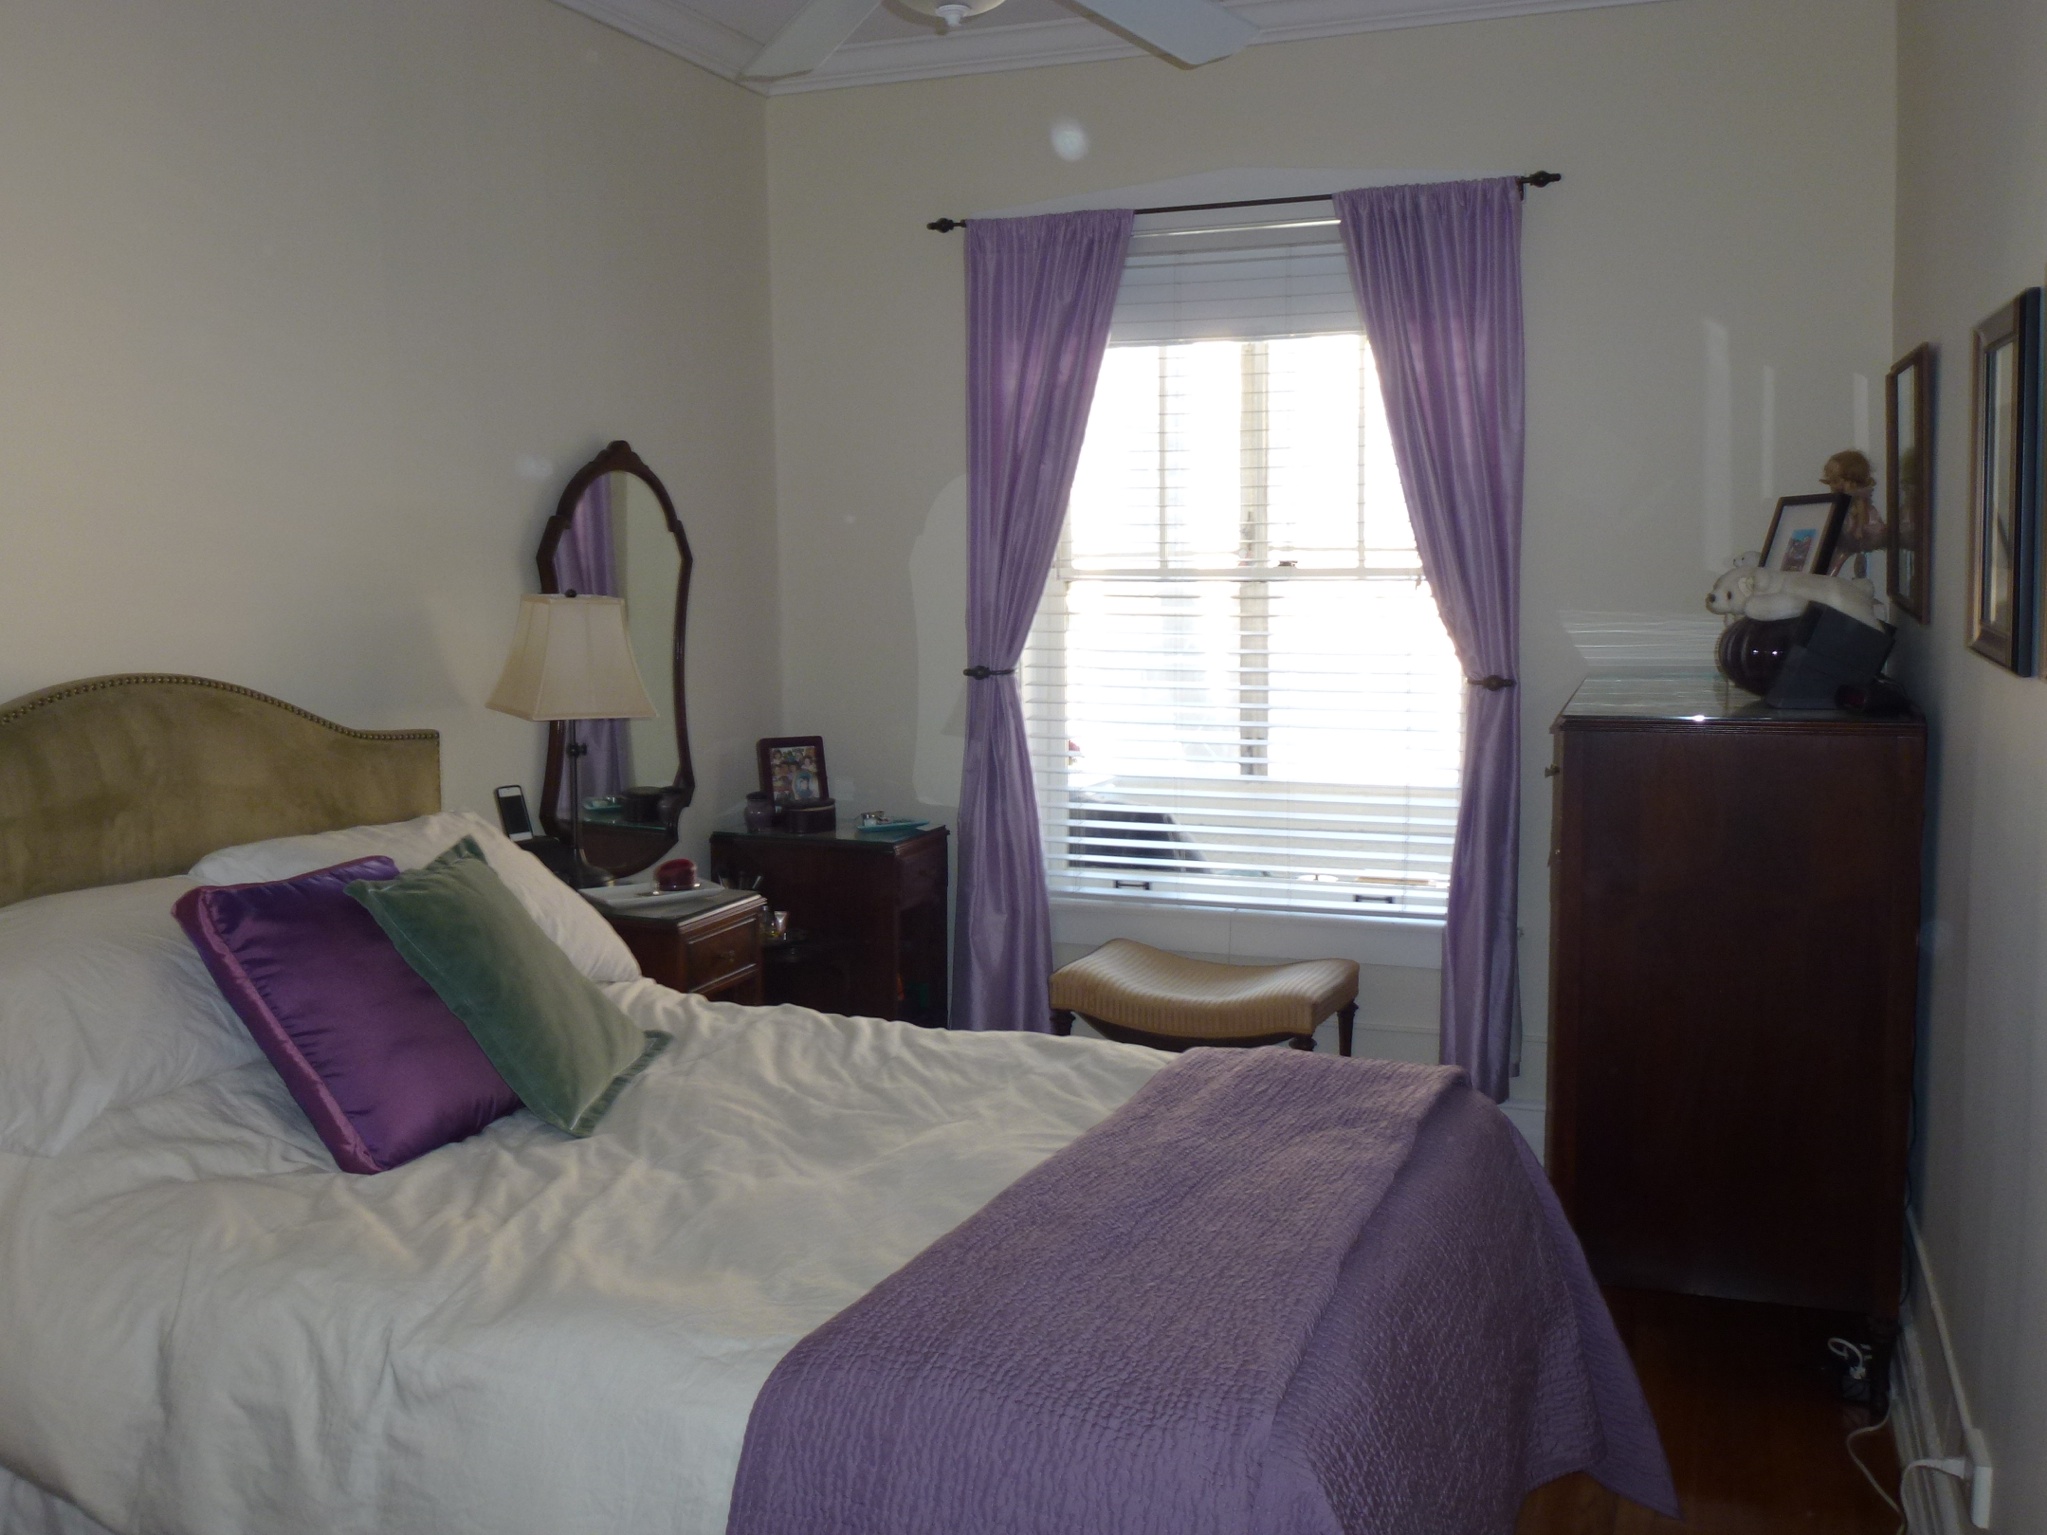
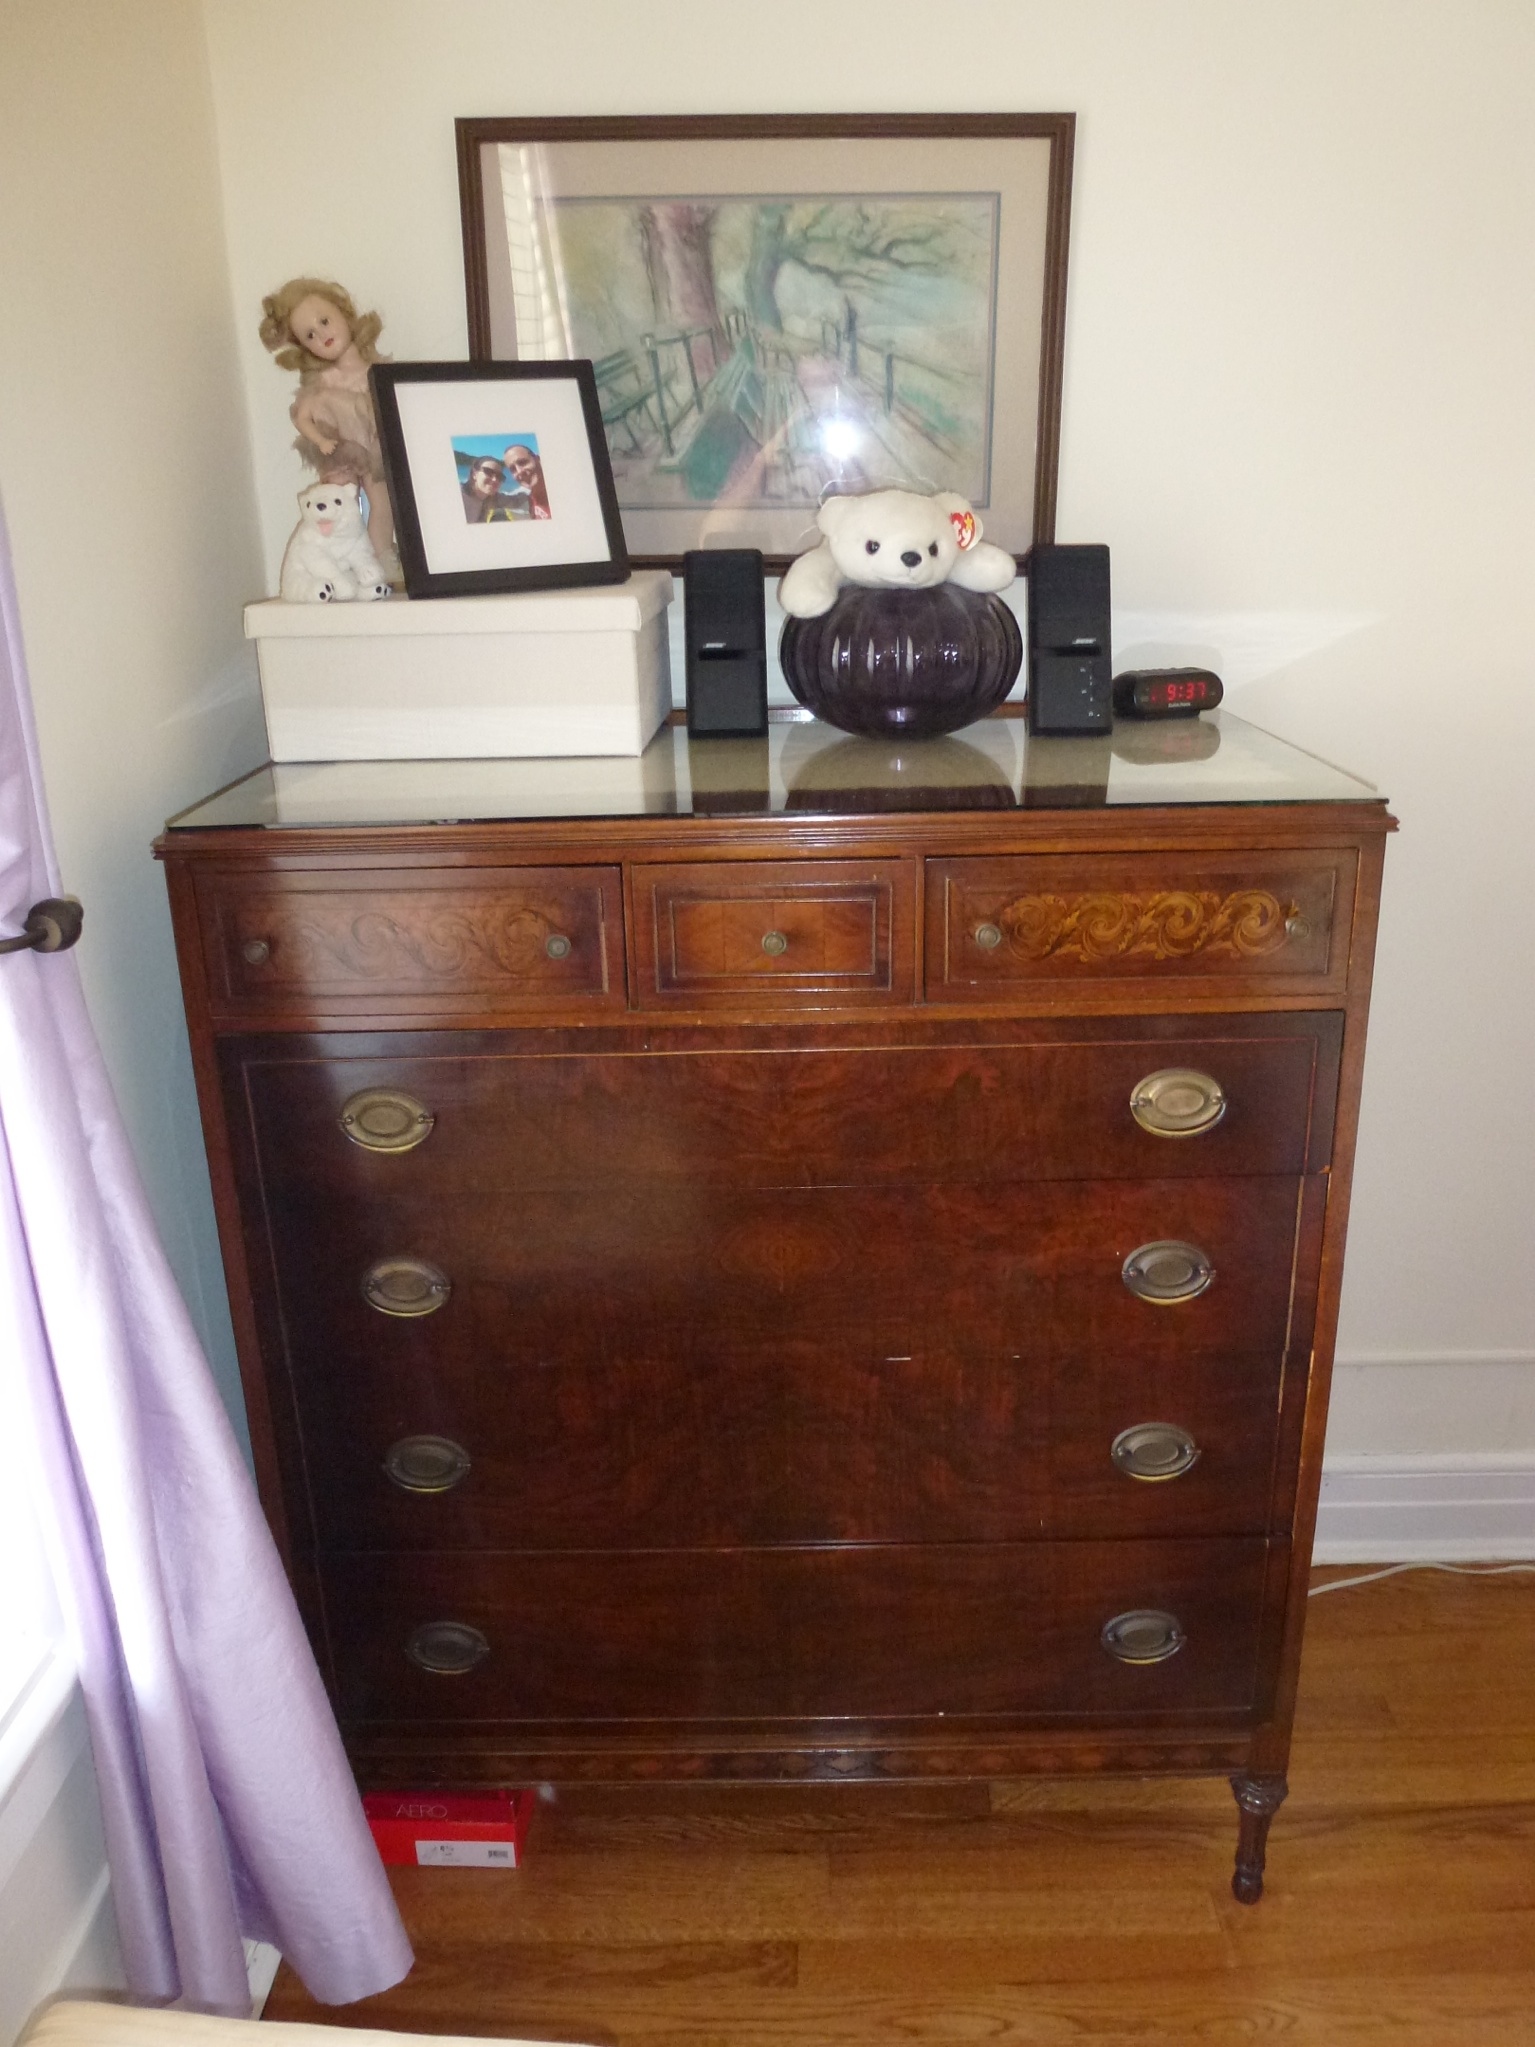
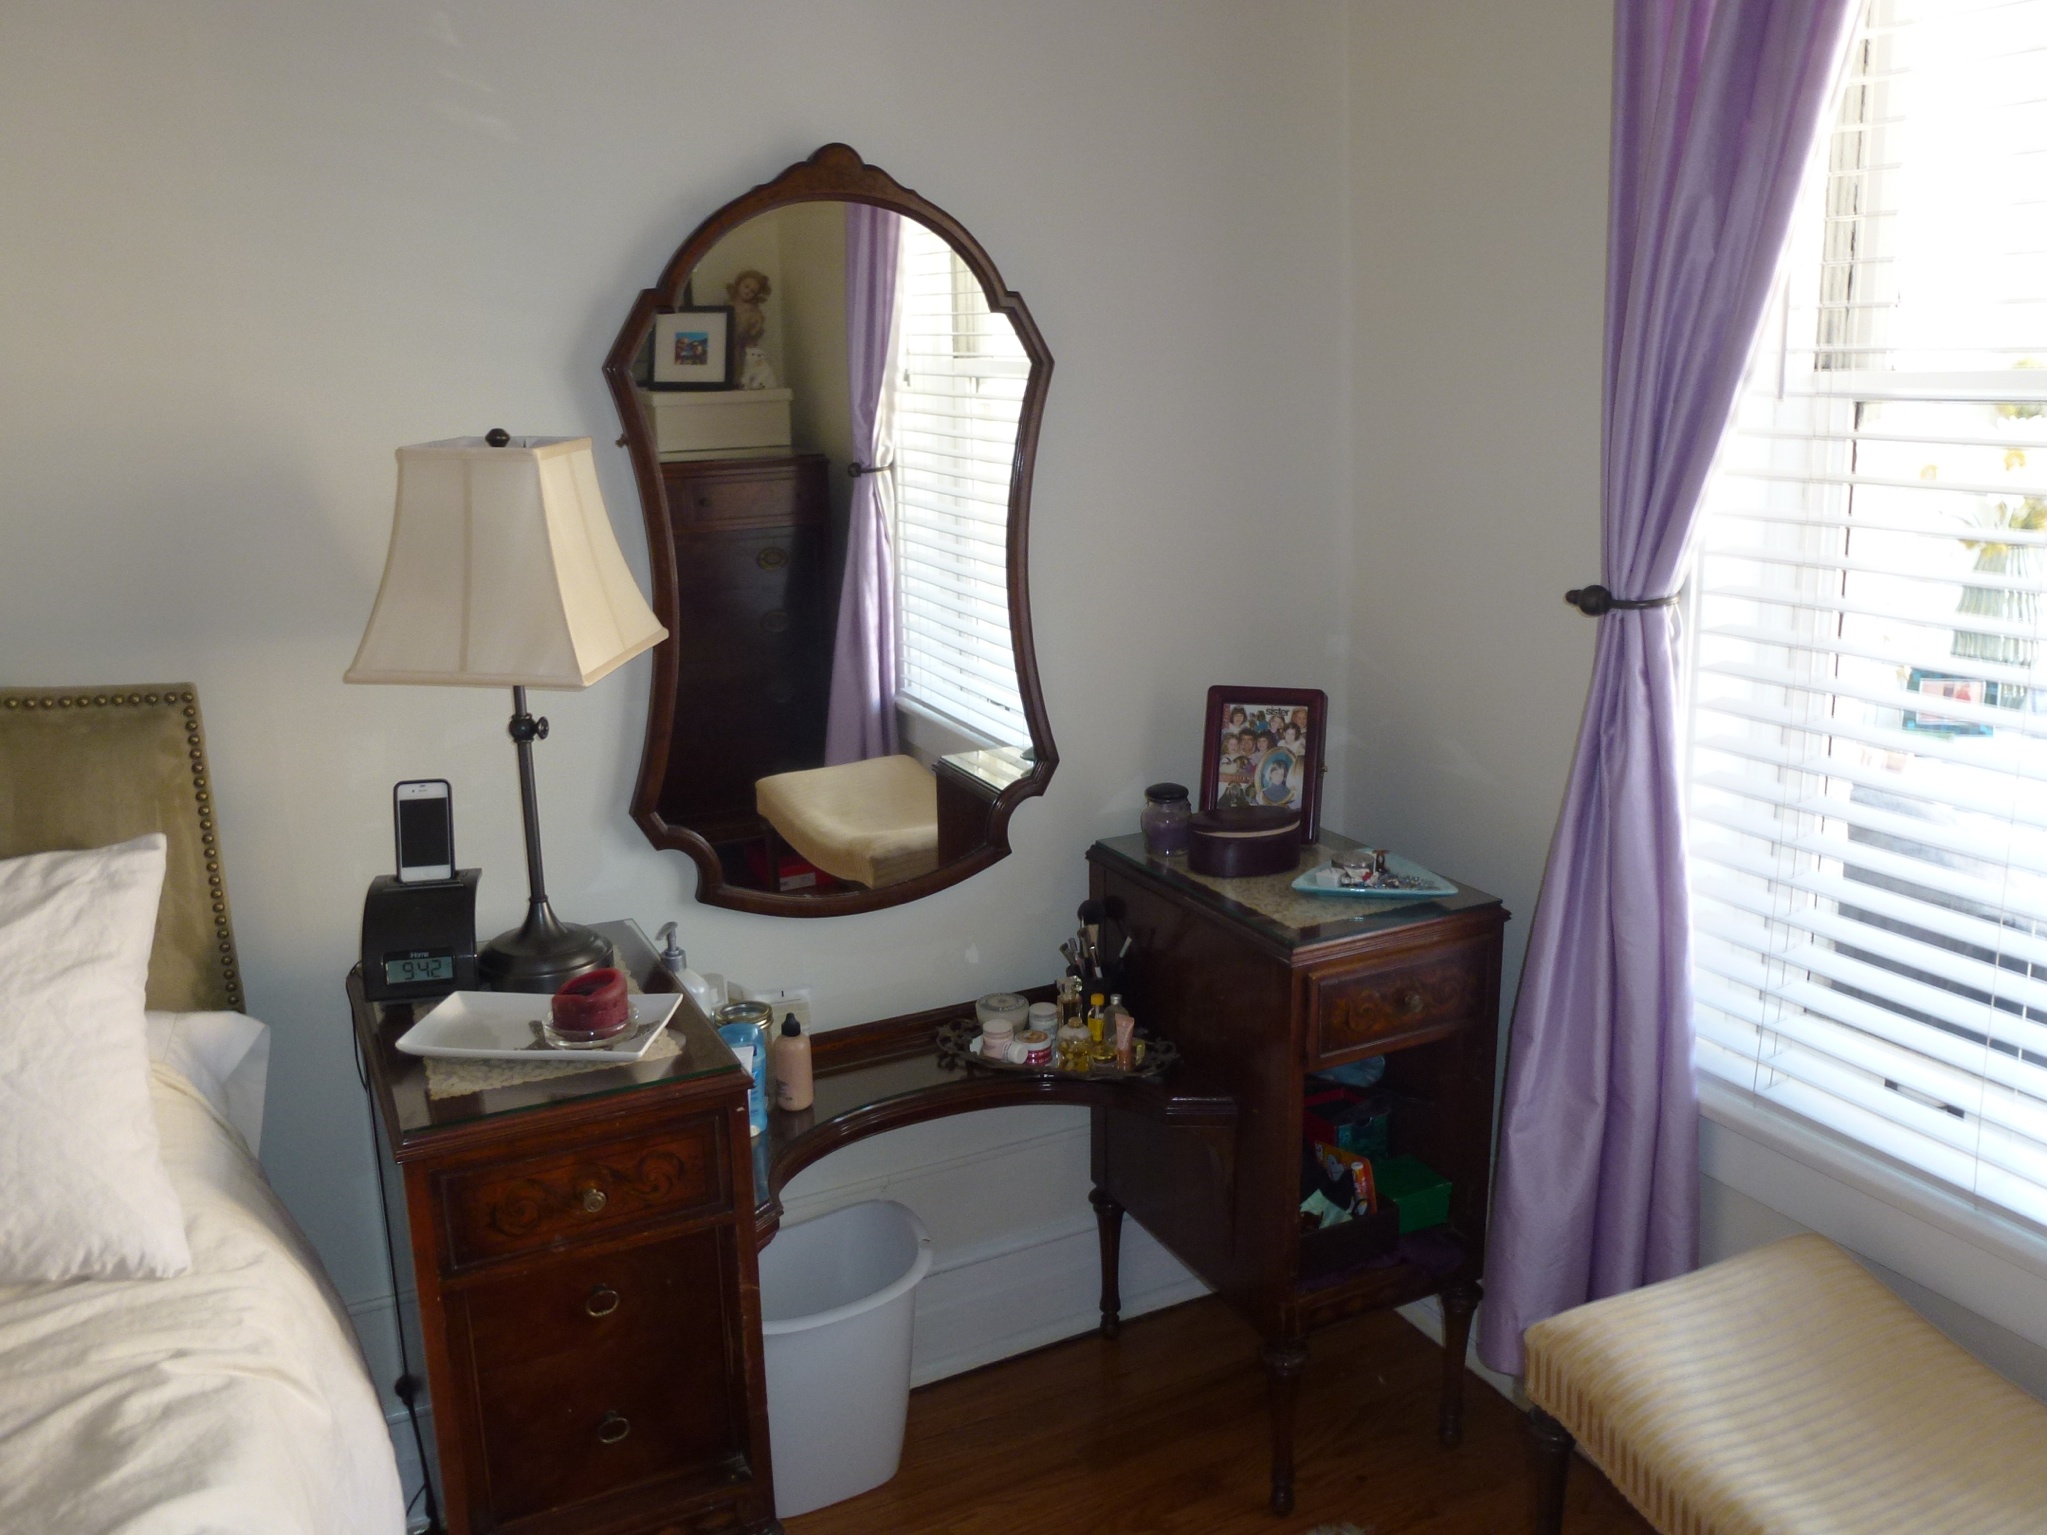
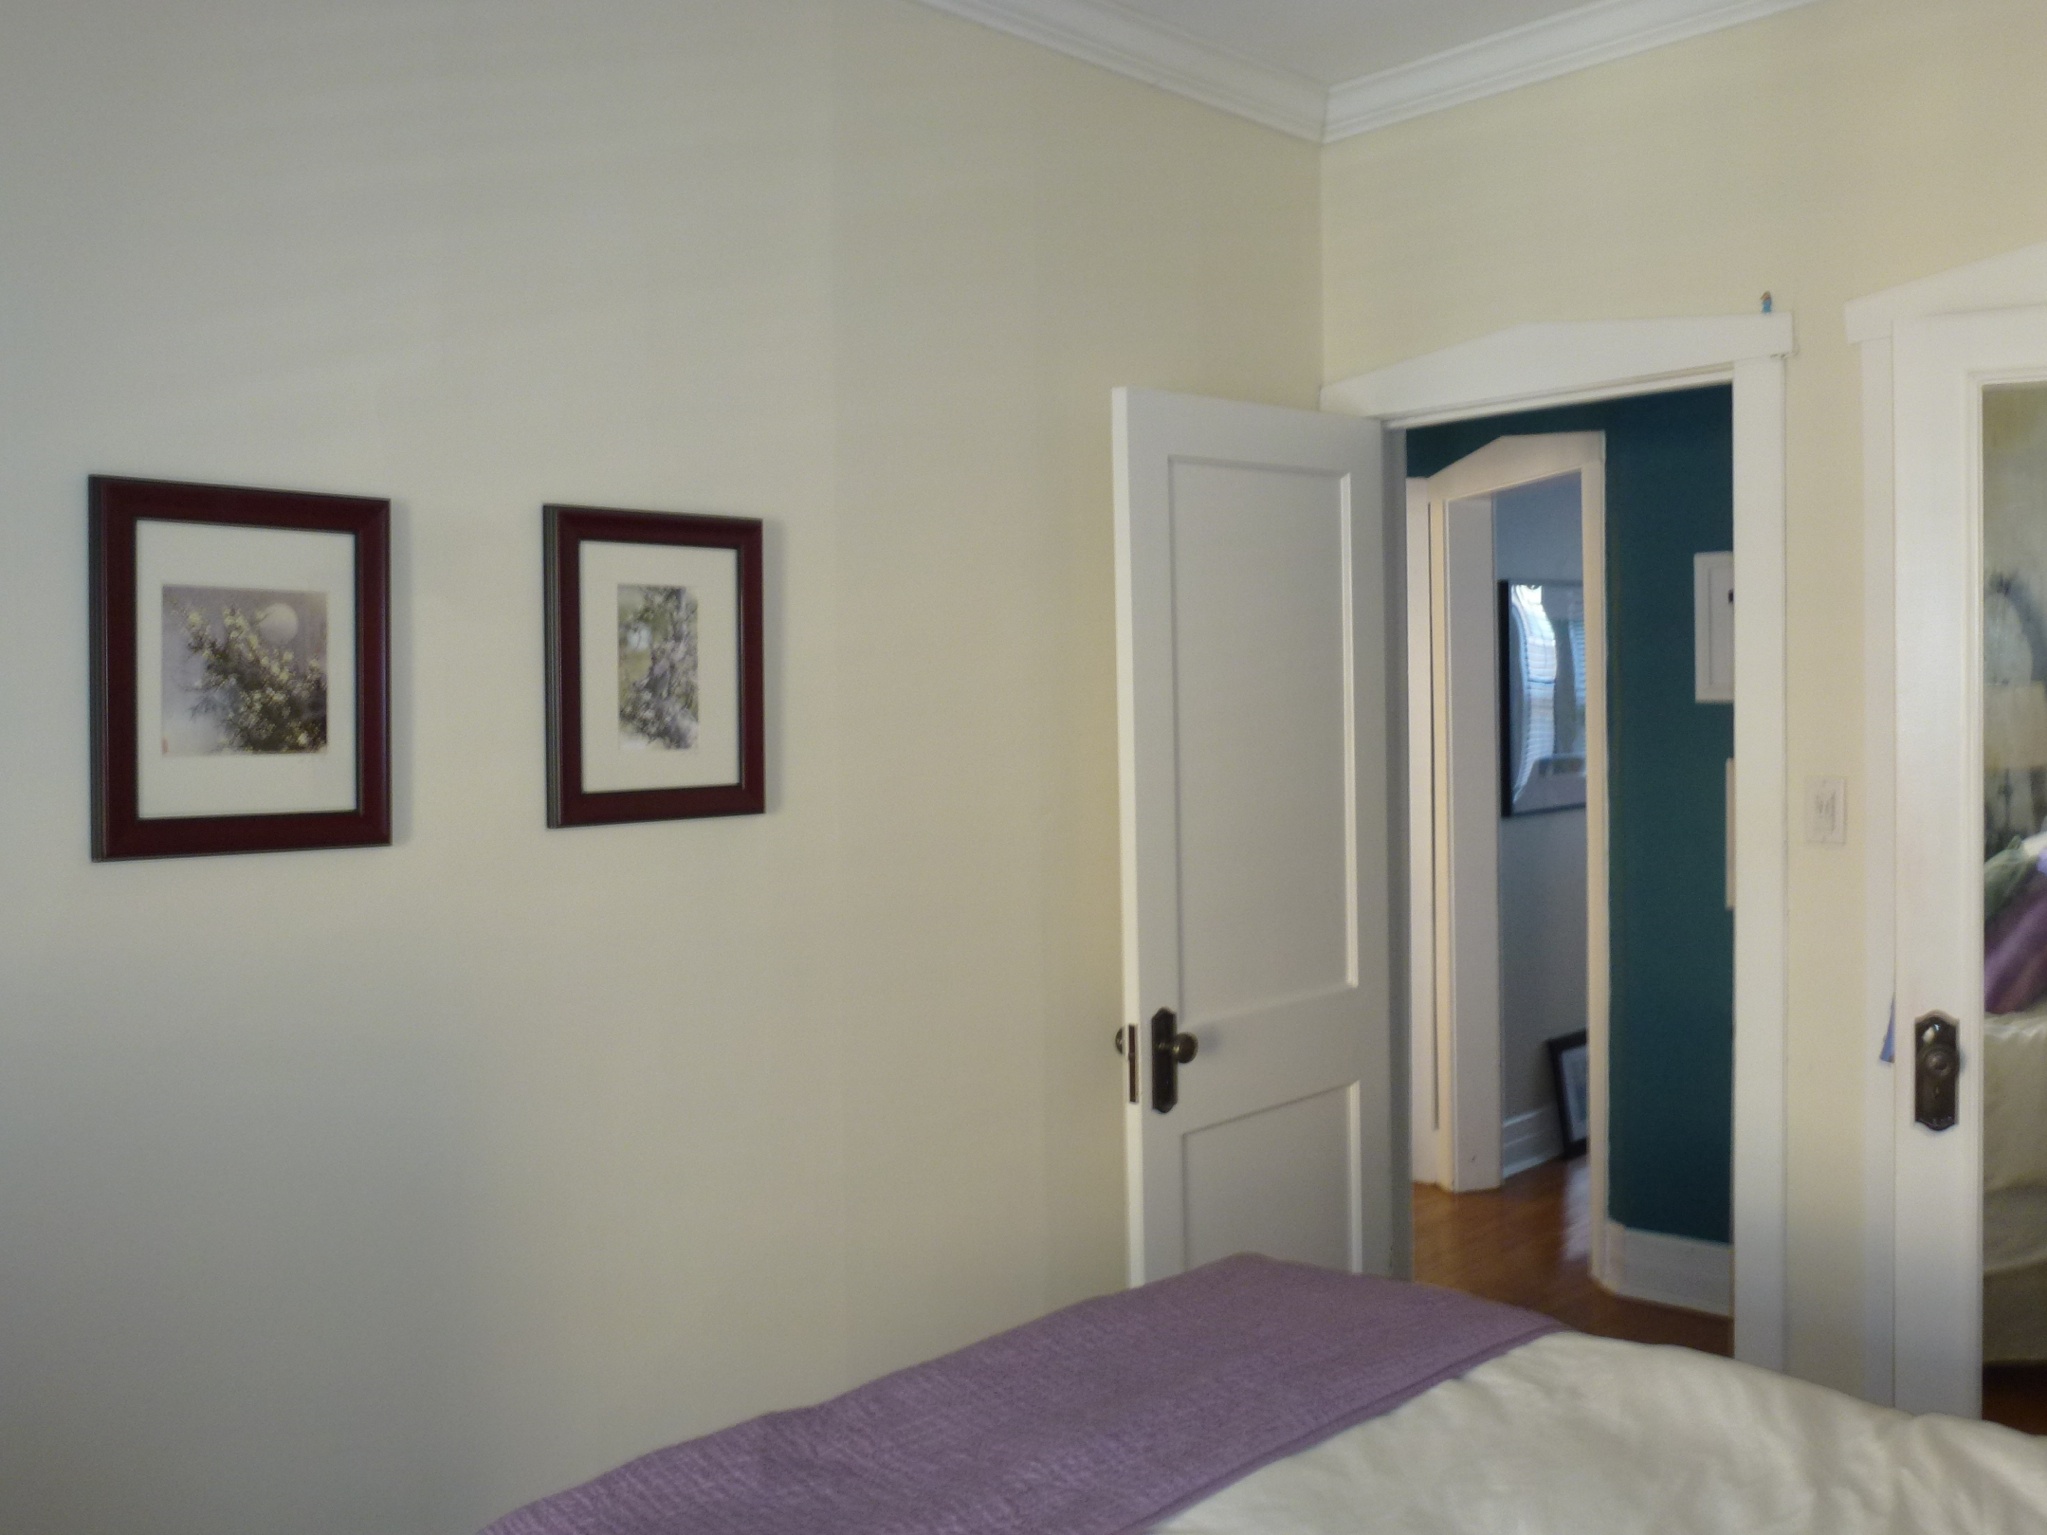
Bedroom
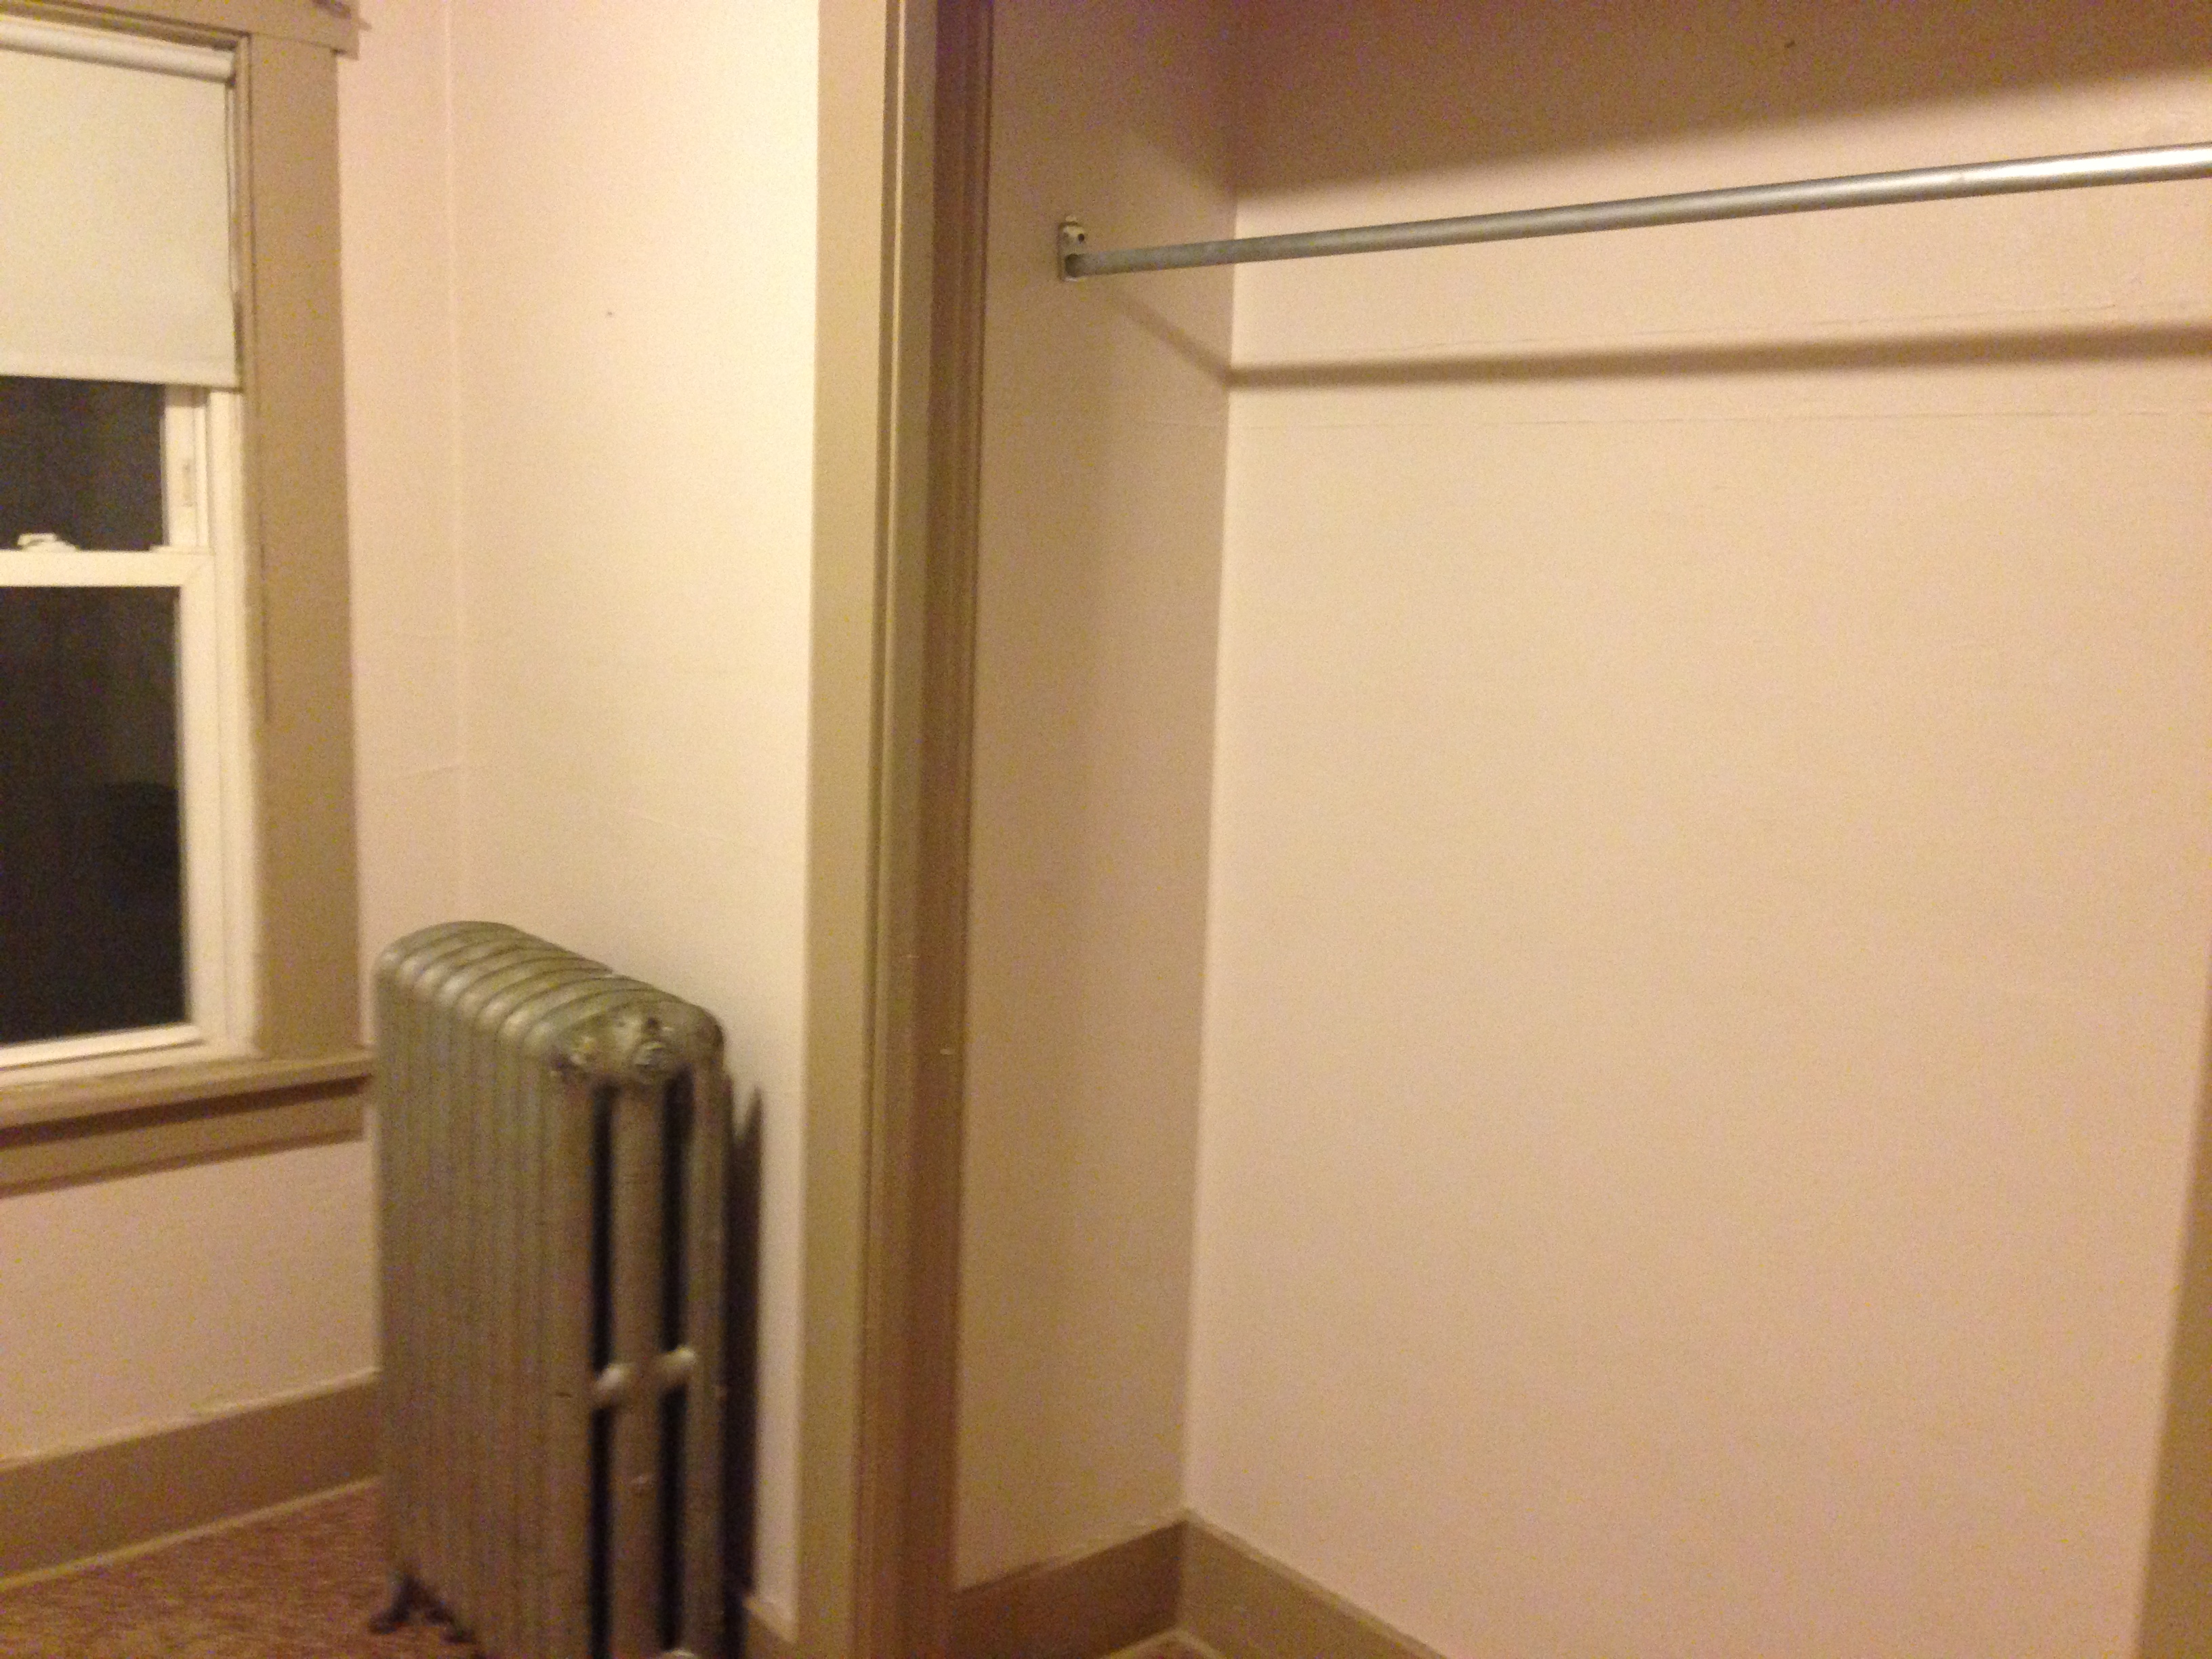
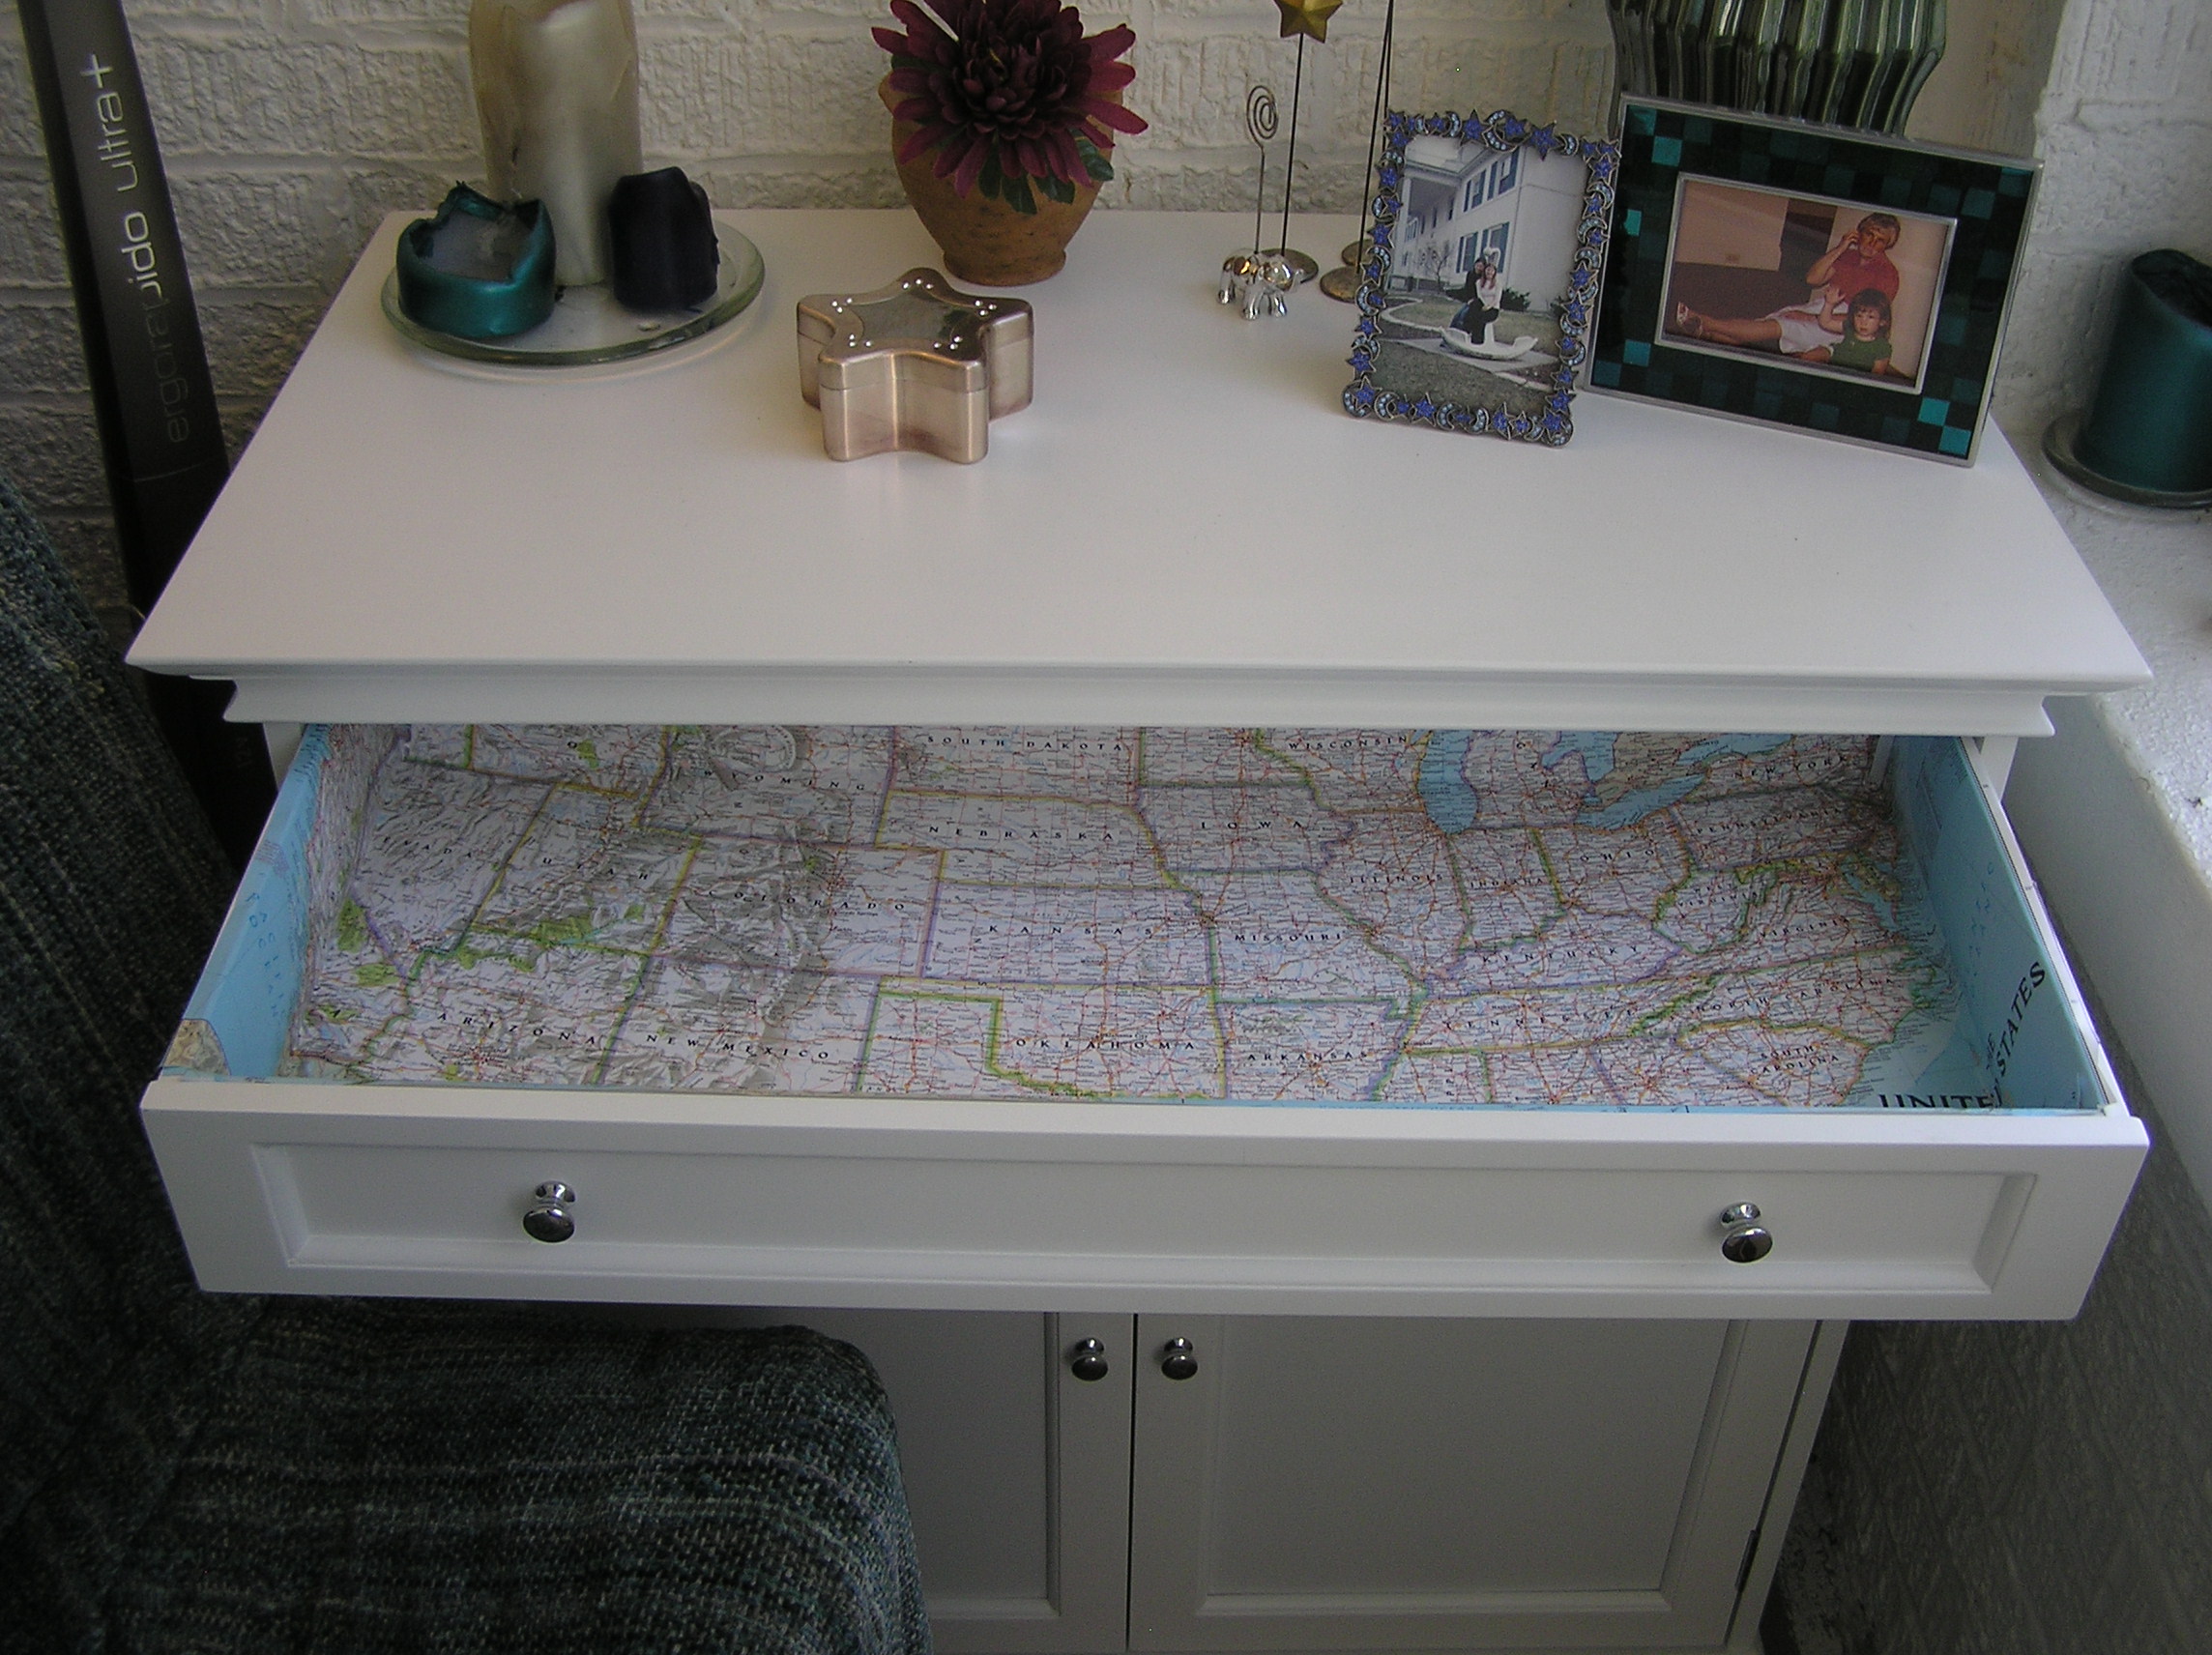
The bedroom was one room I never really did much with. The Ikea dresser was purchased to fit a specific space in a previous apartment (and I’m sick of the blue) and I never really found a rug I liked, so I just threw down a tiny Ikea mat. Also, the radiator made bed placement really difficult.

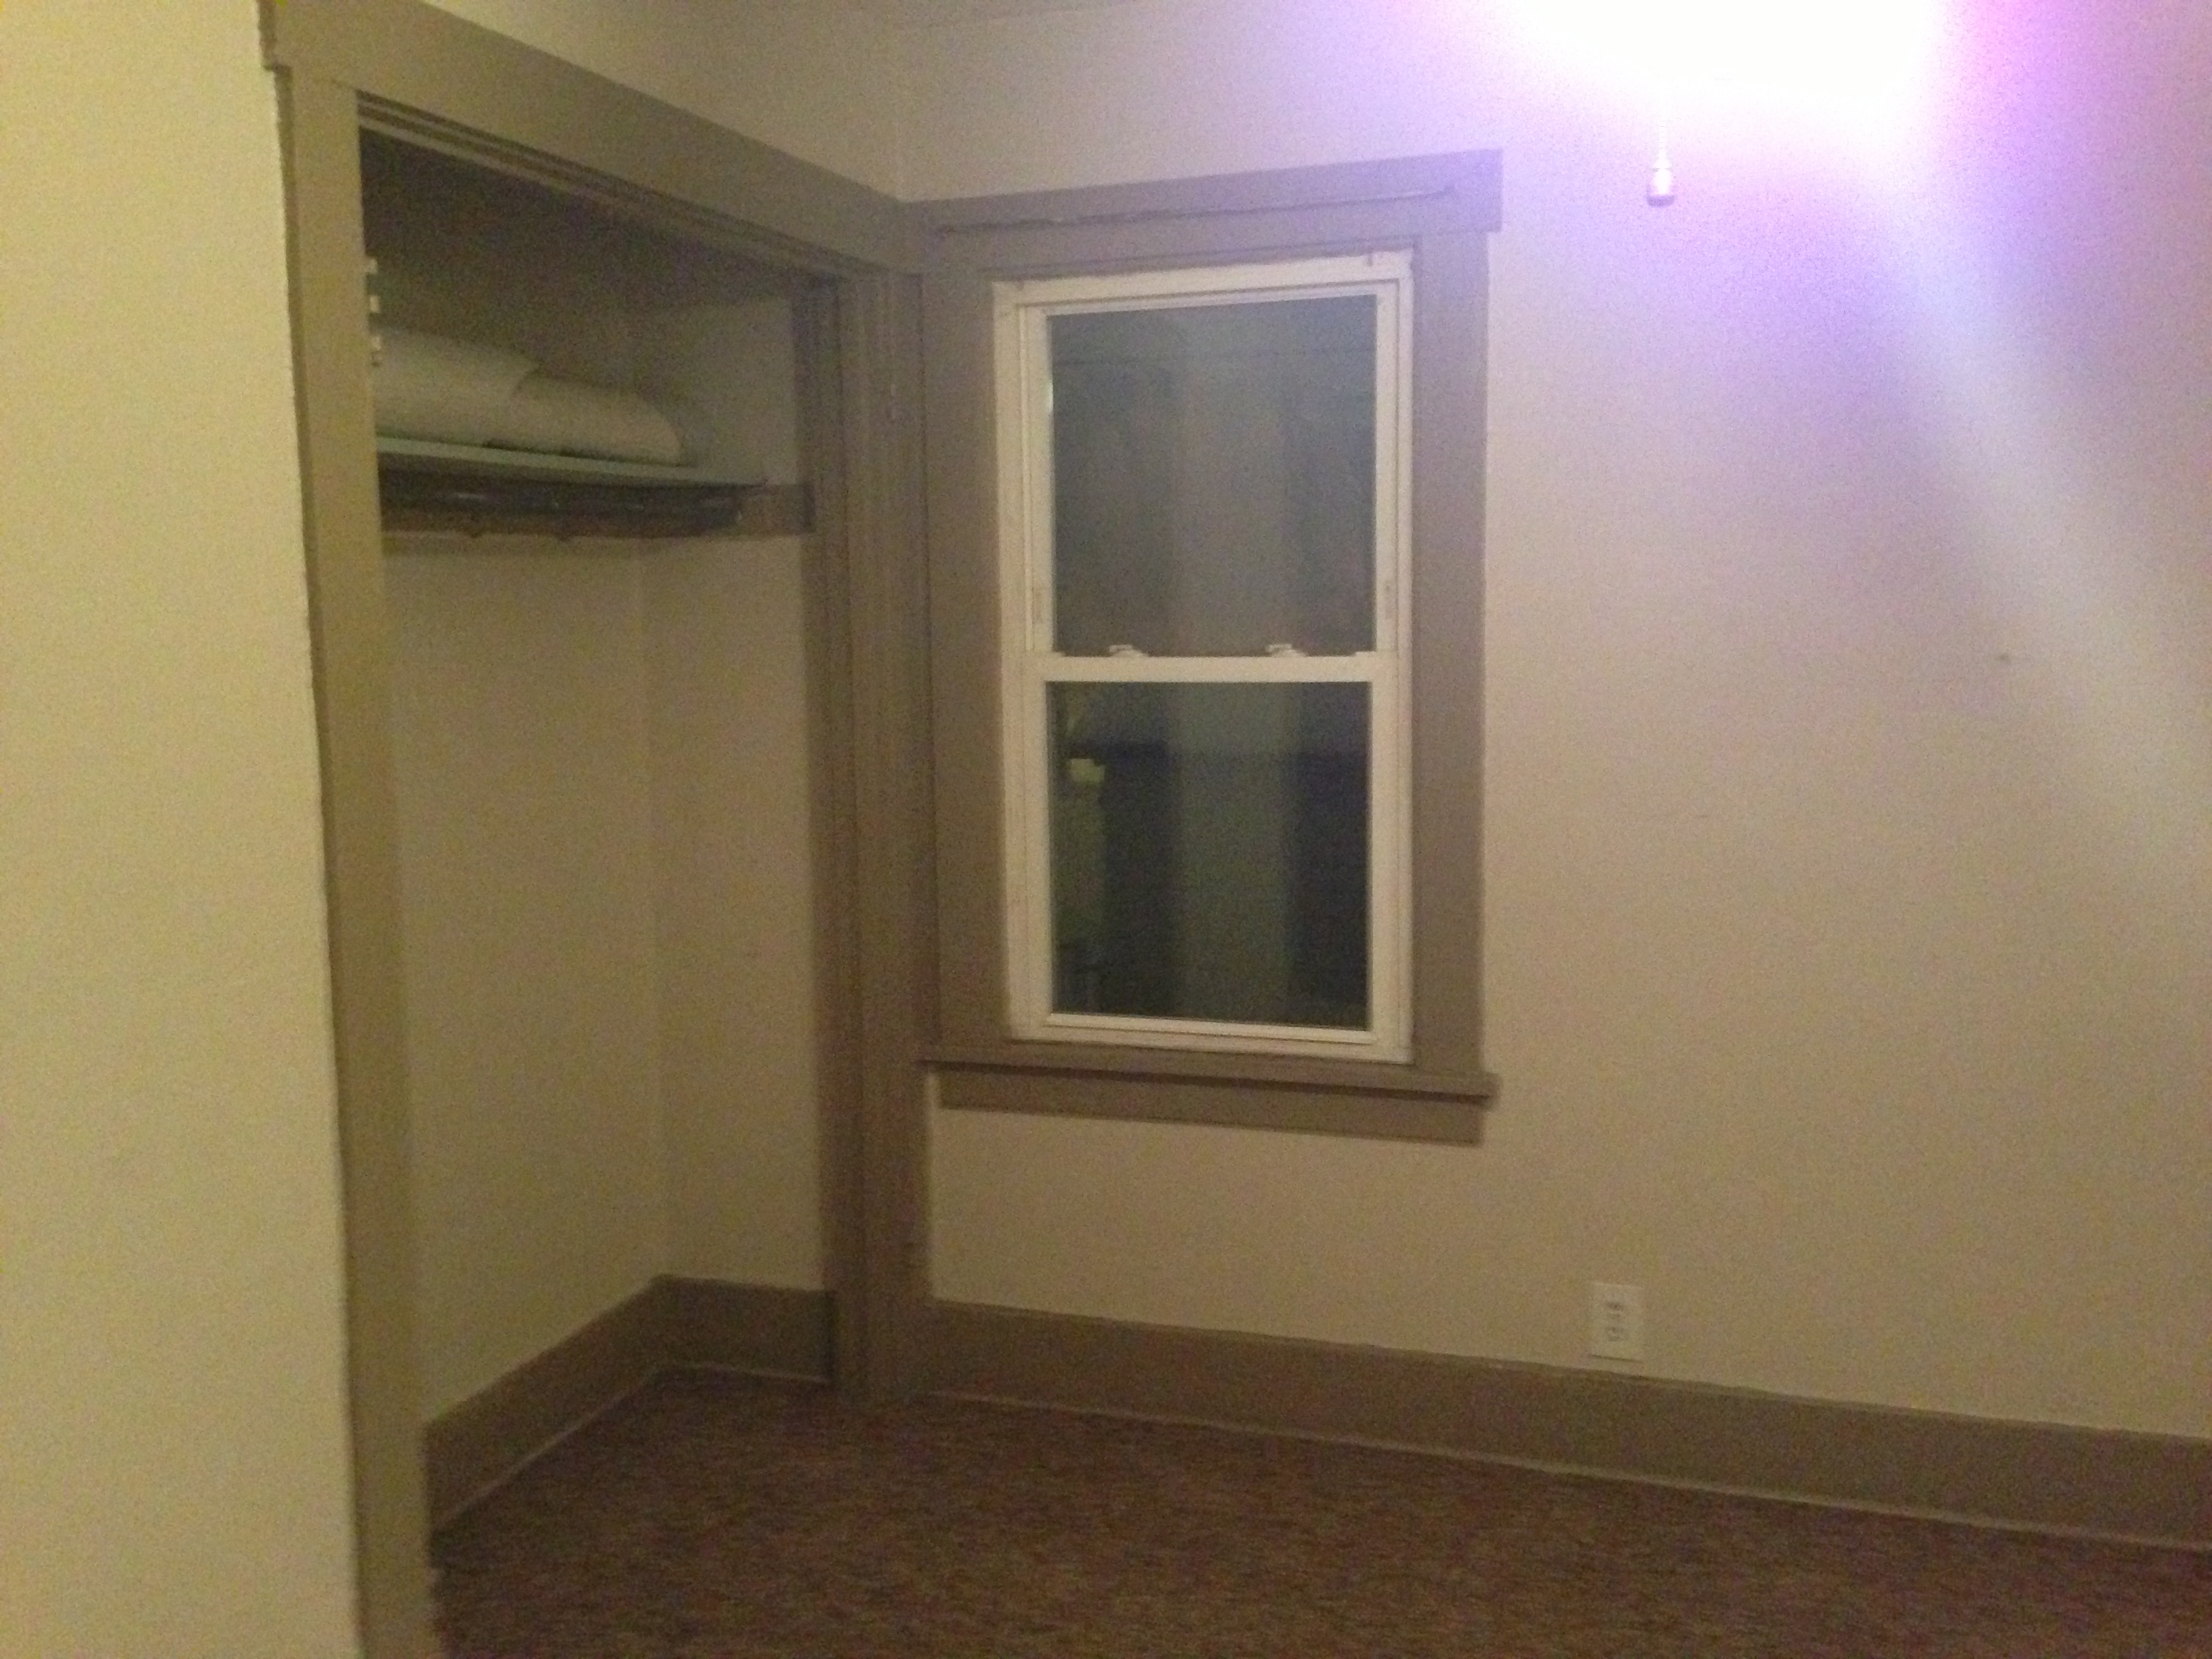
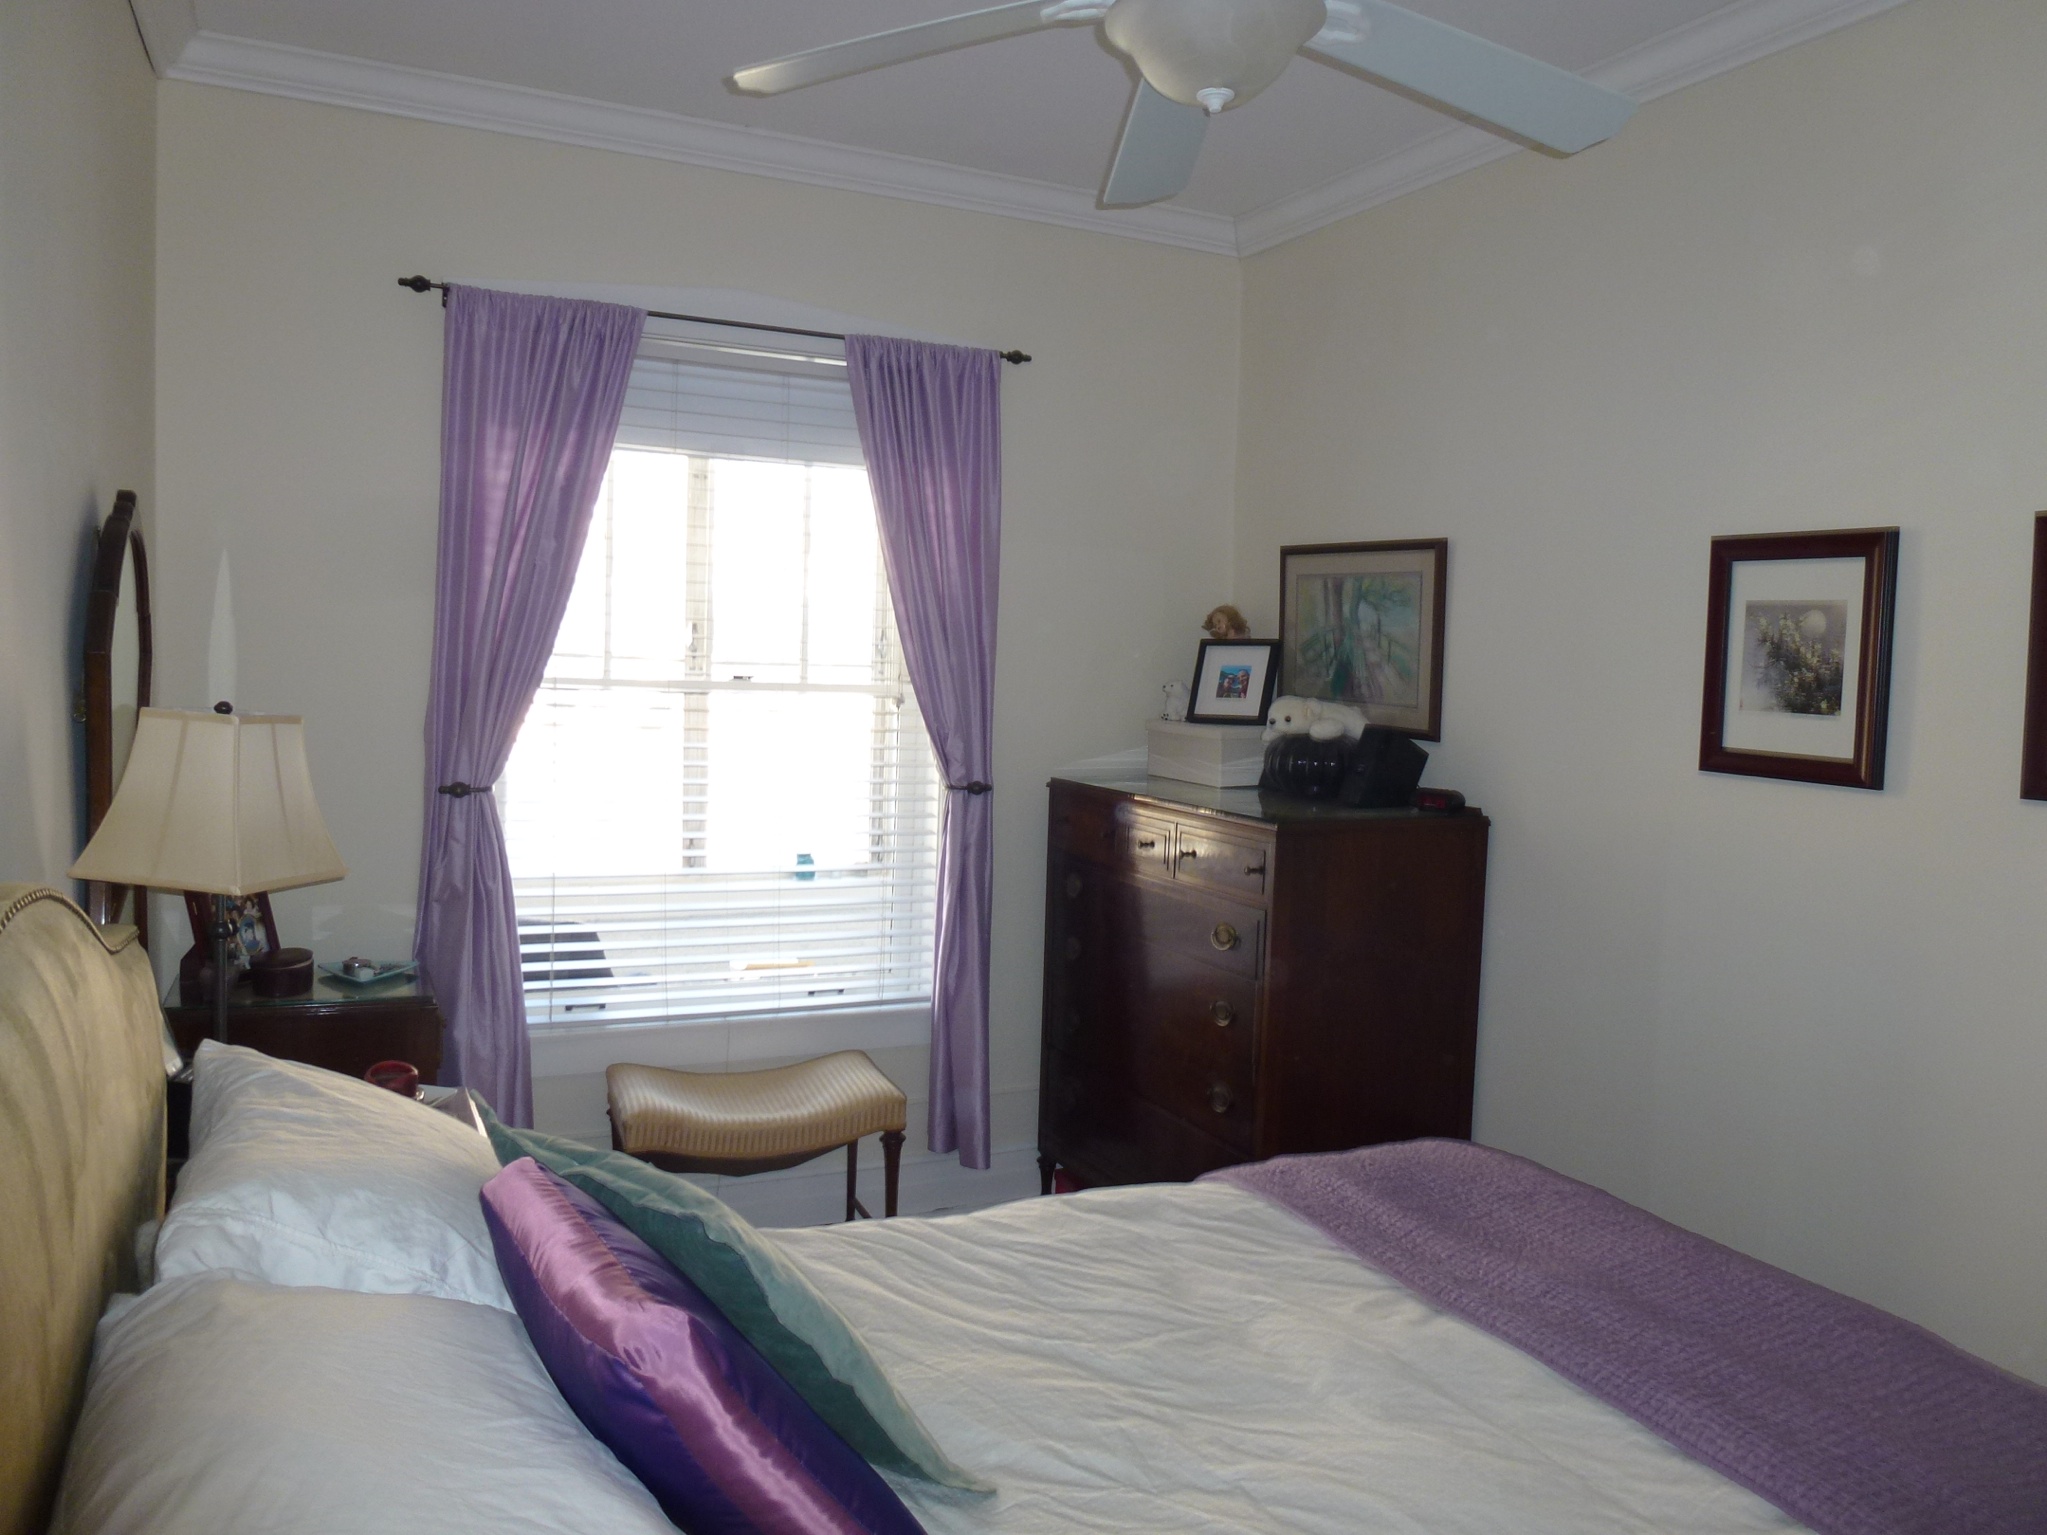
Bedroom window
I do love my textured white curtains (and the cute dog peeking out the window). But I’m not crazy about my headboard anymore. Or the return-discounted mattress set I purchased almost 10 years ago (it’s a full-size firm bed, and I’m a side-sleeper who’d rather have a soft queen-sized bed). Also not great? The blankets I constantly have on the bed to keep dog hair off my sheets because someone likes to nap there while I’m at work.
So there it is. Not super-stylish, but not too terrible either. But now that I’m in the new place, I’m eager for some change. And, for the first time in my adult life, I can actually purchase a few new things too. I still have a pretty strict budget, but there’s a little more flexibility to, say, buy a couch that I like, instead of one at Goodwill. So I think it will be really interesting to see how things evolve in the new place.
At the same time, I keep reminding myself that part of the reason I have inexpensive, fine-for-now furniture is because I rent, and I never know how long I’ll be somewhere or what the next place will be like. So it still doesn’t make a ton of sense for me to spend a fortune on decorating a place I might be in for a year or two. And money I don’t spend on that, is money I can eventually spend on buying and decorating a place that I actually own.