30 Days of Spring Cleaning

I’ve noticed a lot of blogs doing monthly challenges and I’ve decided to give myself one, similar to the monthly cleaning challenge at IHeart Organizing. Why? First, because it’s spring cleaning time and my house definitely needs a good scrub-down, especially after being shut up tight all winter. And having the icky slushy salty stains of winter weather being tracked in. Second, because I am a total clutter bug. I live amongst piles. My mother thinks I’m going to end up on Hoarders or die under a pile of books or something along those tragic lines. So I really need to clear out some of this junk. Since there are 30 days in April, I’ve come up with a list of 30, but I doubt I’ll do a thing a day (and not just because it’s April 2nd already!). Here’s my list:

  1. Dining room – Clean off the table and clear out the hutch/drawers/cupboards
  2. Living room – Clean out all the drawers, shelves, baskets and other cubbies
  3. Front Hall closet – Do I wear all these coats? What’s in that box on the top shelf? This is prime storage space — I should be using it better
  4. Bookshelves – Organize and donate
  5. Desk Drawers – Figure out which papers I actually still need on file and which I can shred. Do I need those pay stubs from 2003?
  6. Office closet – What actually belongs in here? This is where all the random stuff ended up when I moved
  7. Office desk top organizers – How do I set this space up so that I actually use it?
  8. Linen closet – Organize, get rid of expired stuff, etc.
  9. Bedroom closet – Switch over to spring summer clothes and get rid of stuff I no longer wear
  10. Bedroom dresser – Same as the closet, but with more foldy-type clothes
  11. Shoe closet, aka the back closet — Reorganize this so I can reach my spring shoes more easily. Take a good look at winter shoes and have the ones that didn’t survive the season repaired or replaced
  12. Pantry – Pull everything out and give it a thorough scrub down. Toss expired food.
  13. Dish shelves – Give everything a wipe down
  14. Cooking utensils and cook wear — Clean out all drawers and cupboards. Donate stuff I never use.
  15. Fridge – Scrub it out and check all the dates on condiments
  16. Junk Drawer – What is even in here?
  17. Shampoo all the carpets – Living room, dining room, hall, back hall, bed and office
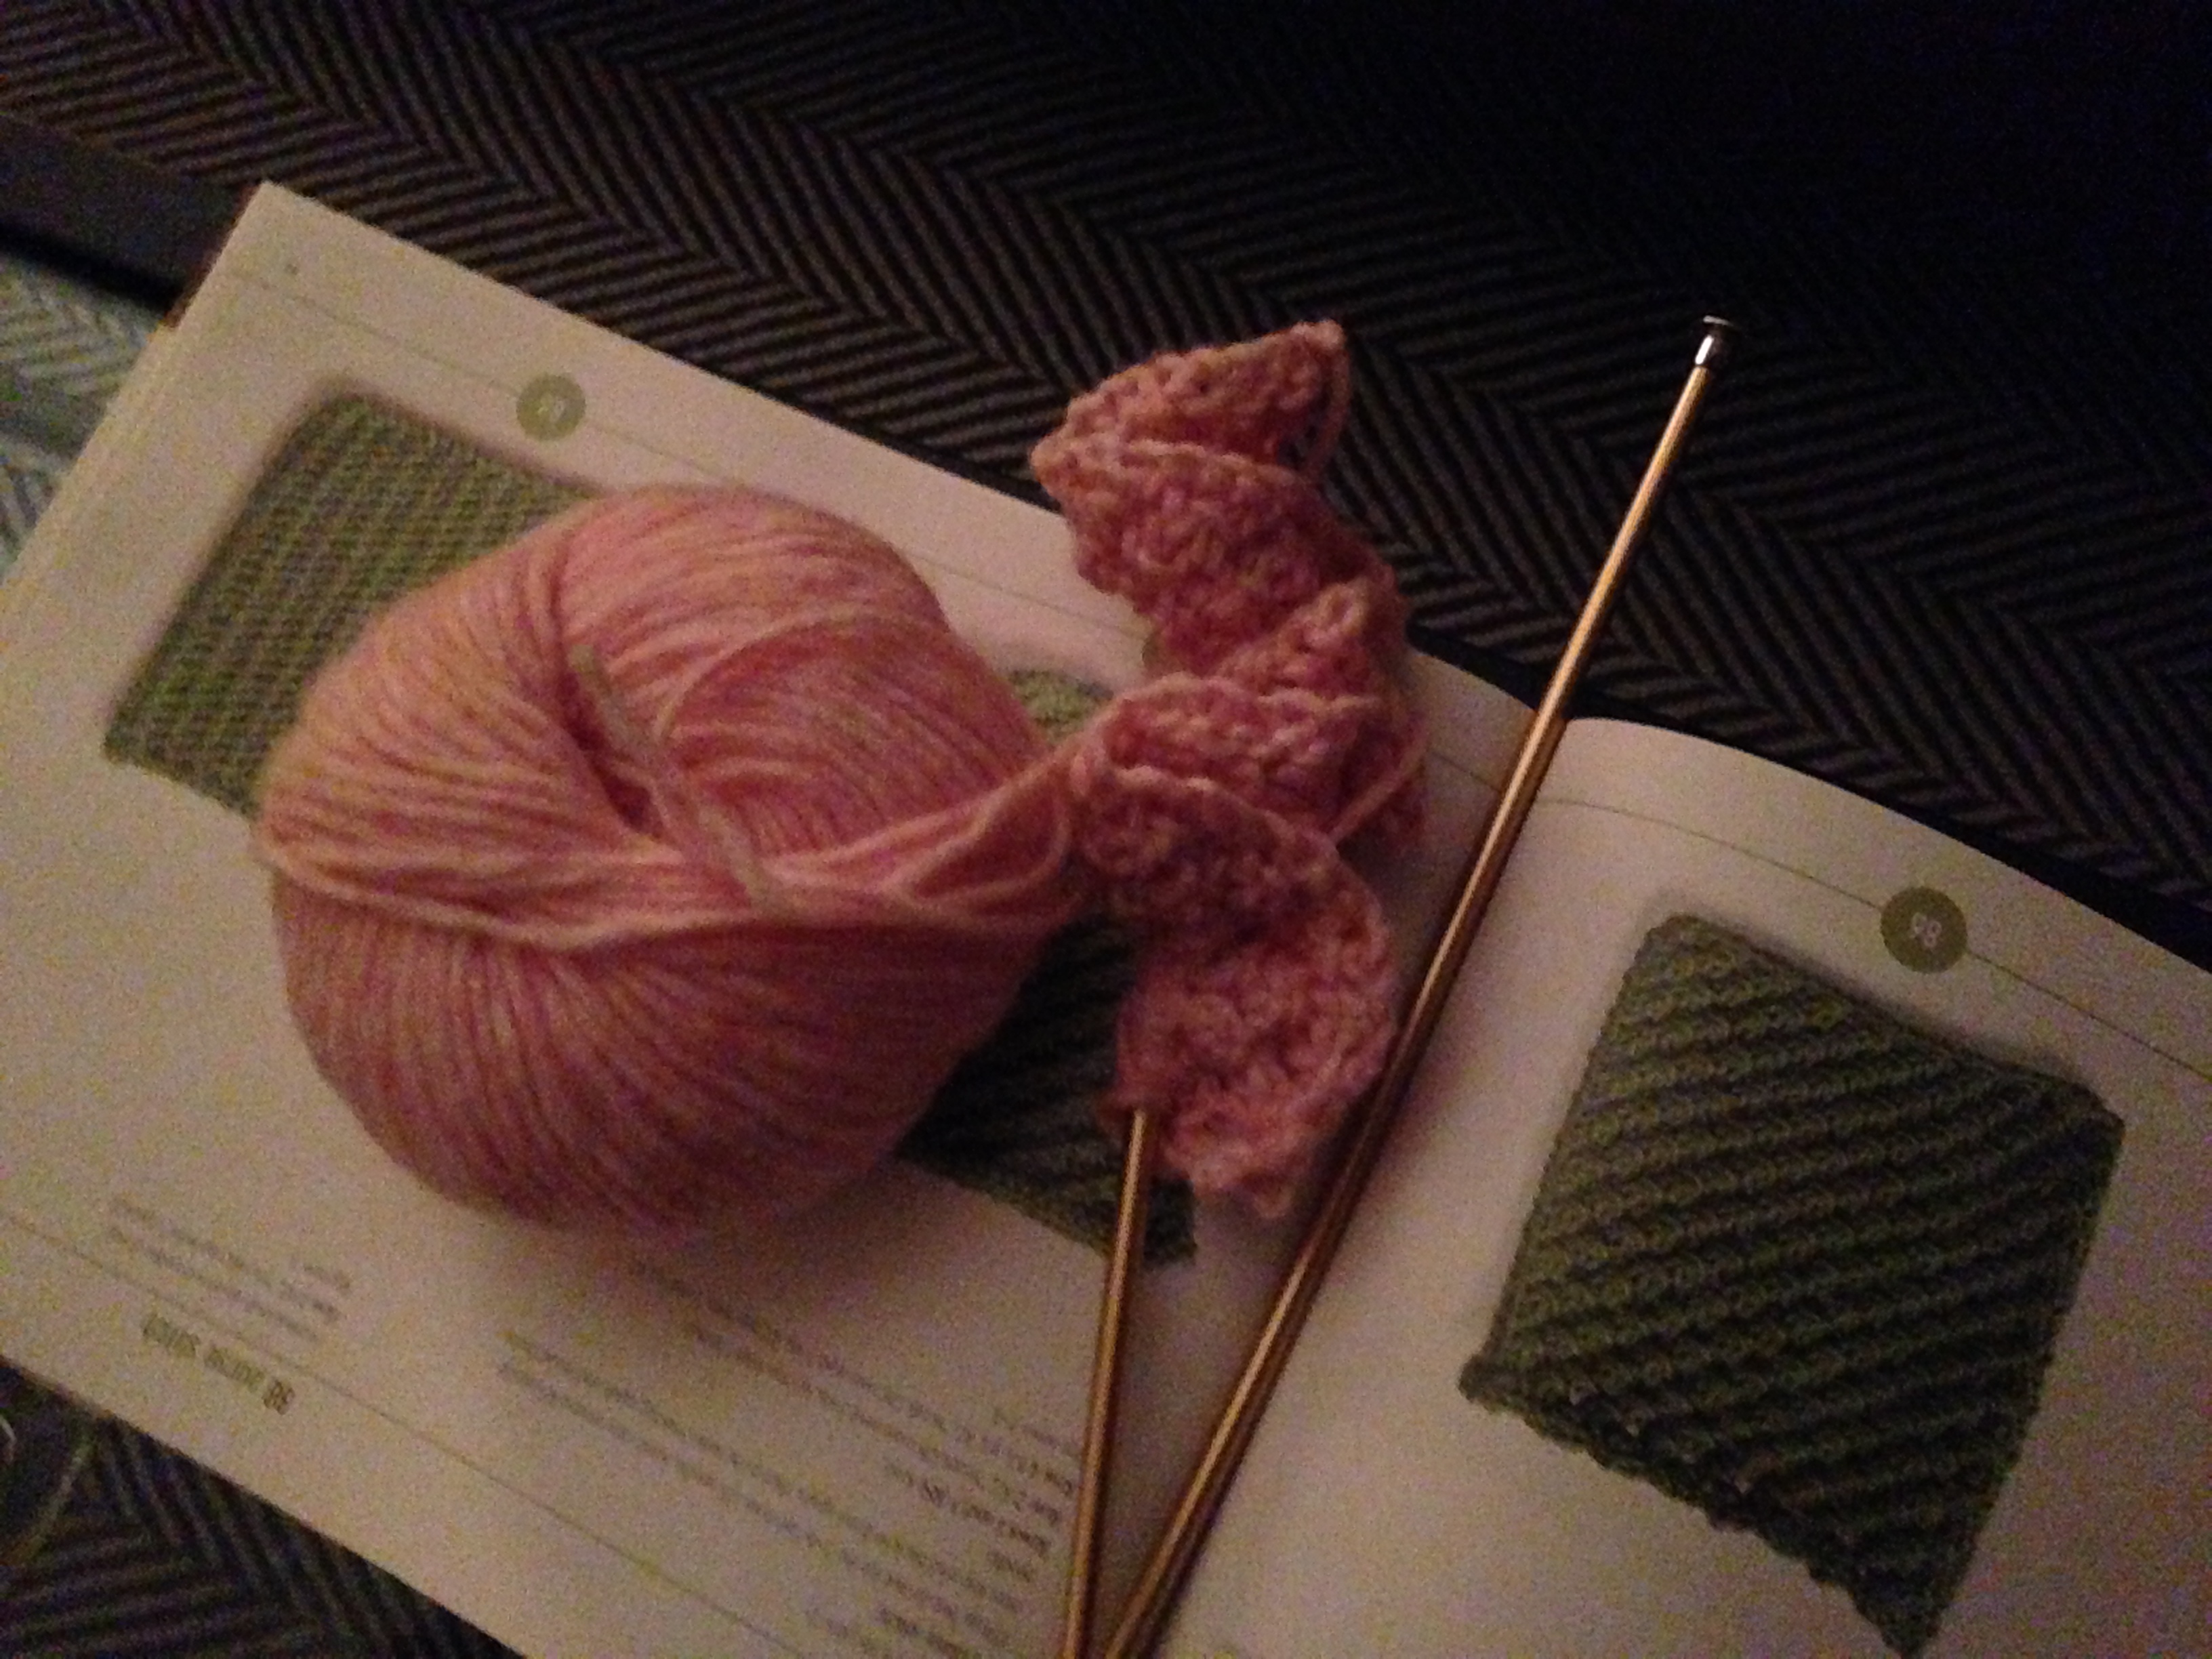
  18. Craft supplies – Organize them so that I can pull out and finish one project at a time
  19. Kitchen stove/oven – Clean the oven
  20. Laundry room – Vacuum. Hope the spiders don’t get me.
  21. Email – Go through and delete as many old emails as I can. Especially ads
  22. Old computer – Finish migrating old files to the cloud or to my new computer (before old computer finally croaks)
  23. Photos – Organize my photos in folders so I can find them
  24. Car – Detail it, inside and out!
  25. Dog – Give her a bath and get her a pedicure
  26. Storage unit – Inspect for water damage and other possible issues. Get rid of anything that’s not needed.
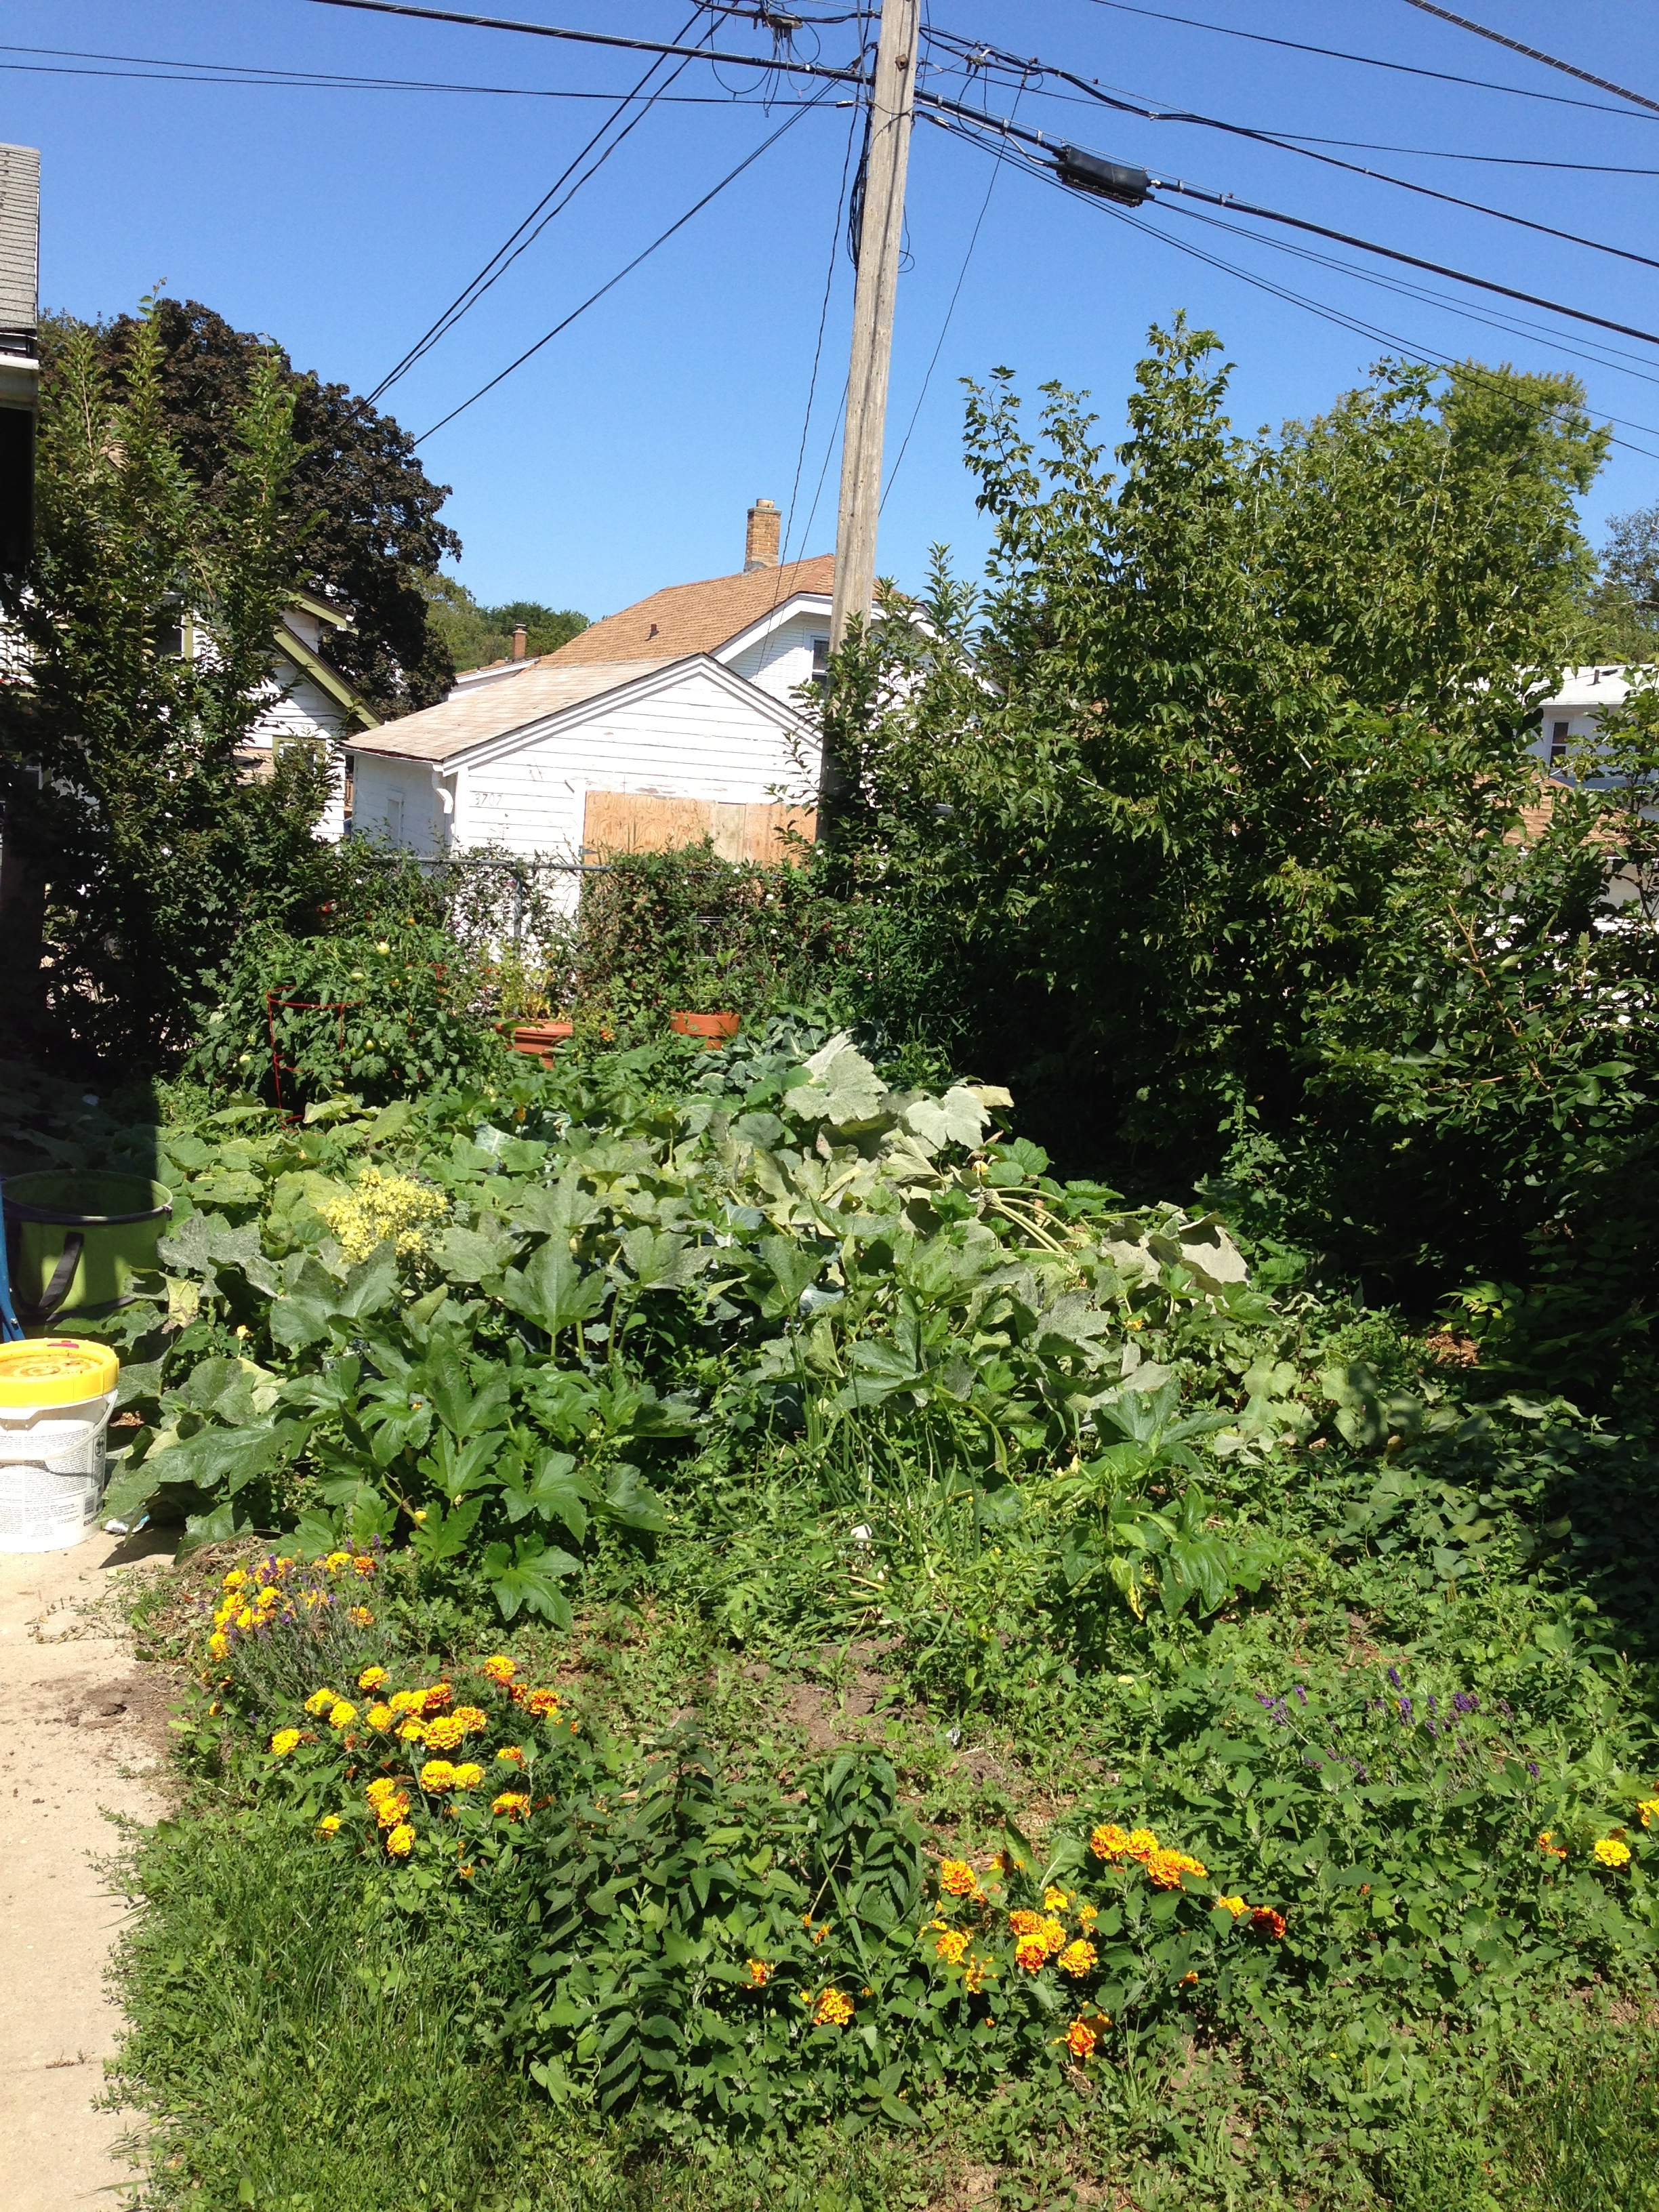
  27. Garden – Rack through and pull all last year’s dead plants in preparation for spring
  28. Alley – Get out there and pull out the dead poisonous weeds before they come back to life!
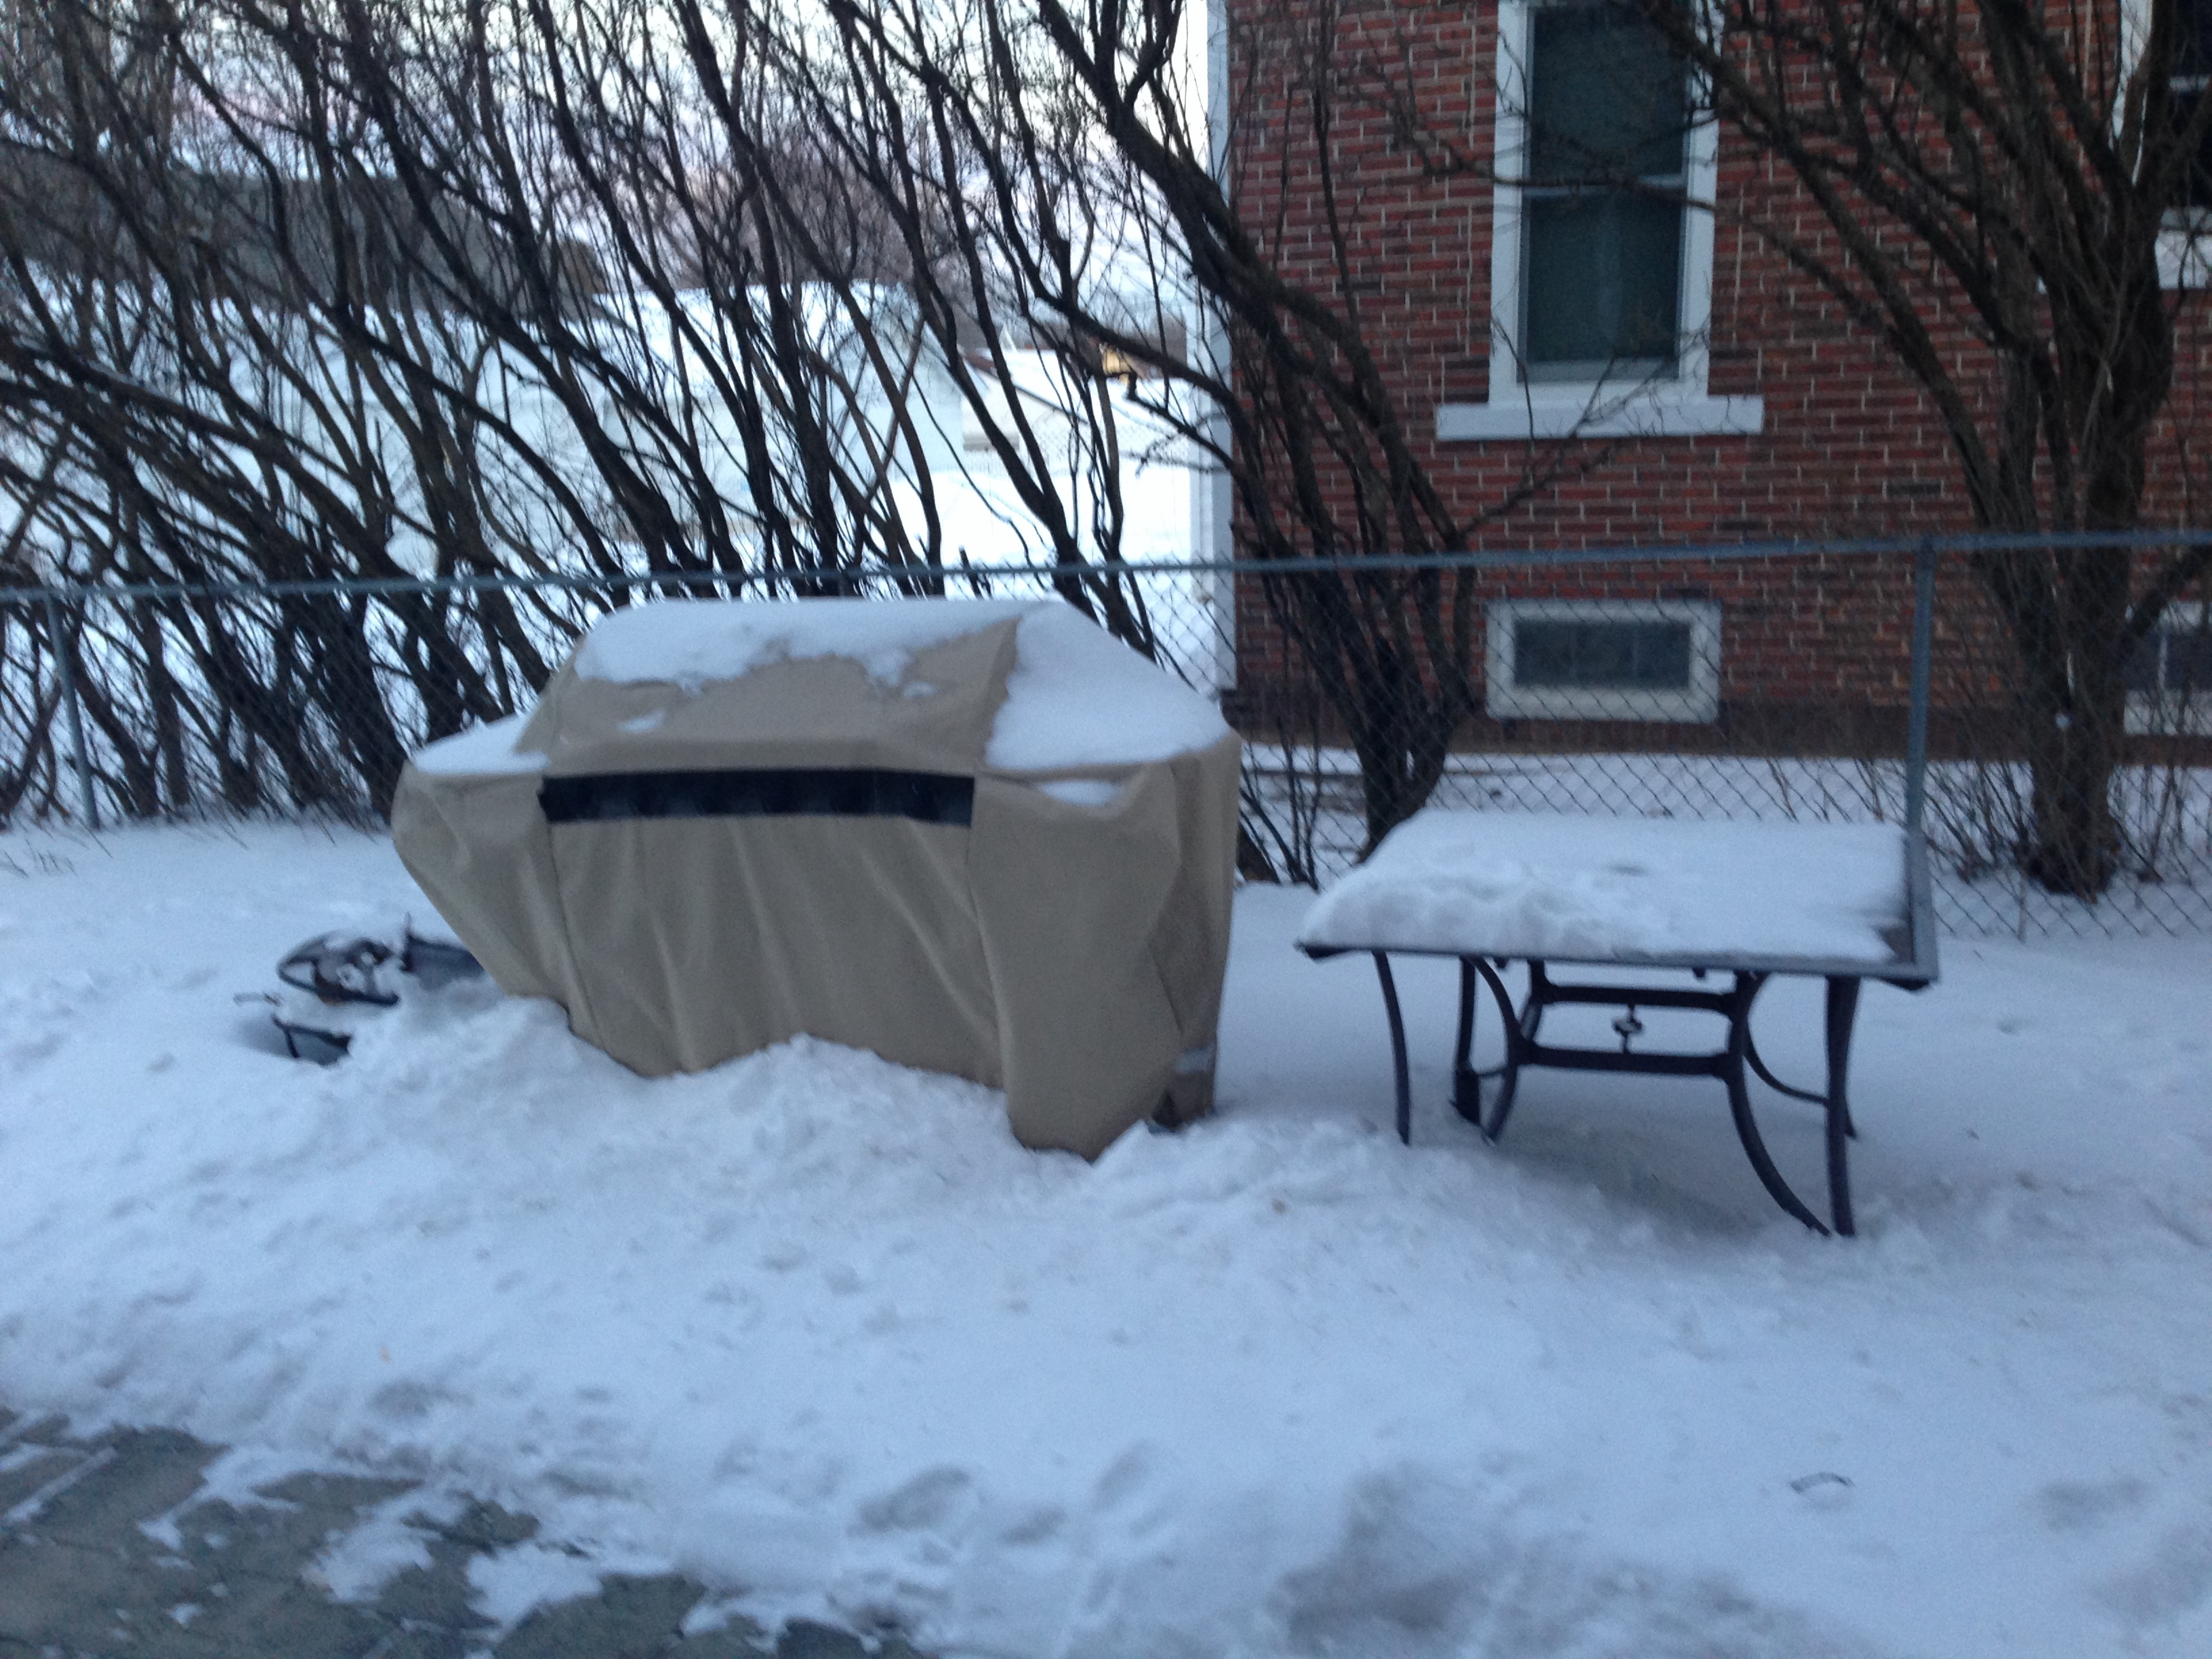
  29. Back yard – Find all the presents that Bronwen left back there that have been covered by snow till now
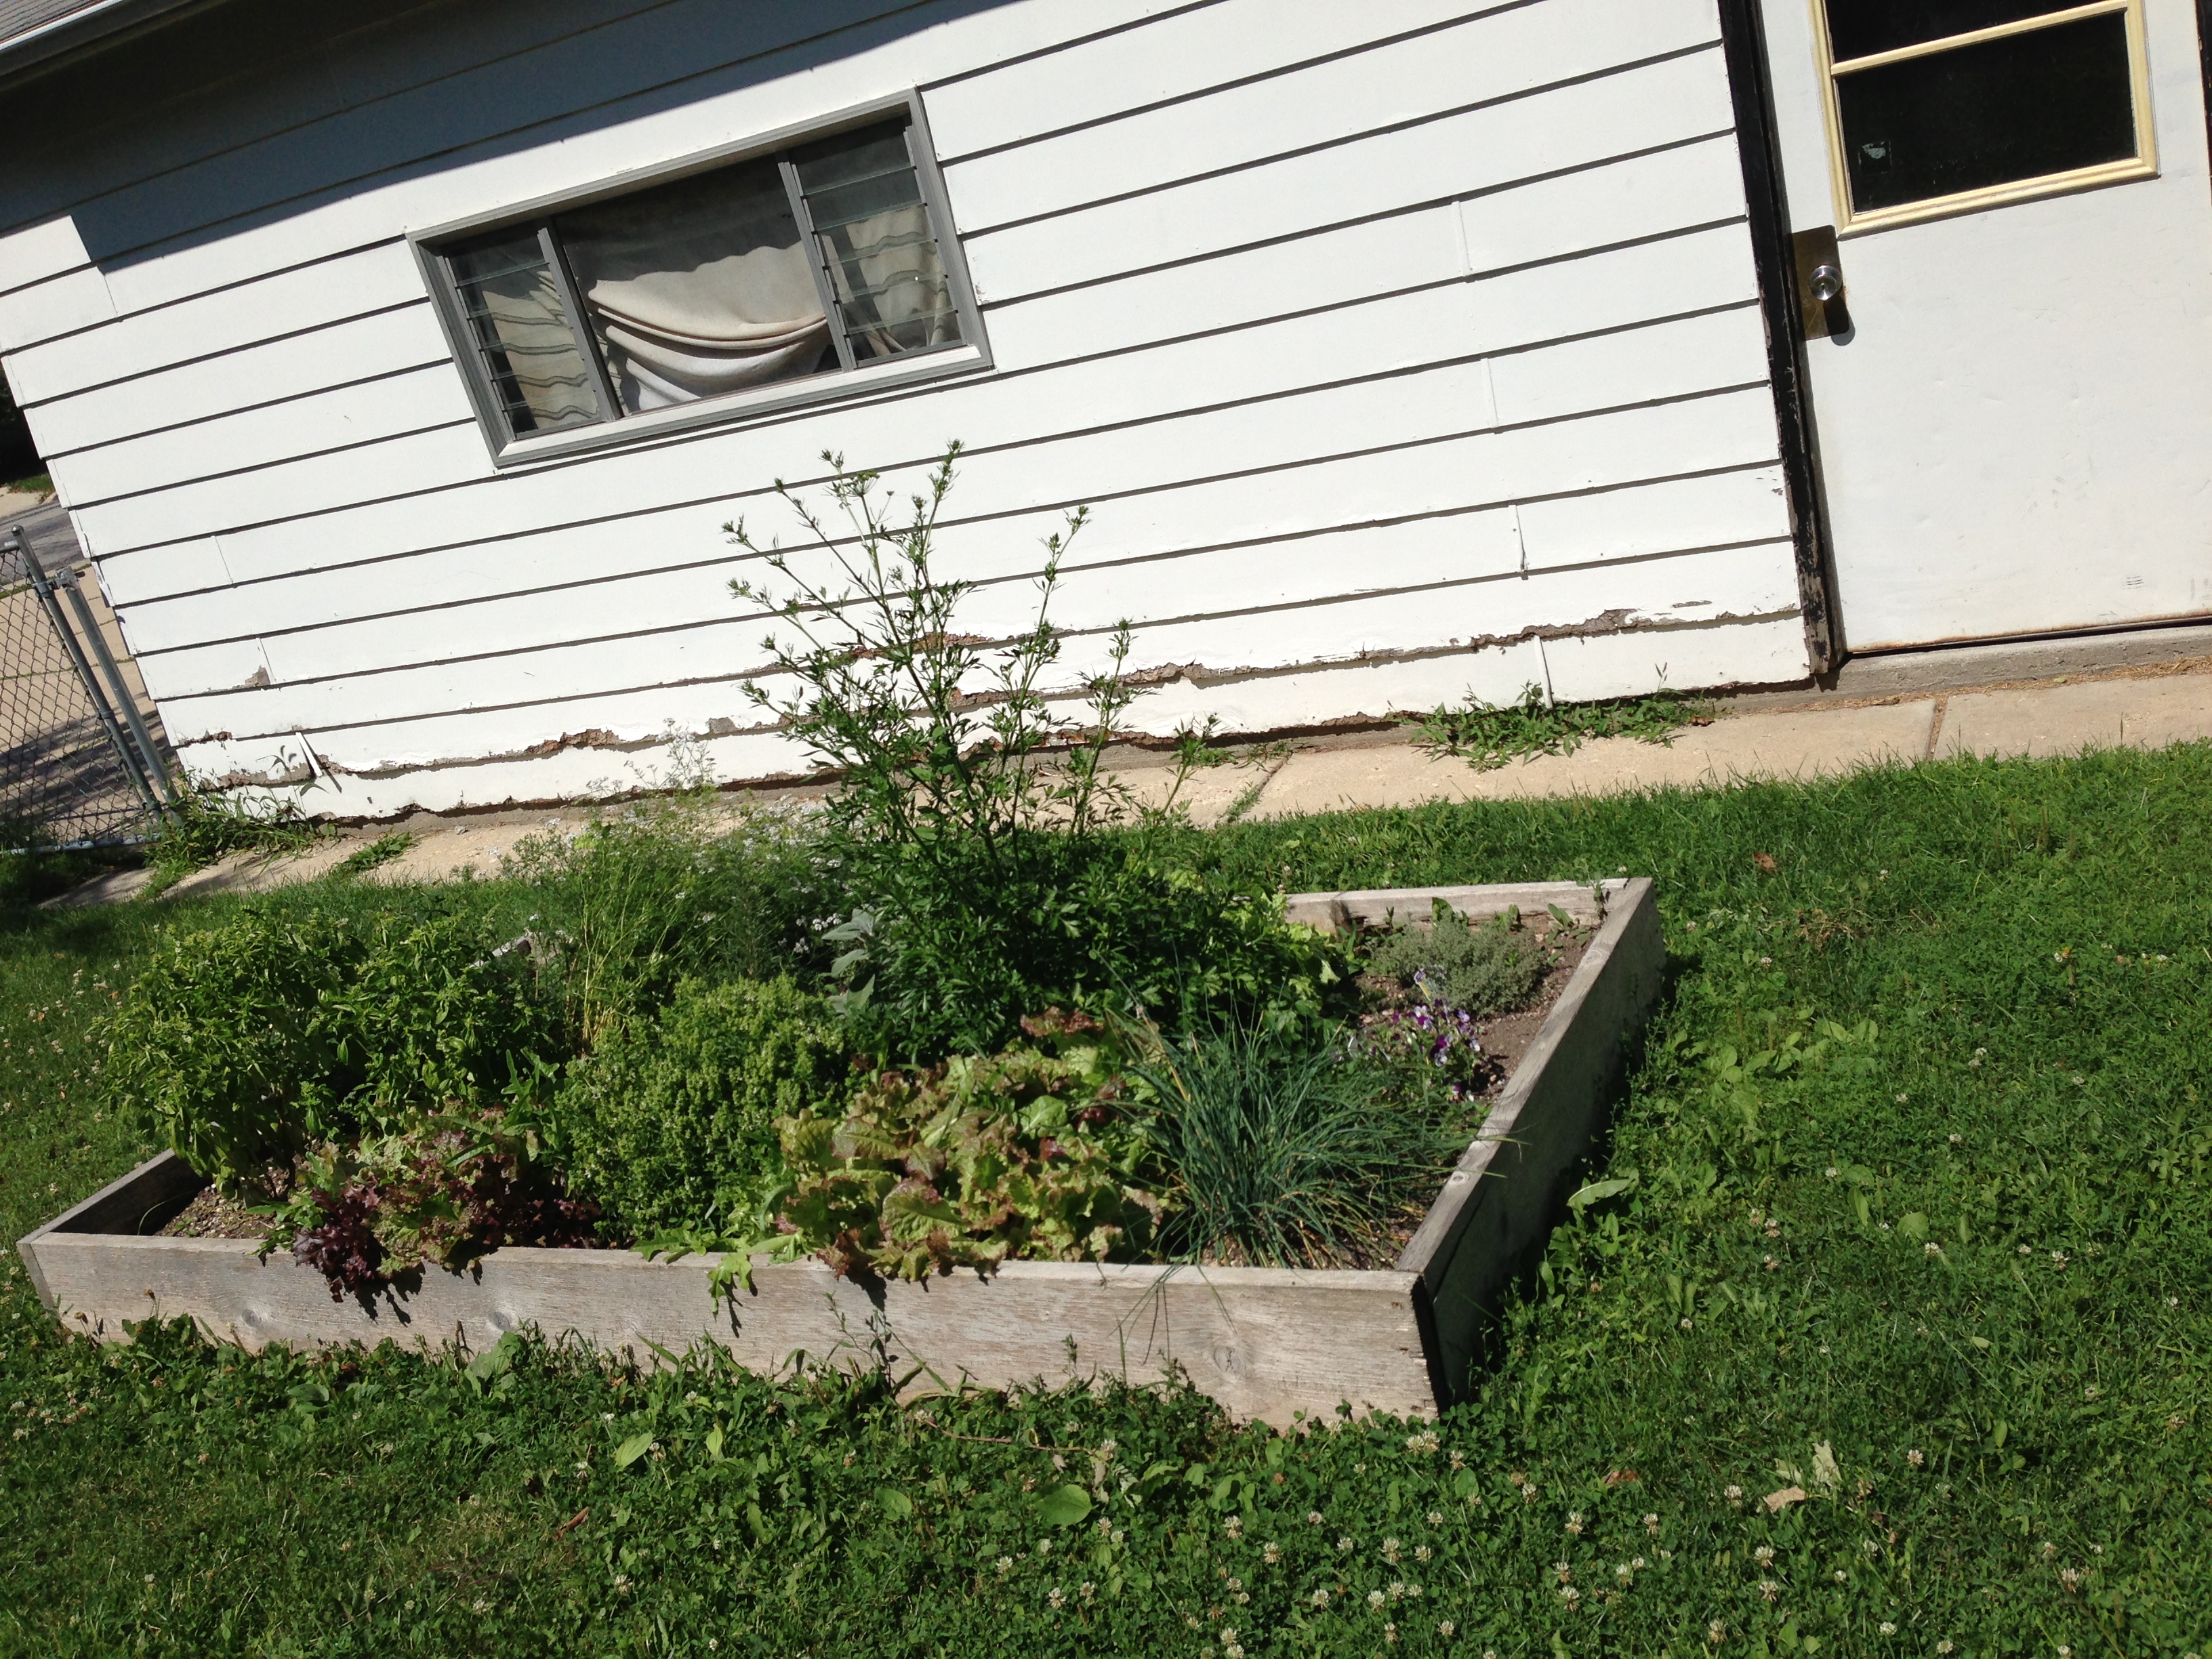
  30. Front porch – Sweep it clean and clear any dead plants out of flower boxes

Do you have a spring cleaning list? How do you tackle it? Anything big that you think I missed?

Advertisement

Garden Lesson 1: You might occasionally win a battle, but you’ll never win the war on weeds. Especially if your garden is organic.

Since I can sense spring coming, just around the corner (even though it’s freezing today), I thought I’d finally share some of the lessons I learned from last year’s garden.

Our garden was a rather large (14 x 27 feet) reclaimed portion of the yard that had previously been a giant weed patch. I think before it was a weed patch it might have had some trees and shrubs that were cut down because they had been interfering with power lines, but it was definitely not a lawn or garden. The three years I lived in the building prior to our garden effort, it was just a big patch of weeds. My landlord had told me that if we (we being me and the new upstairs neighbors) cleaned out that part of the yard, he would have two raised garden beds put in. We cleaned out the weeds using a tiller and a ridiculous amount of muscle and time, but no boxes were installed. I’m still a little miffed about that. So we ended up putting in a few rows of plants directly into the ground, and used a mix of weed block fabric and mulch to try to ward off the return of the weeds.

It did not go well.

My giant garden and all it's weeds

My giant garden and all it’s weeds. You can see in this picture that I was also battling out of control squash vines.

We had the perfect recipe for a never-ending weed battle: Weeds had already claimed that portion of the yard as their home, and they were not going to give it up with out a fight. And, tilling the ground meant that even more weeds had the opportunity to take root.

Our biggest problem was lamb’s ear. It was everywhere. It never stopped coming in, but it was very, very easy to rip it out as it grew. My daily routine became: Come home from work, let the dog out, rip out weeds for a half hour. Not kidding when I say every day. Why didn’t I use weed killer? Well, for one thing, the weeds were literally side by side with my vegetables, and I really did not want to kill the vegetables. For another, I was trying to be mostly organic (I didn’t buy specifically organic plants, so they might have been GMO, but I didn’t use any weed killers or bug killers). With a dog frequently in the garden and a pregnant neighbor upstairs, I didn’t want to risk using chemicals that might be harmful. This year, we’ll have a dog and a soon-to-be-walking baby in the yard, so we’ll be skipping chemicals again.

We also had a severe problem with invasive, hard-to-kill and poisonous weeds. Mullion weed, for example, is insanely hard to rip out. You can cut it back a million times, spend hours trying to dig out the deep, tuberous roots, etc., and that sucker is still going to come back. Same with belladonna, aka deadly nightshade. If you don’t rip out every last bit of vine, it’s coming back. Needless to say, while the mullion is a pain, the nightshade is actually hazard, especially since the baby will be mobile the summer. She’s really cute, so I suspect my neighbors don’t want her eating poison foliage or berries.

Mullion - a hard to kill weed

Mullion – a hard to kill weed

So what am I going to do? The first order of business is to finally get the raised beds in. We had one last year (previously installed by my landlord in a different part of the yard), and there were almost no weeds in it. My plan for the garden part of the yard is to do a thorough raking and remove all the debris from last year’s efforts as soon as the snow is finally gone. Then I’m going to put down a fairly solid layer of newspaper (I’ve been saving my junk mail for this purpose), and a thick layer of wood chips. This was pretty good for controlling weeds in some portions of the garden last year. I’m hoping that and fresh dirt in the raised beds, will keep the worst of the weeds and proliferation of lambs ear down.

Our almost weed-free raised bed.

Our almost weed-free raised bed.

I’m also going to try to attack the areas where I know there’s nightshade and mullion early this year and stop the problem before it starts. Part of the issue last year was that I didn’t know what I was dealing with. Now I do, so hopefully I can get a jump on it.

If you’re an experienced gardener, I’d love to know how you keep weeds in check — especially in new gardens where they might have already established themselves. Any tips?

Quick painterly art from photos

This time change has really thrown me out of sorts. It’s never happened before but I am SO TIRED this week. You’d never guess that I just came back from a refreshing vacation.

The beautiful beach at Luquillo

The beautiful beach at Luquillo

But I do have a very quick update for you, because I found a fun new app that is letting me turn my somewhat mediocre vacation pics into pretty little watercolor prints! It’s called Waterlogue and it’s very fun.

I have no connection with Waterlogue at all — they don’t know I exist. But they helped me find a cute way to do something fun with two of my Paris photos that I’m really excited about, so I wanted to share.

beachwatermark

The app works a lot like Instagram — you can select photos from your existing files in addition to taking new ones. And you have a couple different painterly effects you can apply. One thing I really like is that you can save the pictures without sharing — sometimes I want to add an Instagram filter to a pic without actually sending it out into the world, and I haven’t found a way to do that yet. With Waterlogue, you can! And you can save your pictures to various sizes/image qualities, which is useful if you actually want to print them.

I have two photos that I took in Paris of storefronts, and I was really hoping they would be high enough quality to print, frame and hang. While the photos are nice and sharp they either felt a little emotionally flat or had some details that distracted from the overall feeling. Changing them to “watercolors” really helped.

Here’s the first one, a charming little cheese shop around the corner from my hotel.

DSC00425

It’s okay. Not a great photo — just a snapshot of a storefront. But in watercolor:

watermarkedFromagerie

The colors pop. Different lines have a little more weight, which I think might improve the composition a little. There’s just a little more romance.

Here’s another one, the flower shop across the street:

DSC00424

Again, it’s okay. It doesn’t really capture how charming the shop was in person. But after a little alteration:

floralieswatermarked

A little more charm!

I had a lot of fun playing around with vacation photos in this app, and I was excited that it helped transform a few shots that I felt didn’t capture the feeling of the scene into something that was much closer. Something I’d actually consider throwing in a frame and putting up on the wall. (And if you’ve been reading, you know how picky I am about what goes on the wall!)

Quick Update: Resolutions

Since it’s been over a month since I set out my resolutions, I thought I’d give an update on my progress.

1. Save more. A lot more.

This one is probably my biggest fail. I mean, I’ve definitely saved some money…but I also decided that I should go to Puerto Rico to escape this horrible cold, so it’s definitely not as much as I could. My house and emergency funds continued to grow at the rate I set to save, but my vacation savings fund is back down to zilch. Do I regret it? No. I mean, have you been outside in Southeastern Wisconsin? It’s miserable! I need a vacation!

IMG_1138

2. Invest more time in the hobbies I’ve neglected.

I’ve done pretty well with this one! I’ve been running fairly regularly (probably an average of 2.5 times per week). I’m back up to 6 miles, and today I ran 3 miles in 27 minutes, which is a fantastic pace for me. I’ve also taken up knitting again, and I’ve been fairly decent about updating a blog. So, for the first two months of the year, I’m going to count this as a resolution kept!

IMG_1115

3. Set out to just do a few things at a time, and do them well.

I think resolutions 2 and 3 oppose each other a little, but I’m doing my best. Like I said, I’ve improved my running. I have actually managed to make an omelette (yay!) and I’m working down that food list. And I’ve done some pre-planning for the garden that will hopefully make it better this year.

IMG_1131

4. Give more time to other people.

I think this is another one where I’ve done fairly well. I’ve been running almost weekly with one friend, reached out to a few people I’d been out of touch with and have had dinner with a few friends on different occasions outside planned “group” events. Right now, the “person” I think I need to work on paying more attention to is the dog. Poor Bronnie doesn’t like it when I go out with people this much!

"Please play with me!"

“Please play with me!”

So, that’s my short little update on New Year’s Resolutions. If you have them, I hope you’re making progress as well!

Living Room: Hanging mismatched art

This “final” living room post has been rather difficult to write. I started with the idea that I’d talk about hanging the art around the room, but something about it keeps rubbing me the wrong way. Maybe it’s that there’s really no homemade or handmade element to what I’ve done (well, there is to two of the art pieces, but I’ll share those later), or maybe it’s that the whole discussion feels kind of privileged. Compared to the budget I had when I started this blog, this room was furnished in absolute luxury. Feels kind of like cheating. And it’s not say that the room is phenomenal either. It feels like home and I love a lot of individual elements in it, but I wouldn’t say it’s anything that shows I have an eye for design or anything. I think it’s pretty average for what a person can pull together with a little bit of money and a few decent pieces of furniture and art. So with that, I want to say, I am totally open to suggestions. Anything striking you as off? Any ideas for what would pull the room together a bit more? I’m fairly happy with the side by the windows, but the other half of the room doesn’t have the same “put together” feel.

Hanging art on the walls made a huge difference in making the living room feel cozier after I repainted it a light icy blue.

Some of the walls needed little to no art, mostly due to huge windows and big pieces of furniture.

TV corner after

While all the others were in need of something.

I had a hard time deciding what to do on the opposite side of the french doors, especially since I normally leave that door open all the time. I could have left it blank, I suppose, but it’s very visible when you are sitting on the couch or the green chair and it just looked empty. In the end, I decided to go with one mid-sized picture and treat the wall as though the door wasn’t there. Here’s what it looks like from the couch at night. 

painting behind french door

I actually could have gone a little bigger, but I had already decided to buy a big piece for the adjacent wall. It’s not ideal to have a picture partially obstructed, but it look better than it did with a blank wall—and it gave me an excuse to order a print that I’d been wanting for a while (Autumn in Orillia by Franklin Carmichael. I ordered the print from Art.com and LOVE the paper it was printed on. It was heavy and matte and textured – perfect for a water color print. I got the frame at Michaels after quite the hunt for a frame the correct size.)

On the wall opposite the windows, I chose to go big and bold, yet simple with one gigantic painting that I’d been lusting after for two years. (To give you an idea of the scale, that painting is 48 inches by 48 inches and about two inches deep.)

IMG_0585

And on the wall next to that, you can see the start of my art collage project for the remaining wall. See, those first two walls were easy. I invested a some money in two pieces I really liked and had been wanting for a while. But if you’ve been reading for a while, you know I love collecting artwork that speaks to me, so it should be a surprise that I had quite a few framed pieces and bits of brick a brack sitting around waiting to be hung in the perfect spot.

The big challenge of the living room was the wall opposite the french doors: A row of high windows, a low couch and two big blank patches of wall. (Ignore the paint color, of course. I neglected to take a proper “before” pic.)

IMG_0328

I had around a dozen pieces to play with, including framed photos, prints, some fun fabric pieces, a tortoise shell (faux, from Target) and a carved mirror. Almost none of the frames matched and the orientations went both ways. I followed the Young House Love paper-template approach to planning and traced the outlines of all the objects onto pieces of paper (I used a lot of packing paper I had laying around – a nice non-destracting neutral to play with, but it tended to be wrinkly). Then I used painters tape to play around with the different options.

big wall after

After a few days of hemming, hawing and rearranging, I finally got bold and started nailing. I started with the largest objects on each wall, and did a little rearranging after each additional object was added. And here’s where it ended up.

longlivingroomwall


When it comes to hanging a gallery wall, I highly recommend the paper template approach. It made it so fast and easy and I knew exactly where to put all the nails. I really like how the arrangements came together on either side of the windows.

The things I’m still considering: Let’s see…should I expand the gallery wall and flow things under the windows? Should I put shelving or something in the two empty corners of the room? Get a longer sideboard instead of the dresser that’s under the horse painting? An actual table between the two refinished chairs? For now, I’m calling it done, but if I find a great piece that I think will help tie it all together a bit better, I may make some changes down the road.

Soba Noodle Soup

This ridiculous winter has been perfect for soup.

Soup ingredients


I made a fantastic soba noodle soup the other night that was perfect for a warm up after shoveling. Above you can see all the ingredients spread out on the cutting board.

Ingredients

  • 1 bundle soba noodles
  • 1  heaping cup snow peas
  • 1 cup sliced mushrooms
  • 2 medium carrots, scrubbed and sliced
  • 1 small bok choy, sliced into ribbons
  • 1 inch of ginger, grated
  • 1 clove of garlic, minced
  • 4 scallions, sliced
  • 1 tablespoon miso
  • 2 tablespoons soy sauce
  • 1 tsp sesame seeds (white or black)
  • 1 tsp cumin
  • 1 tsp curry
  • 1 tablespoon oil
  • 2 cups vegetable broth
  • water

Directions

  1. Heat the oil in a large pot (I used a 5 qt) over medium heat.  Add the mushrooms and scallions and stir until they begin to soften, a bout 3 minutes. Add the carrots, ginger, garlic, cumin and curry and stir for about 3 minutes.
  2. Add the miso and soy sauce and stir to coat the vegetables in the pan. Add the snow peas and bok choy*, then add the vegetable broth. Bring the liquid to a soft boil.
  3. Add the soba noodles and, if needed, enough water to just cover all the ingredients. Return to a boil, then simmer for 10 minutes. Serve immediately.

* I wrote this recipe exactly as I cooked it. If you like your snow peas and bok choy a little crisper, add them after the noodles have returned to a boil.

Soup in bowl

Spaghetti Squash with Lentils de Puy, Kale, and Feta

Spagetti Squash


You know all those Pinterest post that try to convince you that spaghetti squash is the perfect substitute for pasta? I’m going to tell you something: They are lying. Spaghetti squash is stringy like spaghetti, and it can work really well with some sauces, but the texture and moisture levels are completely different.

Instead of pretending spaghetti squash is something it’s not, let’s embrace it for what it is: A really easy to prepare food that can add an exciting taste, color and texture to your recipe. And, it’s pretty dang healthy.

For this recipe, I tried to balance out the lighter squash flavor and texture (spaghetti squash doesn’t have nearly the same flavor presence as pumpkin or butternut squash) with taste and textures that were both earthier and sweeter. I’m really happy with the results, which make a very satisfying main dish for vegetarians.

Spaghetti Squash with Lentils de Puy, Kale and Feta

Ingredients

  • 1 large spaghetti squash
  • 3 tablespoons olive oil
  • 1 teaspoon seasoning salt or seasoning blend with salt and paprika
  • 2 cups water
  • 1/2 cup green lentils de Puy
  • 1 small bunch laminate kale or other hearty green, sliced into ribbons.
  • 1 pint grape or cherry tomatoes (I used yellow), cut in half
  • 1 small onion, sliced
  • 1/3 cup crumbled or diced feta
  • Handful toasted pine nuts (for garnish, optional)

Directions

  1. Preheat the oven to 350° F. Cut the squash in half lengthwise and scoop out the seeds. Mix 2 tablespoons of the olive oil and seasoning salt in a small dish. Generously brush the mixture over the inside edges and scooped out center of the squash (you do not need to coat the rind). Pour any extra into the centers of the hollowed out halves. Wrap each half in tin foil and bake in the oven, cut side up, for 40 minutes.*
  2. Combine lentils and water in a covered pot over high heat. Bring to a boil, then turn the temperature to low and simmer for 30 – 40 minutes, until the lentils are soft. (Unlike other lentils, green lentils de Puy will retain their firm shape, so remove some with a spoon to test.)
  3. While the lentils are cooking, give the kale a bit of a massage (you do not need to do this with other greens), rubbing the ribbons together with your fingers until they are soft. I can’t eat raw kale, so I added it to the lentil pot to steam just as the lentils were finishing, and let it sit in the hot pot with the lid on until I was ready to add it to the squash. If you prefer raw/massaged kale, you can skip that step.
  4. In a large pan, heat the remaining oil. Add the onions and sauté until soft, then add the tomatoes and continue to cook over medium heat.
  5. Remove the squash from the oven and carefully open the packets, taking care not to drip out the oil. Using a fork, flake and scrape the inside of the squash, which should easily form long strands. Add to the mixture in the pan, and pour in any leftover oil.
  6. Add the lentils and kale to the pan, straining out any excess water. Use a large serving fork or tongs to gently mix the ingredients. Top with the crumbled feta and pine nuts. Serve immediately.

* If it’s warm enough to grill, there’s an a wonderful alternative way to prepare the squash using the same three ingredients. Mix the oil and seasoning salt as above, but instead of slicing the squash in half length-wise, cut it half so the stem is on one half and the bottom the other. Scoop out the seeds, then slice the squash into large rings, about an inch thick. Brush all the exposed parts of the flesh with the oil mixture, and cook it on a hot grill. On the grill, it gets some nice caramelized pieces. You can use a fork to pull the strings from the rind, just as with the above method.**

** As another alternative, you can make tinfoil packets and throw those on the grill. Grilled spaghetti squash is one of my dad’s specialties!

Living Room: A Paint Saga in Three Acts

When I first moved into my new apartment, I showed you all this picture of my living room:

IMG_0097

A dark room with sage green walls with a nice dented texture that you can see on the left. Since I was sticking with light gray for most of the rest of the apartment (Burnished metal in the foyer, dining room and back hall and French Silver in the bedroom), and this was one of the few rooms that was open, but separated from the other rooms by wood trim (the halls, kitchen and dining room all flow together with plaster archways), I thought it was an opportunity to add another color to the house. I know some people like to use one continuous color when rooms are open to each other, but I really like the effect of looking from one room to another and seeing a touch of something different – as long as it works together! (My disastrous interim kitchen color did not, which is a story for another blog entry.) With all the wood accents throughout the apartment, I thought brown would work really well and would make the room feel warm and snug. I’d planned to get a light gray couch, a gray patterned rug, a light-colored ottoman coffee table, and then I was finally going to recover those estate sale chairs in a light/neutral fabric and paint them white.

But, where I ended up was this:

Brown Living room

As I mentioned before, I ended up getting a brown leather couch. I’d spent hours and hours looking at couches online and reading reviews. I didn’t really want an IKEA couch (the reviews for long-term wearability are mixed, plus I’d have to rent a truck and spent over 3 hours driving to get one), but I was considering a Karlstad with the gray cover, because I thought it was the only new couch I could afford. I also considered a fake-leather/bonded leather couch in light gray from an online site, but I was really leery of buying something that big sight unseen and cushion un-sat-upon. Leather would have been my first choice because of the dog—when we were upstairs her hair was constantly getting woven into the upholstery of the gold love seat. I was spending a ridiculous amount of time vacuuming, lint-brushing and tweezing the hair out of the furniture, even with protective throws in constant rotation. (I did try banning her from the furniture, but that made both of us unhappy.)

I really wanted to invest in the couch as my first piece of real, honest-to-goodness-grown-up furniture I picked out myself. I was 33. It was time. I went to JCPenny to look check out the gray fabric version of their Darrin couch and it turned out they were clearing out ALL the furniture. The floor models were going for insanely cheap (50% off list price, and this was when JCPenny was doing the no-sales, low price all the time thing). And suddenly, I had the opportunity to get a gorgeous, real-leather, mid-century style, ridiculously comfortable couch. A leather couch had previously been way, way, way outside my budget, but combined with the credit card deal they were running, I ended up paying $750 for a very high quality piece of furniture. I know that still seems like a lot of money to some people (it did to me – the couch is officially the most expensive thing I own aside from my car), but I think I’ll have this couch for a long long time. And I love it. More than one person can sit comfortably on it! I can stretch out and nap on it! People sit on it and comment how comfy it is. And the dog hair comes right off with a brush of the hand or a light vacuum. So, so happy with the couch. But it meant the brown paint on the walls and the wood trim was causing brown overload.

And it only got worse with each additional piece of furniture, like this:

brown living 1

Let’s add a big wood dresser to the back wall, shall we? Because there’s not enough brown in here yet. In this picture you can see how I desperately attempted to lighten up the room with the light-colored chairs (and we will talk about the chairs soon—didn’t they turn out great? My mom basically did them for me) and the light pillows and light rug. And then added a giant horse painting, which just made it even less cohesive.

Basically, the only part of the room that was even remotely working was the window wall, and that was mostly due to the long white curtains I added:

Living before

There were light-colored curtains, and the light rug, and the cream ottoman and light-green chair. I even had a plant. The whole brown-on-brown-on-brown thing wasn’t bugging me as much on this side of the room. But it’s pretty sad when you only like one corner of your living room. So…

paint supplies

It was time to haul the painting supplies back out (keep in mind that I spent the first month living here painting every single wall and much of the trim. It was ridiculous.). I decided to go completely in the other direction and do a light, airy almost-white blue. I settled on Fresh Day by Behr (which almost looked like a neutral instead of a blue). It took about three coats of Behr’s paint and primer in one to get a clean covering of the brown — the plaster walls in this place just suck the paint up.

And the end result:

TV corner after

Same corner as before, but doesn’t it look so much lighter and happier? Now, the other corners of the room actually wound up looking a little sterile with the lighter color:

IMG_0585 big wall after

So I was a bit desperate to get some art on the walls to warm it up. We’ll talk about art next time, because I have had so much fun finding new pieces for the new place and figuring out how to get them all hung!

(In this picture you can also see that I replaced the too-short coffee table I originally purchased off Craigslist with a larger, taller table from Potter Barn. After trying to live with it for a few weeks—because it was really cute—I realized that in order to be comfortable I needed the table to be at least an inch taller than the couch seat cushions. I tend to have a cup on the coffee table and constantly reaching way, way down for my beverages was driving me crazy.)

But that’s it: The color evolution of the living room. Have you ever made a big color mistake? How long did it take you to give in and repaint? It took me about two months for the living room, but I redid the kitchen about halfway through the first coat of the first color.

Plum Poppy Seed Pancakes

So, given my inability to cook foods that require flipping, you’ll have to disregard the ragged appearance of these pancakes and trust me when I tell you they are phenomenally good. Fluffy and fruity and full of flavor and the type of carb-y comfort food goodness you want on a winter morning.

stack of pancakes

(I know, I know…another horrible pic. Again, iPhone.)

It all started with a big bag of plums I had. I couldn’t figure out what to do with them. I didn’t really have an occasion for plum cake and I wasn’t in the mood for a crisp, but pancakes sounded divine. And poppy seeds seemed like the perfect addition.

Plums Poppyseeds

In addition to not looking great in a stack on a plate, the pancakes also do not look great when you pour the batter into the pan. That’s because there are lots of slices of plum in them.

Pancakes in Pan

It actually looks like I’m frying them here, but that’s just the juice from the plums reacting to the butter — you only need a little butter or oil at the bottom of the pan, just like with regular pancakes. Trust me, this is one of those projects that seems like a total disaster until you take the first bite. Then, yum!

bite of pancake

Plum Poppy seed Pancakes

(as per usual, I adapted a basic recipe from the New Settlement Cookbook to suit my needs)

Ingredients

  • 3-4 small plums, cut in half, pitted, then finely sliced.
  • 1 tablespoon poppy seeds
  • 1 teaspoon cinnamon
  • dash nutmeg
  • 1 1/2 teaspoon baking powder
  • 1 cup sour cream
  • 2 eggs, lightly beaten
  • 1 cup flour (I used whole wheat pastry flour)
  • 1 tablespoon melted butter

Directions

  1. Sift together the dry ingredients into a large bowl.
  2. Add the sour cream, eggs and butter, stirring until just mixed after each addition.
  3. Gently fold in the sliced plums and poppy seeds.
  4. Heat a griddle or non stick pan with a little bit of oil or butter, lightly coating the pan. The pan is ready when you can sprinkle a little water from your fingertips and it immediately sizzles, but doesn’t evaporate on contact.
  5. Carefully pour your batter into the pan. I used about a quarter cup for each pancake. Cook until the surface is covered with bubbles, then flip and brown the other side.
  6. Remove from pan and repeat step 5 with remaining batter.
  7. These are fantastic with butter, syrup, jam, etc. They also freeze and reheat well (I’ve tried both a microwave and a toaster oven successfully).

Bon appetite!

Making something old look…older

When I moved into my new place, I was seriously lacking in furniture. It wasn’t like I didn’t have any furniture—I had a few very nice pieces actually—but the square footage I was trying to furnish had expanded and the space was oriented very differently. I had a dining room, and an extra bedroom, and just a whole bunch more space. So with all the extra space, I was grateful for any extra furniture that came my way, even if it was something I never would have picked out myself.

Enter this little three-tier stand/table:

tiered stand before

(Apologies for the awful picture. This is project is pre-new-camera.)

Another random Mom gift. She picked it up at a rummage sale. It kind of screamed 1980s plant stand. Or maybe something you’d put in a bathroom. In any case, it was bright and brassy in the most cheap-yellow way.  But, as with the lamp, Mom saw the potential hidden by the ugly and suggested I paint it or something.

Now, I’ve been eyeing brass for awhile. I usually associate it with really horrible cheap light fixtures. (I’ve been an apartment dweller for over a decade now. I know cheap brass light fixtures.) But it seems to be making a comeback, especially when it comes to true vintage brass. Look at this beautiful antique bar cart:

3075

I mean, I know they are worlds apart, but the dark brass is gorgeous and it has three levels. So I decided to go for the antique look with my little ugly stand, mostly because I was desperate for a little table for the living room.

The first step was to dress up the garish bathroom-appropriate mirrored shelves. I used Krylon Looking Glass spray and a water vinegar mixture to get an antique mirror finish.

tiered stand during

Luckily, this project took place when it was still warm because this stuff is smelly. I worked out on the front porch. First I cleaned each shelf, then I lightly sprayed with the vinegar/water mixture, and followed that with a light spray of the Looking Glass. I let it sit a few minutes, then I blotted gently with a paper towel. Then I sprayed even more lightly with the vinegar mixture and more heavily with the Looking Glass. It took a few more repetitions before I felt the glass looked suitably antiqued. I recommend using the layered approach—you can always add more patina, but it’s hard to get it off. I blotted one last time, let it air dry for a few hours, then very gently buffed it with a paper towel before I reassembled the stand.

tiered stand glazing

While that was drying, I tackled the job of making the bright brass look a little more antiqued. I used a Martha Stewart metallic glaze in bronze, a sponge paint brush and a paper towel. I was pretty generous with my glaze applications (just light enough to keep it from dripping). I’d let it dry a few minutes, then wipe off the excess with the paper towel. Then, after it dried a few more minutes, I did another coat. The glaze is very transparent, and it took me between three and four coats to get the effect I wanted. Those twisted wire legs were quite a pain! But, you can see in this picture that after a few coats the brass was starting to look more like dark antiqued brass.

I let that dry for a few hours as well, then brought it in and reassembled it:

tiered stand finished

Voila! It’s not the antique bar cart of my dreams, but it’s a cute little table that’s perfect for holding a candle, picture, or drink. I love how the antiqued mirrors turned out. They’re mottled, but still pretty reflective (as you can see by the upside down horse head).